


FOR TOYOTA TUNDRA MODEL
ITEMS INCLUDED IN THE 1 SINGLE SWITCH PASSENGER WINDOW ONE TOUCH PACKAGE:
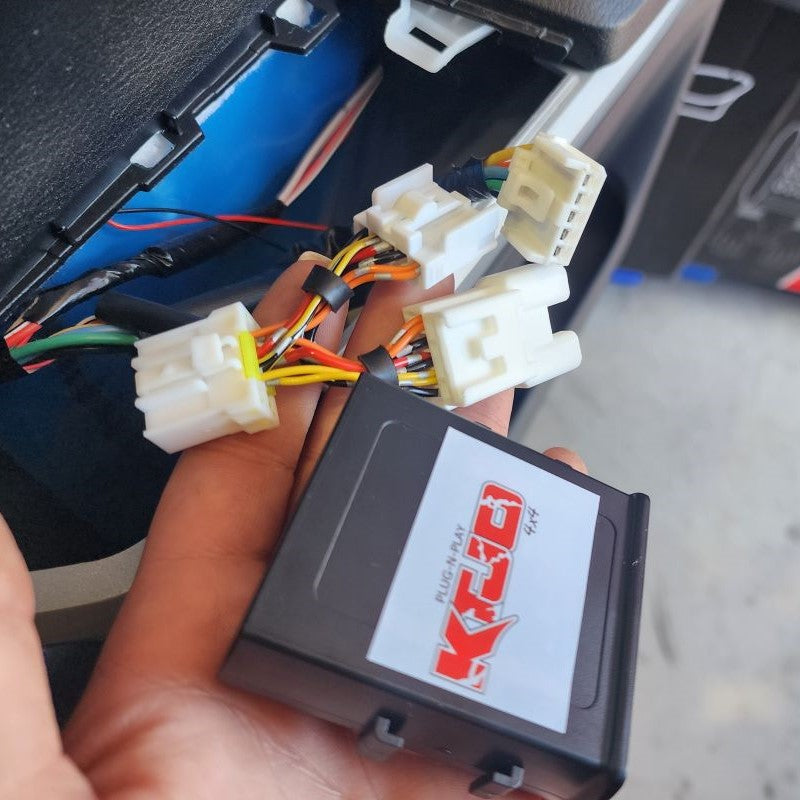
1 x Control Module
1 x 3M, Double-Sided Adhesive Sheet
ITEMS INCLUDED IN THE 2 SINGLE SWITCH PASSENGER WINDOW ONE TOUCH PACKAGE:
2 x One Touch Passenger Window Auto Up/Down Harness2 x Control Module
2 x 3M, Double-Sided Adhesive Sheet
ITEMS INCLUDED IN THE 3 SINGLE SWITCH PASSENGER WINDOW ONE TOUCH PACKAGE:
3 x One Touch Passenger Window Auto Up/Down Harness3 x Control Module
3 x 3M, Double-Sided Adhesive Sheet
TOOLS NOT INCLUDED BUT ARE NEEDED:Installation Instructions - Passenger One Touch (Located on Website)
Phillips Screw Driver
Door Panel Remover (optional)
DISCONNECT THE BATTERY BEFORE YOU BEGIN INSTALLATION
Must Press + to see the narrative on each Step
-
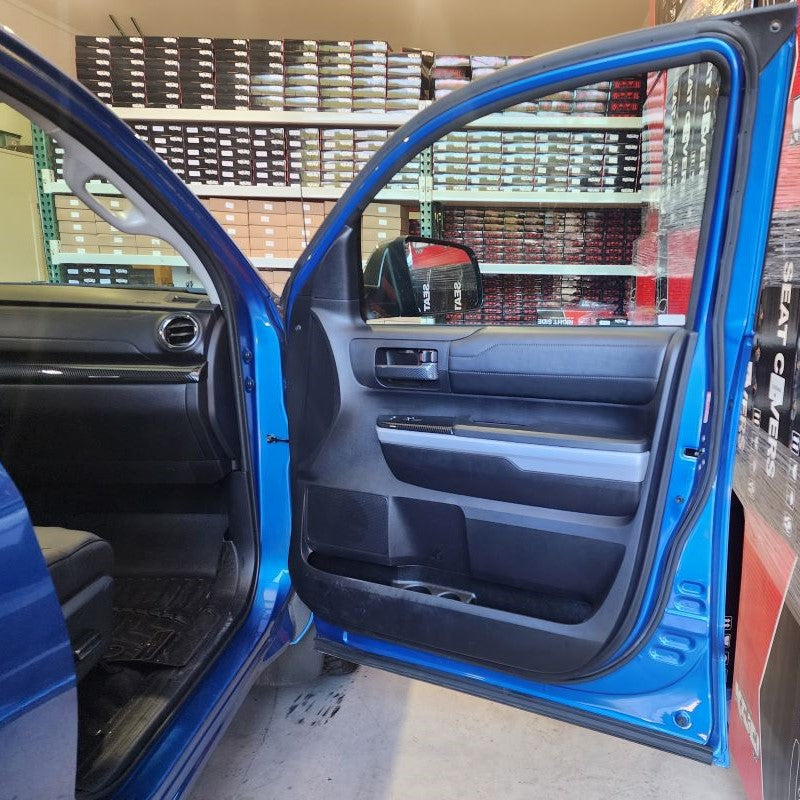
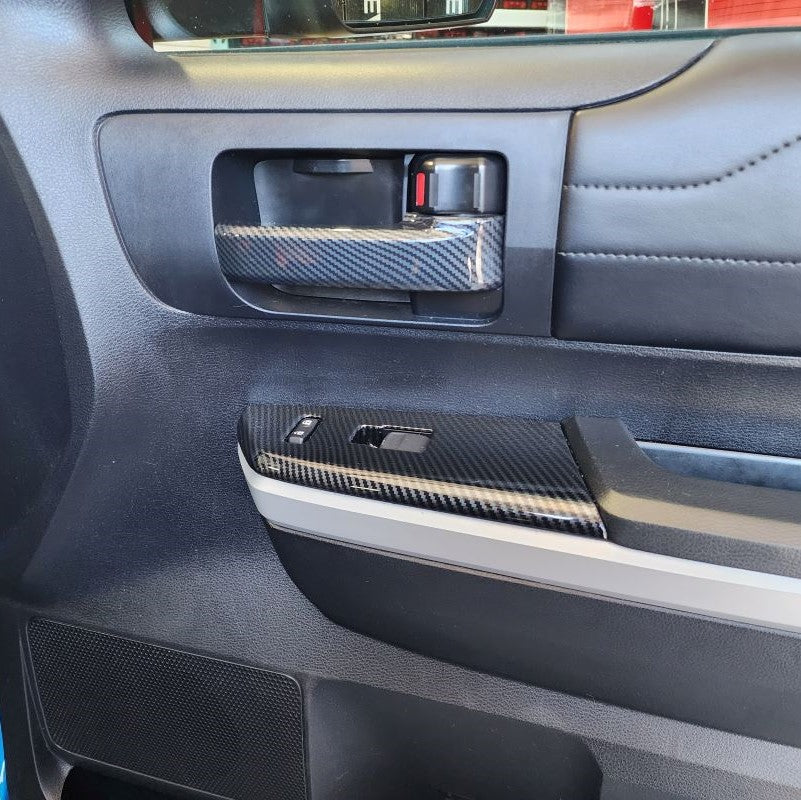
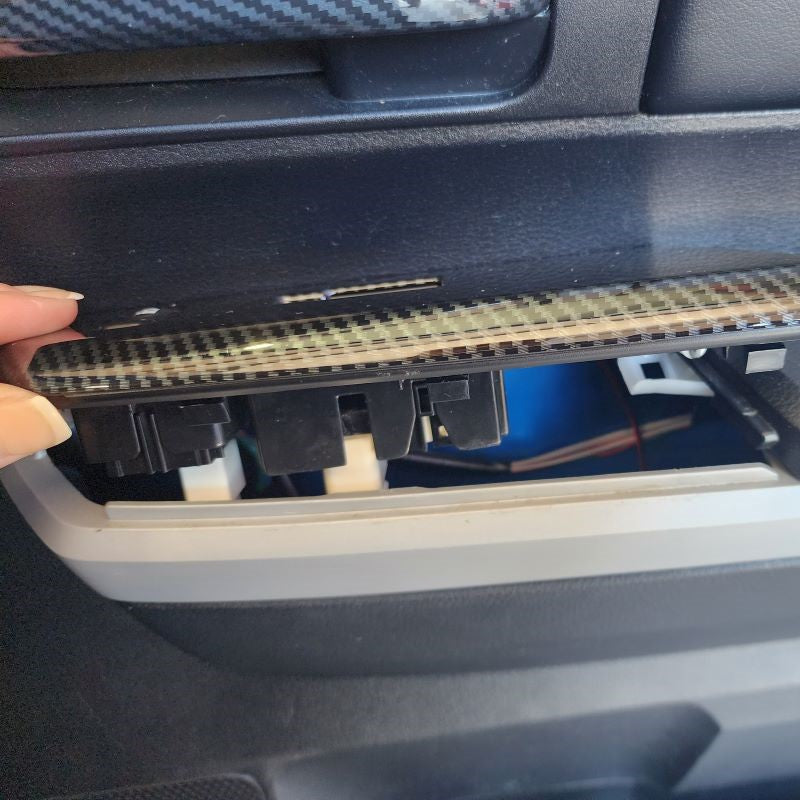
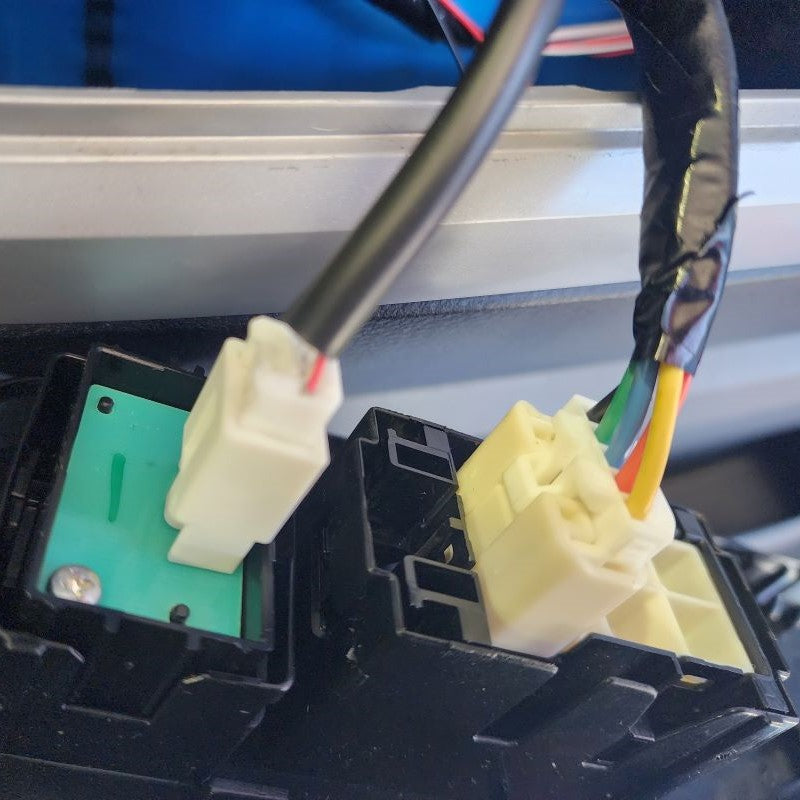
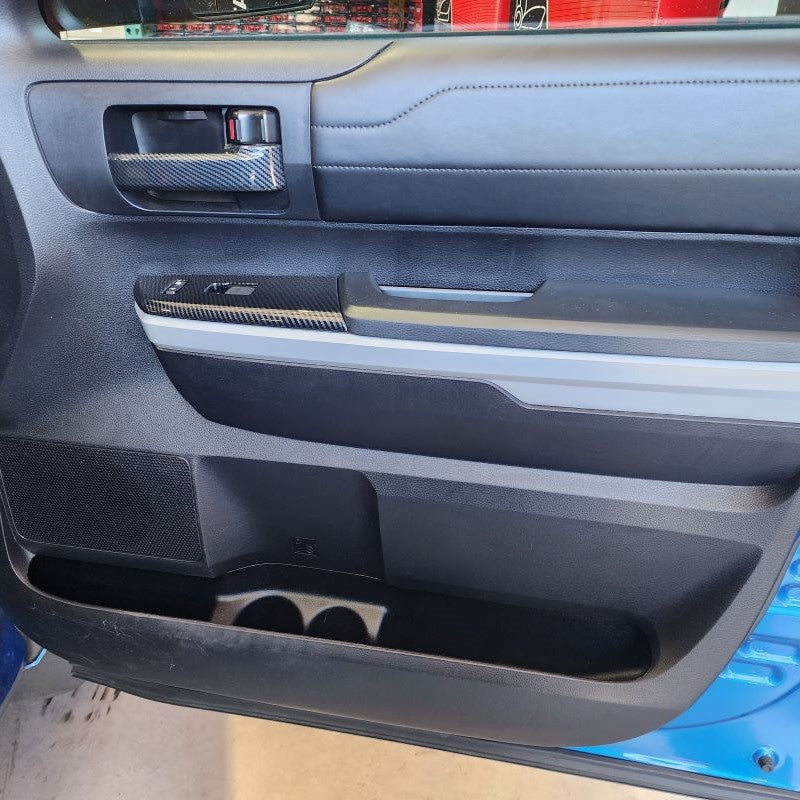
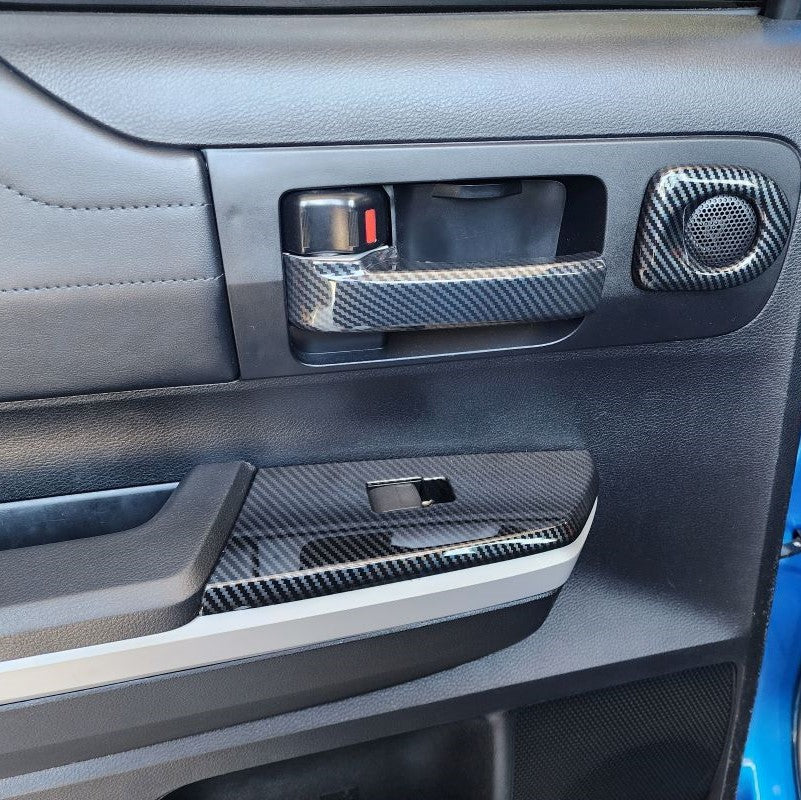
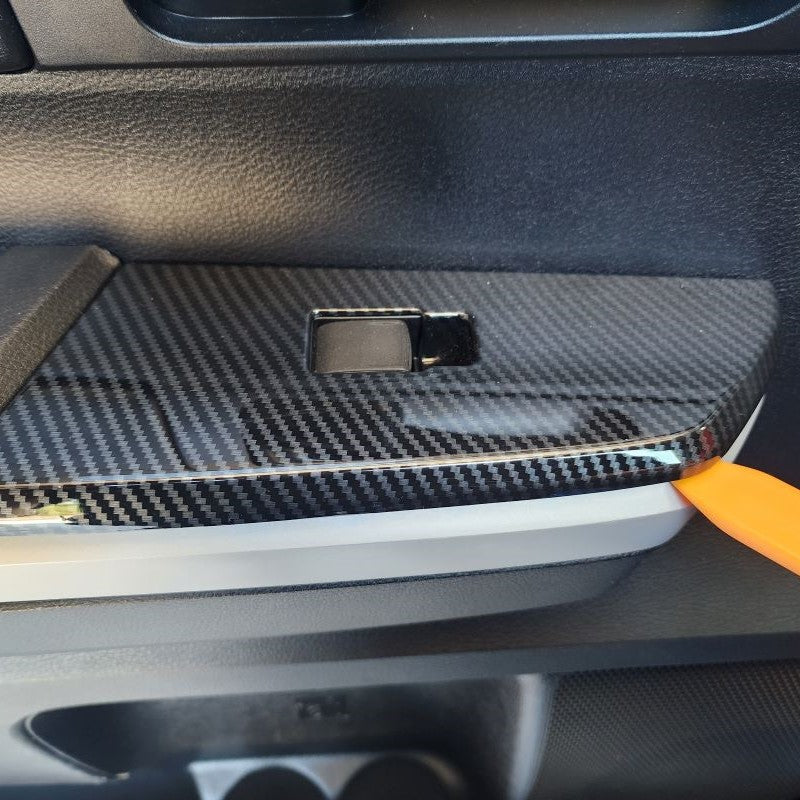
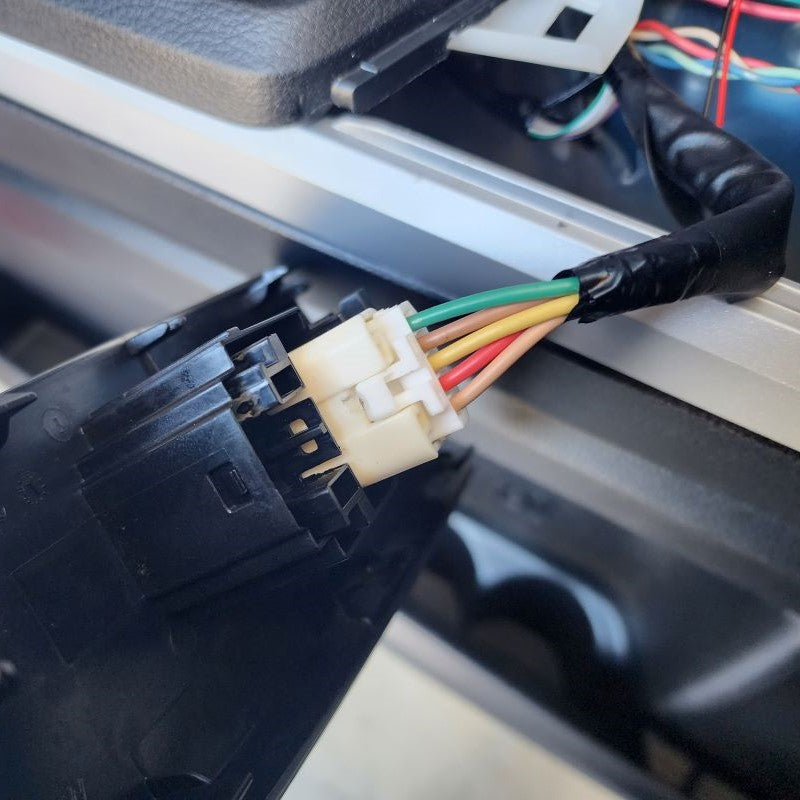
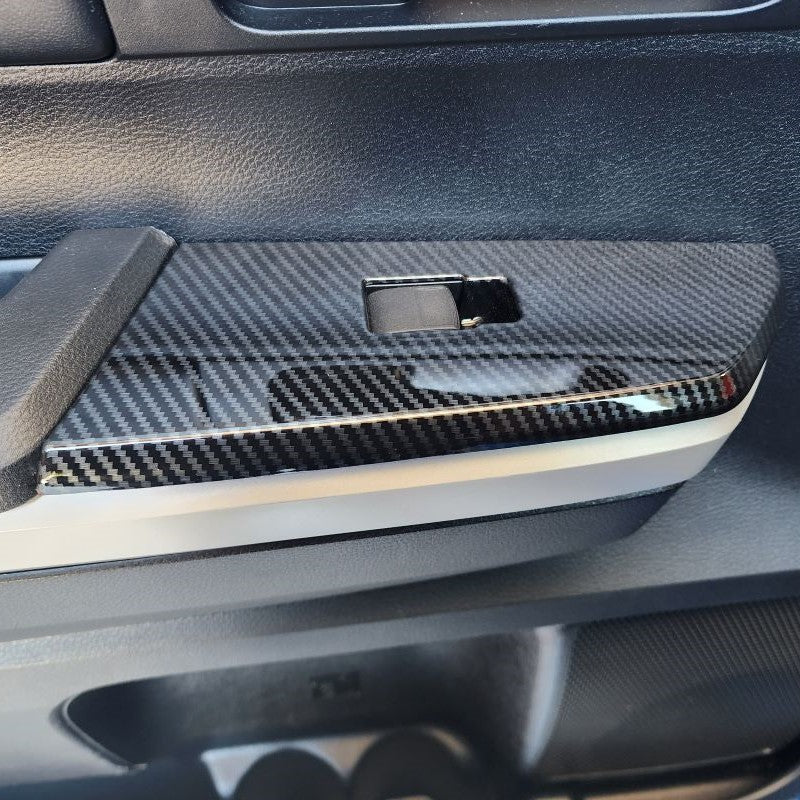
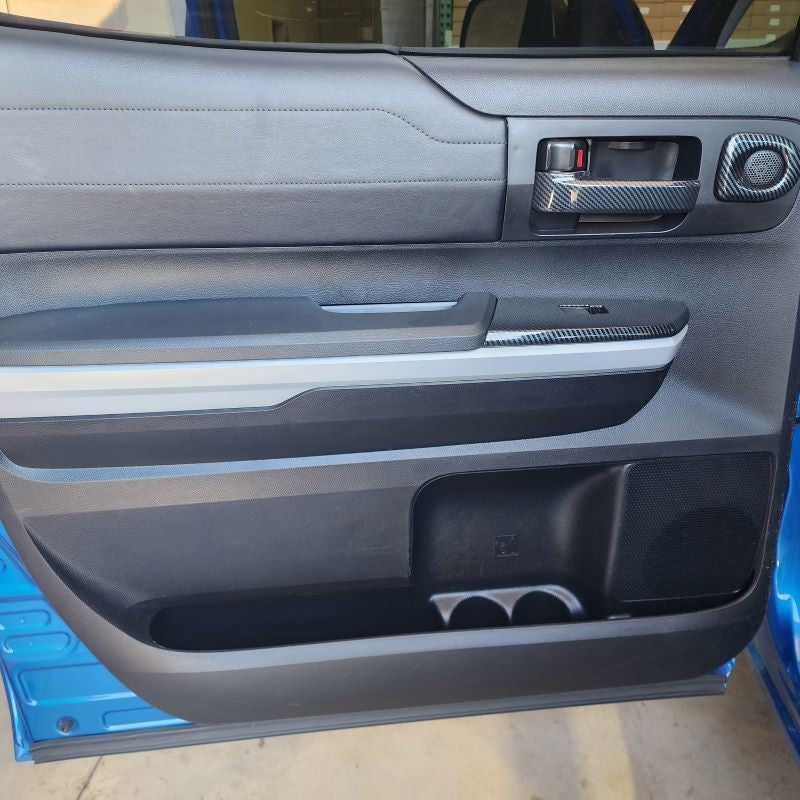
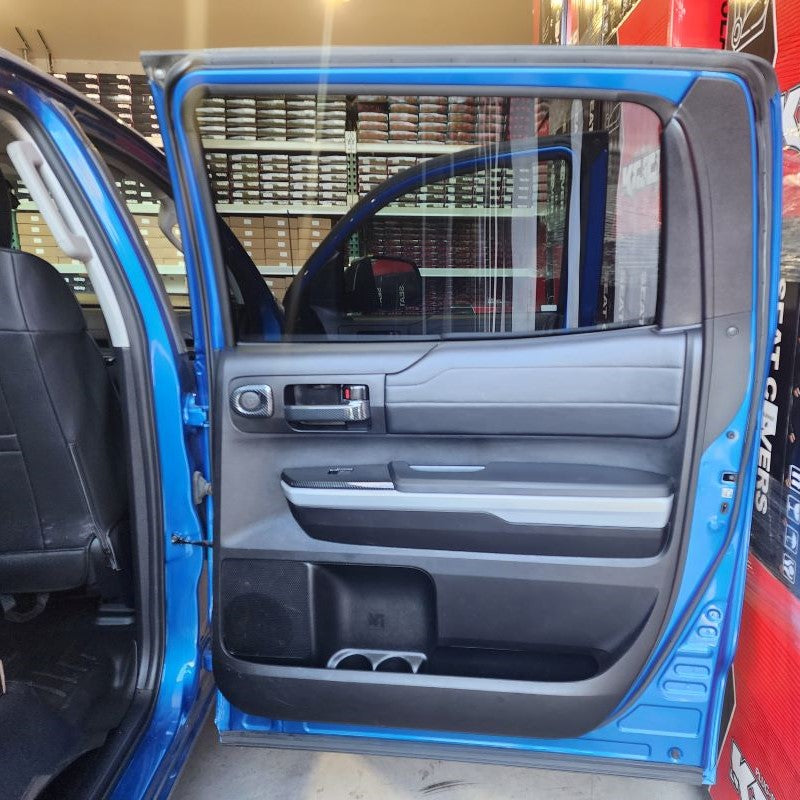
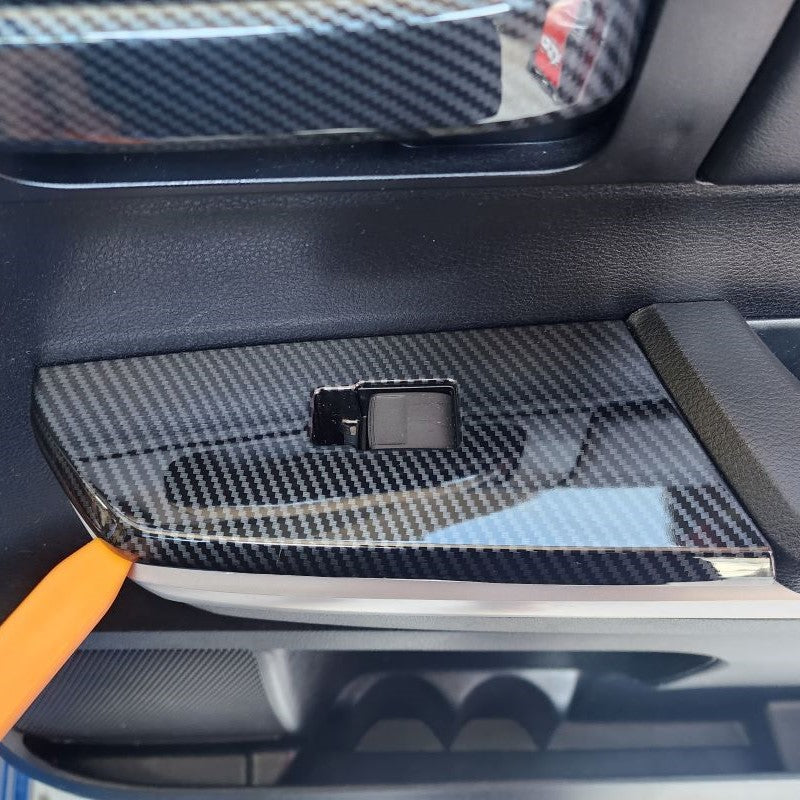
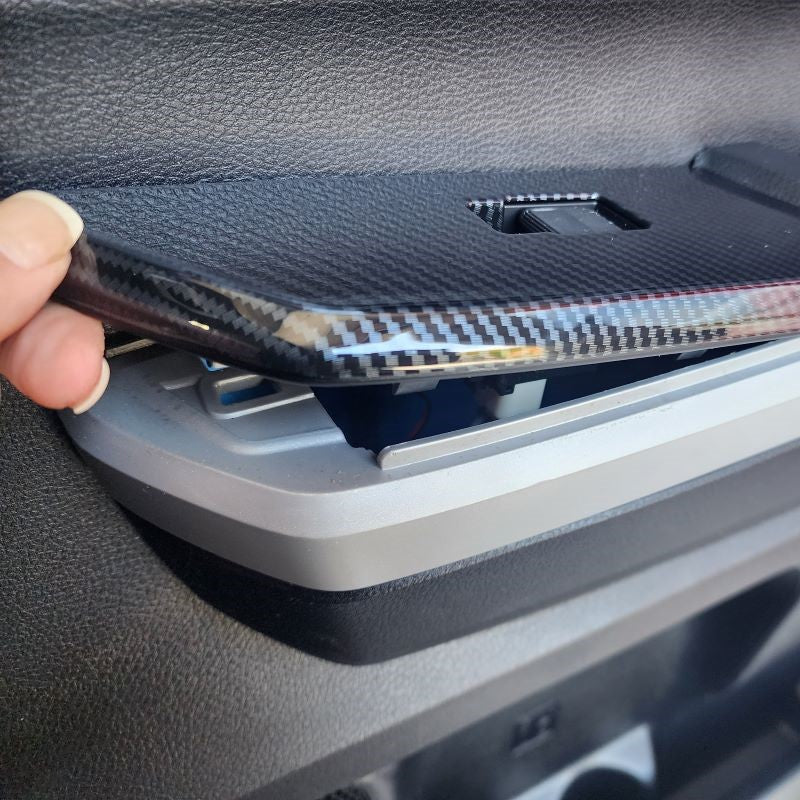
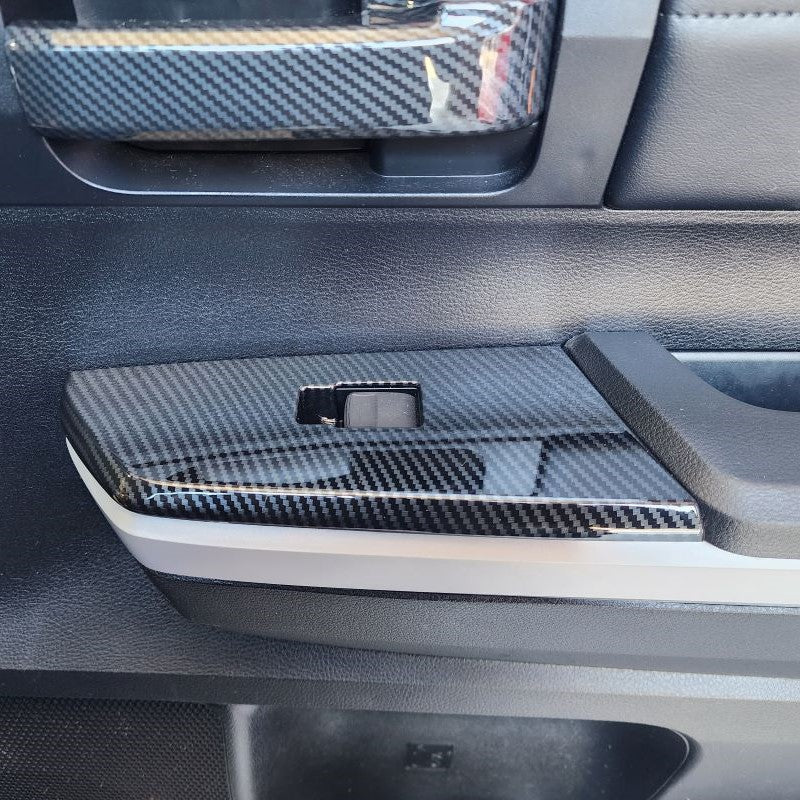
Using a Door Panel Remover or Trim Removal Tool remove your right front passenger window switch trim panel from the door. Start at one end and then continue to release the panel from its locking tabs from underneath. Once you get one end up, you can use your hand to pull up on the rest of the panel.
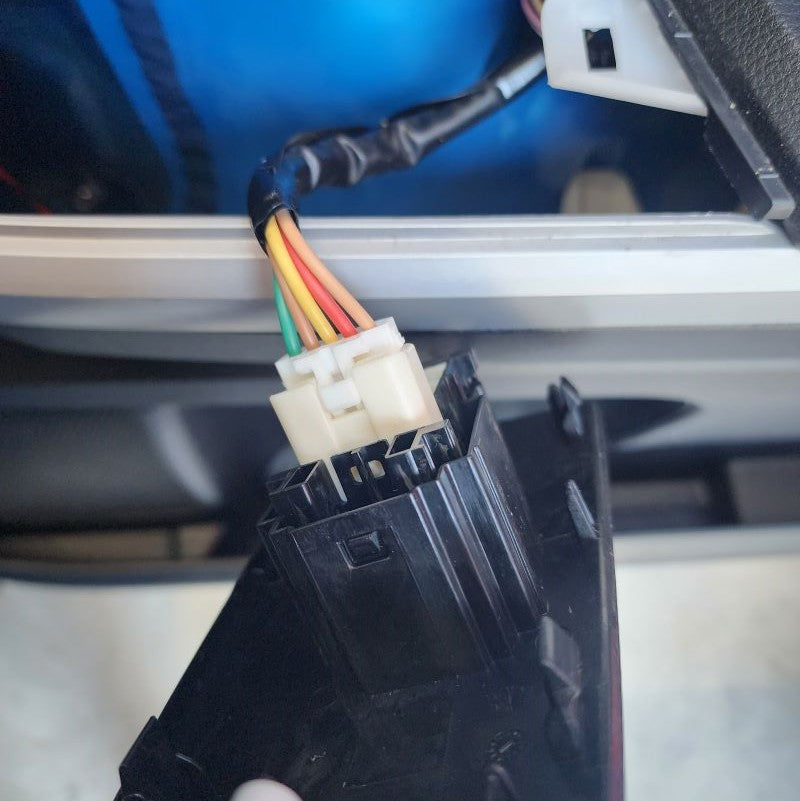
Following removal of panel, go ahead and disconnect the factory white connector that goes to the window switch. Please see below pictures and follow along.
STEP 1
INSTALL IMAGES


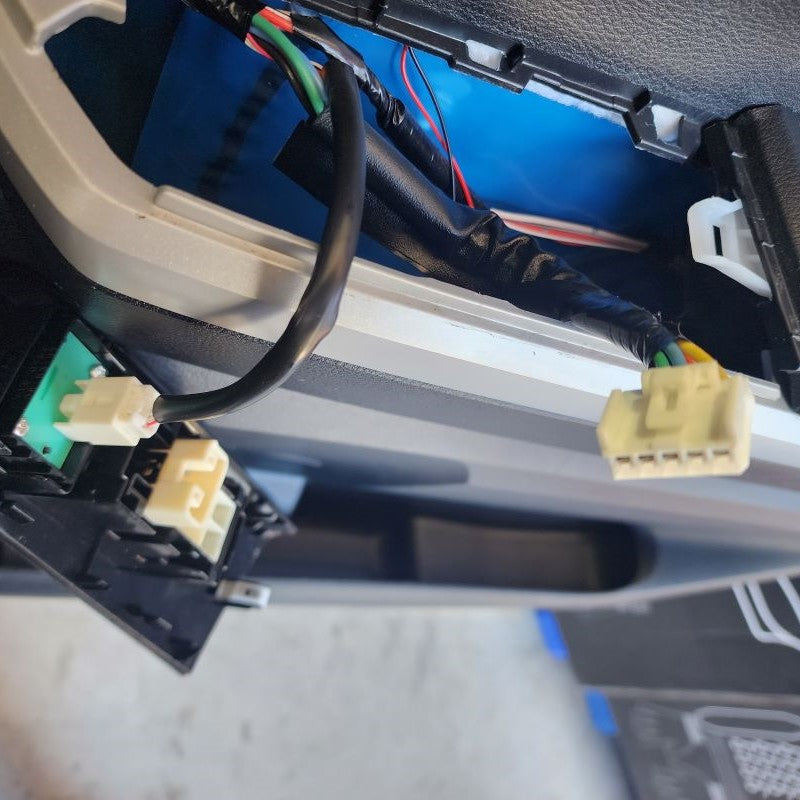

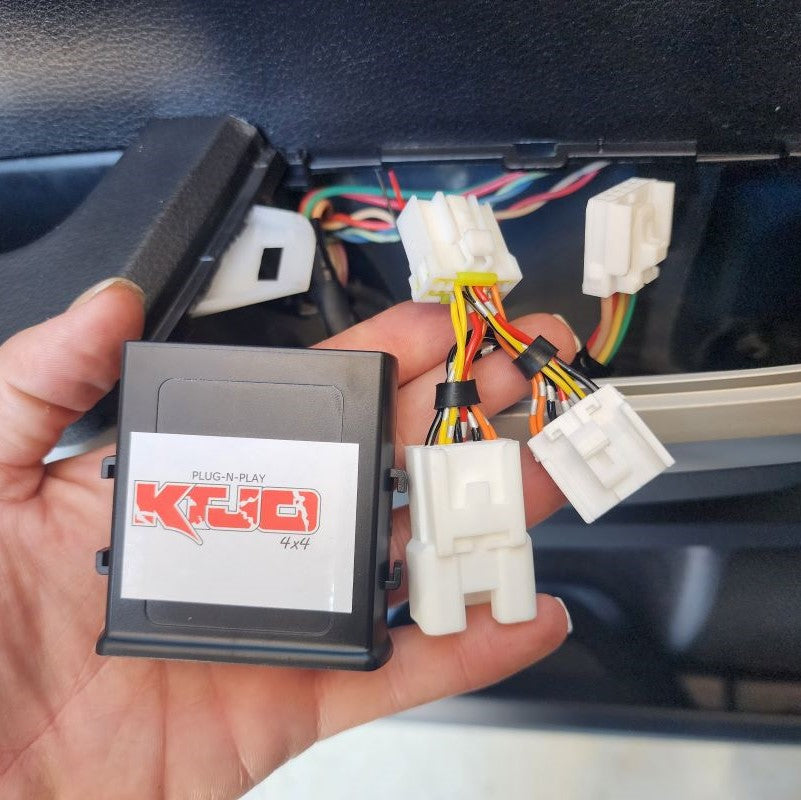
STEP 2
-
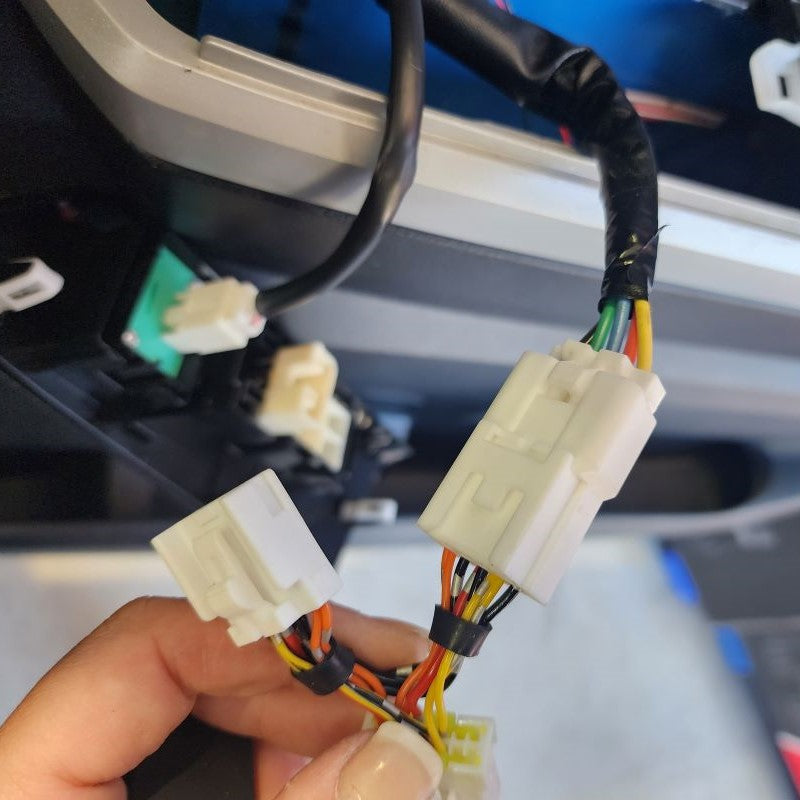
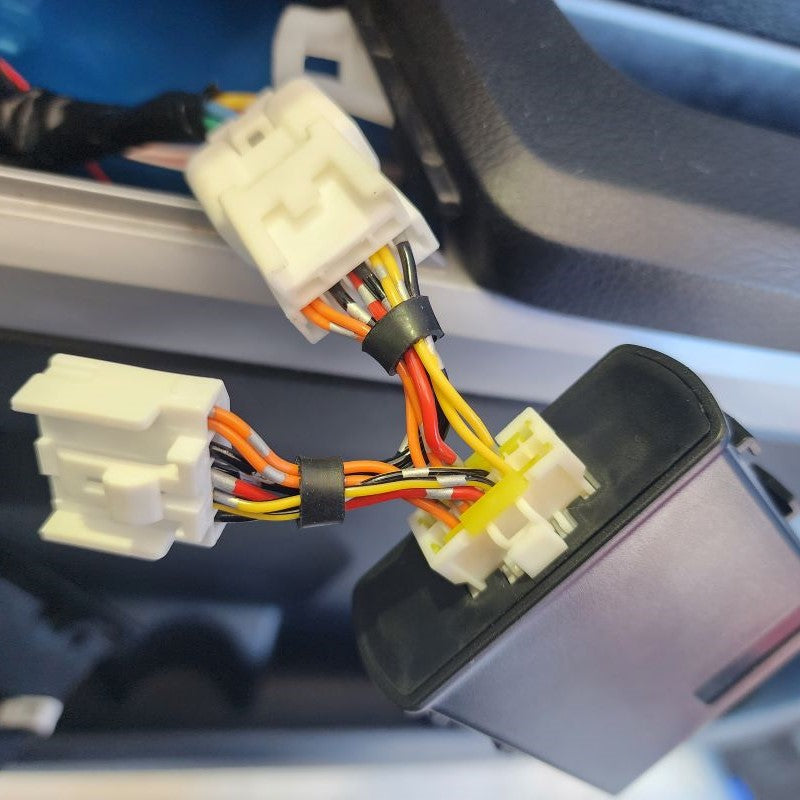
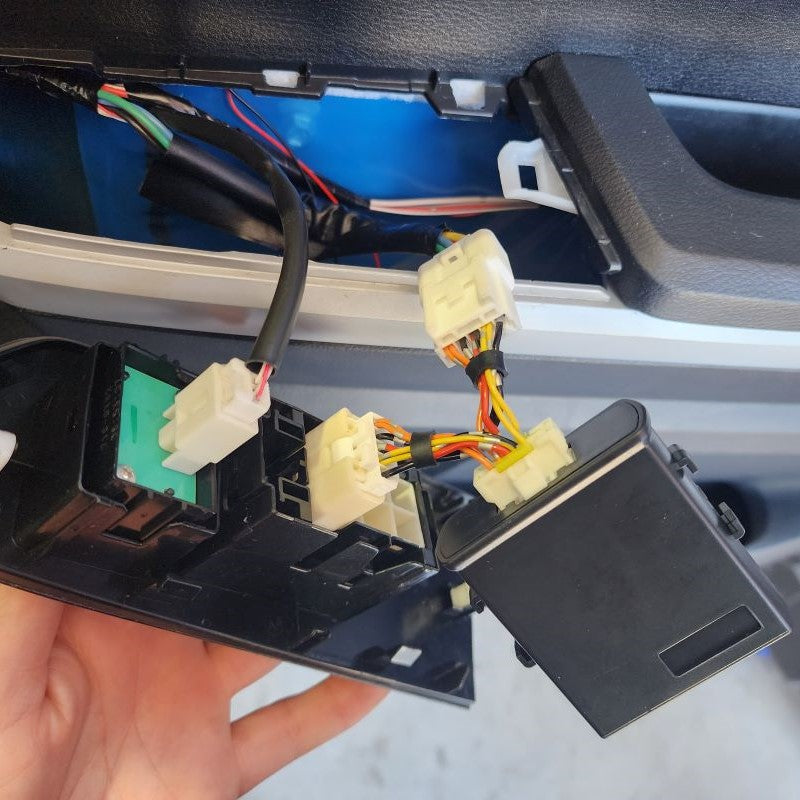
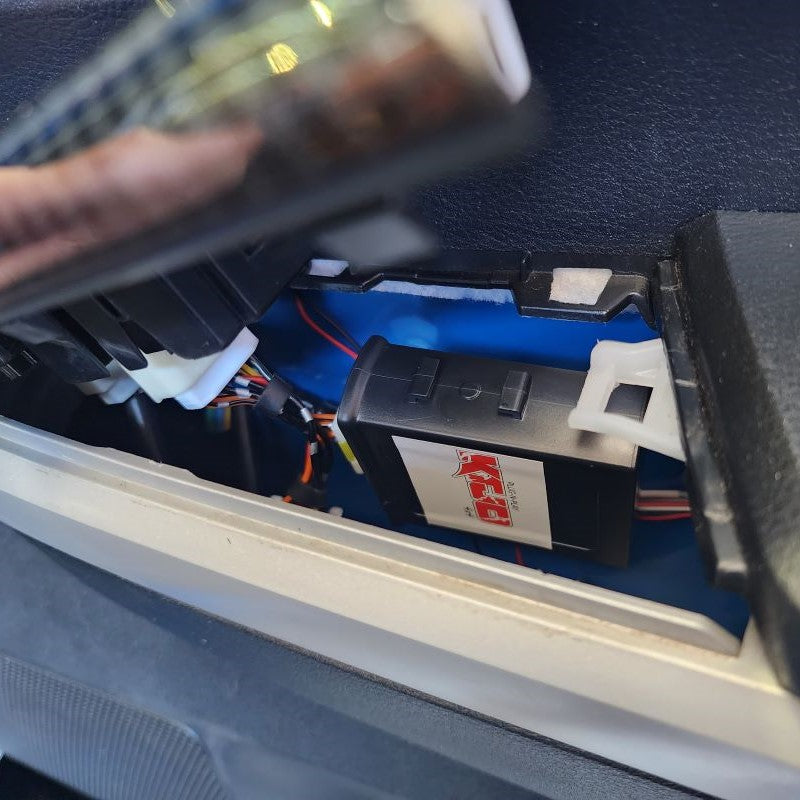
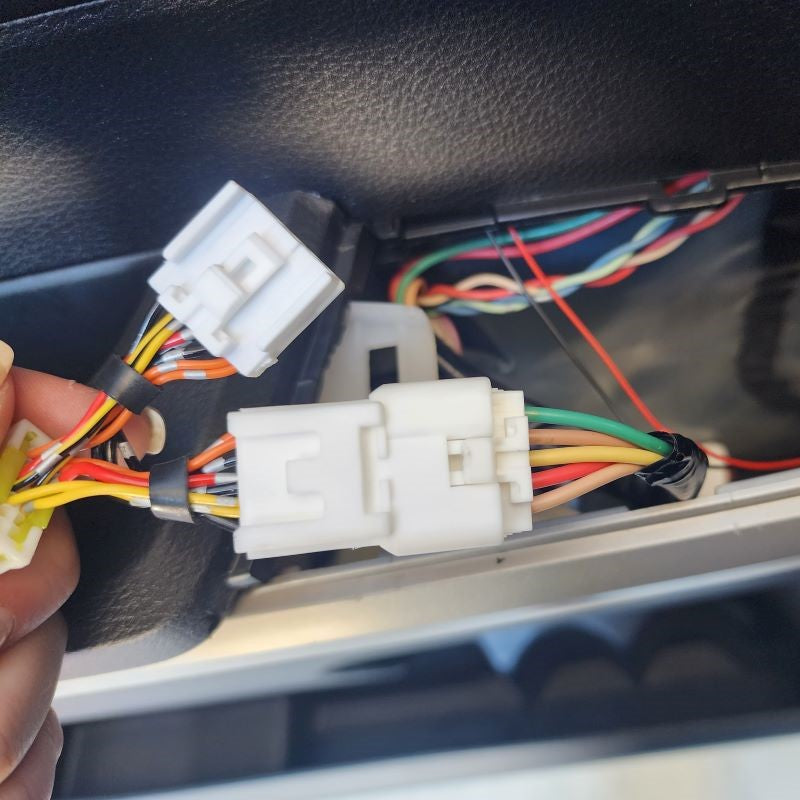
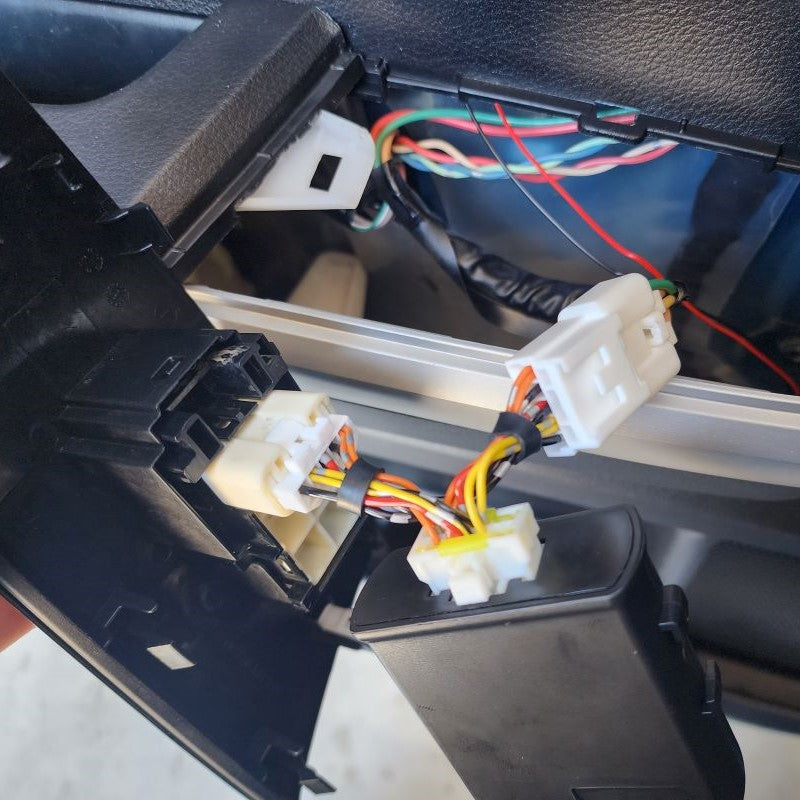
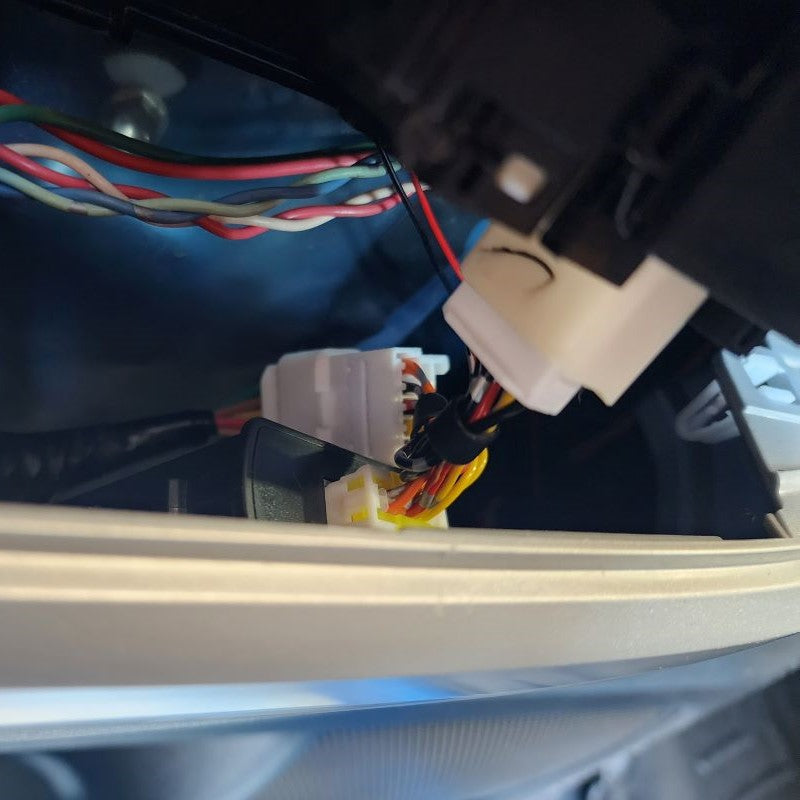
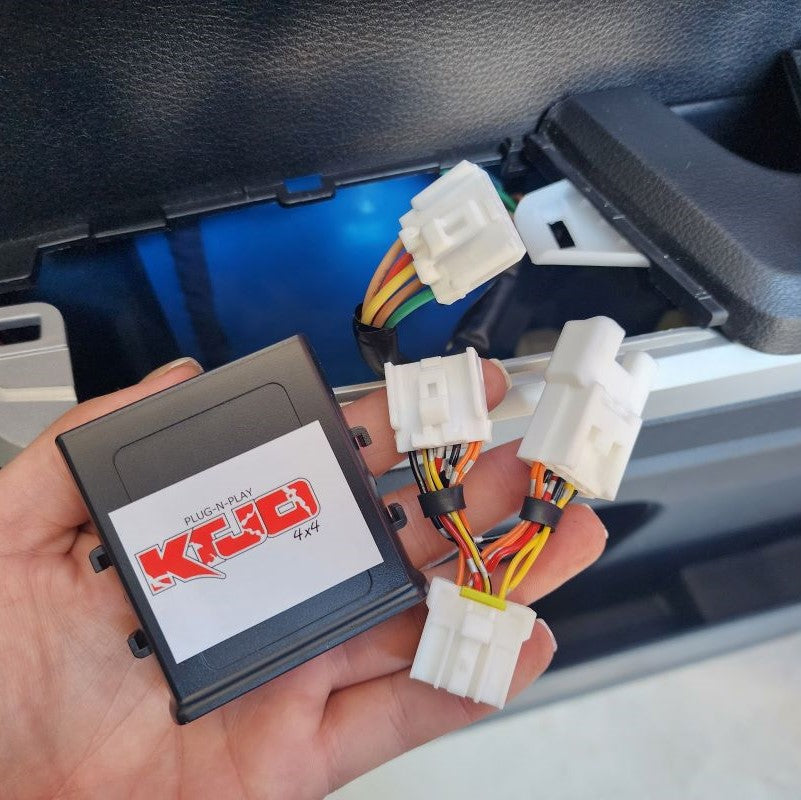
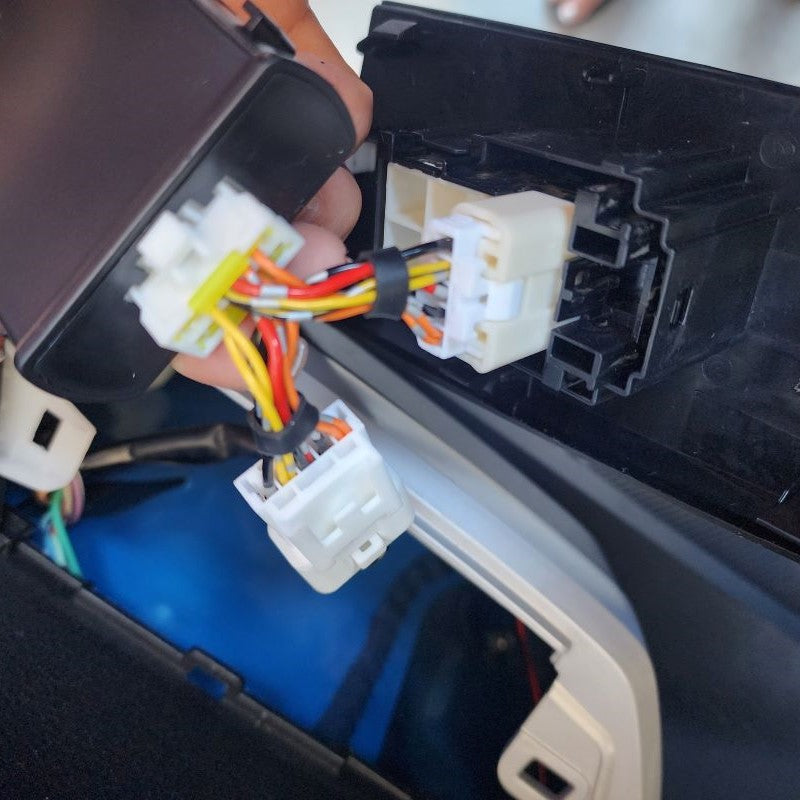
Using your included one touch harness, connect it to your factory harness inside your door panel. Now you have two white connectors left. The one that looks identical to what you just disconnected from Step 1, go ahead and plug the factory harness into this female connector. The last one is for your control module. It is the only one that will fit in this module so don't be too worried about selecting the wrong one.
Now all you need to do is test your new setup!
NOTE: Depending on your vehicle, that may be different for your Front Driver Wire Harness. Please take a look at your vehicle so if yours is different, you purchase the correct package. 2-Auto vs. 1-Auto Trucks. 2-Auto Trucks would be: Platinum, 1794, TRD Pro (Some Years). 1-Auto Trucks would be: Limited, SR5, SR, TRD Pro (Some Years)
INSTALL IMAGES


STEP 3
-
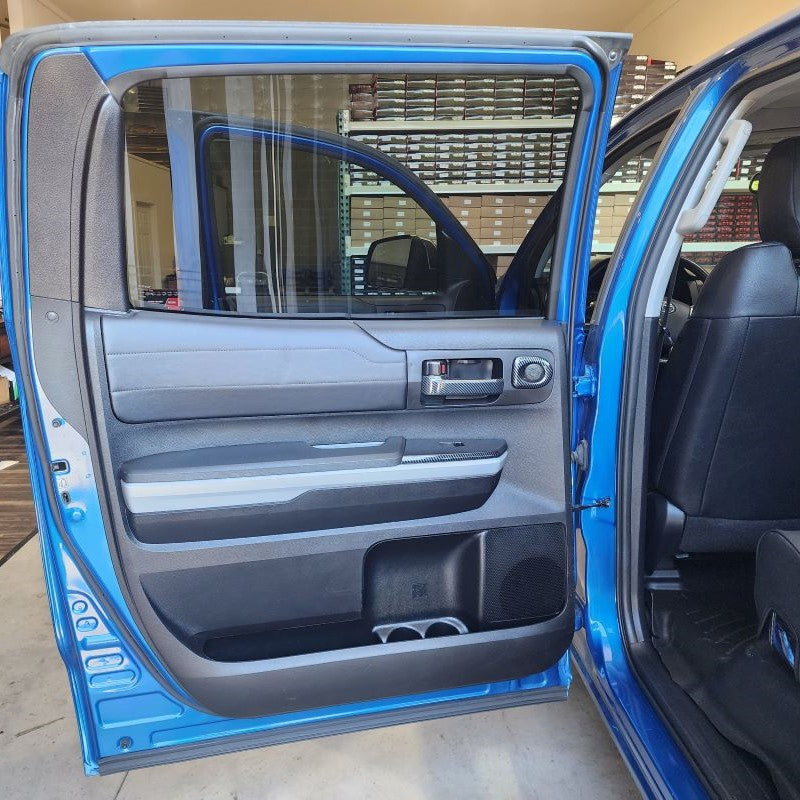
Using a Door Panel Remover or Trim Removal Tool remove your left rear passenger window switch trim panel from the door. Start at one end and then continue to release the panel from its locking tabs from underneath. Once you get one end up, you can use your hand to pull up on the rest of the panel.
Following removal of panel, go ahead and disconnect the factory white connector that goes to the window switch. Please see below pictures and follow along.
INSTALL IMAGES


STEP 4
-
Using your included one touch harness, connect it to your factory harness inside your door panel. Now you have two white connectors left. The one that looks identical to what you just disconnected from Step 3, go ahead and plug the factory harness into this female connector on your new harness. The last one is for your control module. It is the only one that will fit in this module so don't be too worried about selecting the wrong one.
Now all you need to do is test your new setup!
INSTALL IMAGES


STEP 5
-
Using a Door Panel Remover or Trim Removal Tool remove your right rear passenger window switch trim panel from the door. Start at one end and then continue to release the panel from its locking tabs from underneath. Once you get one end up, you can use your hand to pull up on the rest of the panel.
Following removal of panel, go ahead and disconnect the factory white connector that goes to the window switch. Please see below pictures and follow along.
INSTALL IMAGES


STEP 6
-
Using your included one touch harness, connect it to your factory harness inside your door panel. Now you have two white connectors left. The one that looks identical to what you just disconnected from Step 5 go ahead and plug the factory harness into this female connector on your new harness. The last one is for your control module. It is the only one that will fit in this module so don't be too worried about selecting the wrong one.
Now all you need to do is test your new setup!
INSTALL IMAGES


STEP 7
-
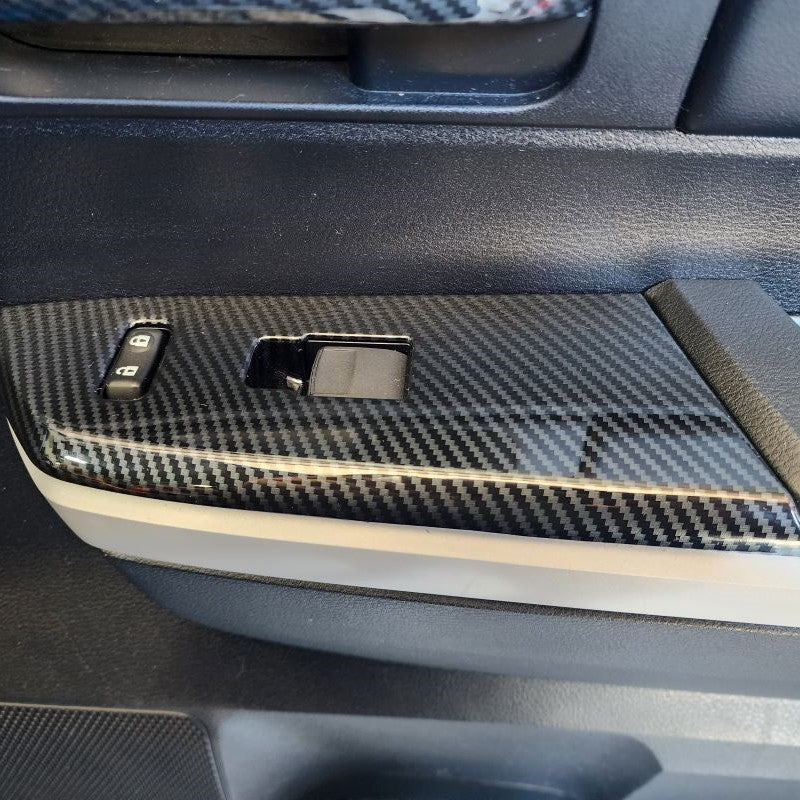
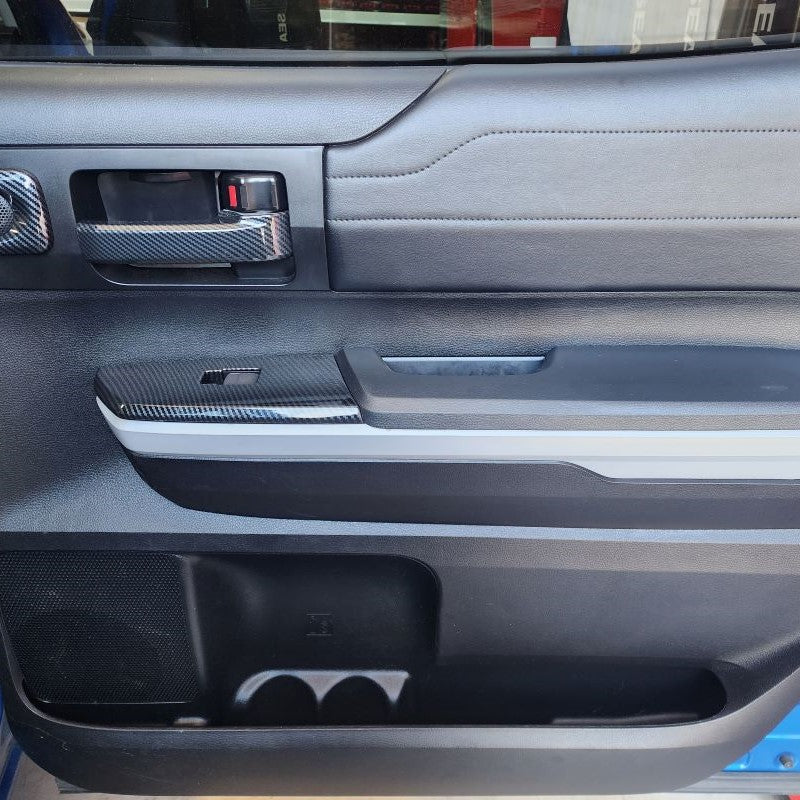
Enjoy your New Passenger One Touch!