INSTALL IMAGES
STEP 2
-
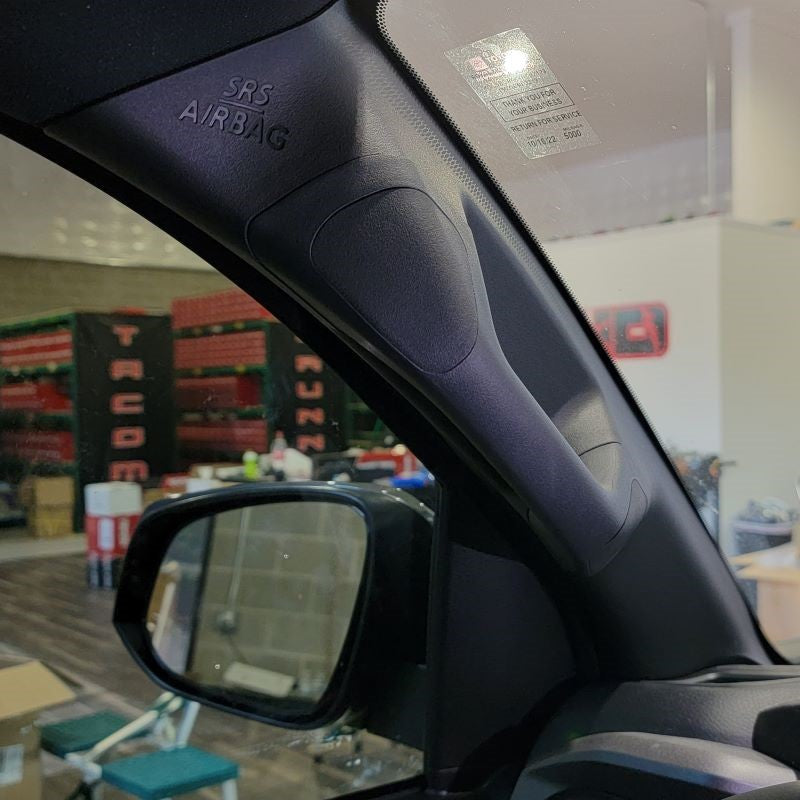
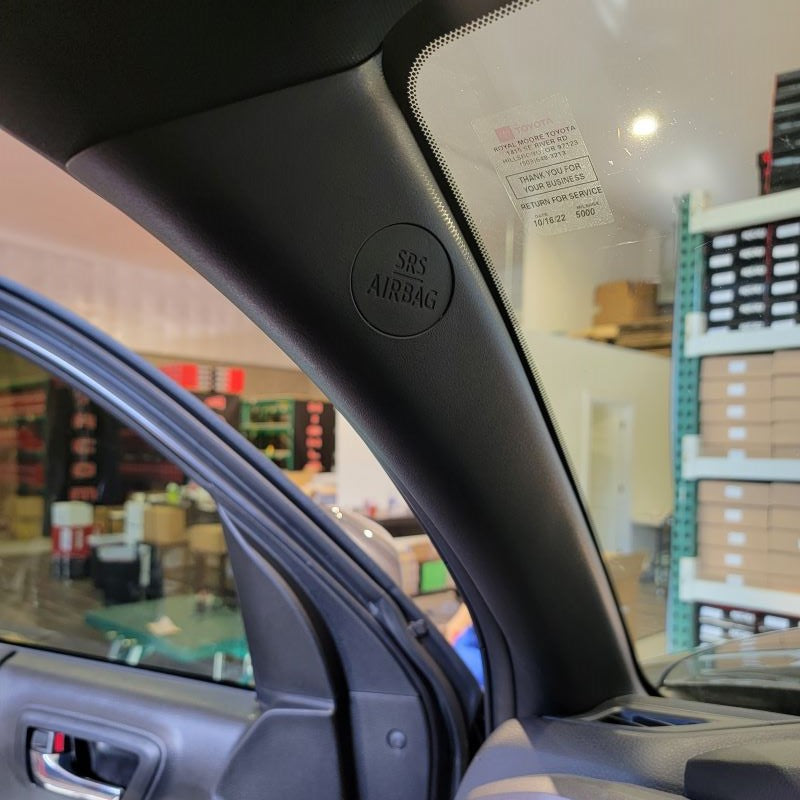
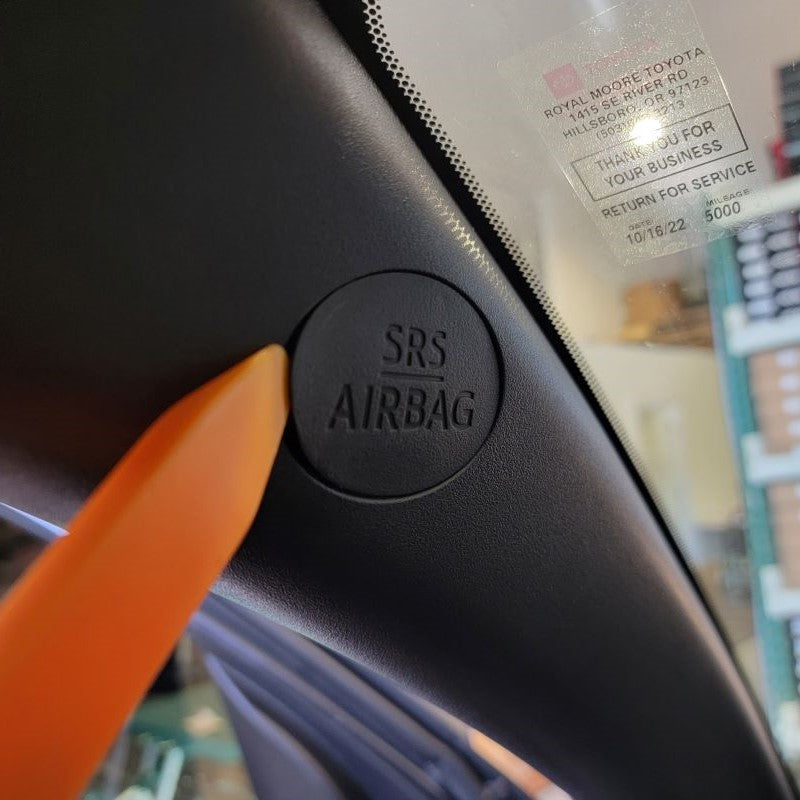
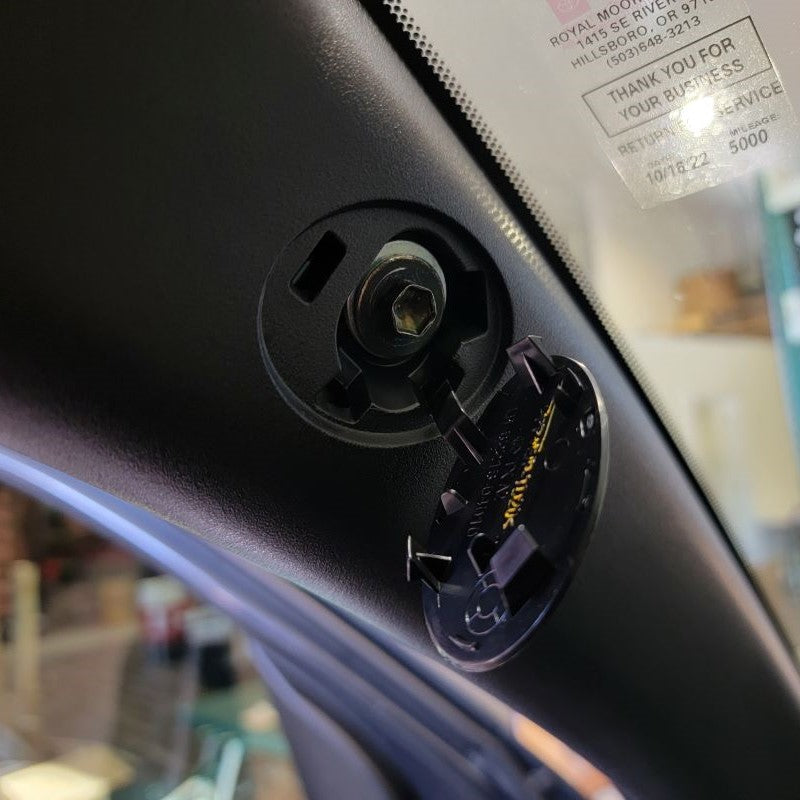
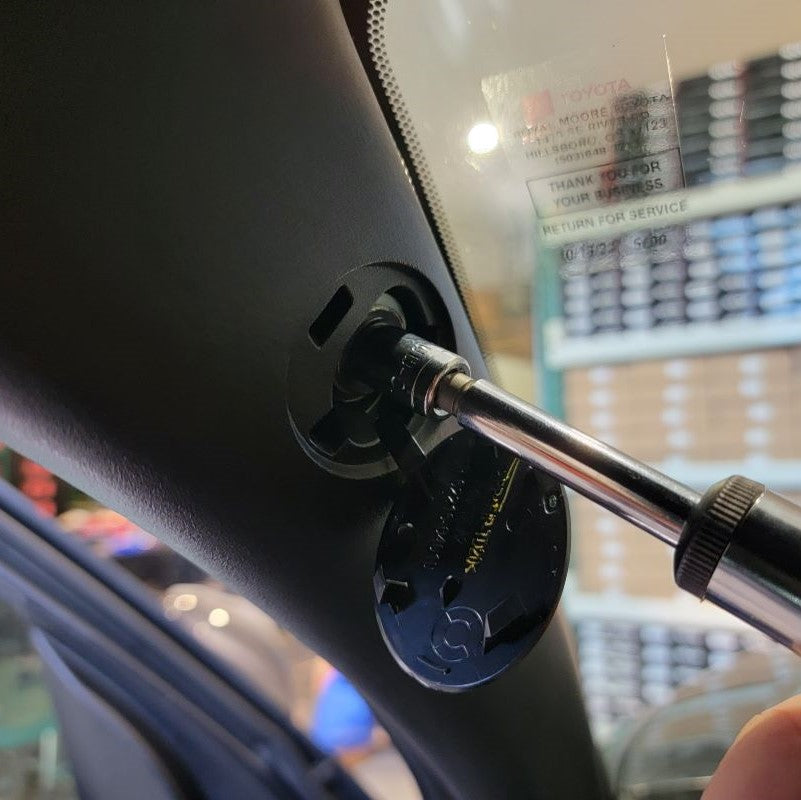
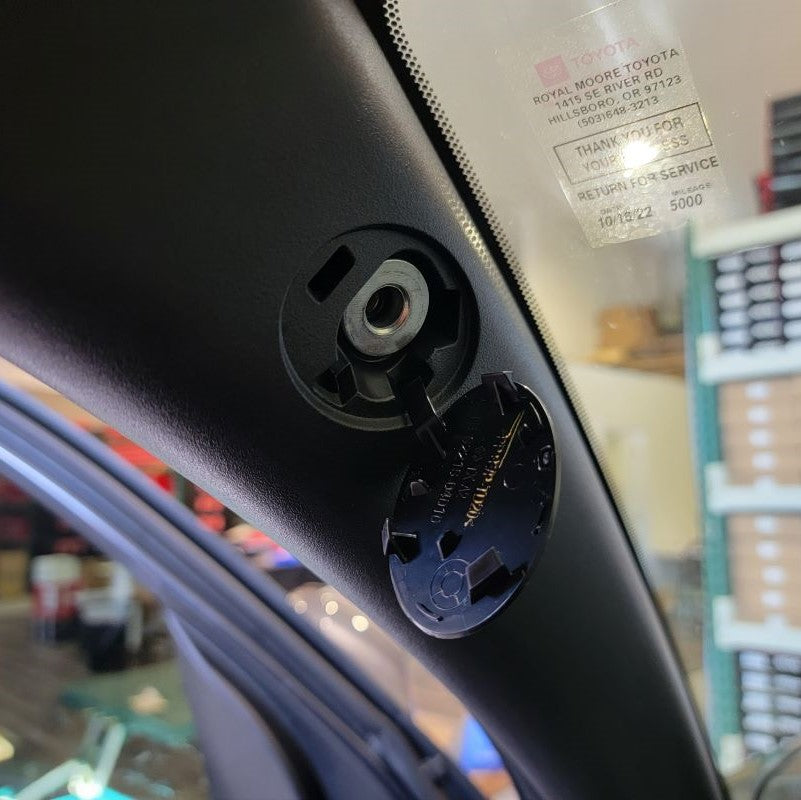
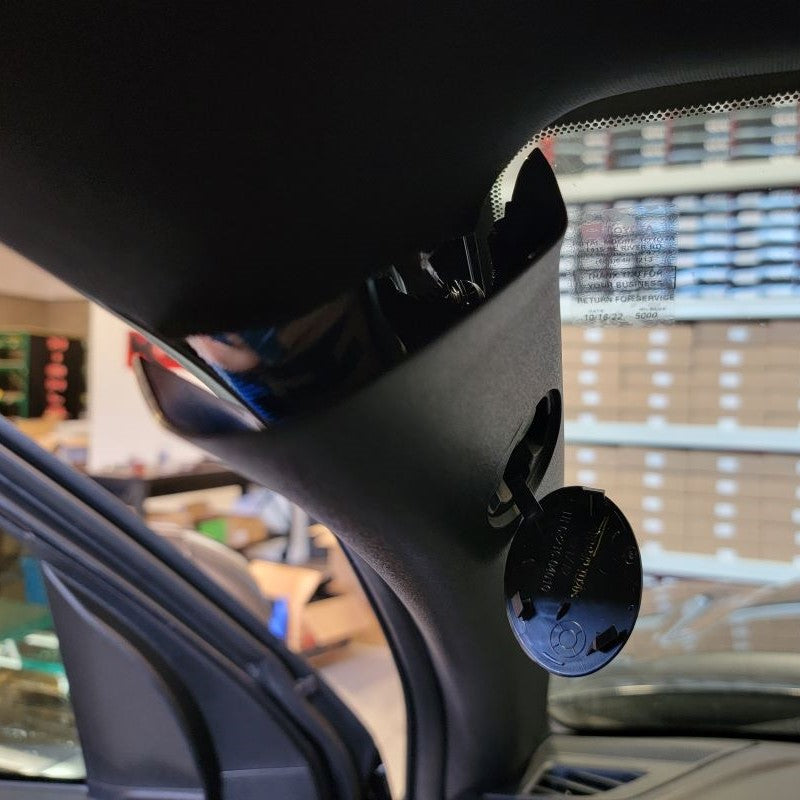
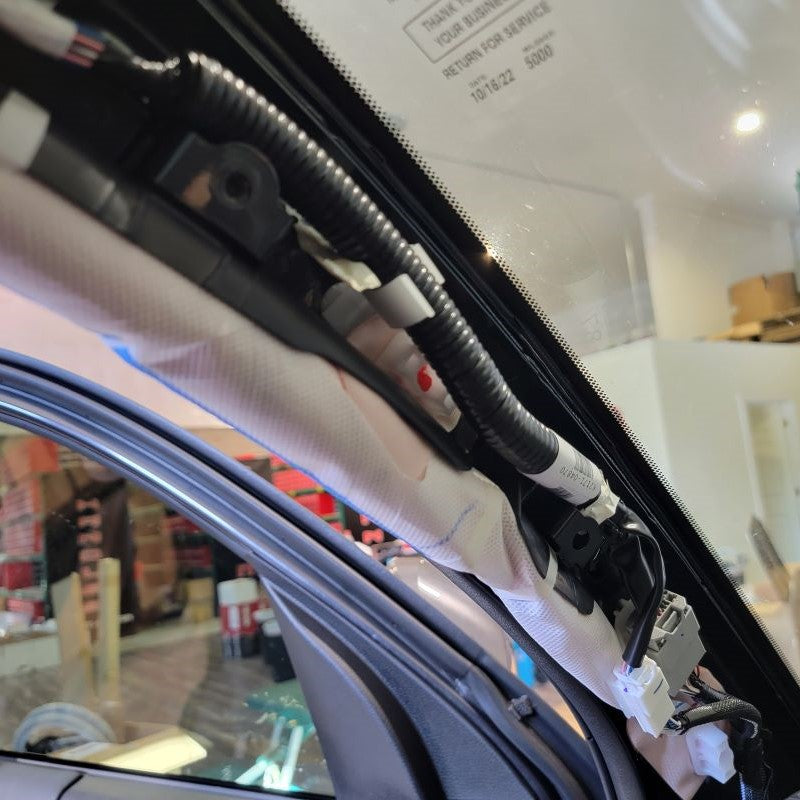
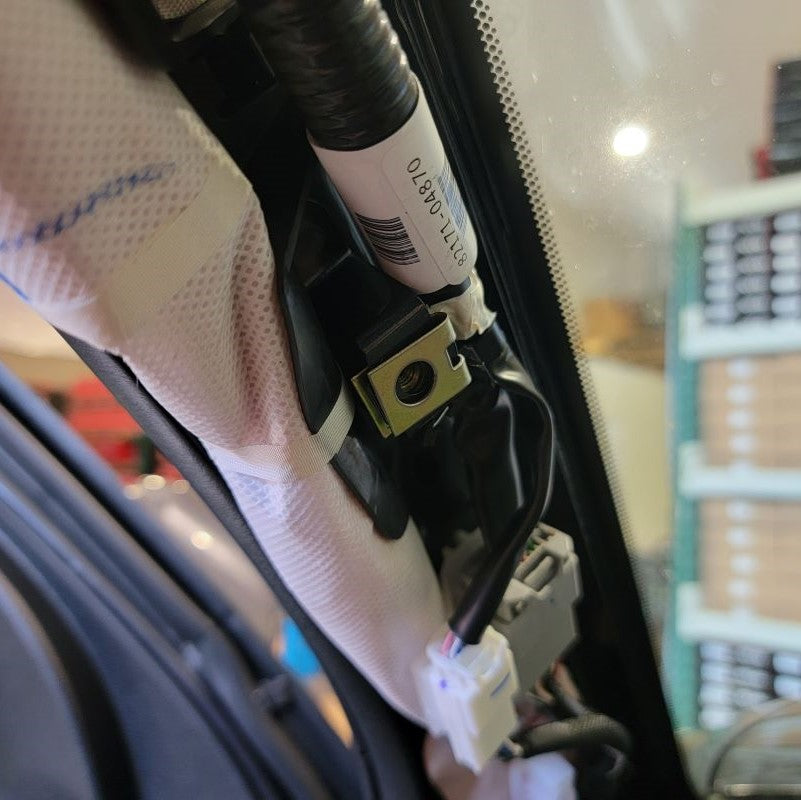
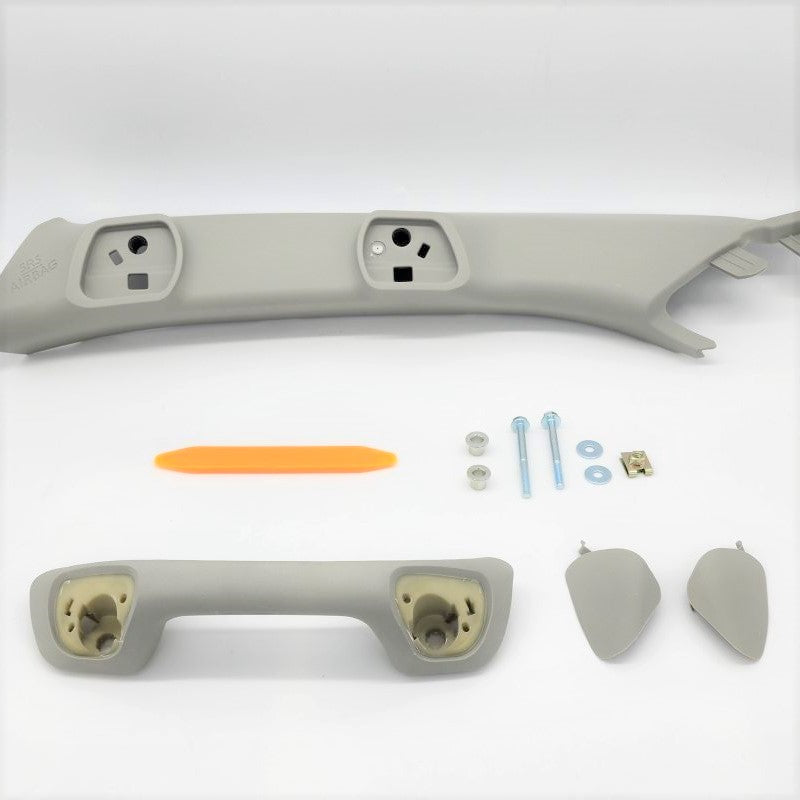
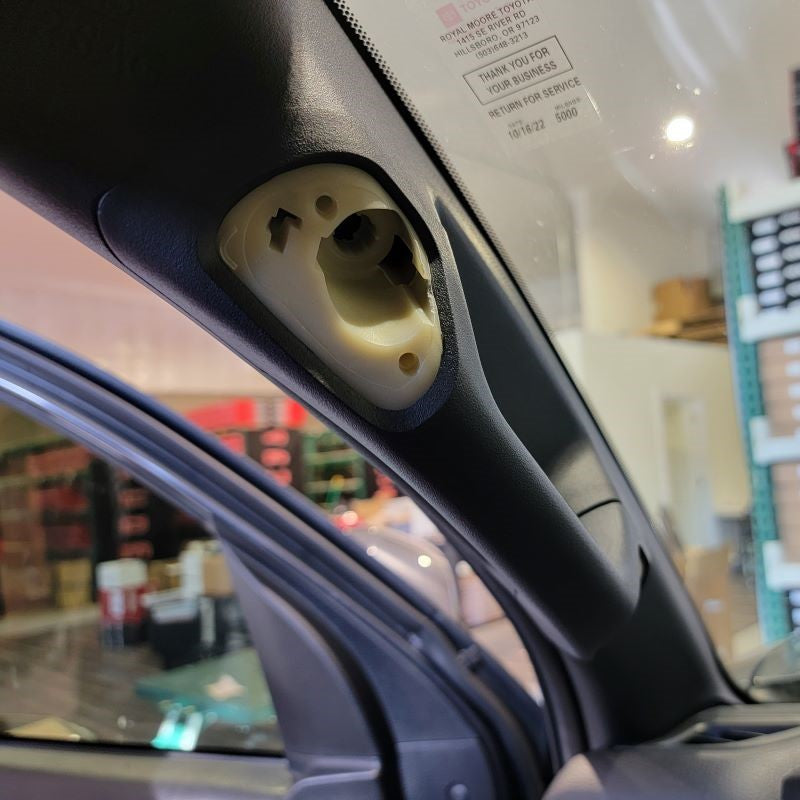
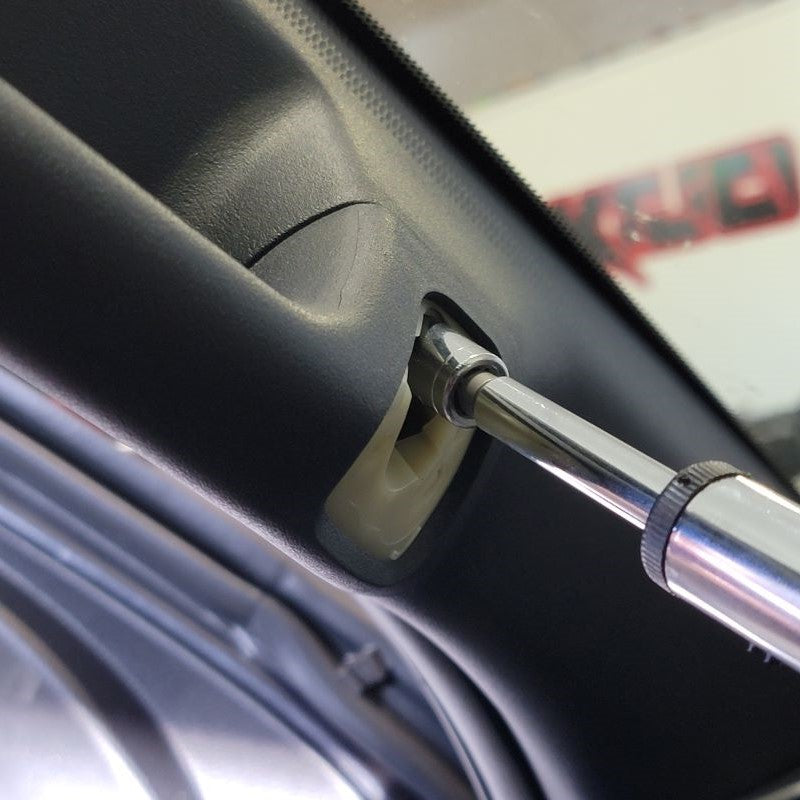
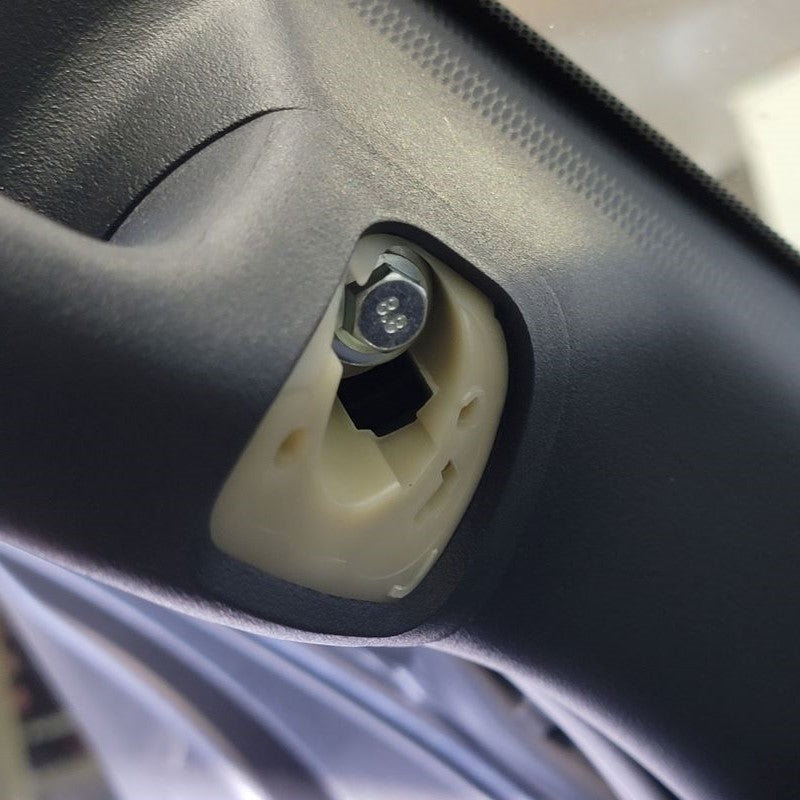
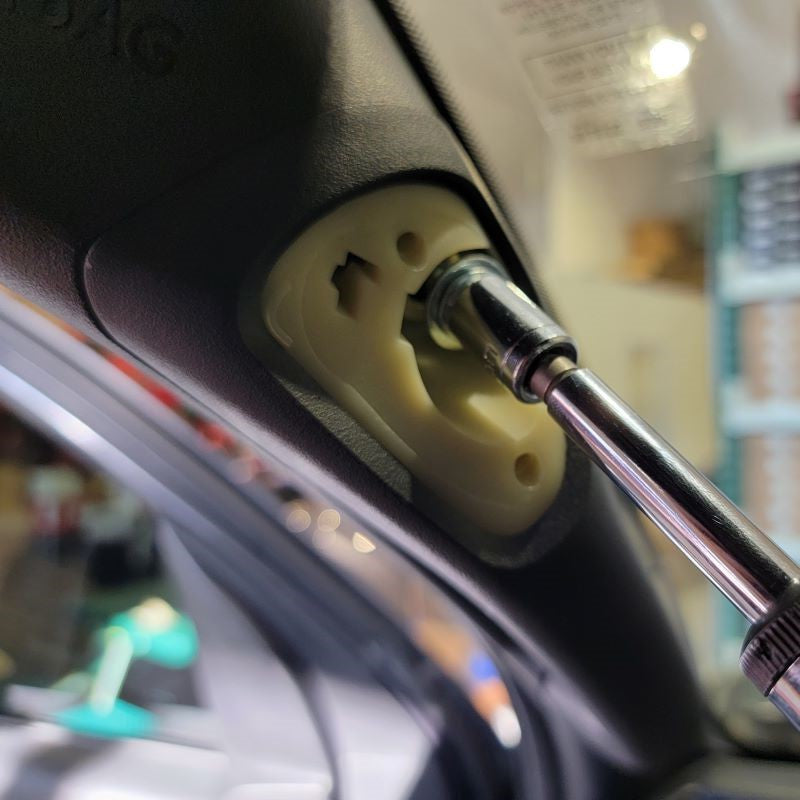
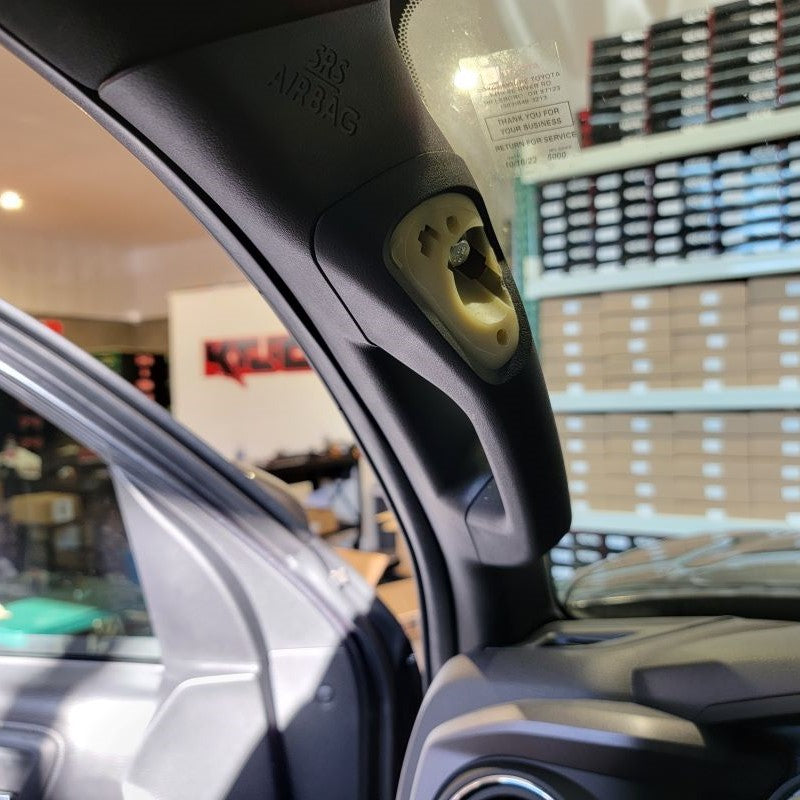
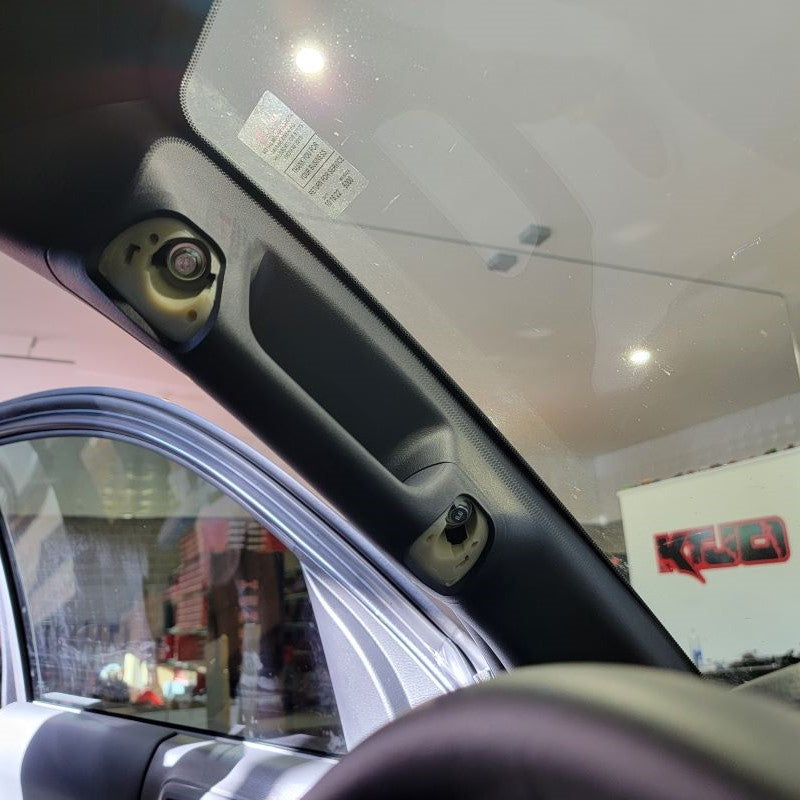
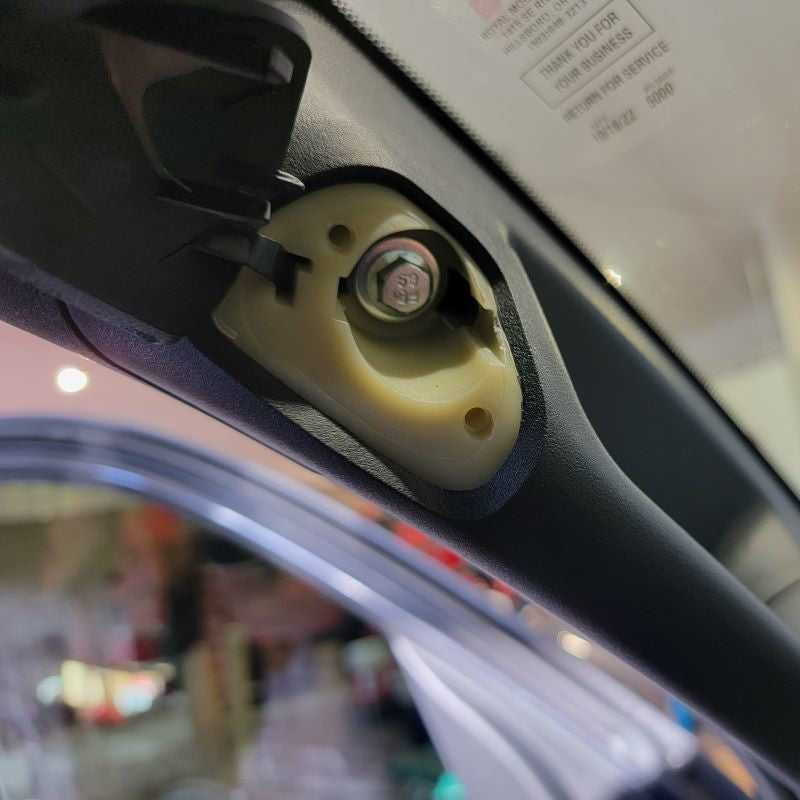
Toyota left the mounting point on the truck for stability in the new front pillar. Unfortunately, there is not a nut welded onto the back like on the top mount. The bottom mount just has a hole that accepts the plastic retainer on the factory Garnish, Front Pillar (LH) without the Grab Handle. Therfore, the following steps are necessary to create a solid mounting point for the New Driver Side Grip Handle. Slip the Spring Metal U-Type Clip with Speed Nut on the back over the Metal Plate on the bottom. Now, the new larger screw for the handle has something to thread into on the bottom. For the top you will use the new 10mm bolt we have included in the hardware bag for you.
INSTALL IMAGES
STEP 3
-
Install your New Garnish, Front Left Pillar. Installing this incorrectly can result into the Pillar not seating correctly against the frame of your vehicle. If you do not feel comfortable with any part of this installation, professional installation is recommended.
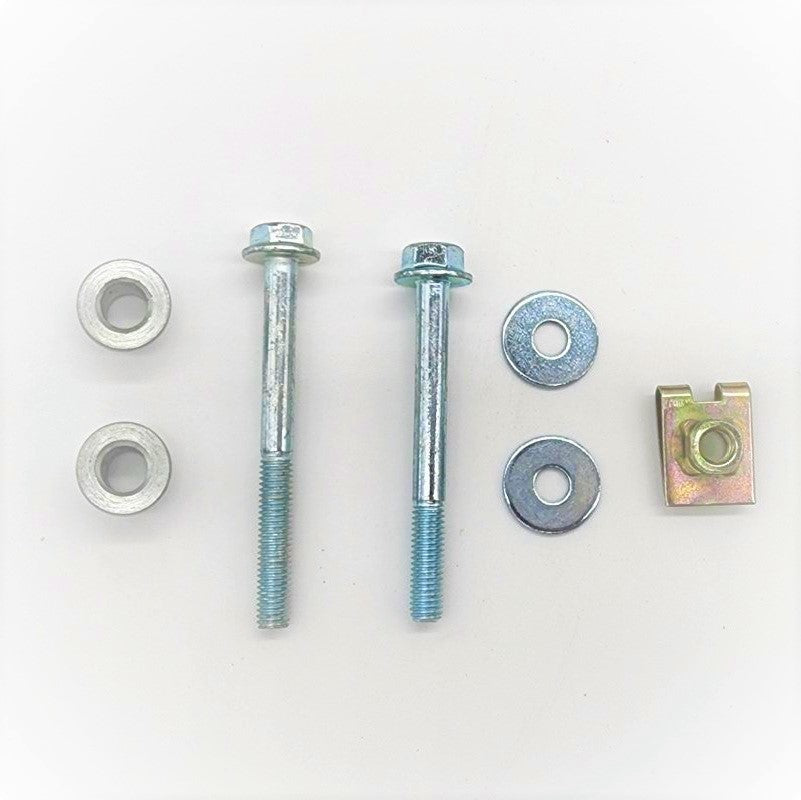
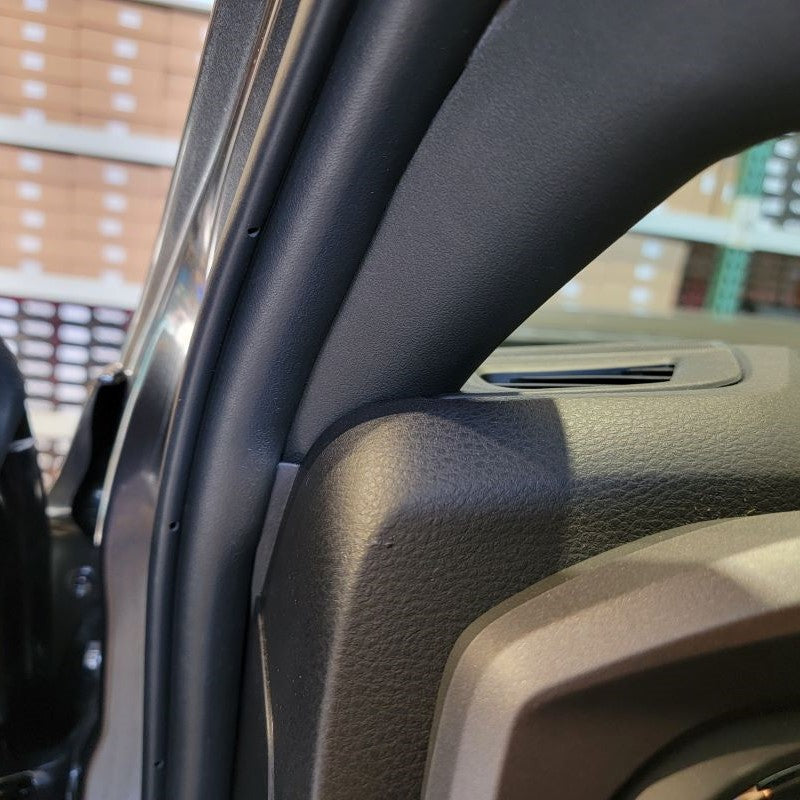
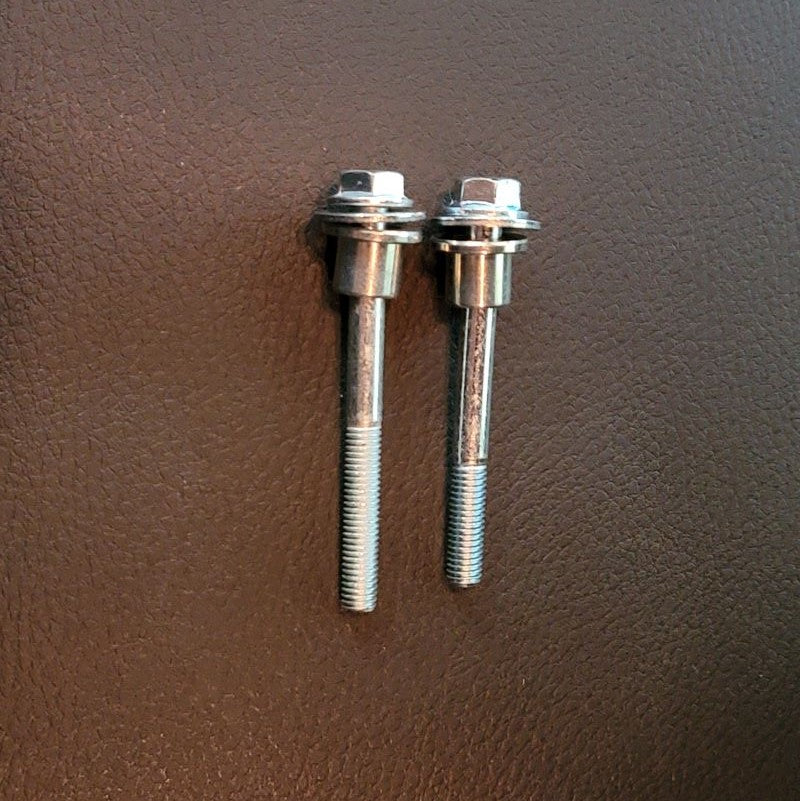
After proper installation takes place with the New Garnish, it is time to install the New Driver Side Grip Handle using the new bolt and screw (10mm shorter bolt on top/longer screw on bottom) included in your hardware package with the 2 washers. The bottom will screw into the speed nut you installed. Whereas, the top will screw into the factory threads. If you have any challenge finding the threads with the handle on the pillar, remove it off the pillar enough to just see where the screws need to be placed. Start threading the bottom first, then the top. That should solve your problem. At the end, make sure the weather stripping on the side of the Garnish, Front Pillar is on the outside.
*Do not over tighten bolt during install into Metal Plate because it will break off the Speed Nut on the Back
INSTALL IMAGES
STEP 4
-
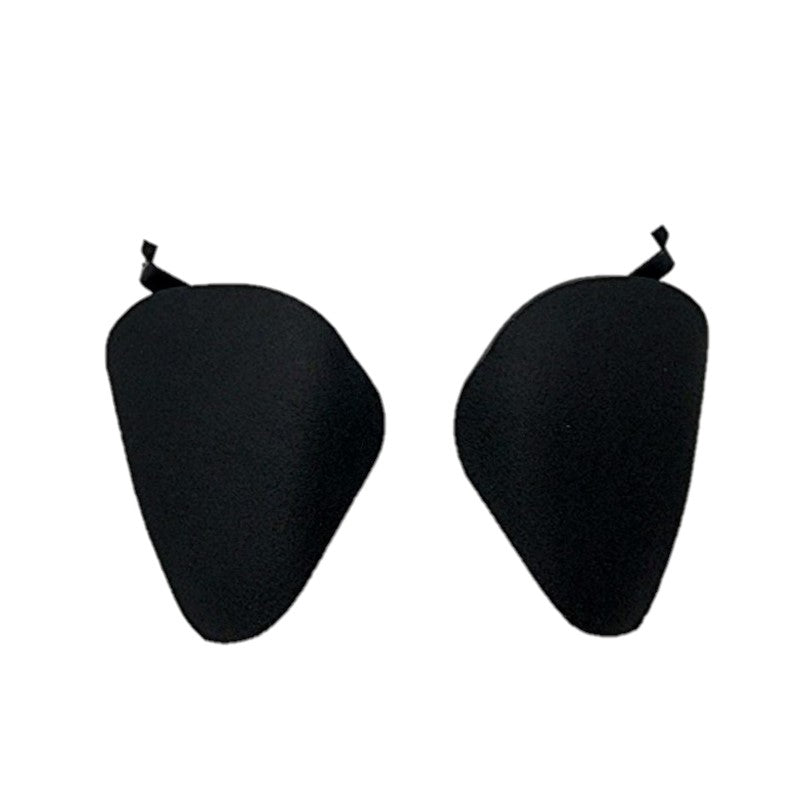
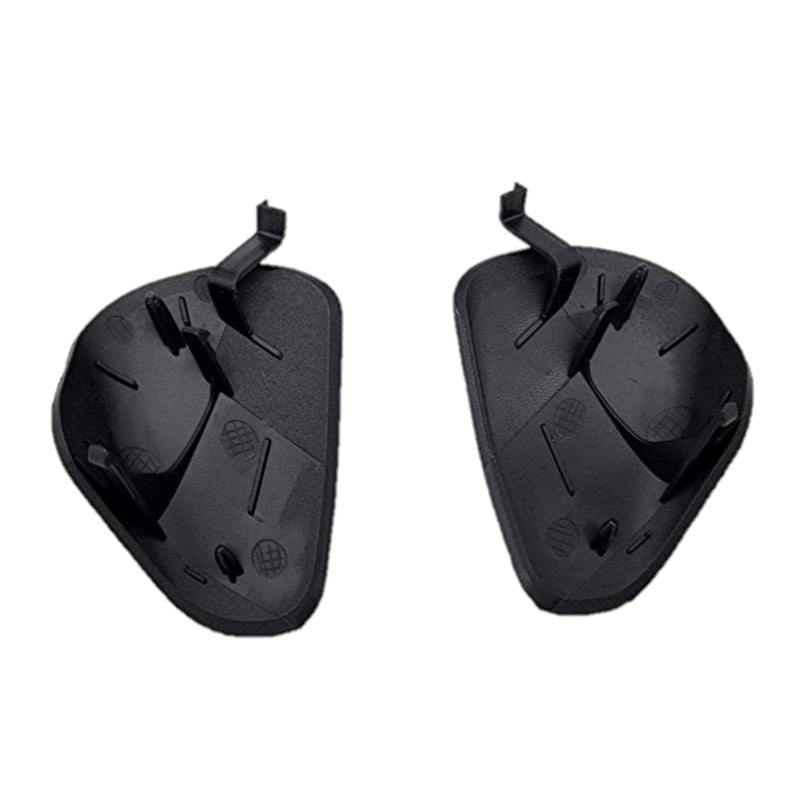
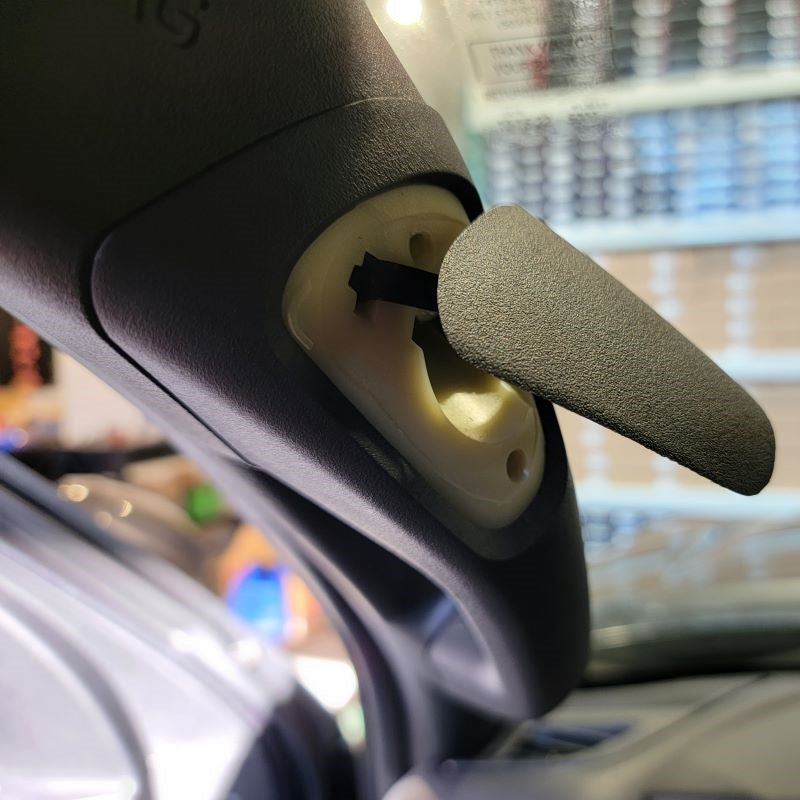
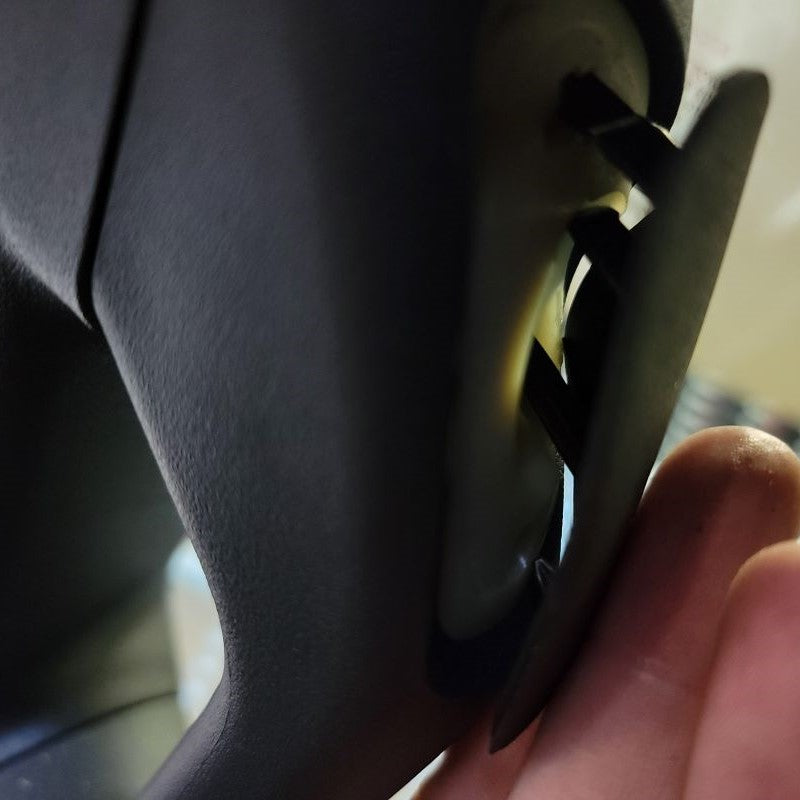
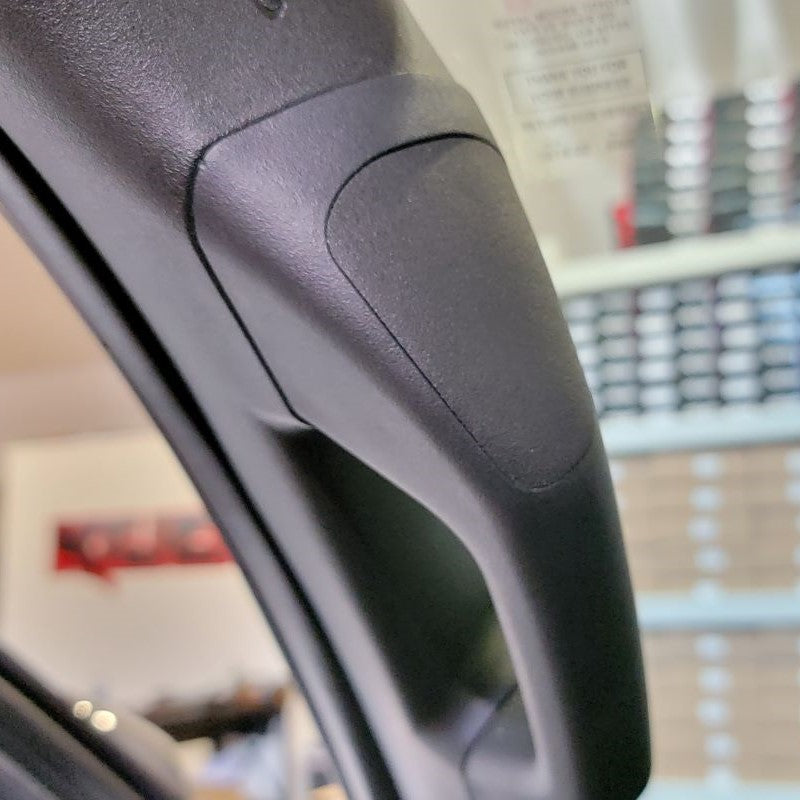
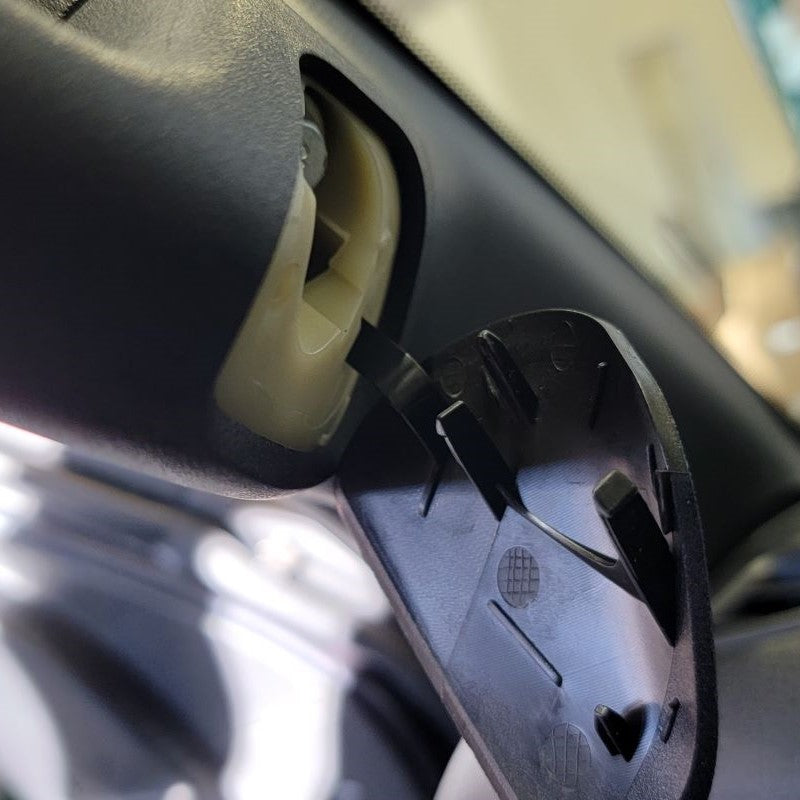
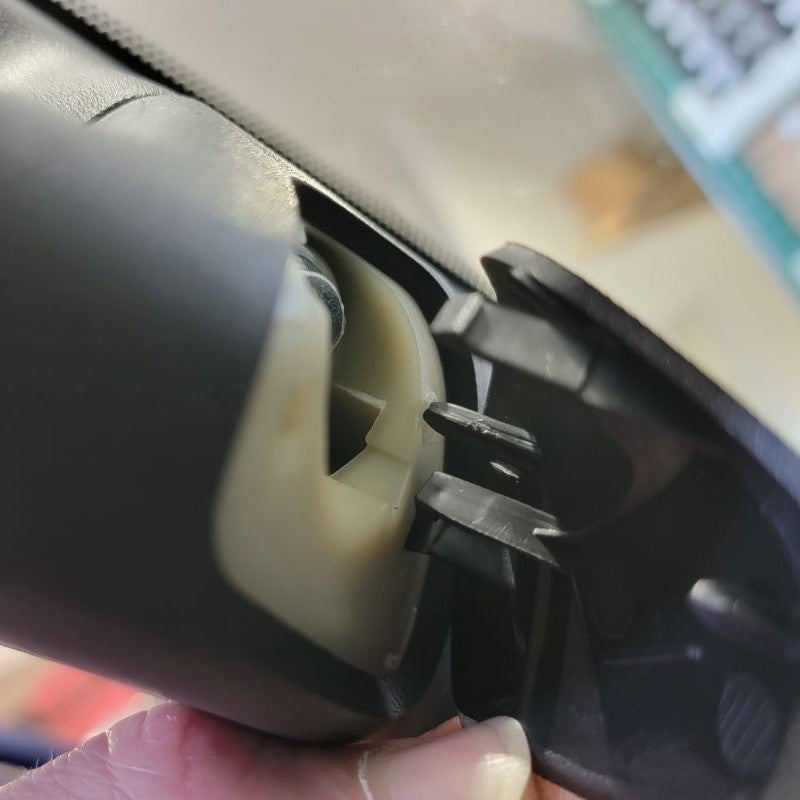
Insert the Hole Cover (included with package) on the top to hide the hardware you just installed. Repeat for the bottom hole location in the Grip Handle. Make sure that all tabs on the back side go into their respectful places for proper installation.
INSTALL IMAGES
STEP 5
-
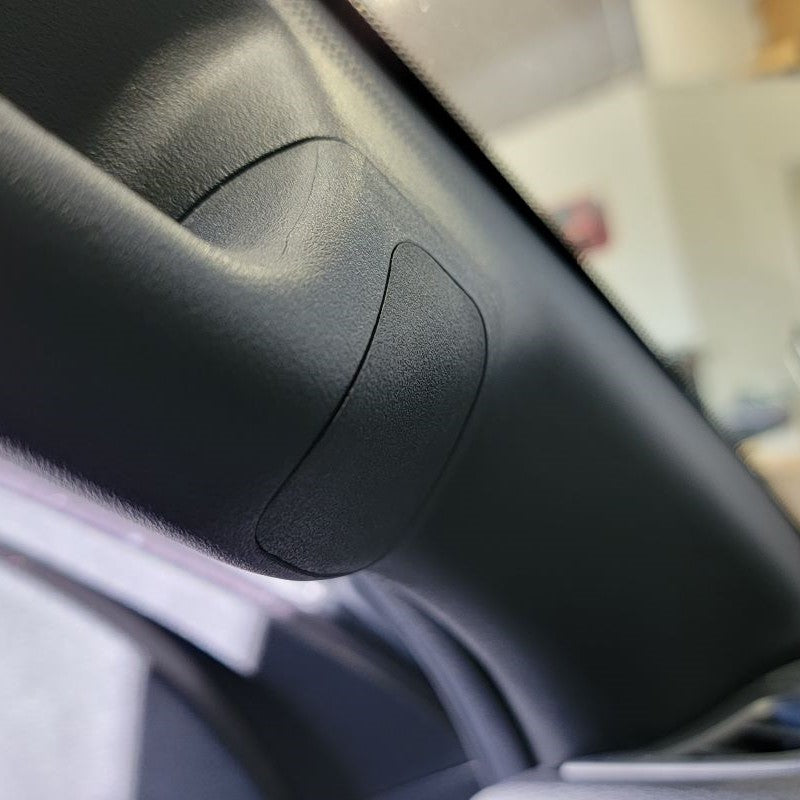
Enjoy your New Driver Side Grab Handle!
INSTALL IMAGES
