


FOR TOYOTA TACOMA MODEL
ITEMS INCLUDED IN THE REAR WINDSHIELD ONE TOUCH PACKAGE:
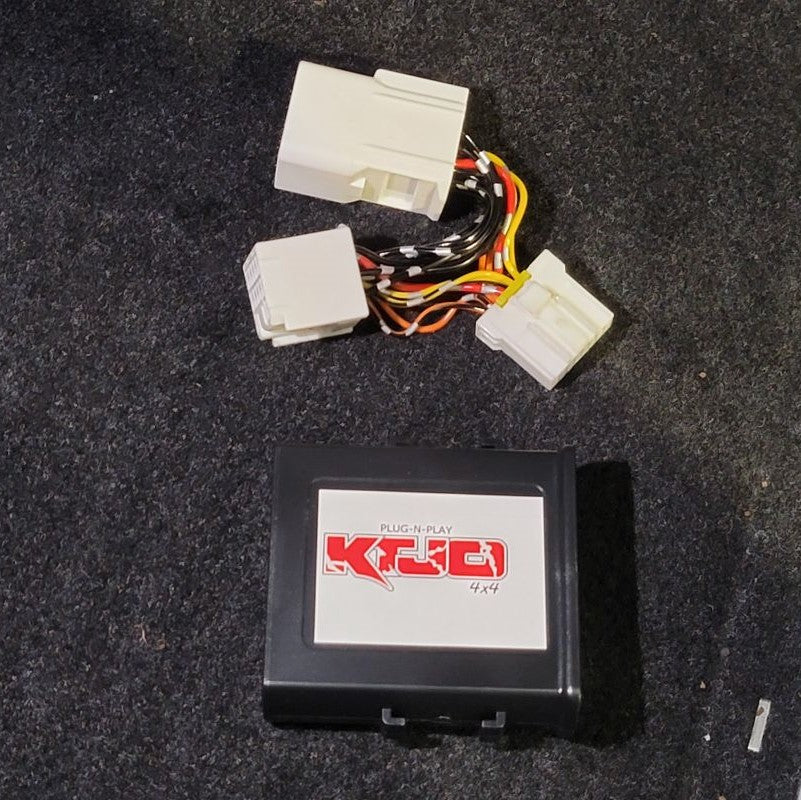
1 x Control Module
1 x 3M, Double-Sided Adhesive Sheet
TOOLS NOT INCLUDED BUT ARE NEEDED:
Installation Instructions - Rear Windshield One Touch (Located on Website)
Door Panel Remover (optional)
DISCONNECT THE BATTERY BEFORE YOU BEGIN INSTALLATION
Must Press + to see the narrative on each Step
-
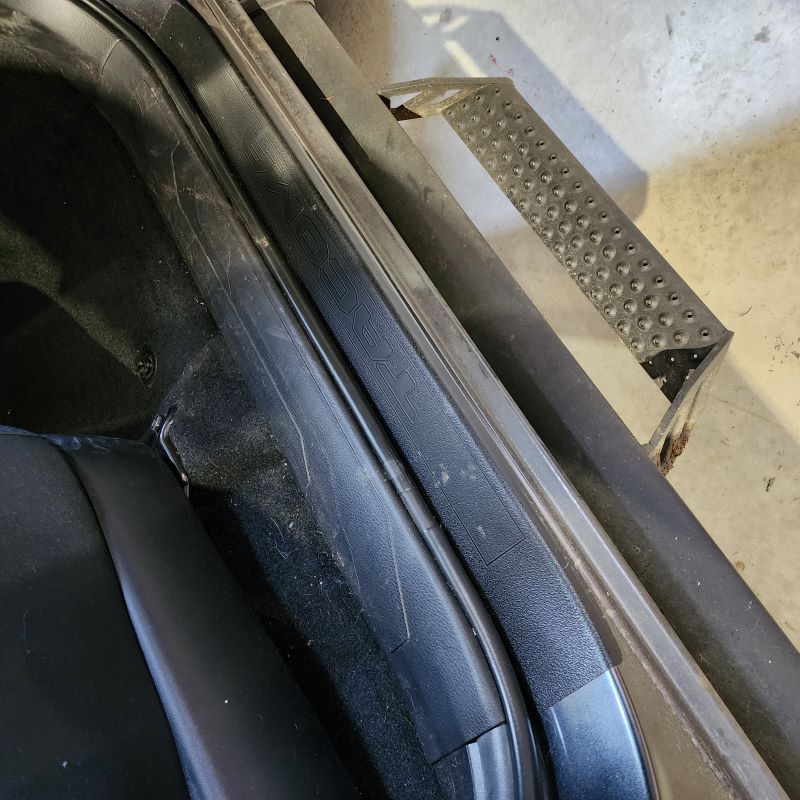
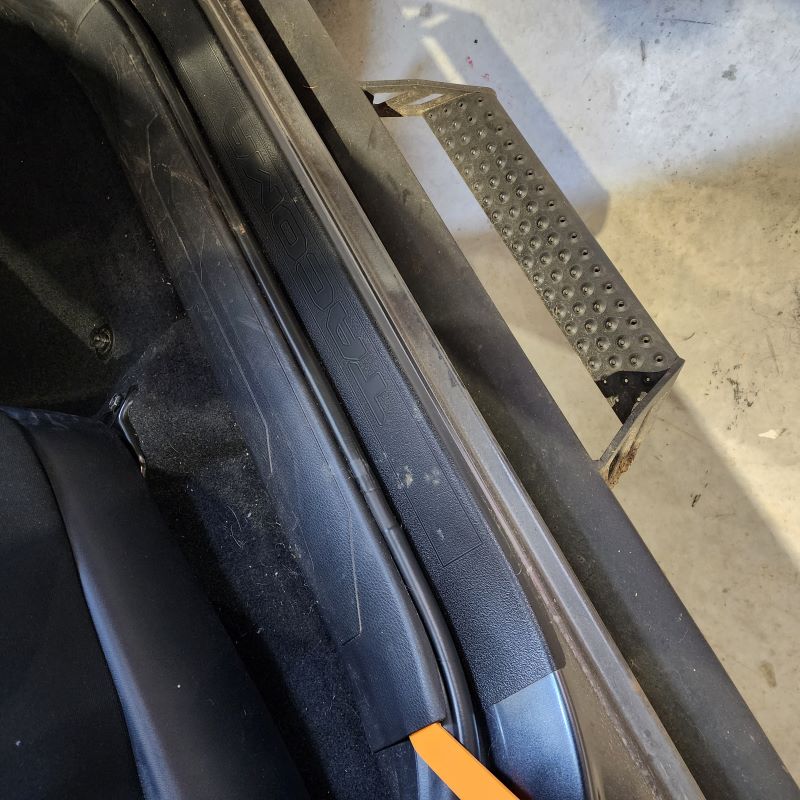
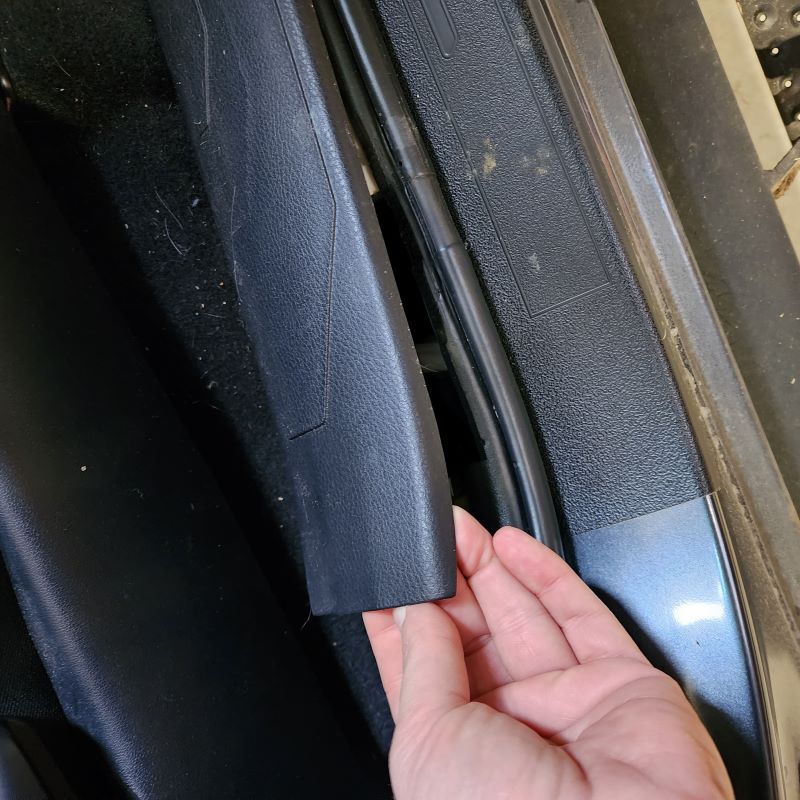
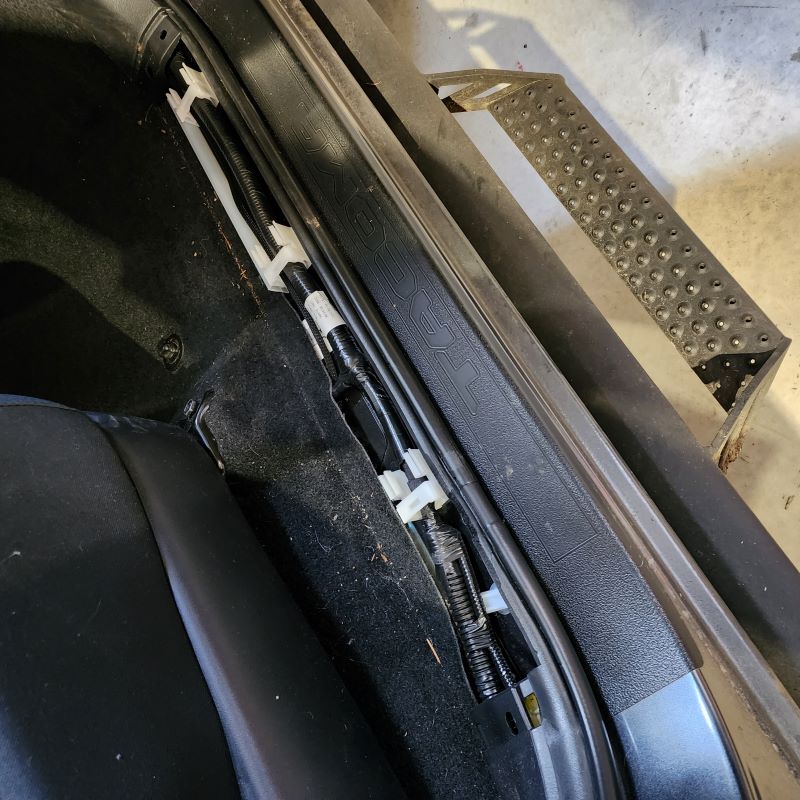
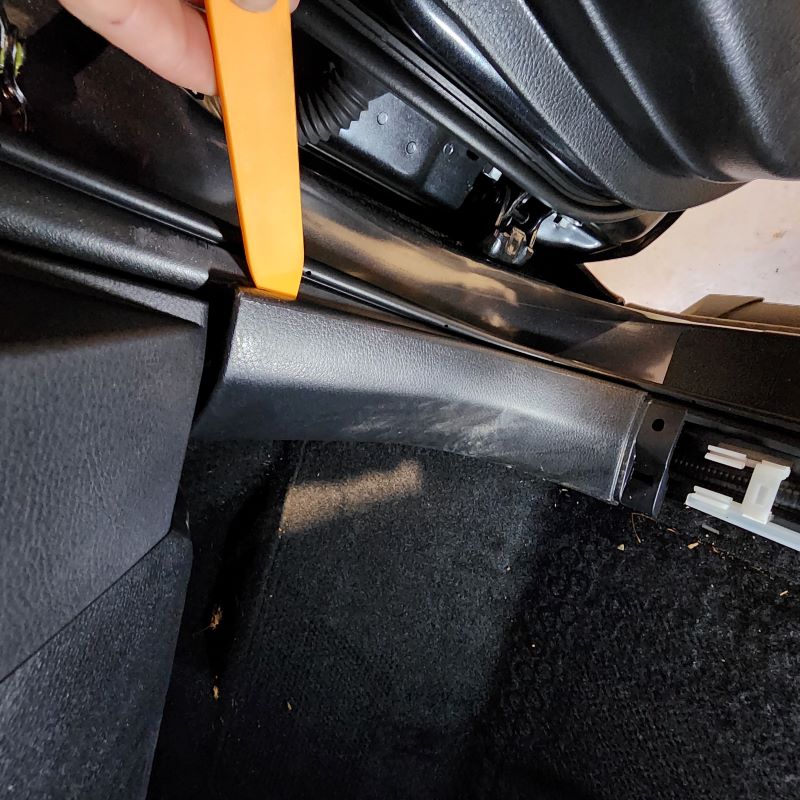
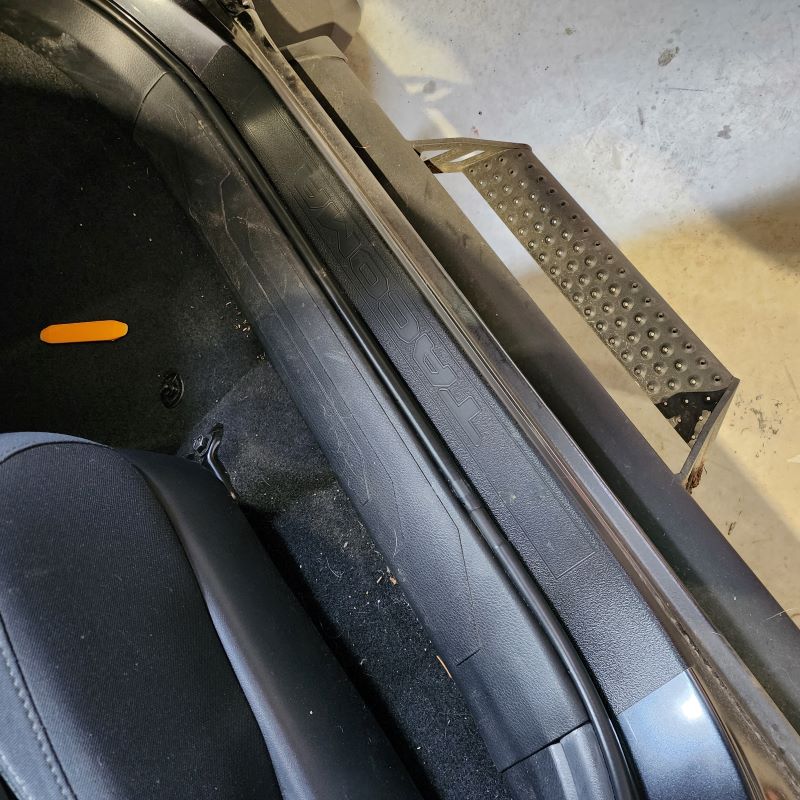
Using your hands or Trim Removal Tool, remove your right front passenger door sill panel. Start at one end and then continue to release the door sill from its locking tabs from underneath. Once you get one end up, you can use your hand to pull up on the rest of the door sill.
STEP 1
INSTALL IMAGES


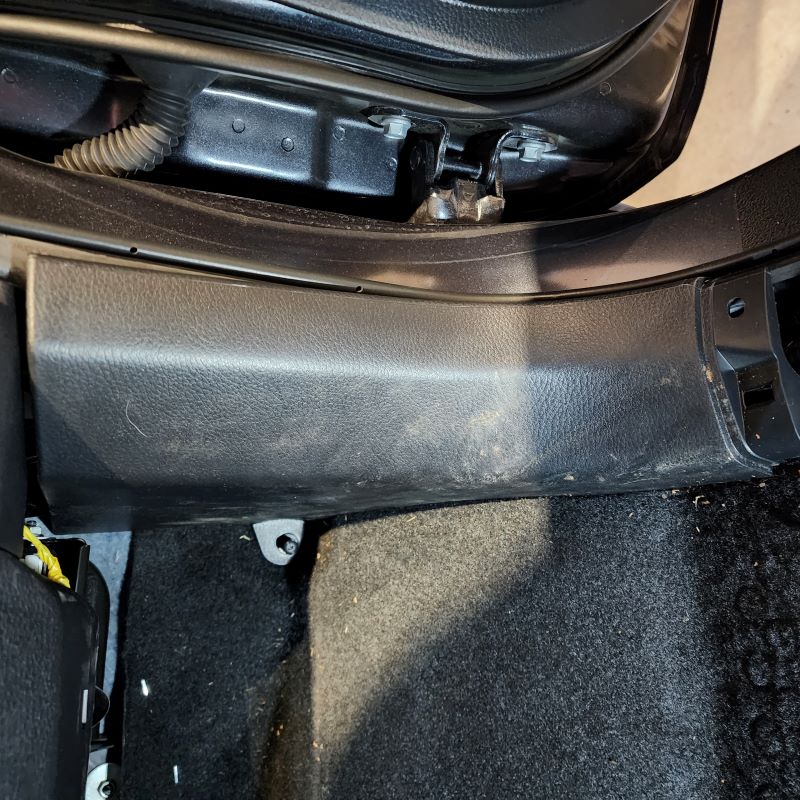
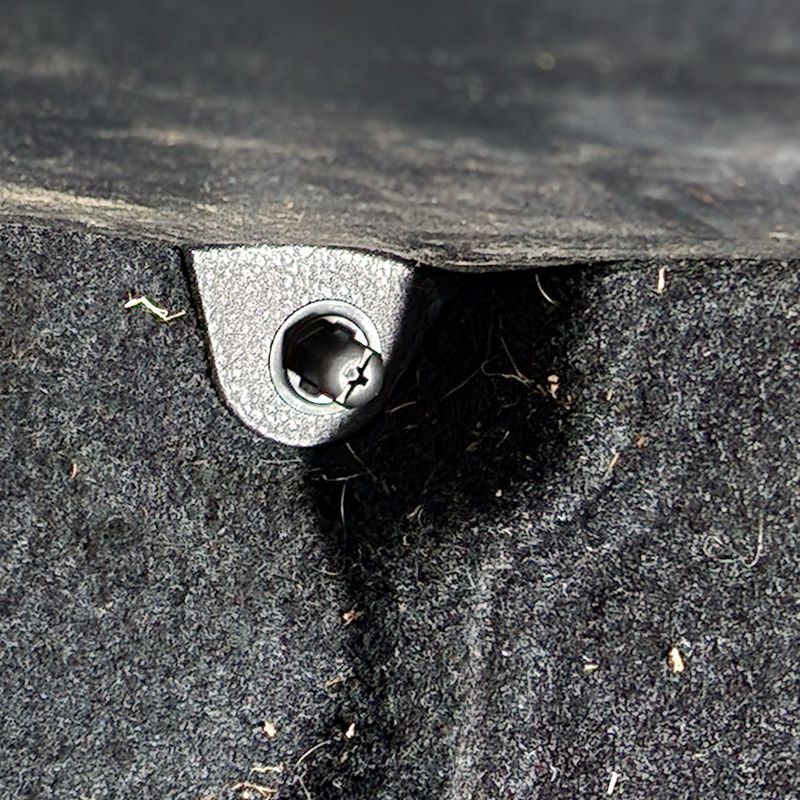
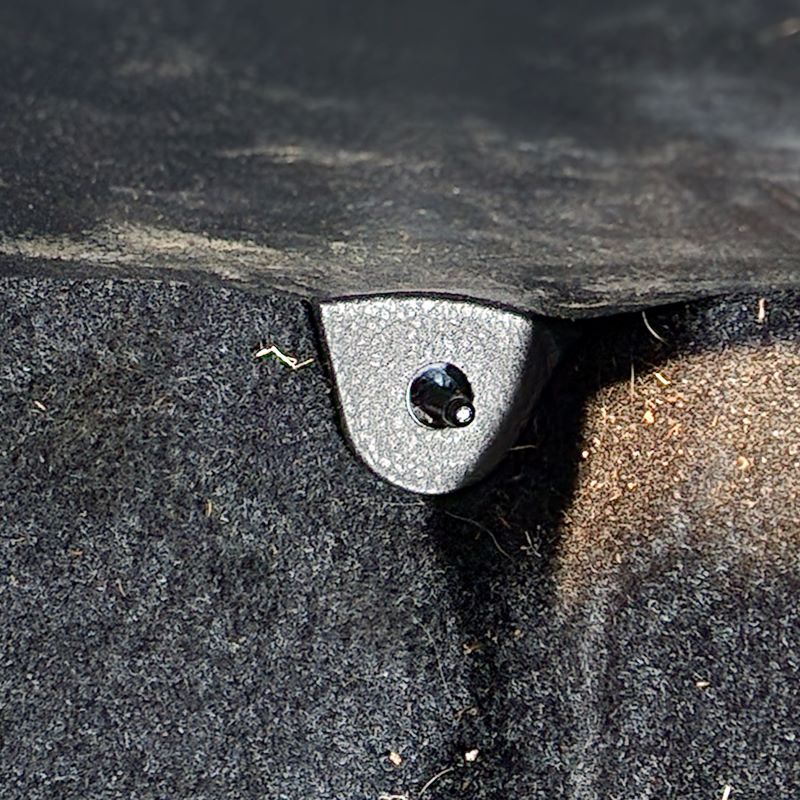
STEP 2
-
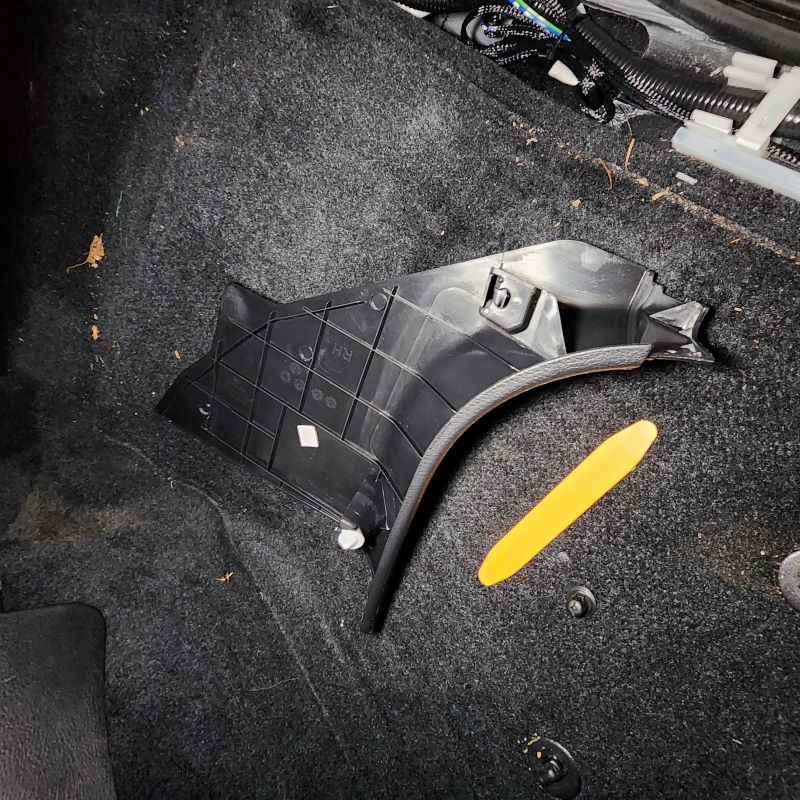
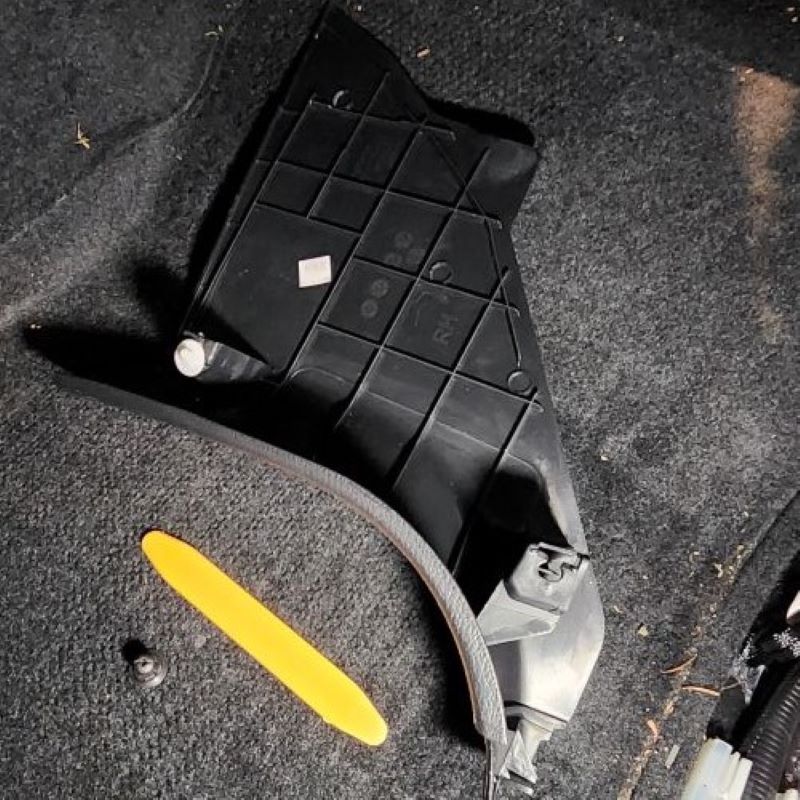
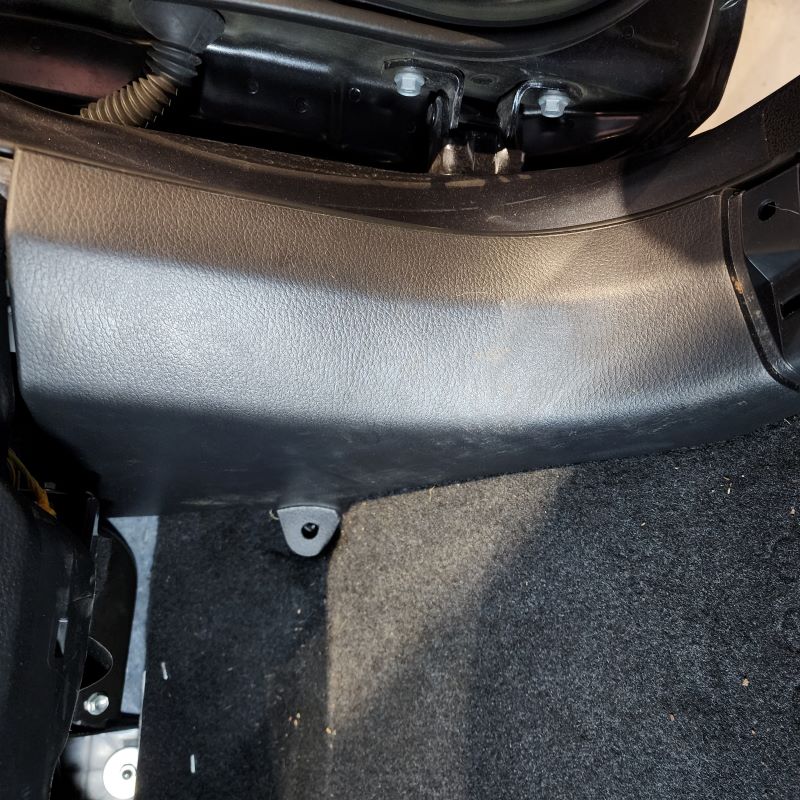
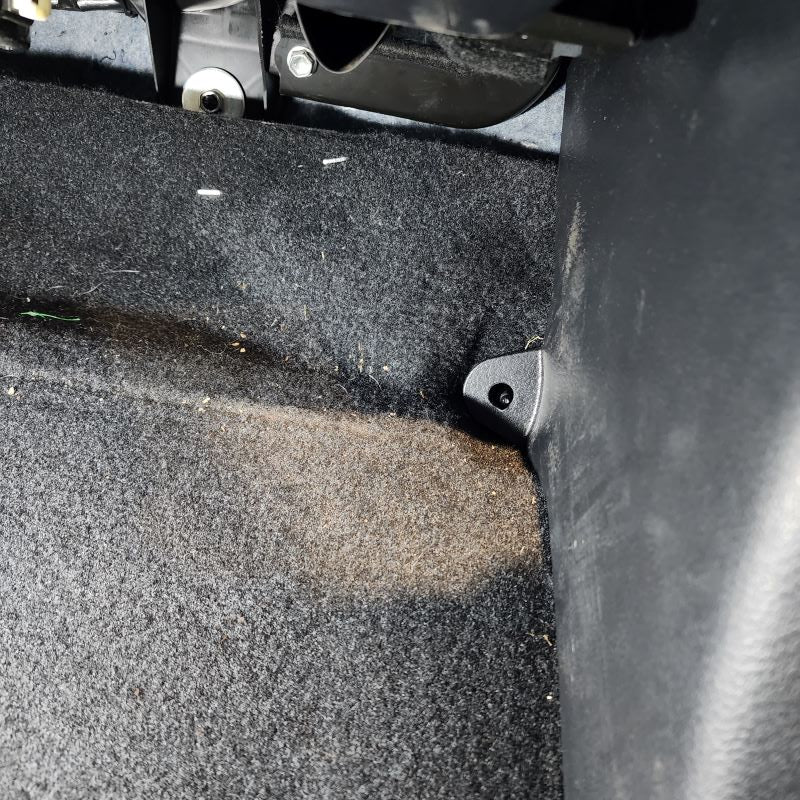
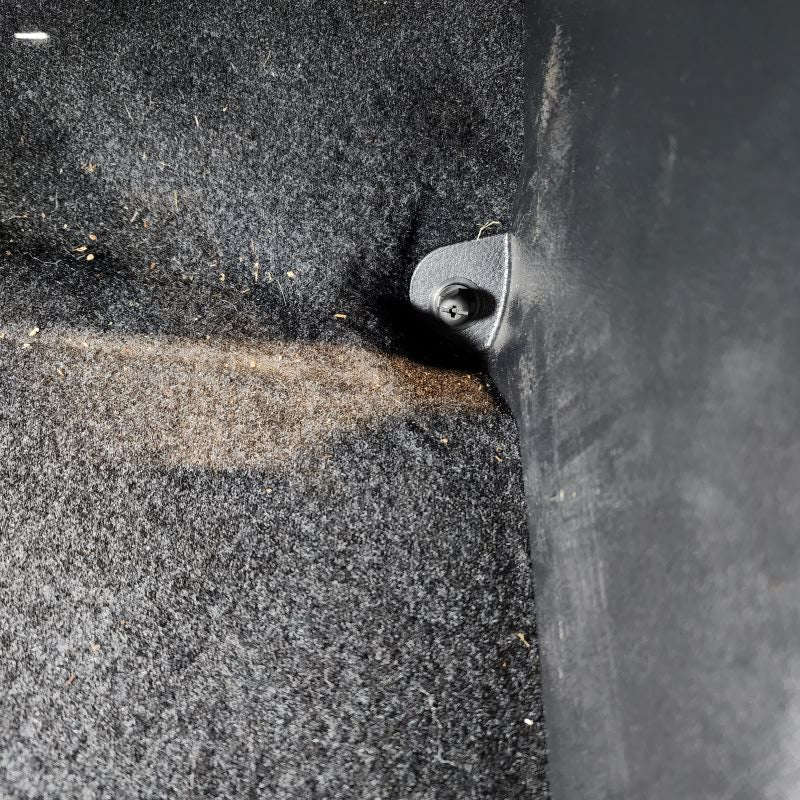
Using your hands, reach in the back corner where you will find a black fastener that is securing the kick plate to the carpet area. Once you have the threaded fastener removed, you can use a Trim Removal Tool or just your fingertips to get behind the top corner panel like shown below. This kick panel is held in by two white push-in tab fasteners on the inside. Set aside for later.
INSTALL IMAGES


STEP 3
-
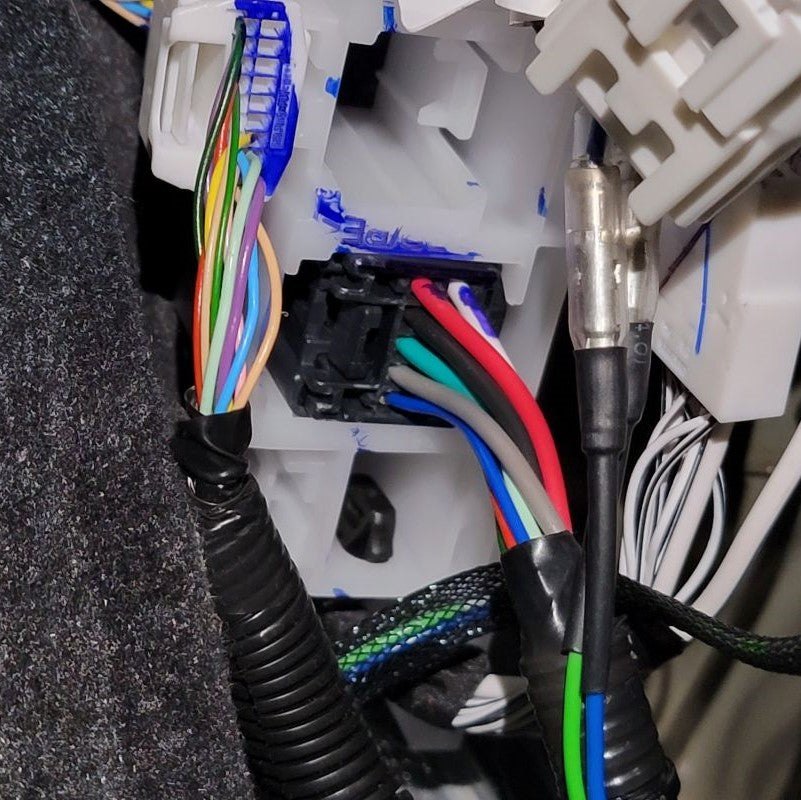
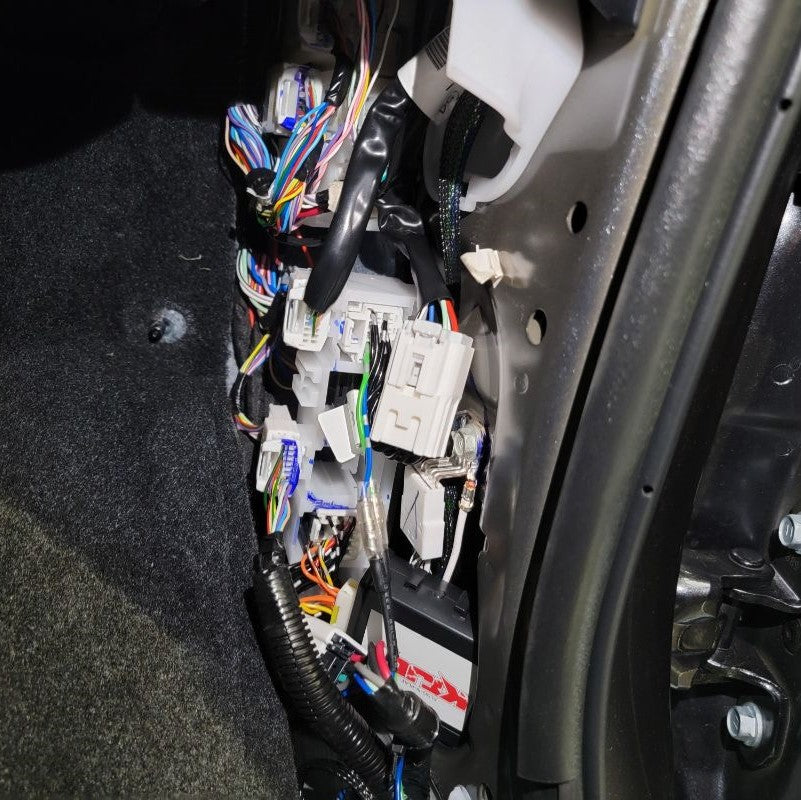
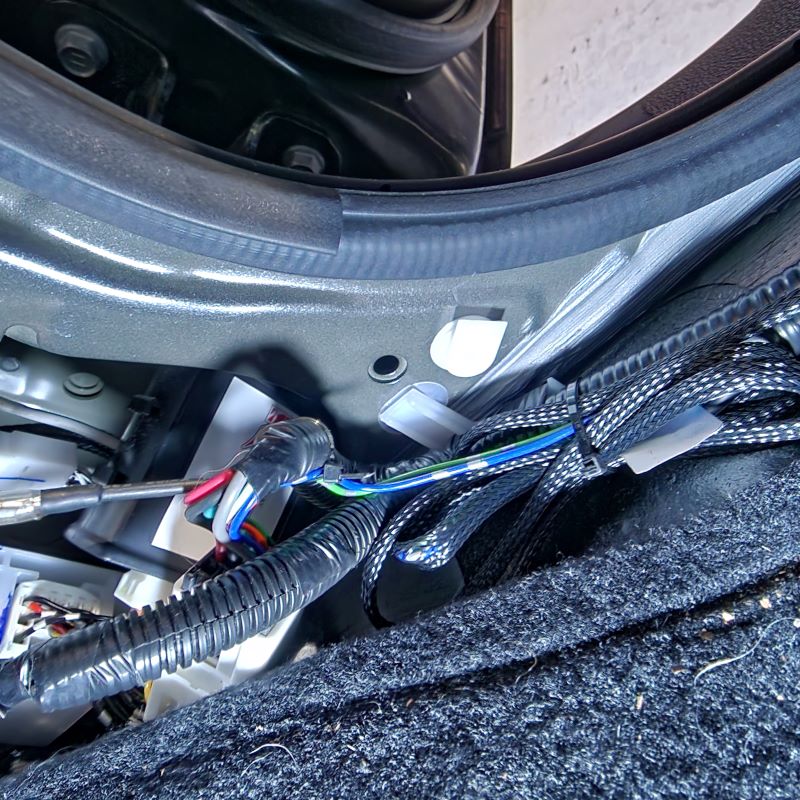
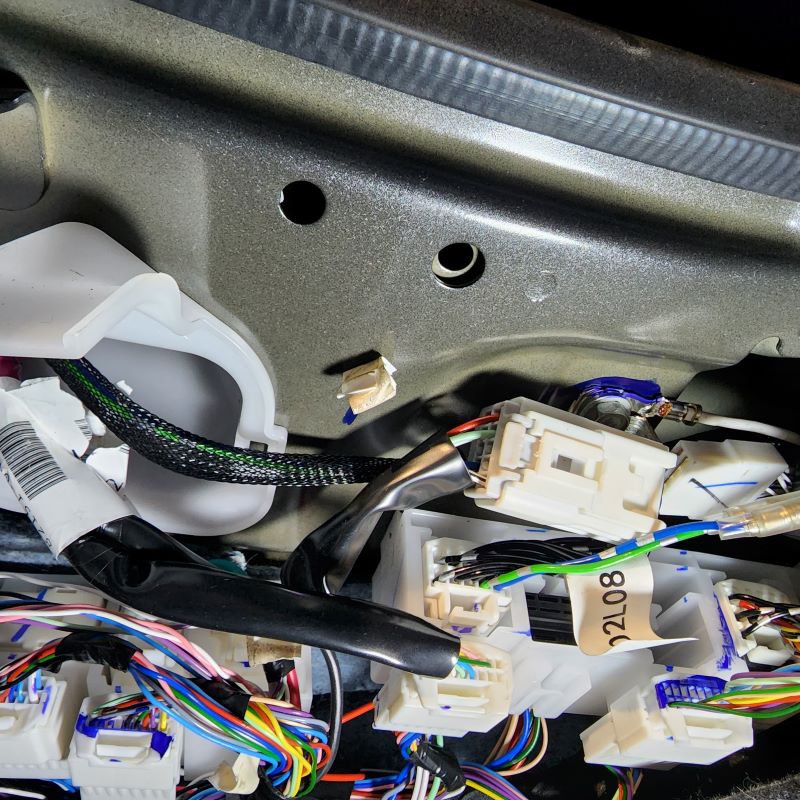
Now you will need to locate your rear windshield factory connector. It is black and at the bottom. Simply use the tab on the connector to push down and release from its holding location inside the kick panel area.
INSTALL IMAGES


STEP 4
-
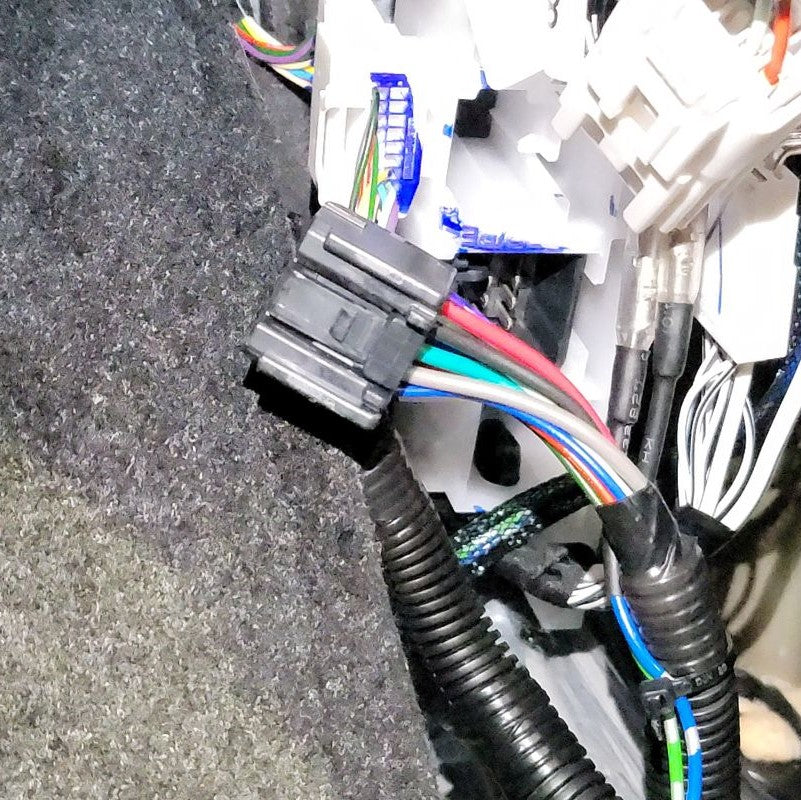
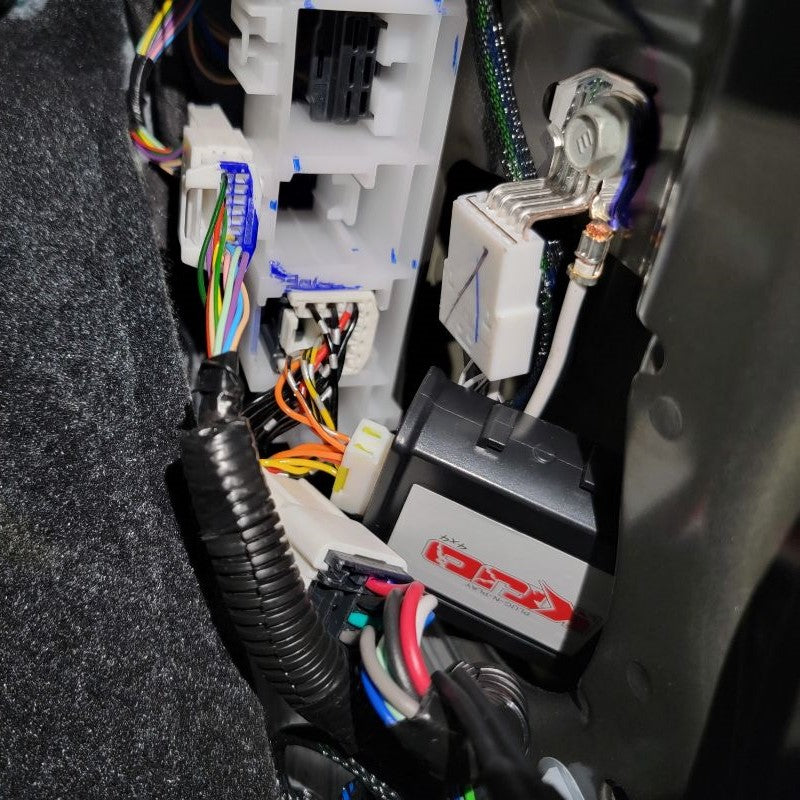
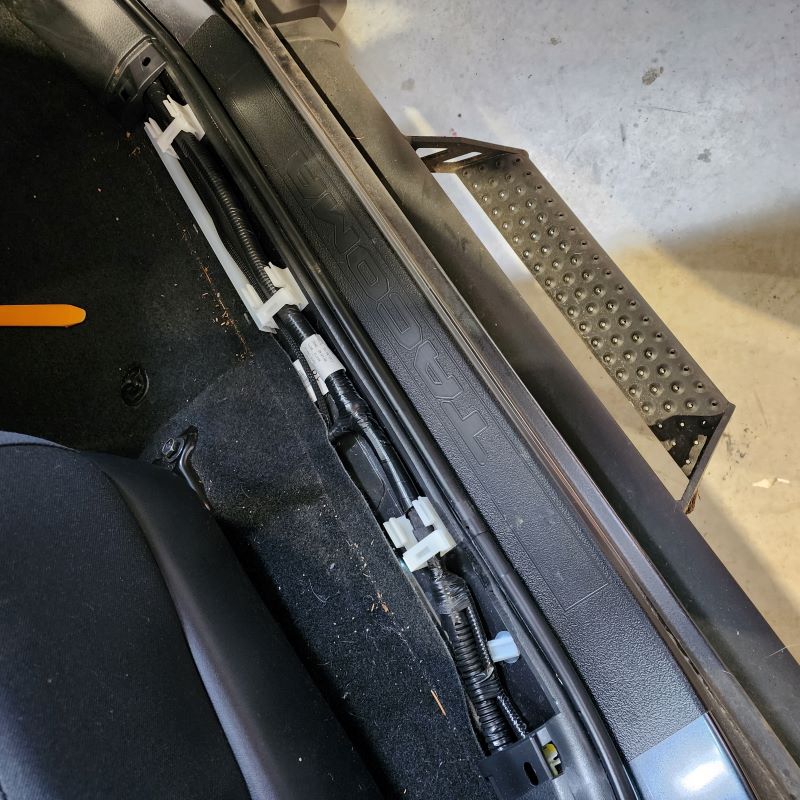
Using your included one touch harness, connect it to your factory rear windshield holding location that you just removed in the factory connector from in the previous step. Now you have two white connectors left on your new harness. The one that looks identical to what you just disconnected from Step 3, go ahead and plug the factory harness into this female connector on your new harness. The last one is for your control module. It is the only one that will fit in this module so don't be too worried about selecting the wrong one.
You can leave the control module out and re-install the kick plate, or you can use the little side pocket that is open to store your control module inside and get it out of the way like shown below.
INSTALL IMAGES


STEP 5
-
Now prepare your factory kick plate that you removed in Step 2 for re-installation. Make sure that both of the white fasterner tabs are on the back side of your panel. If they are not there, look in the area of the kick panel and remove them from the frame of the truck. It is easier to re-install this panel with them attached to the panel piece you removed.
INSTALL IMAGES


STEP 6
-
Using your included one touch harness, connect it to your factory harness inside your door panel. In reverse order of Step 2, you are going to want to install the kick panel. Make sure to align those two white tabs so they will lock in your panel. Finish by hand tightening the black fastener in the back corner.
Last, re-install your door sill. Prior to pushing this panel down into place, just make sure all the tabs on the back side line up with their respectful locations. If not, you can damage the tabs and they will get bent. Also, your door sill will not be fastened down to the floor and remain loose.
Now all you need to do is test your new setup!
INSTALL IMAGES


STEP 7
-
Enjoy your New Rear Windshield One Touch!