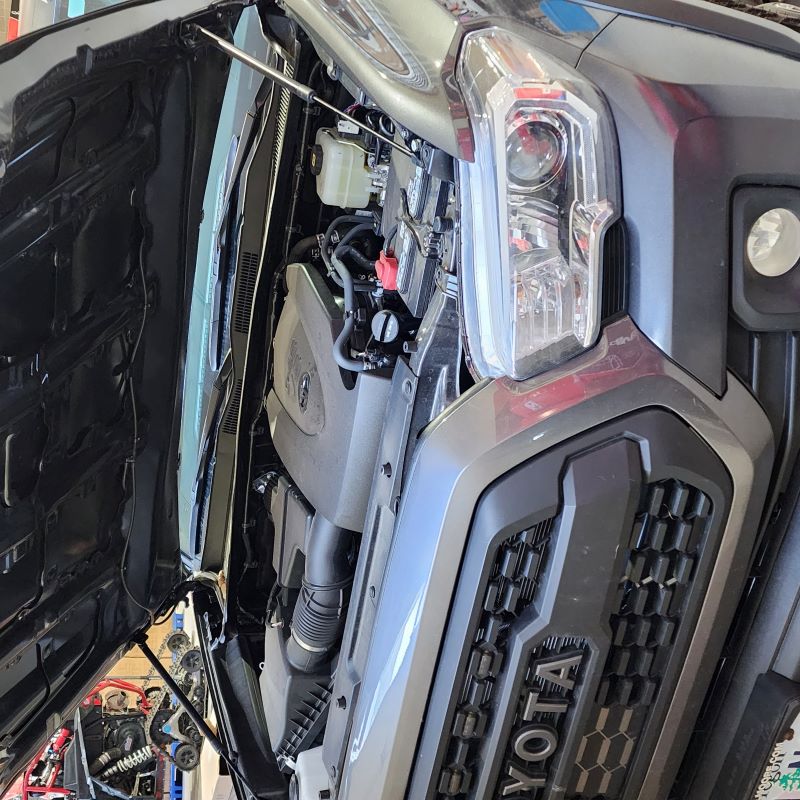


FOR TOYOTA TACOMA MODEL
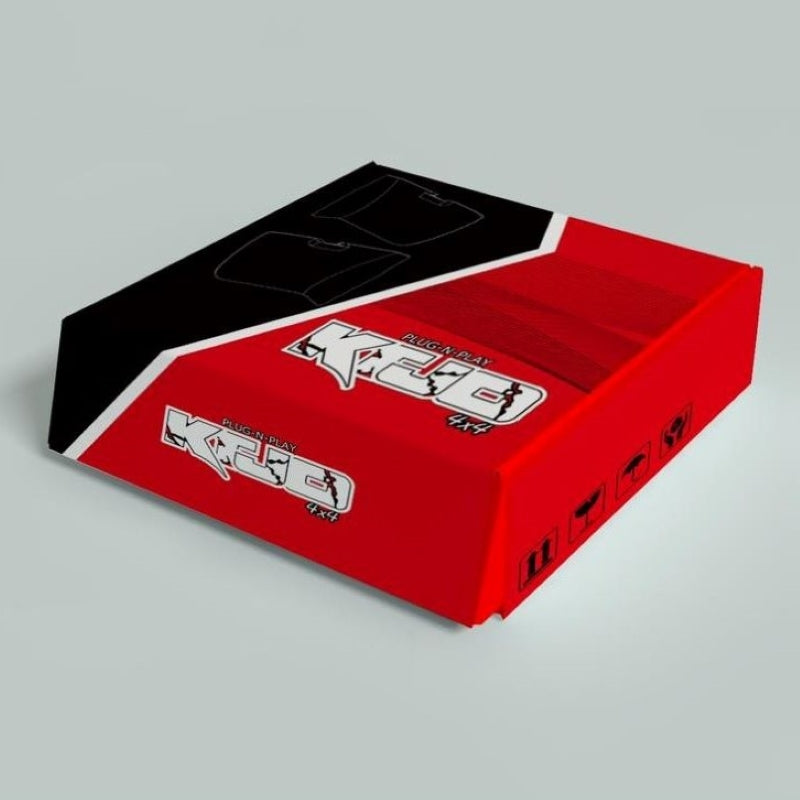
ITEMS INCLUDED IN THE HOOD LIFT SUPPORT PACKAGE:
1 x Hardware Bag
THE GAS SPRINGS COME IN THREE DIFFERENT COLOR OPTIONS:
- BLUE - TACOMA
- ORANGE - TACOMA
- WHITE - TACOMA
Installation Instructions - Hood Lift Support (Located on Website)
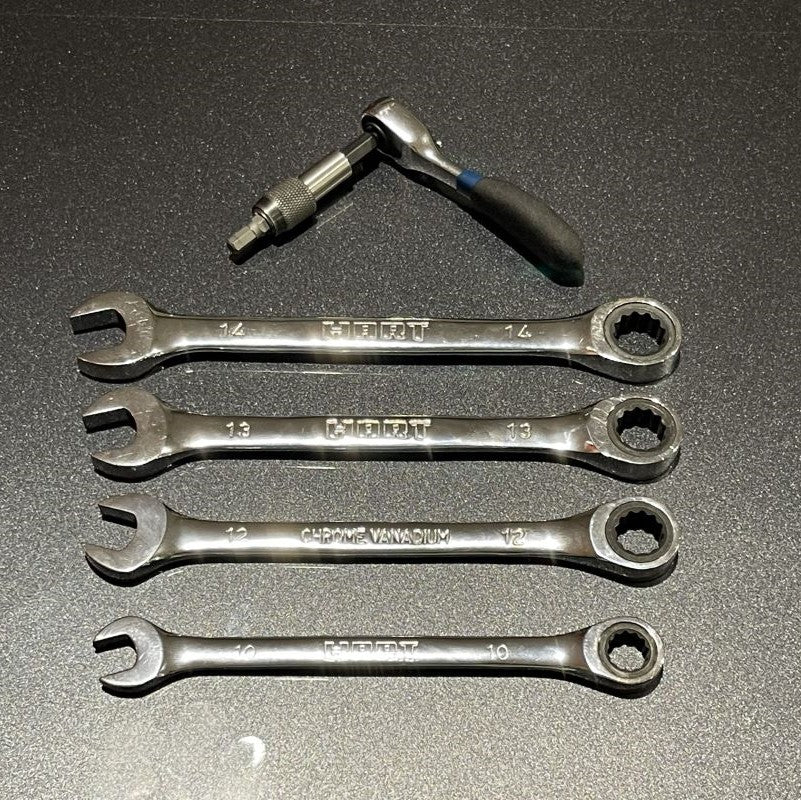
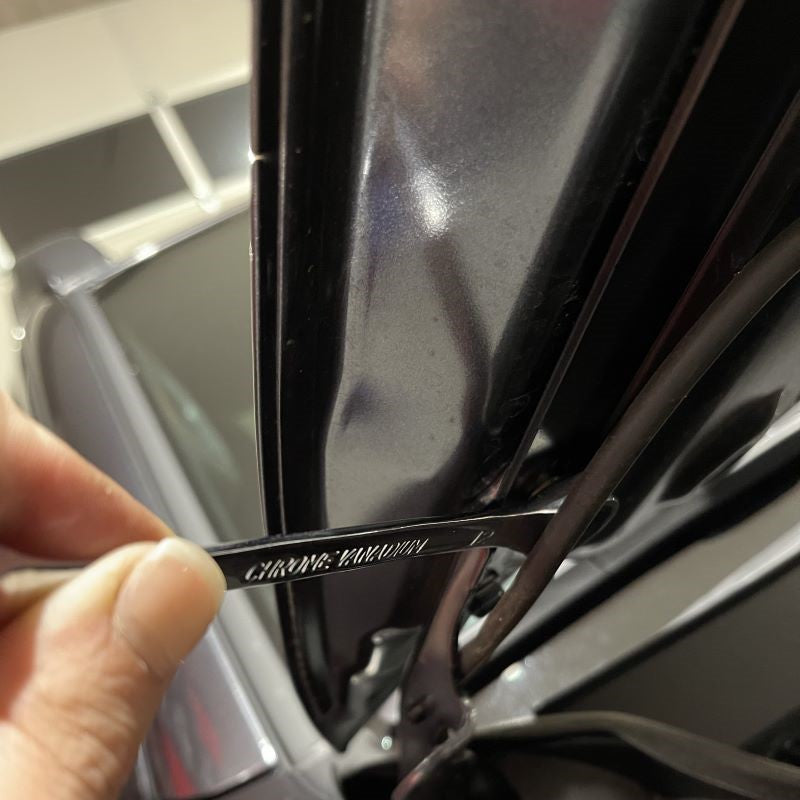
1/2-in Drive Ratchet
S2 3/16" Hex Head / Allen Wrench Drill Bit
Wrench (14 mm)
Wrench (13 mm)
Wrench (12 mm)
Wrench (10 mm)
Must Press + to see the narrative on each Step
STEP 1
INSTALL IMAGES


STEP 2
-
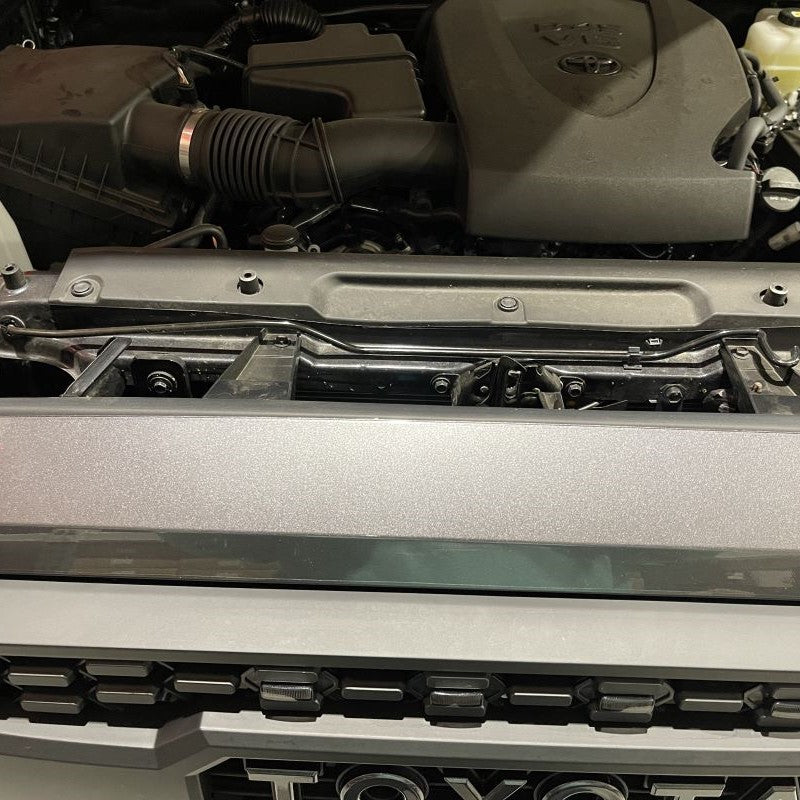
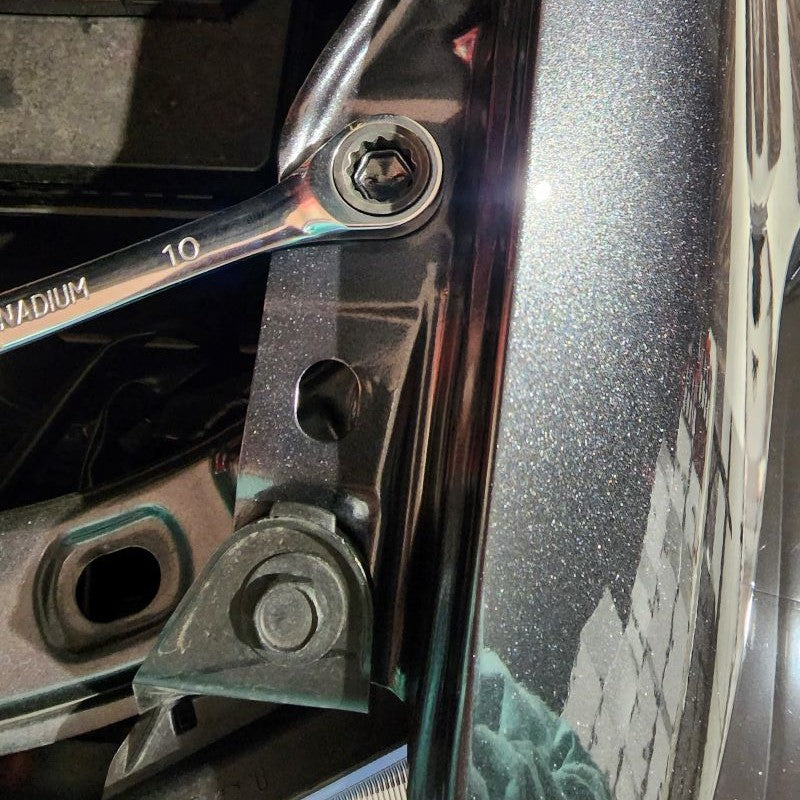
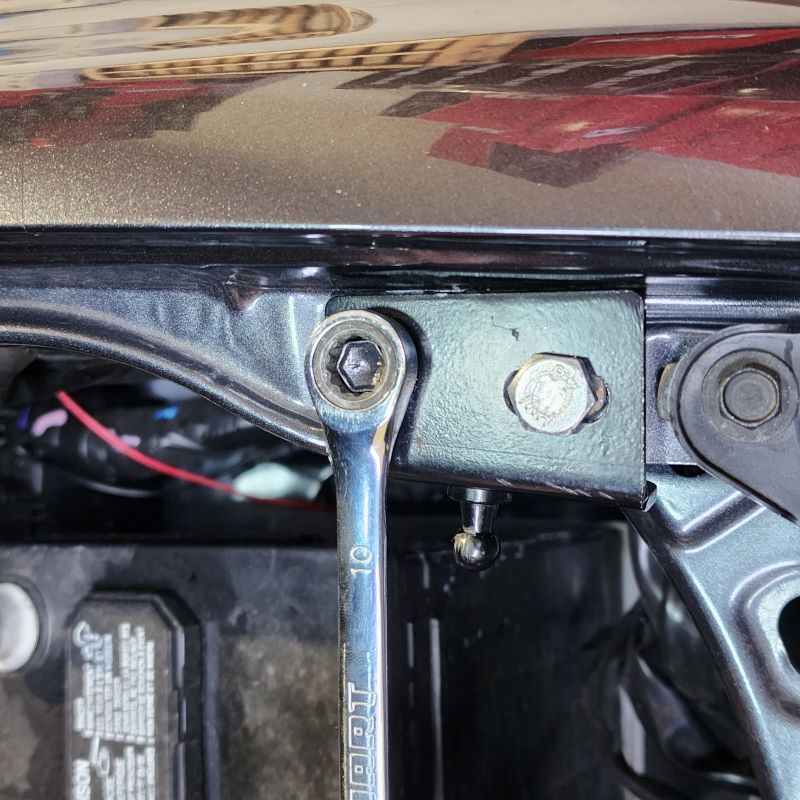
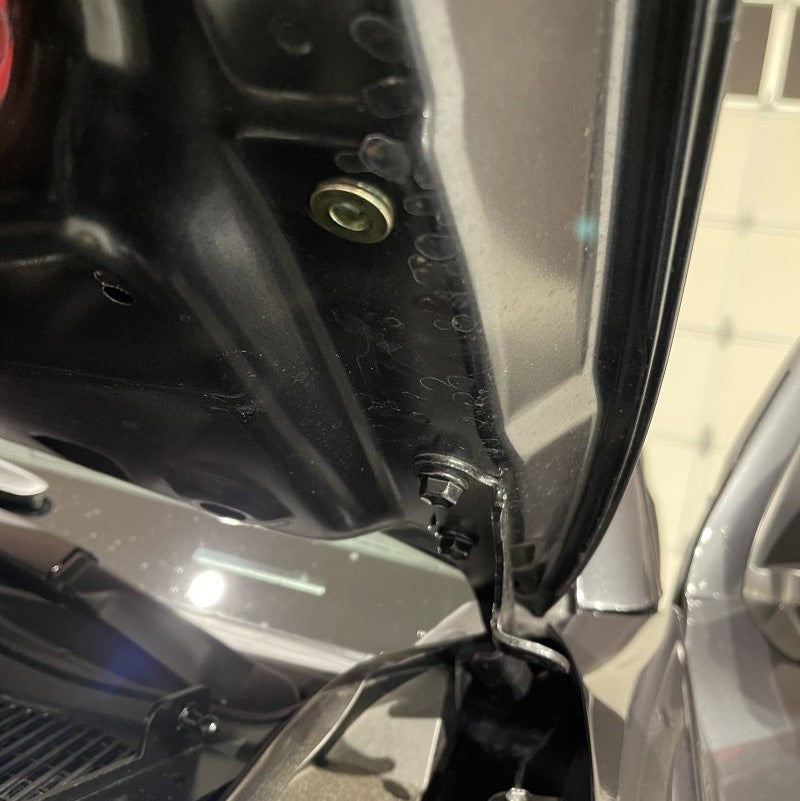
Starting on the lower location, using a wrench (10 mm), you are going to remove the factory 10 mm bolt that is located on the frame of the truck closest to the headlight unit. Take note of which one in the pictures as it is not the one attached to the headlight unit itself.
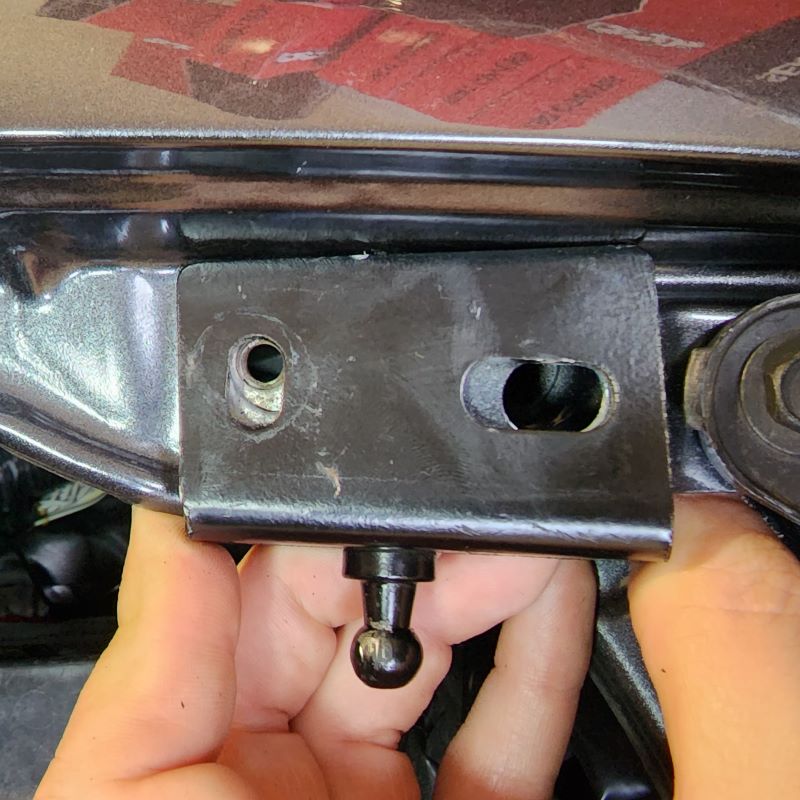
Once you have removed the bolt, grab the supplied bracket as shown, and rest it on the edge of the frame of the truck so that you can hand tighten the factory 10 mm bolt back into its original location.
NOTE: You want to hand tighten it at this point until you have the new hardware installed on the lower portion of the bracket.
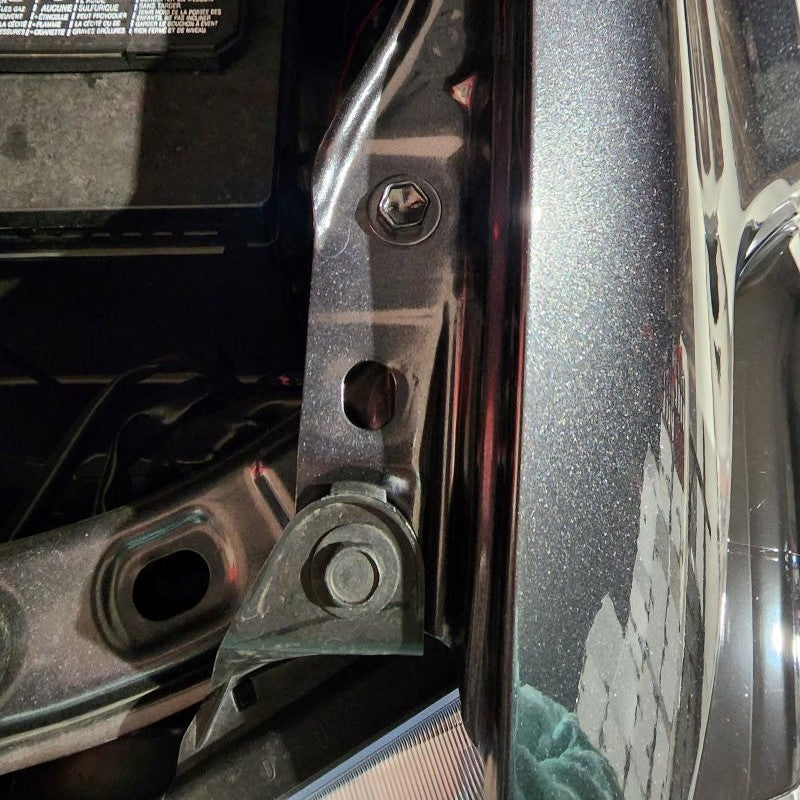
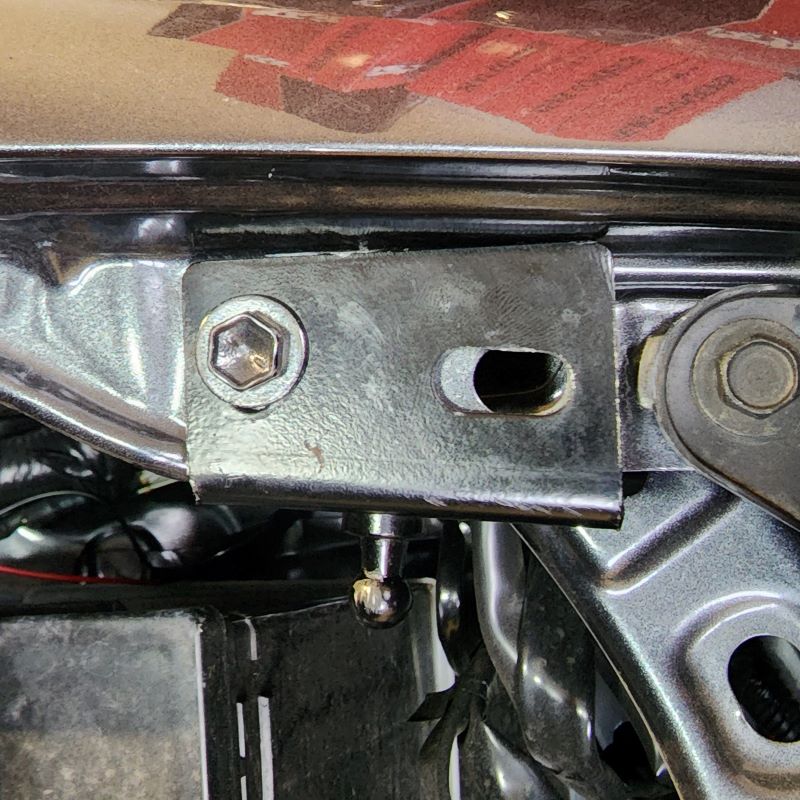
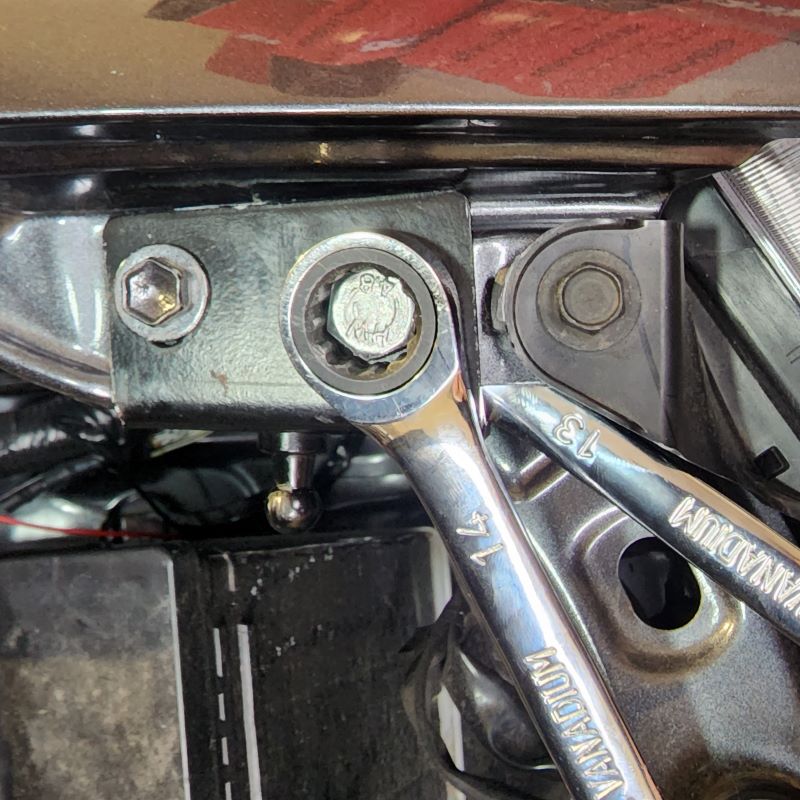
Next, you will see in your hardware bag that you have a 14 mm bolt and nut supplied for you. This is used for the bottom mounting location on this bracket to secure it to the frame of the truck. Insert the new bolt and then tighten the nut on the bottom side using a wrench (13 mm).
Last, you can go ahead and tighten the top factory bolt with a wrench (10 mm).
INSTALL IMAGES


STEP 3
-
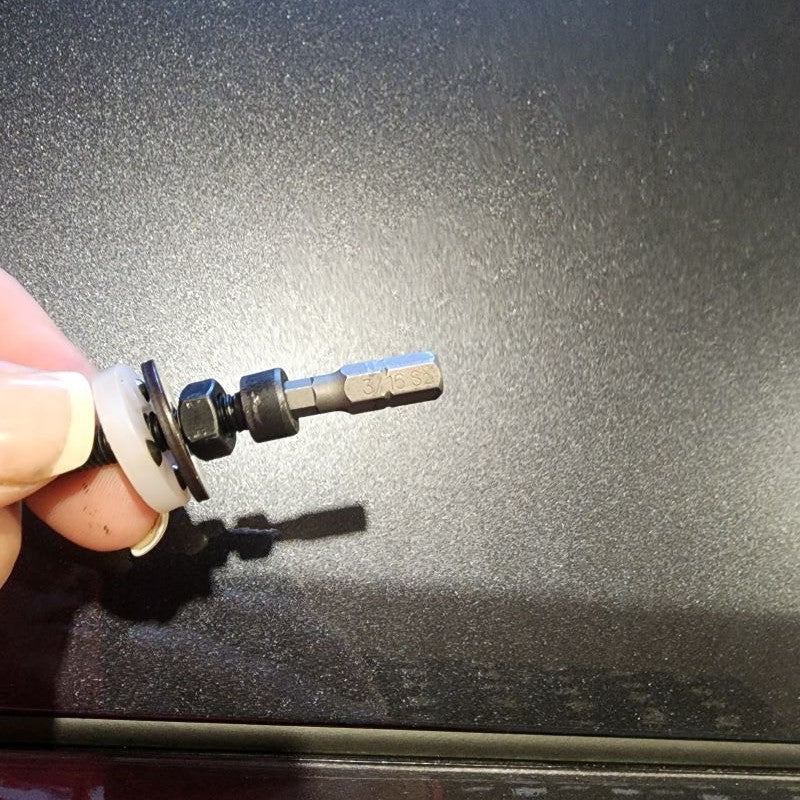
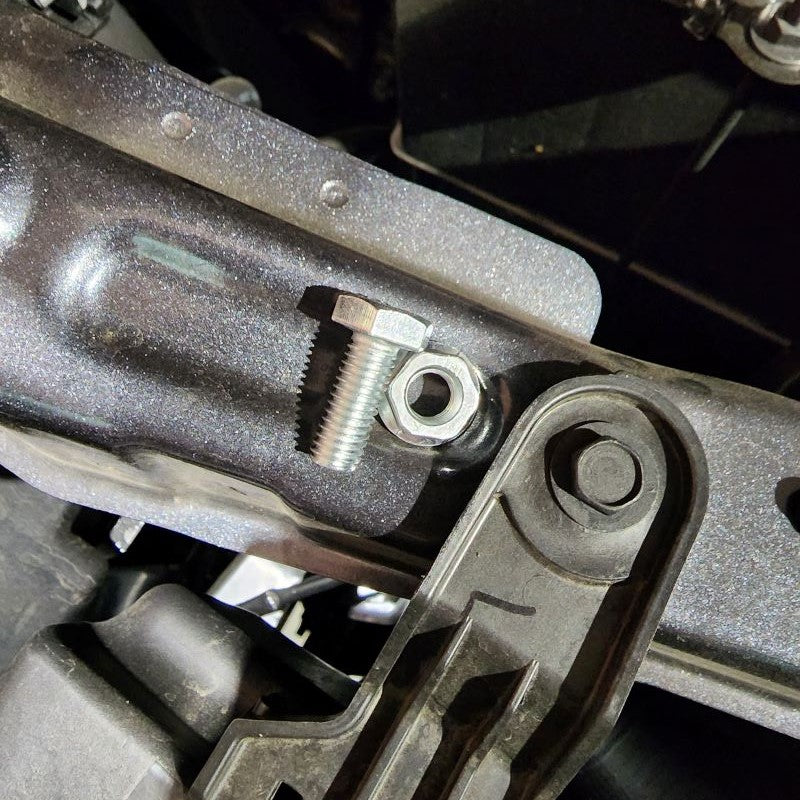
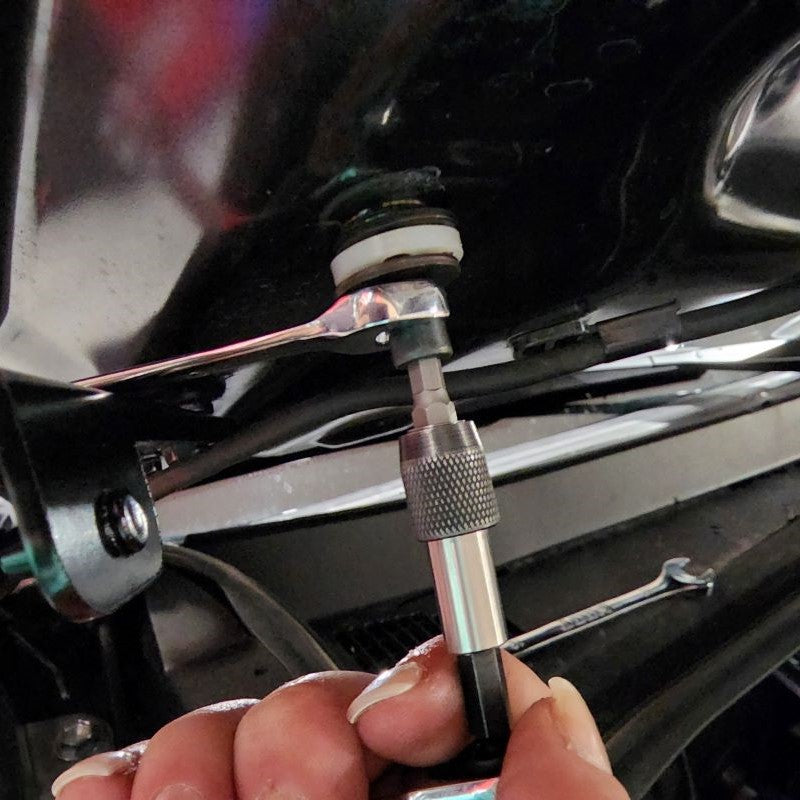
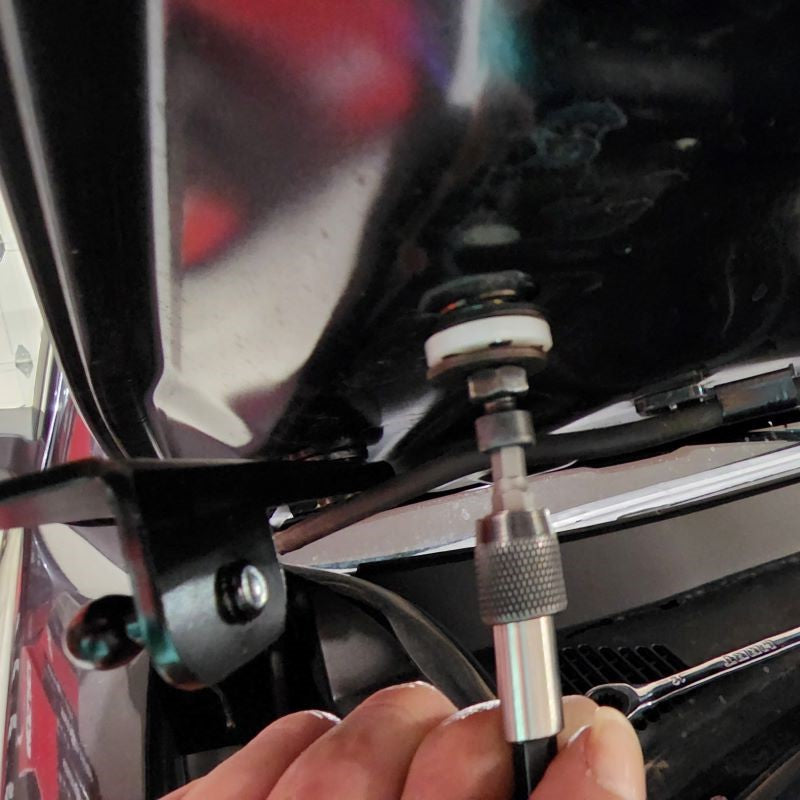
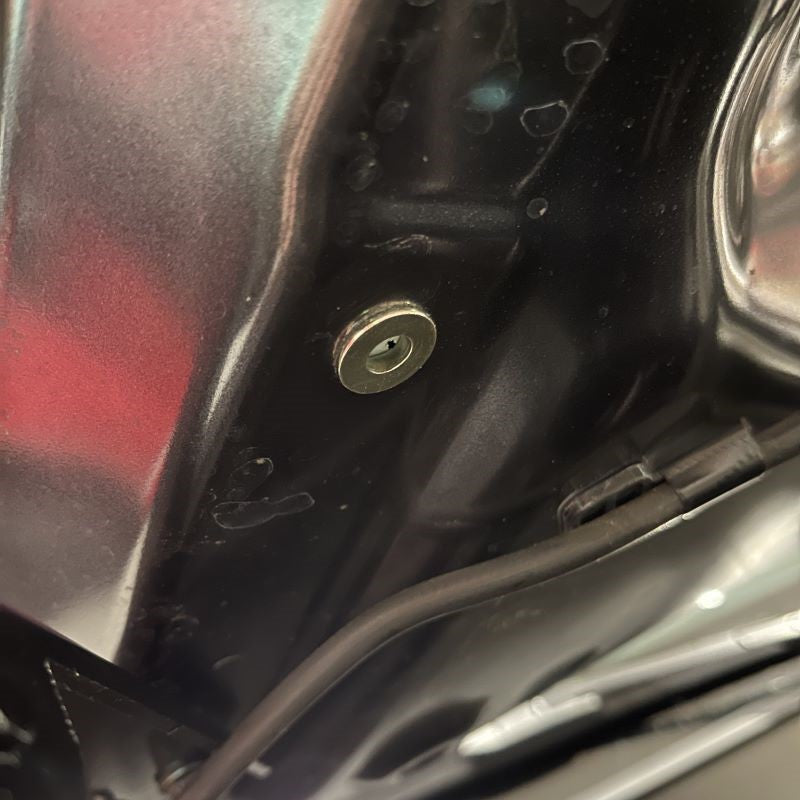
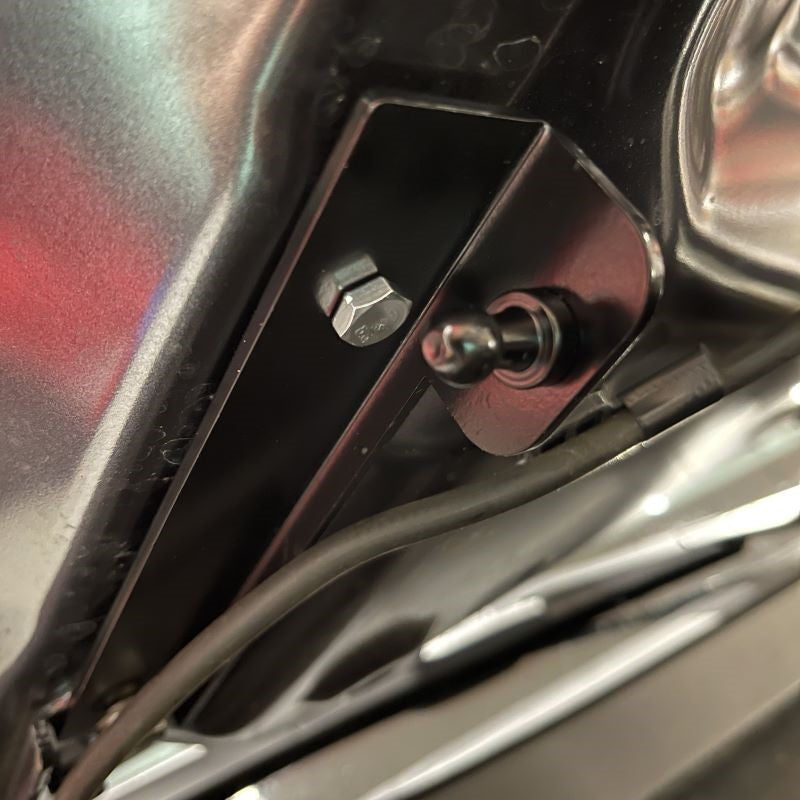
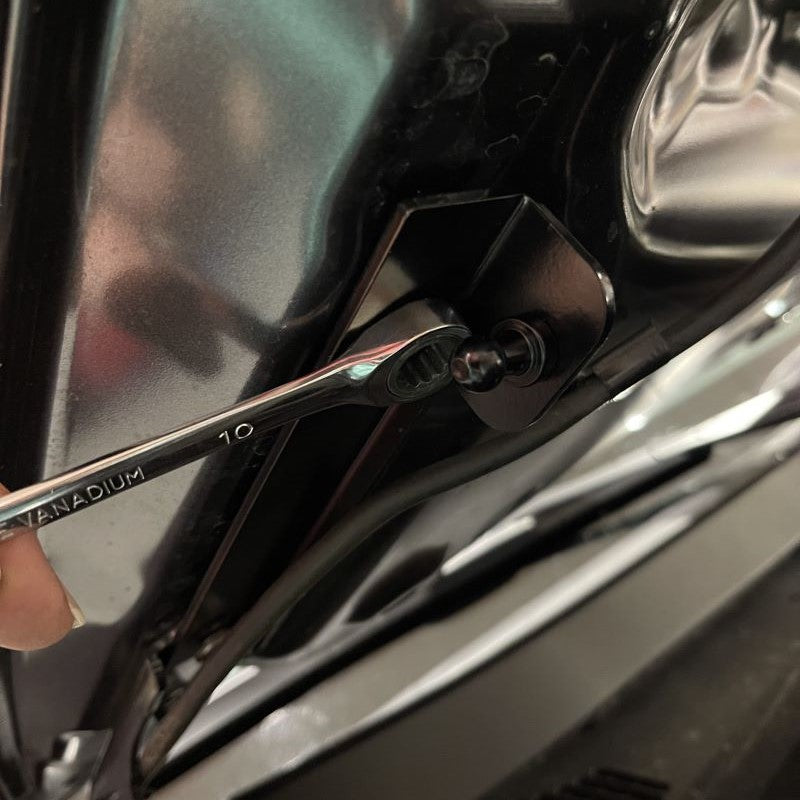
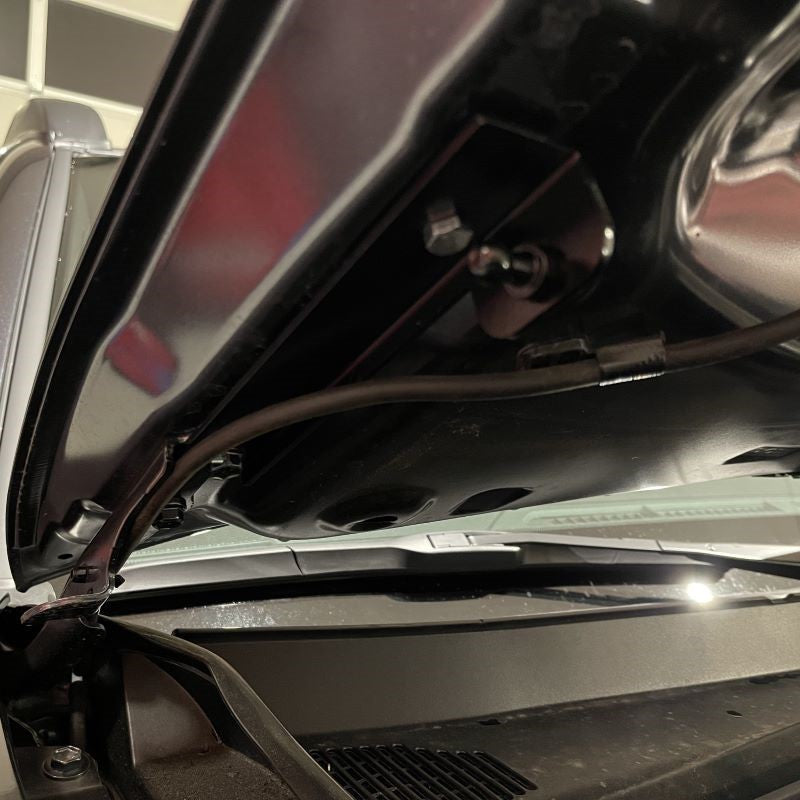
When the screw is tightend, the attached nut expands the sleeve to create a strong clamping force on the back of the hood. Place the towering set of hardware in the factory opening as shown, using a hex head / allen wrench drill bit (3/16") in a ratchet on the screw from moving, take a wrench (10 mm) and rotate the nut so that the metal below will expand and create fixing on the backside like we just mentioned above.
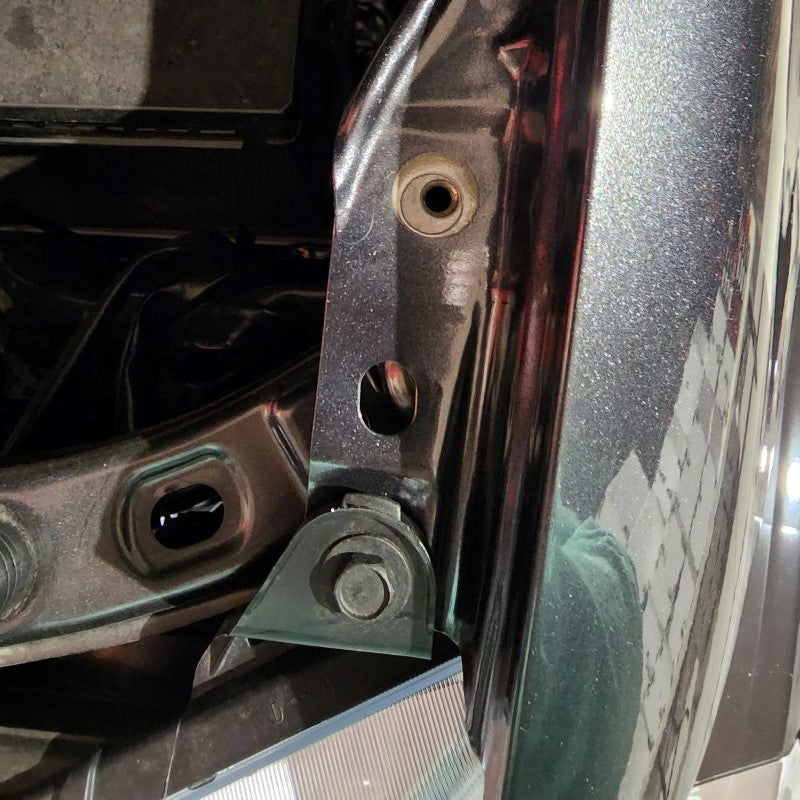
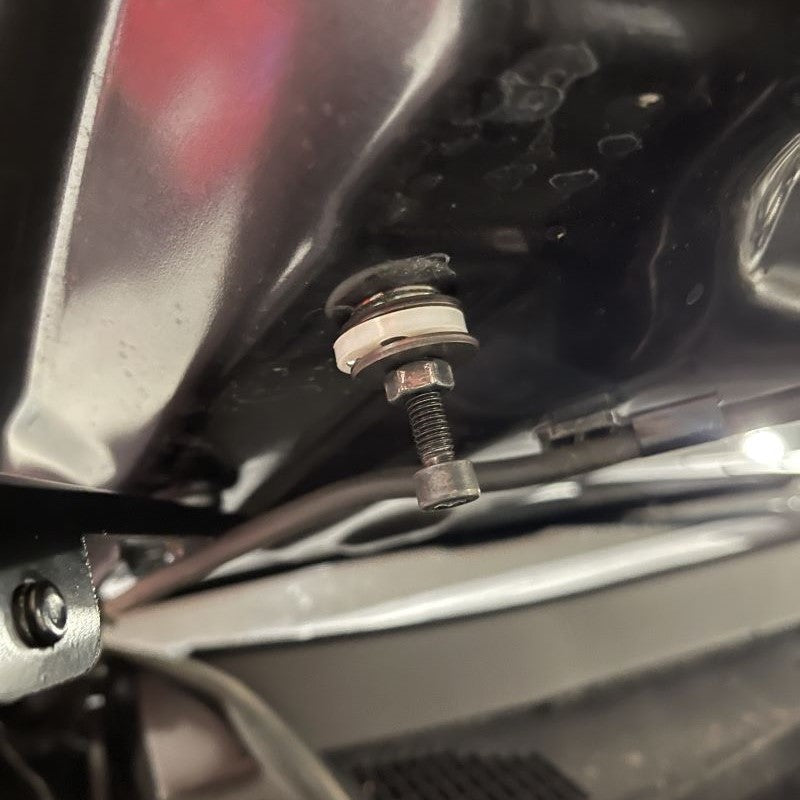
Once you feel like it is tight, remove the screw and you will just be left with your new threads for your new mounting location.
INSTALL IMAGES


STEP 4
-
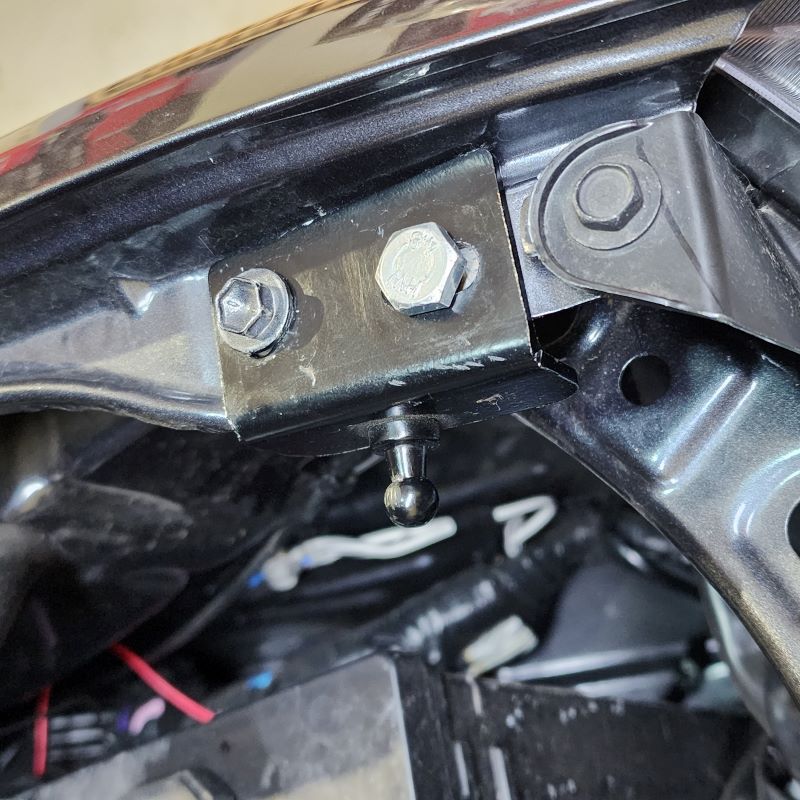
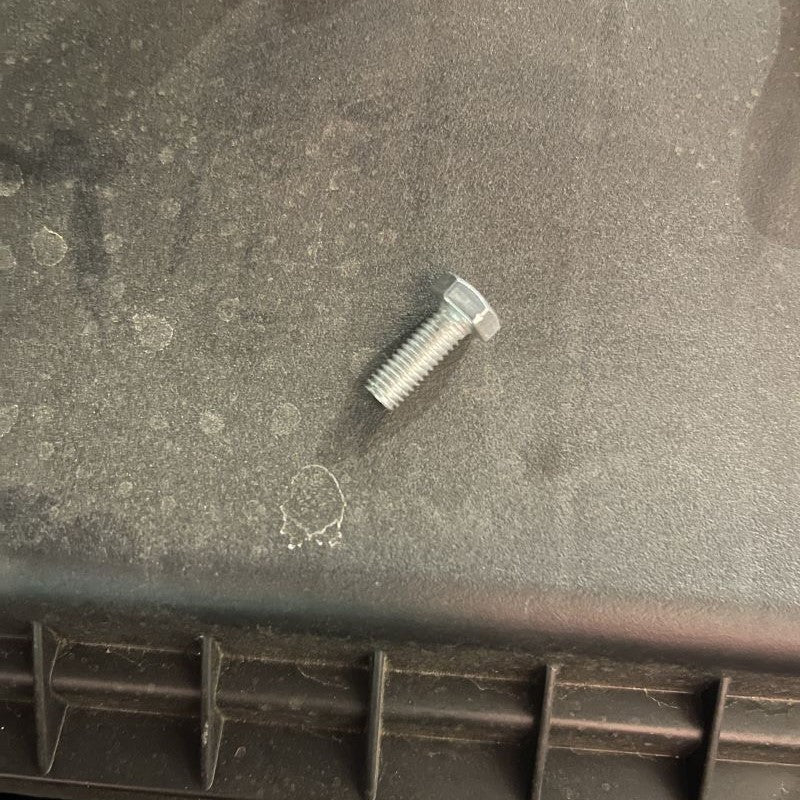
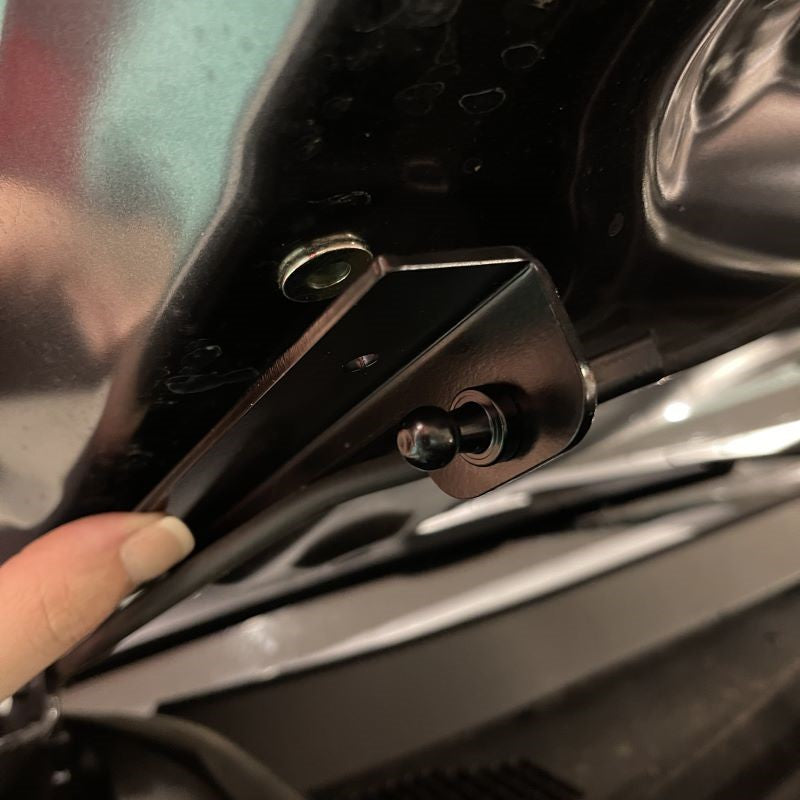
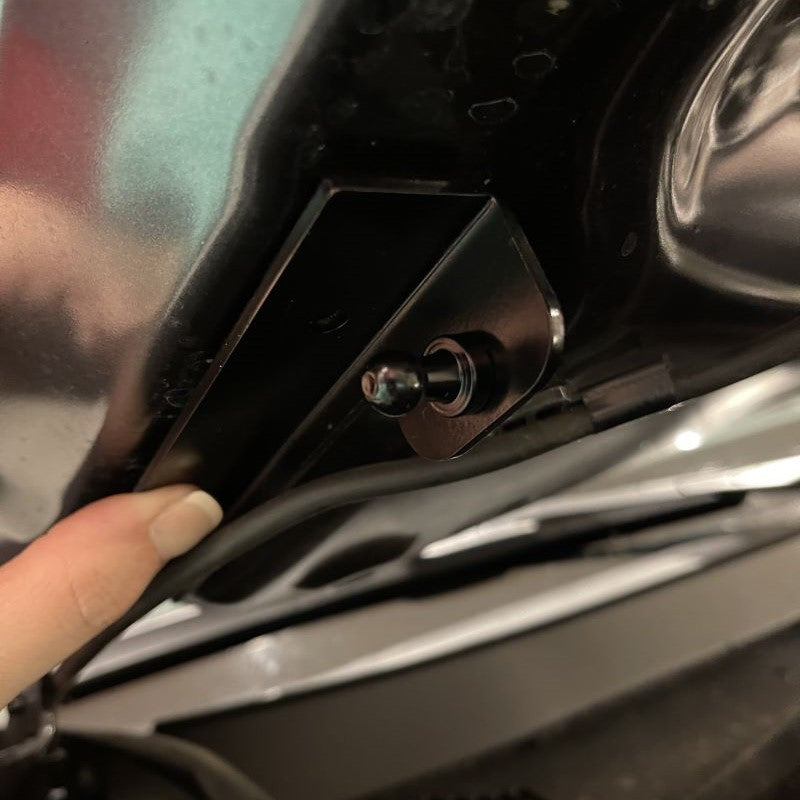
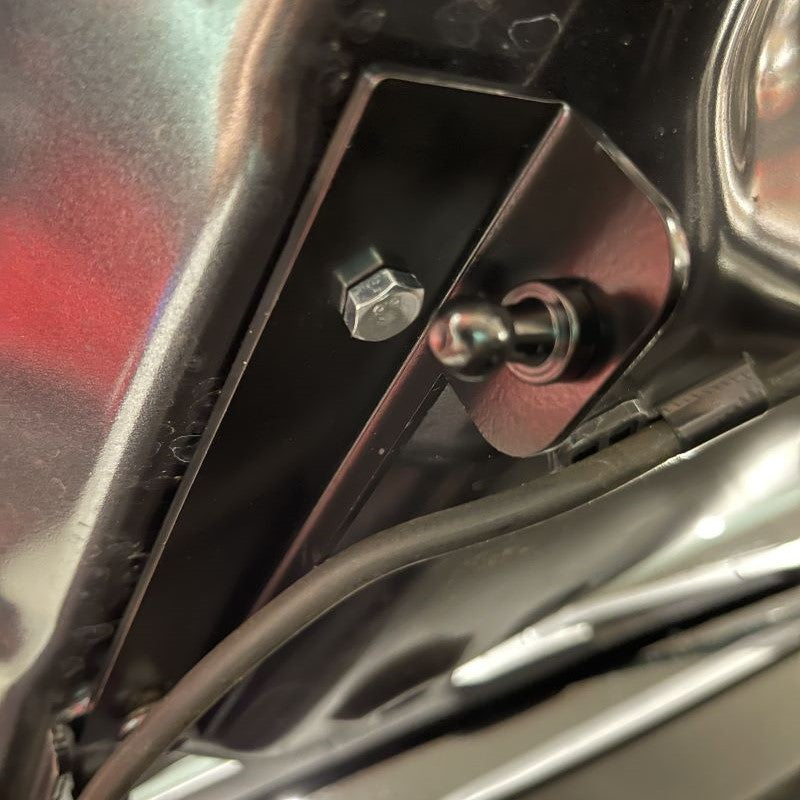
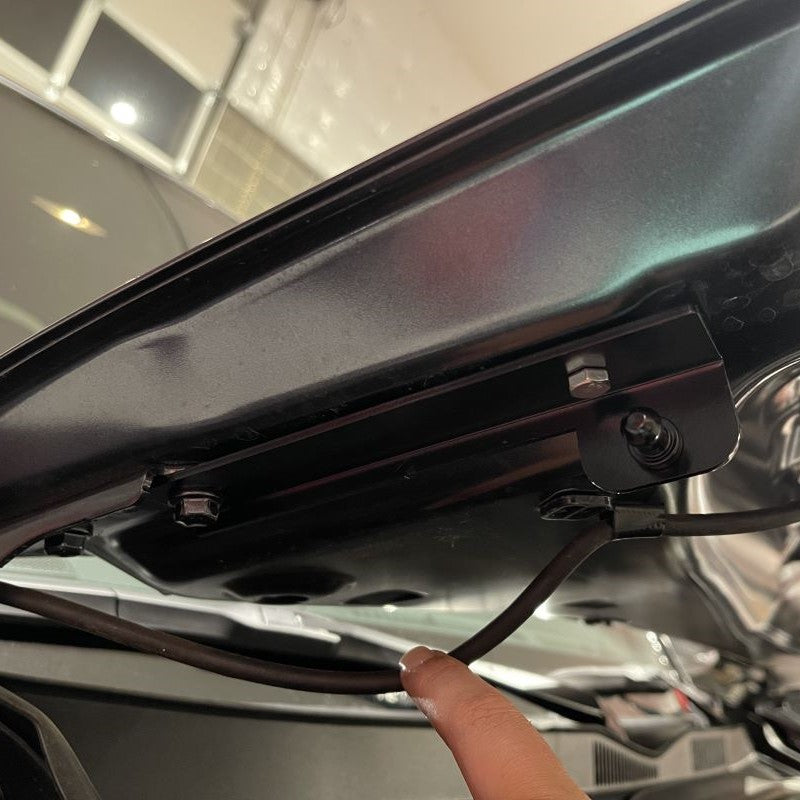
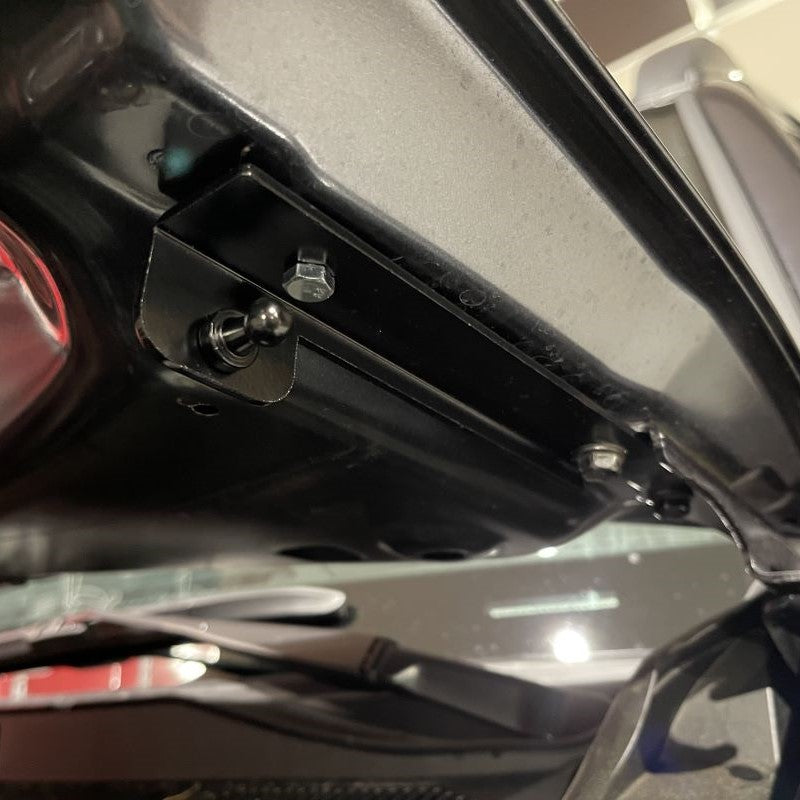
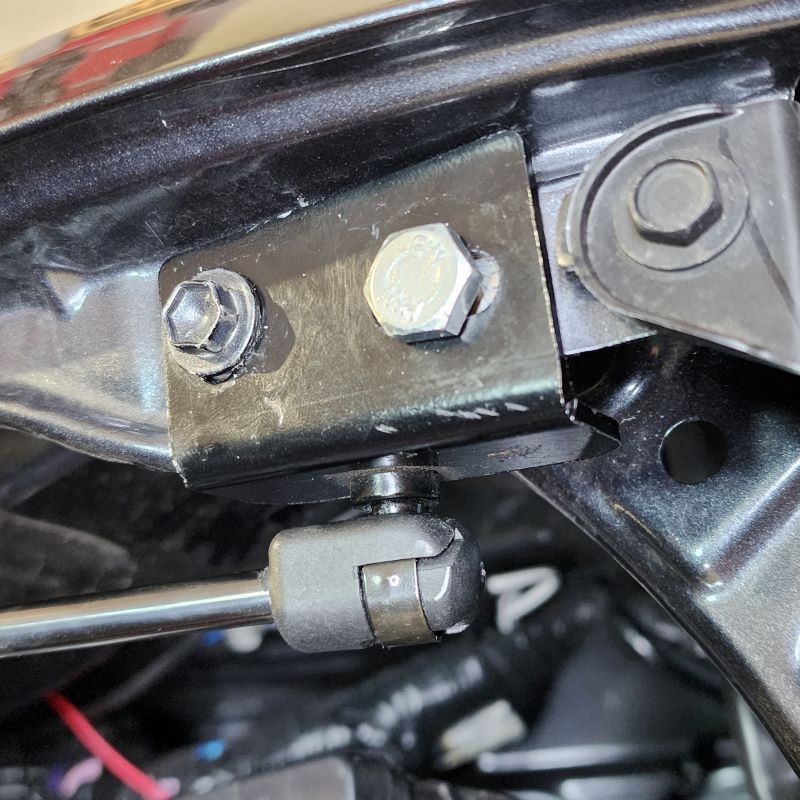
Now with the new solid mounting point, you can install the upper bracket using a wrench (10 mm), and grabbing the new 10 mm bolt from the hardware bag that has been included in the kit. Compare it to picture below so you get the correct bolt. Once you have it hand tightened, you can use both the 10 mm and the 12 mm wrench on both bolts for the new bracket to make sure all hardware is nice and secure.
NOTE: The washer fluid hose will go back into its original place once you are done installing the bracket.
INSTALL IMAGES


STEP 5
-
This is the time that you can go ahead and do the other side if you haven't done it already. Follow the same Steps 2-4.
INSTALL IMAGES


STEP 6
-
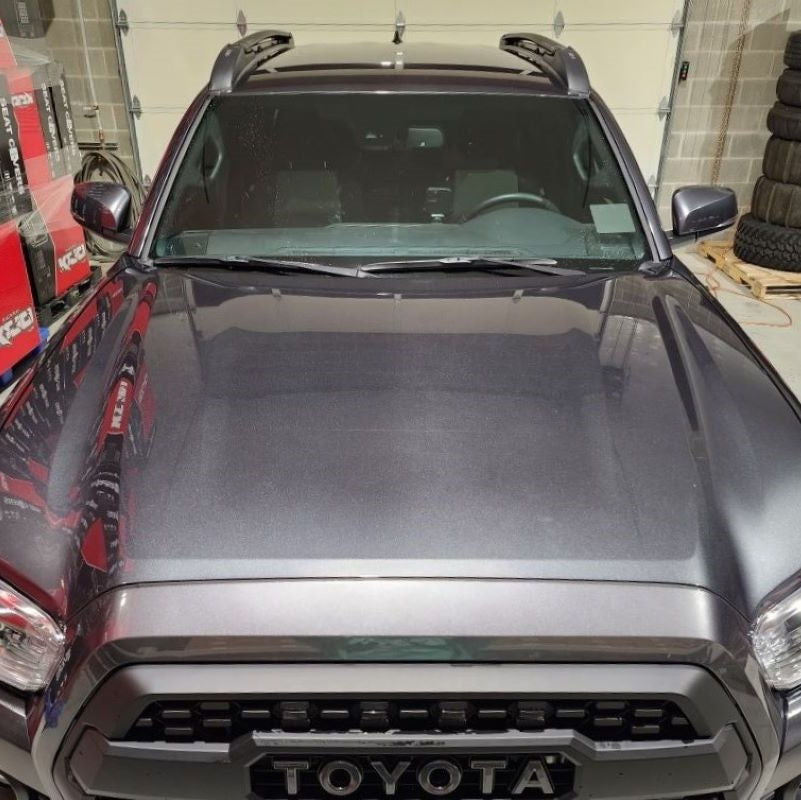
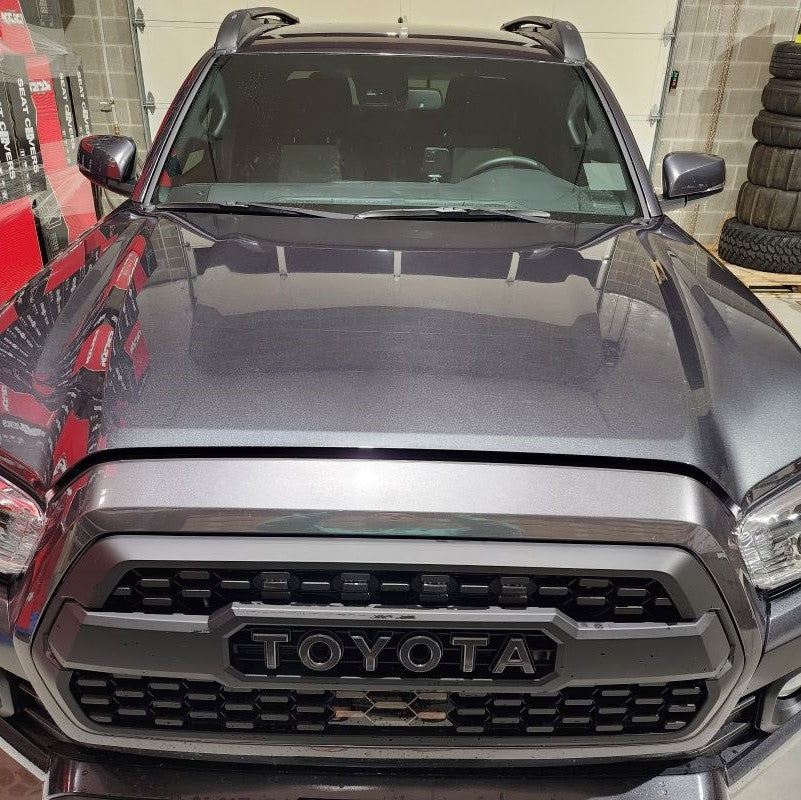
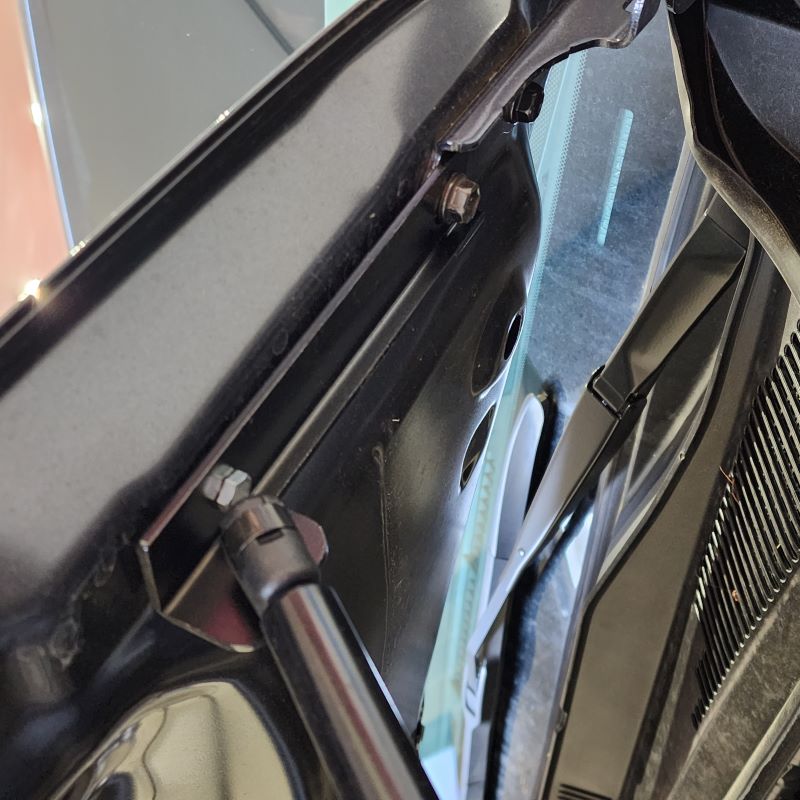
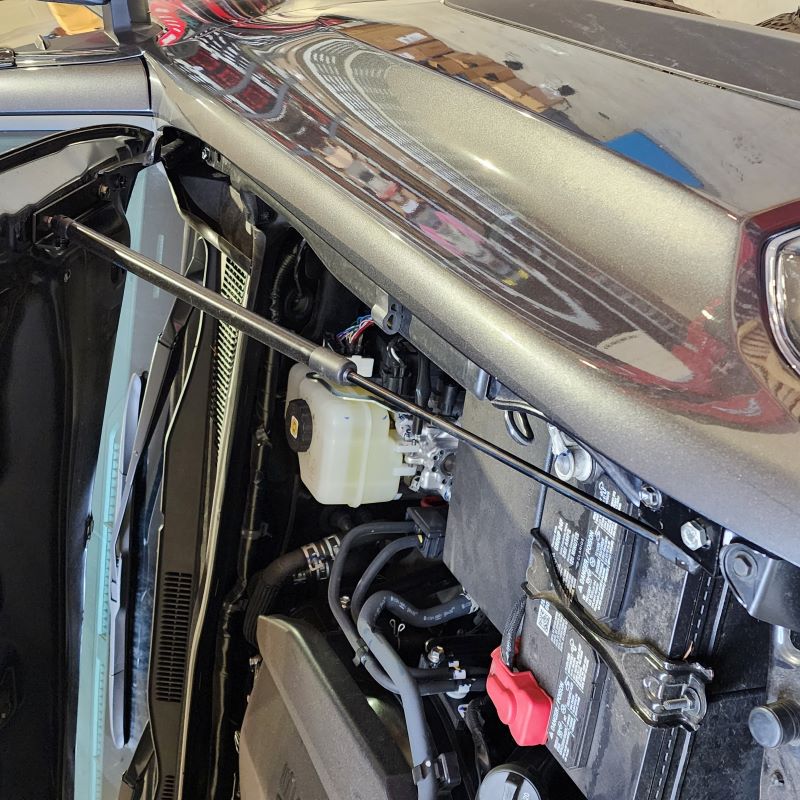
Once you have everything secure and the hood looks nice and clean, you can go ahead and install the new gas spring supports to your new brackets. Now you're ready to test your Hood Lift Supports.
INSTALL IMAGES


STEP 7
-
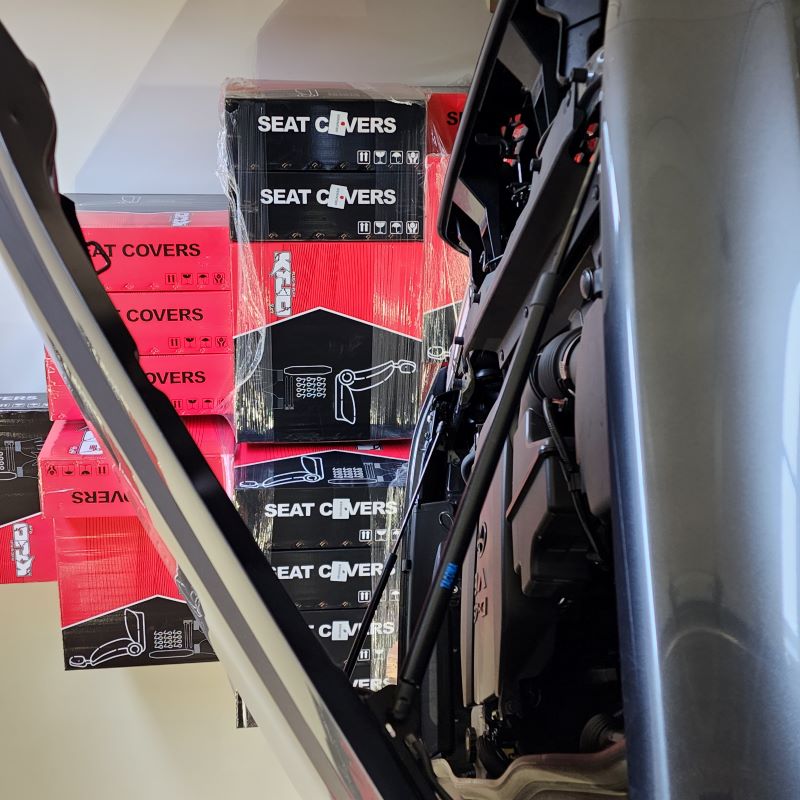
Enjoy your New Hood Lift Support!
INSTALL IMAGES