


FOR TOYOTA TACOMA MODEL
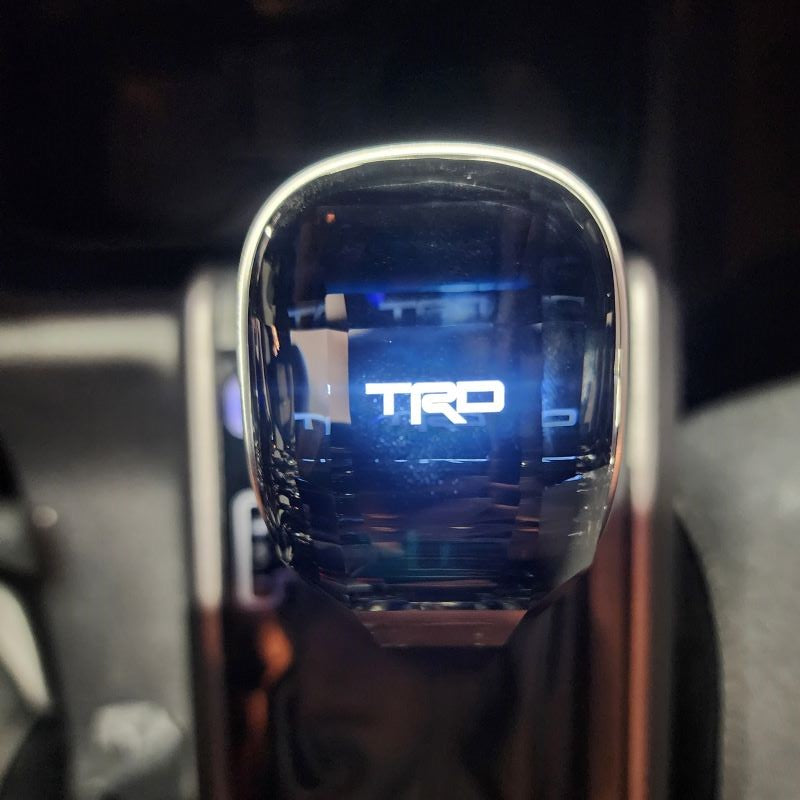
ITEMS INCLUDED IN THE SHIFT KNOB PACKAGE:1 x Crystal Shift Knob
1 x Plug-N-Play Wiring Harness
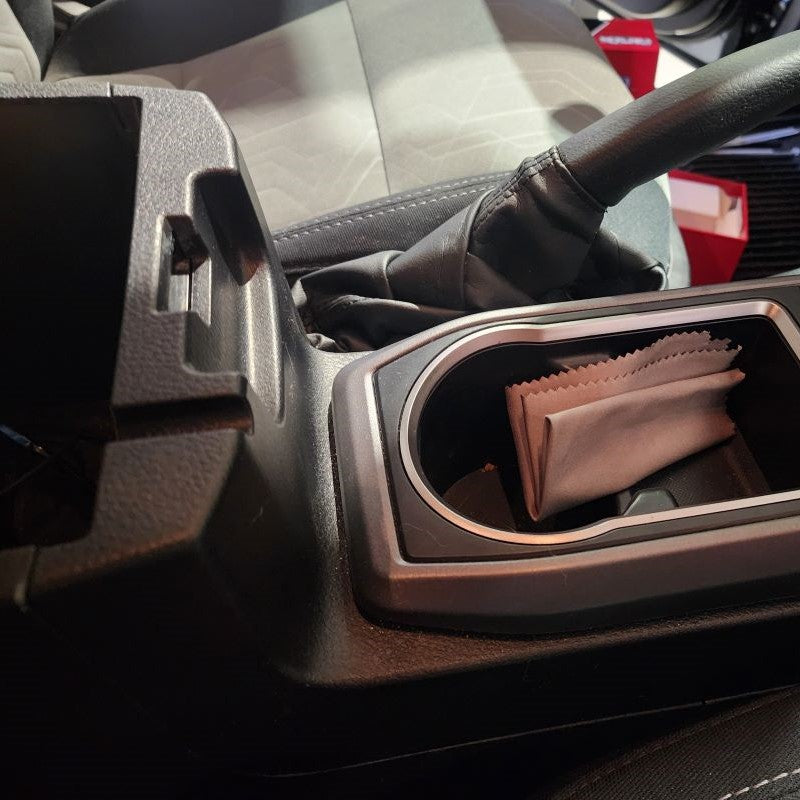
1 x Microfiber, Cleaning Cloth
TOOLS NOT INCLUDED BUT ARE NEEDED:Installation Instructions - Crystal Shift Knob (Located on Website)
1/2-in Socket (10 mm)
1/2-in Drive Ratchet
Phillips Screw Driver
Tool, Trim Removal
1 x Fish Tape Wire Puller (optional)
DISCONNECT THE BATTERY BEFORE YOU BEGIN INSTALLATION
Must Press + to see the narrative on each Step
STEP 1
INSTALL IMAGES


STEP 2
-
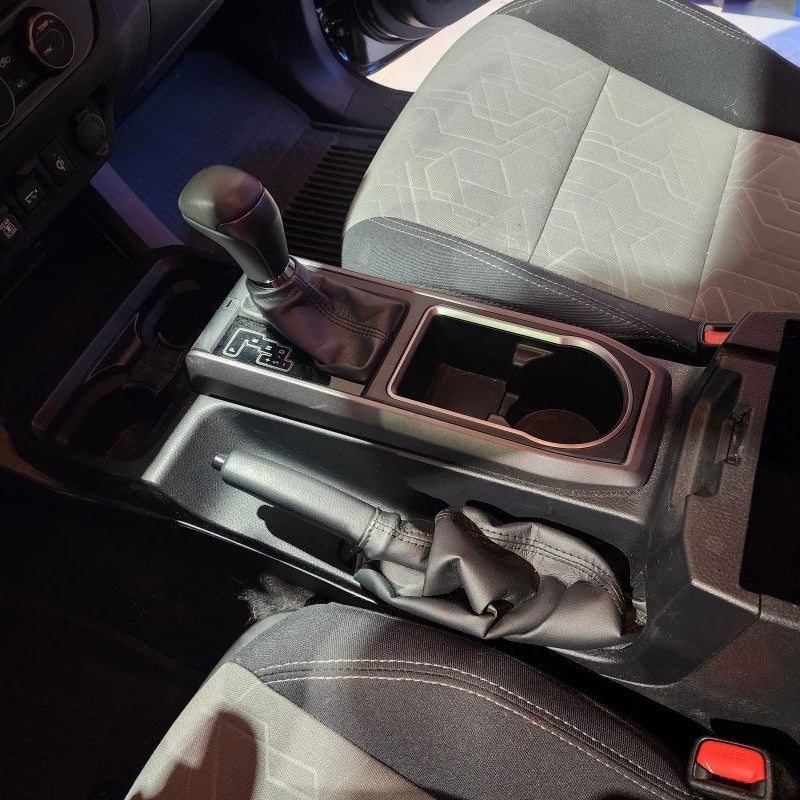
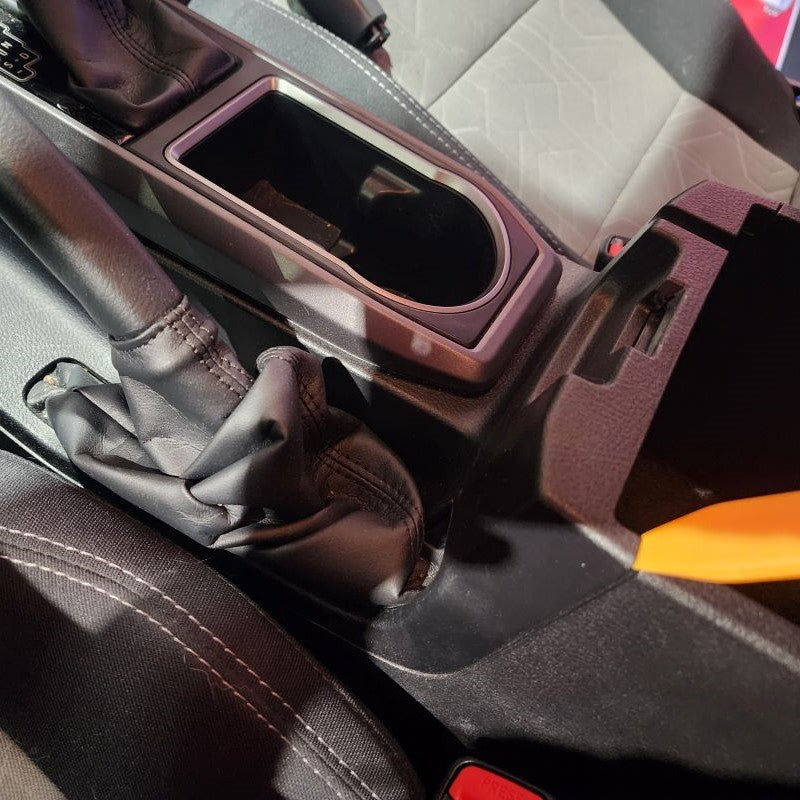
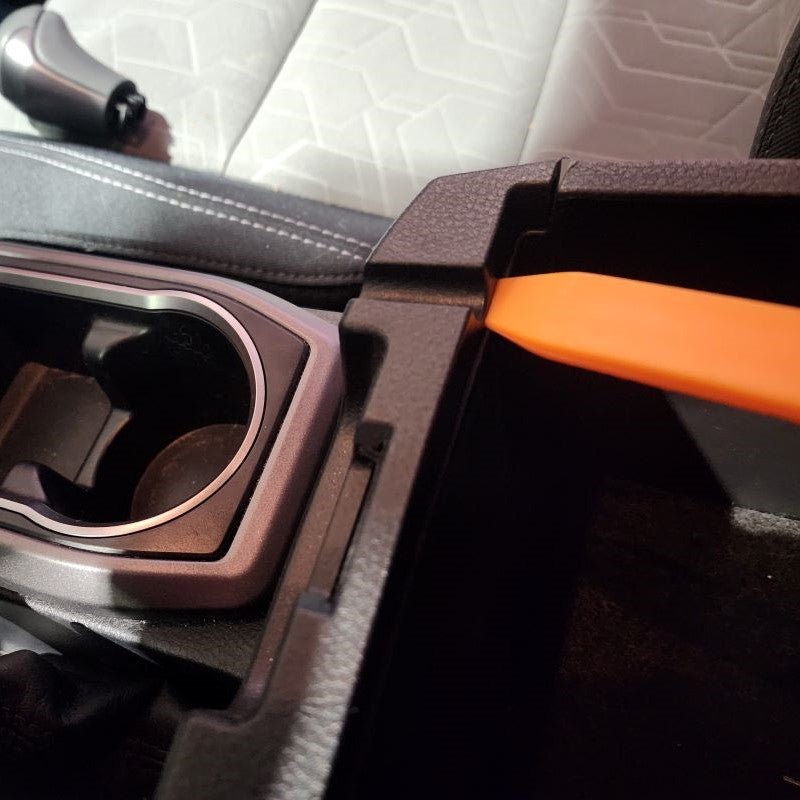
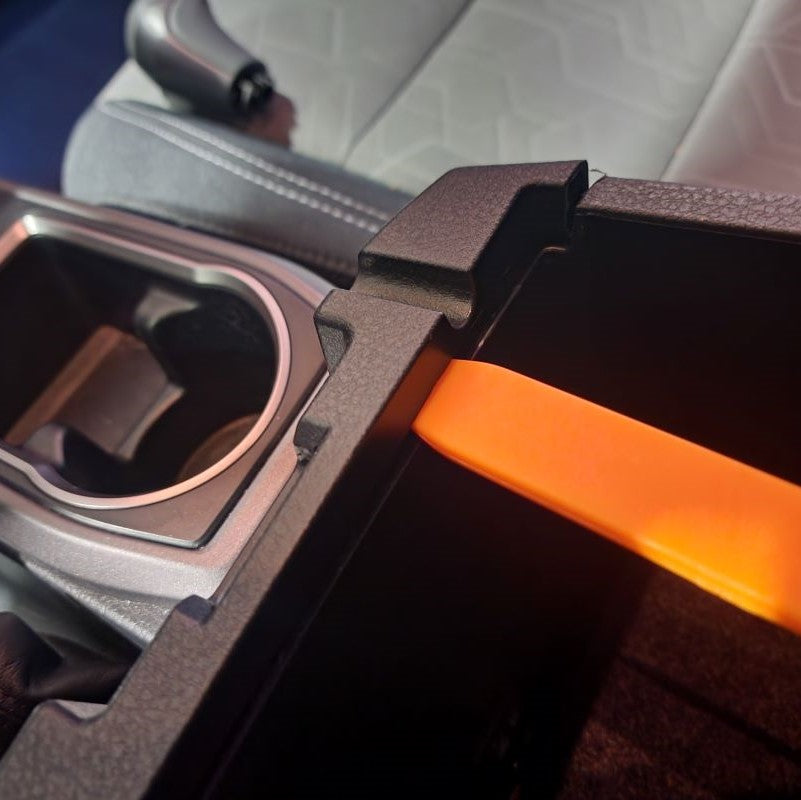
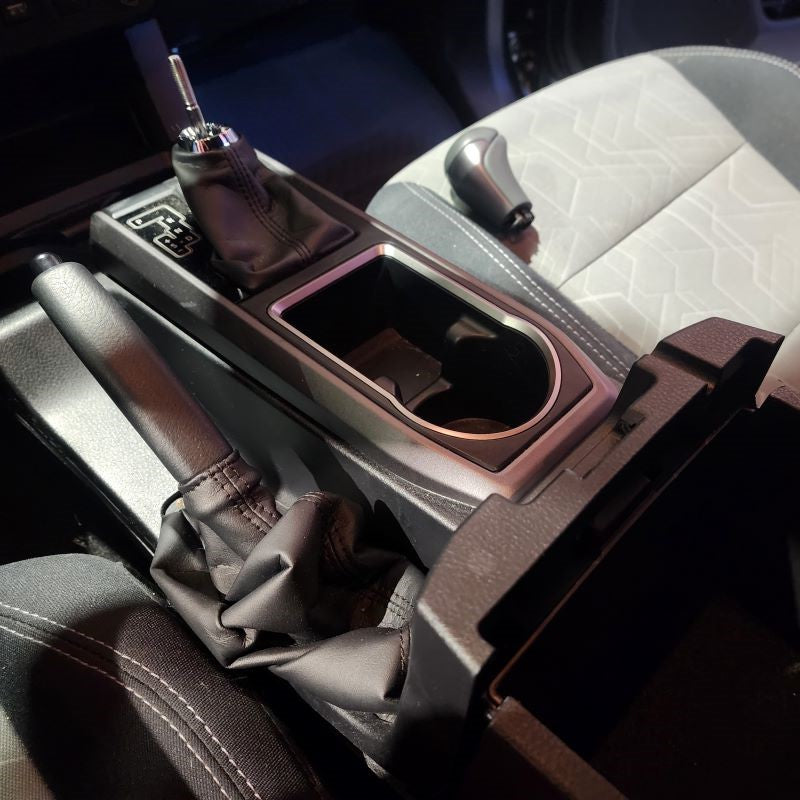
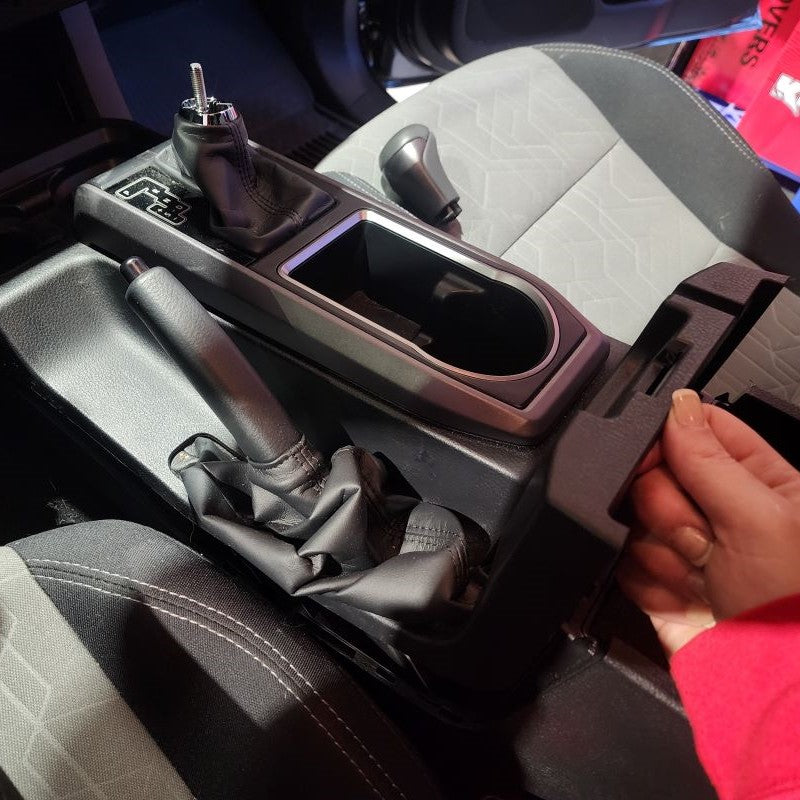
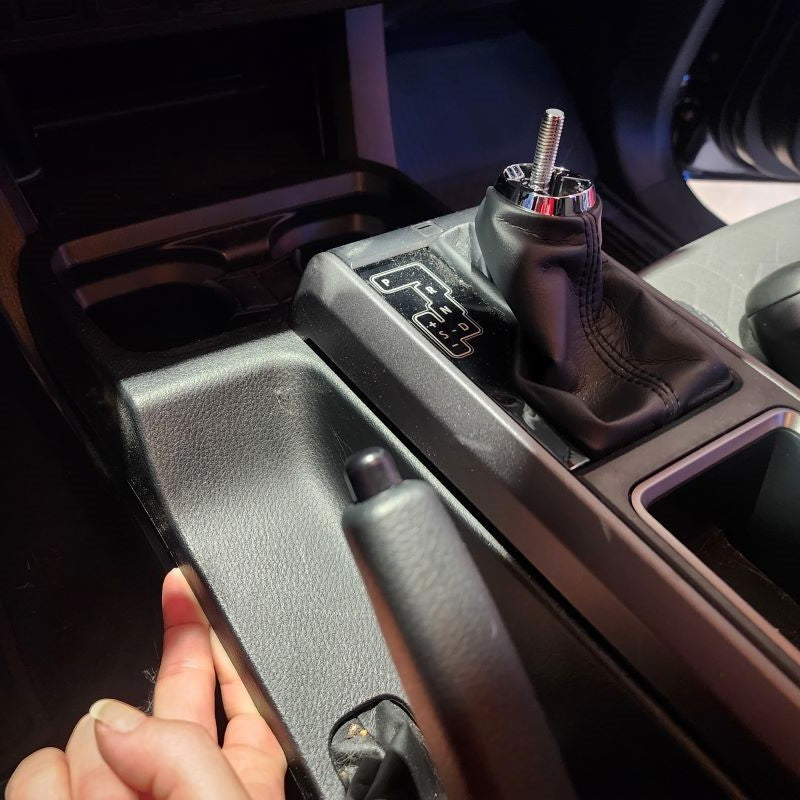
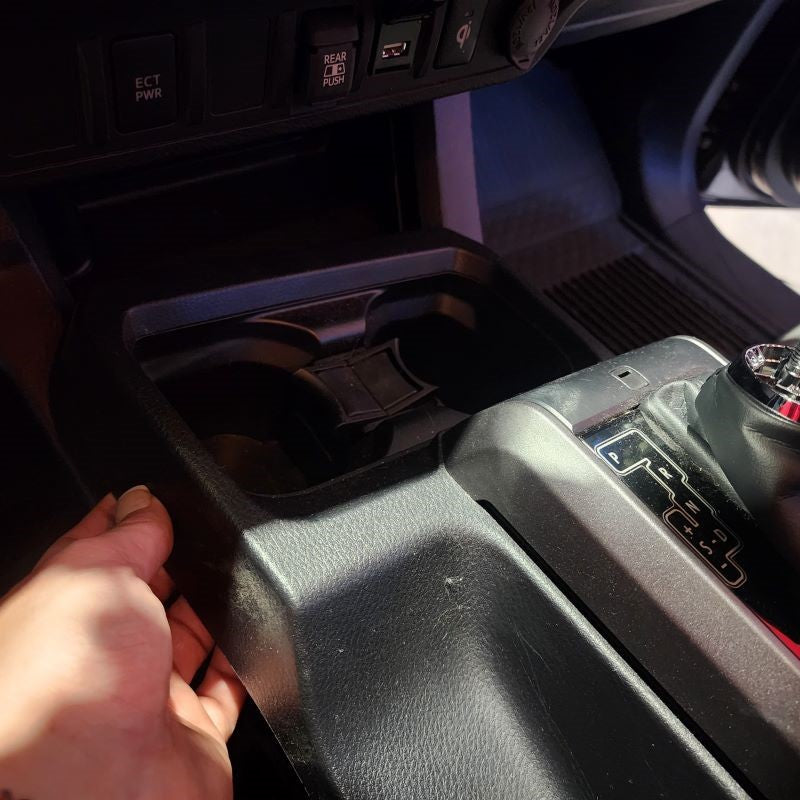
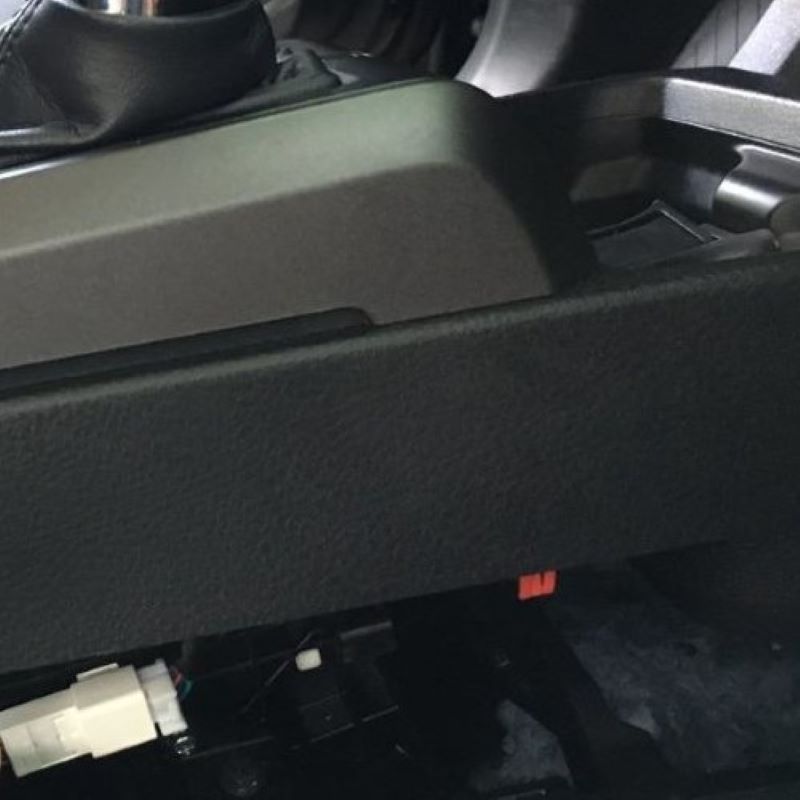
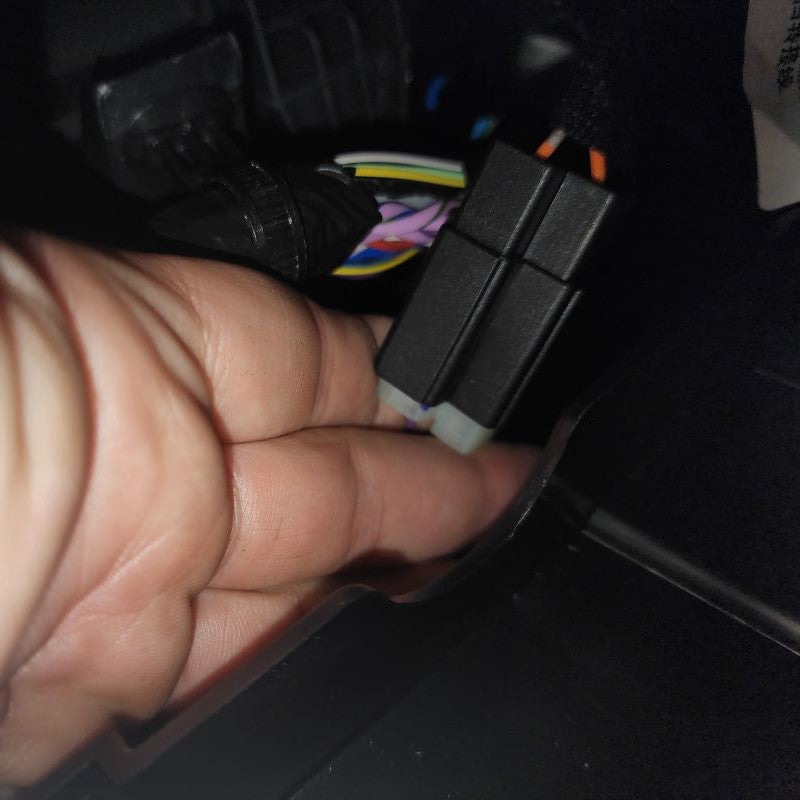
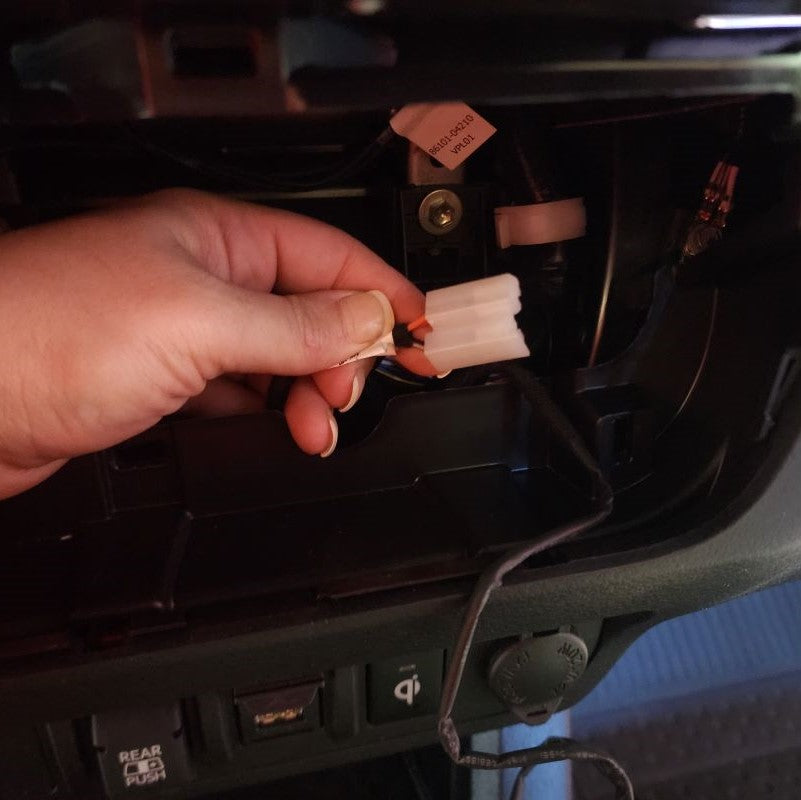
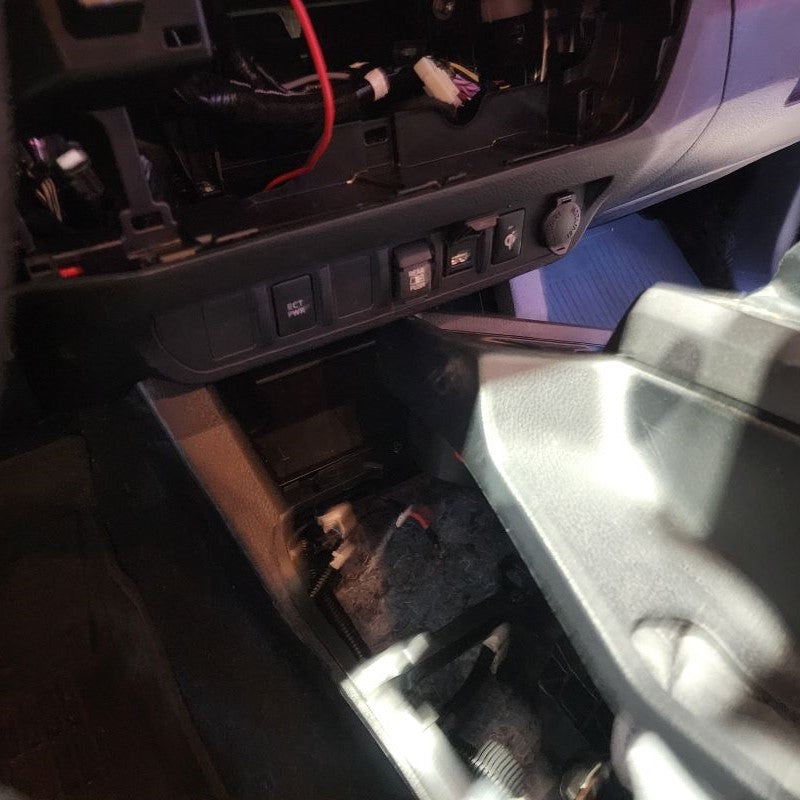
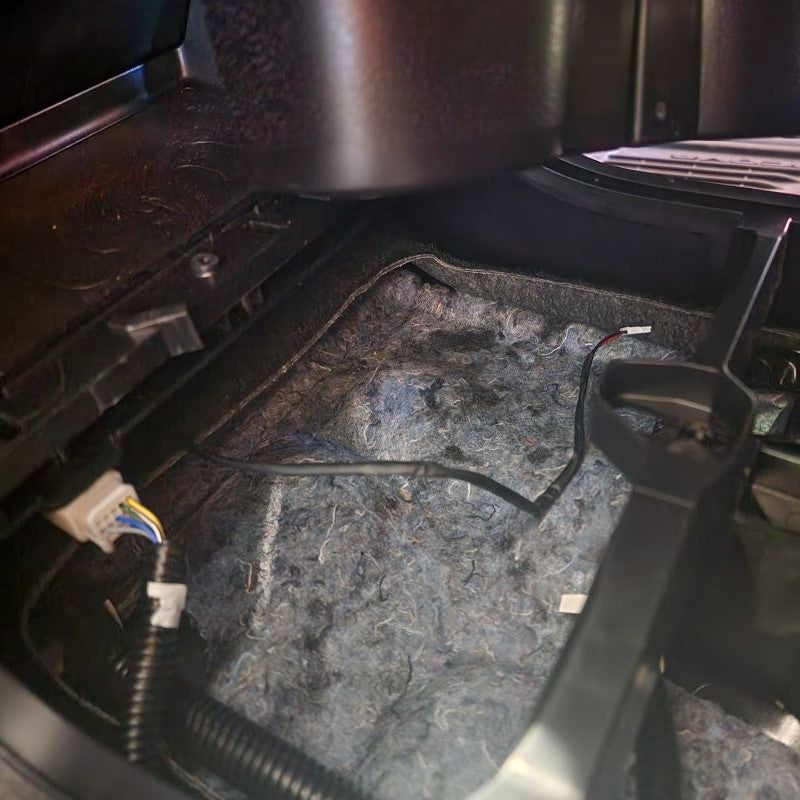
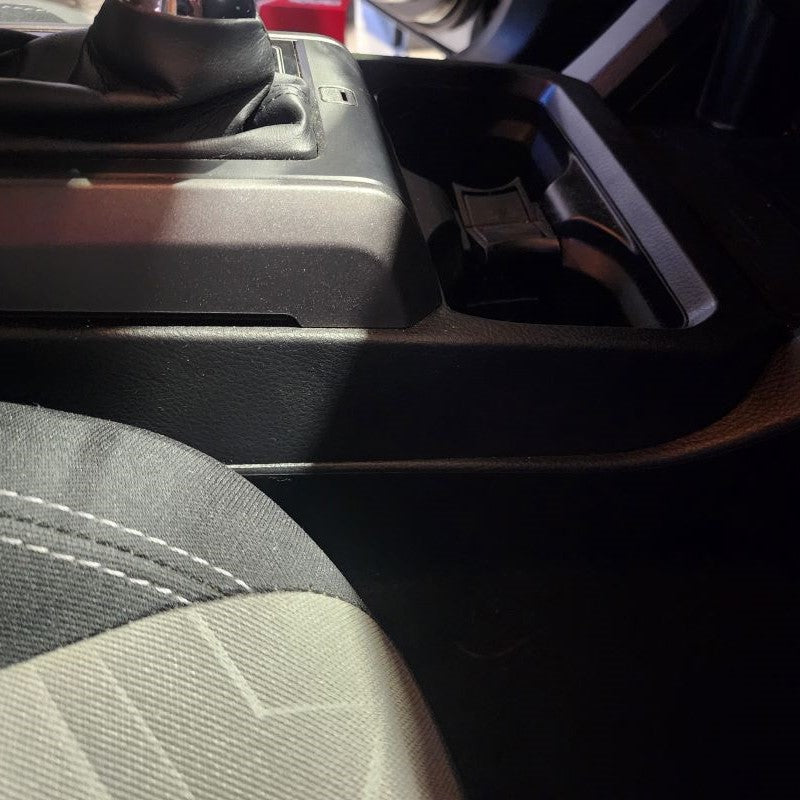
Gently lift the console up. You can either start at the front near the cup holders or in the back like shown below. Be careful not to break any clips as you pop them up. Once you have released the bezel, go to the passenger side of the cab, and disconnect the plug shown in the pictures.
INSTALL IMAGES


STEP 3
-
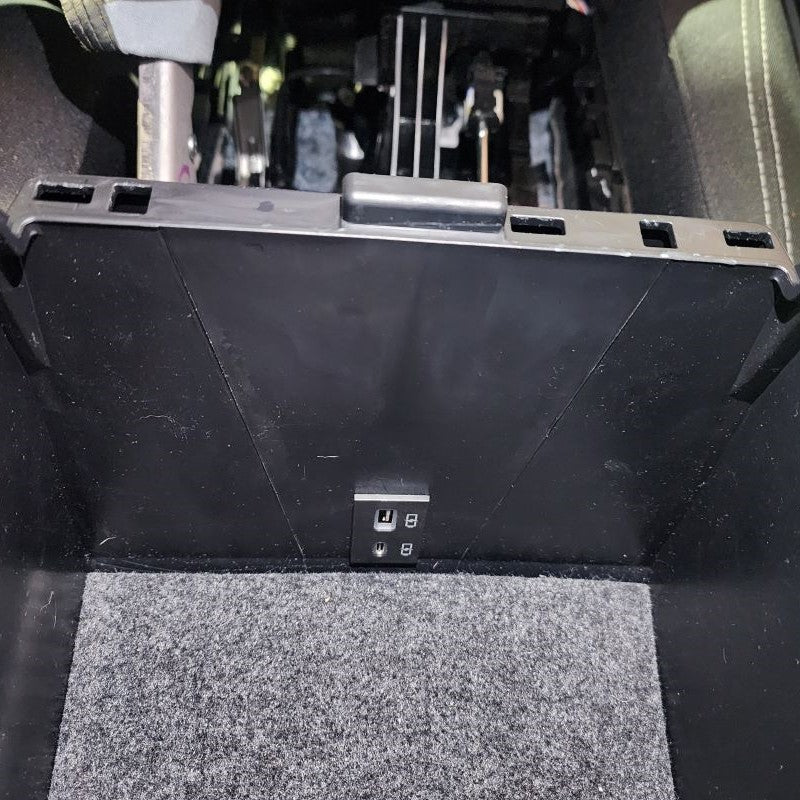
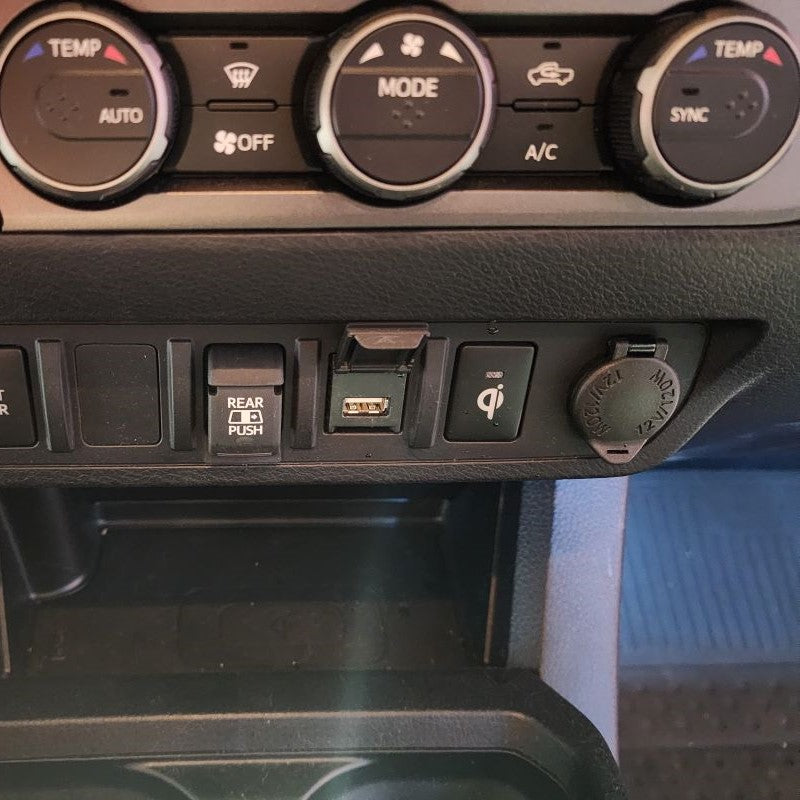
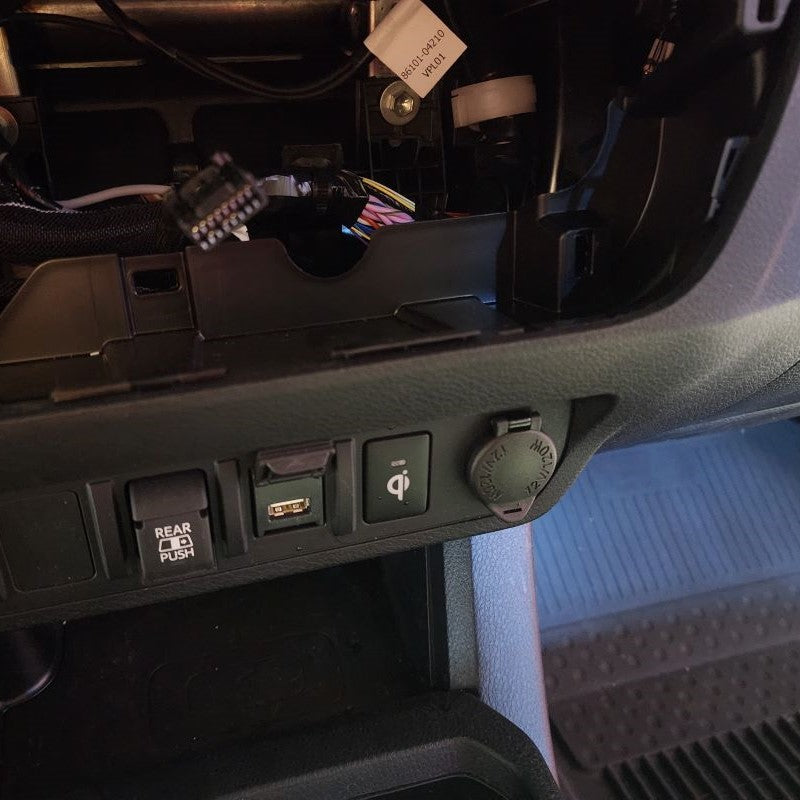
First, identify which 12V Power Source you have located under your armrest in the middle console. Those that have a Toyota Tacoma Model Years 2016-2018, you are going to use the wire harness and connect directly to the 12V Power Source located in the middle console. For those that have a Toyota Tacoma Model Years 2019 or Newer, you are going to use the 12V Power Source located in the Lower Instrument Panel Cover of the dash. Unfortionately and fortionately, Toyota added USB ports during these years in the armrest.
For those that have a Toyota Tacoma Model Years 2016-2018, you will connect your Plug-N-Play Wiring Harness included in the here and move on to Step 4.
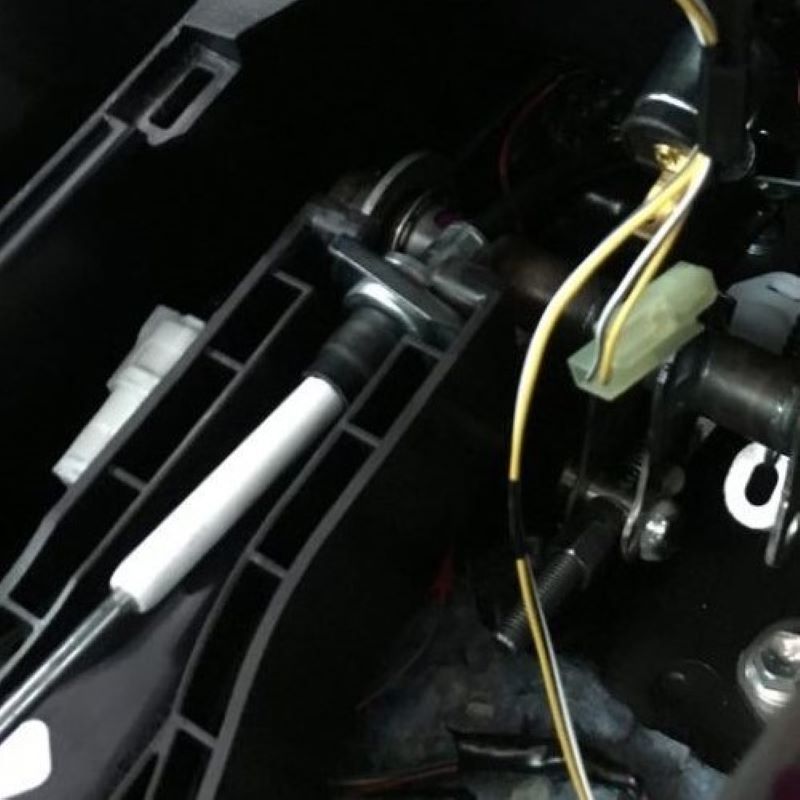
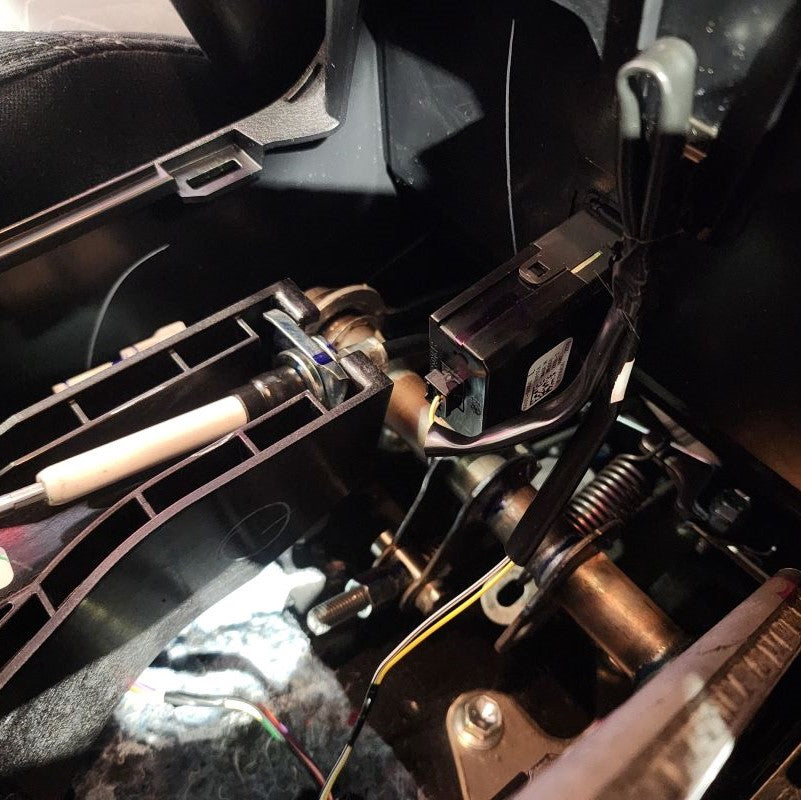
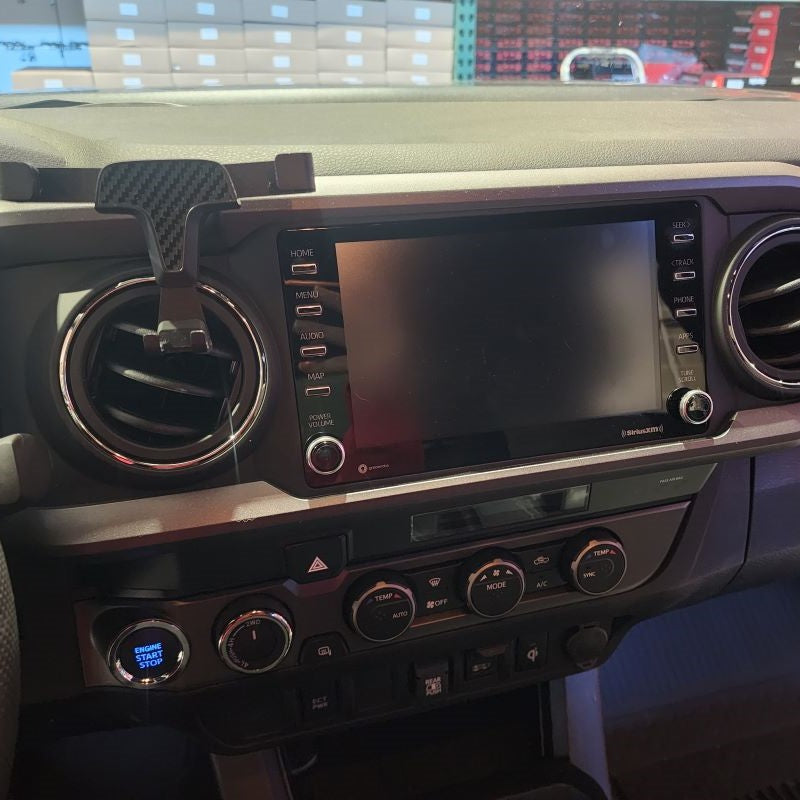
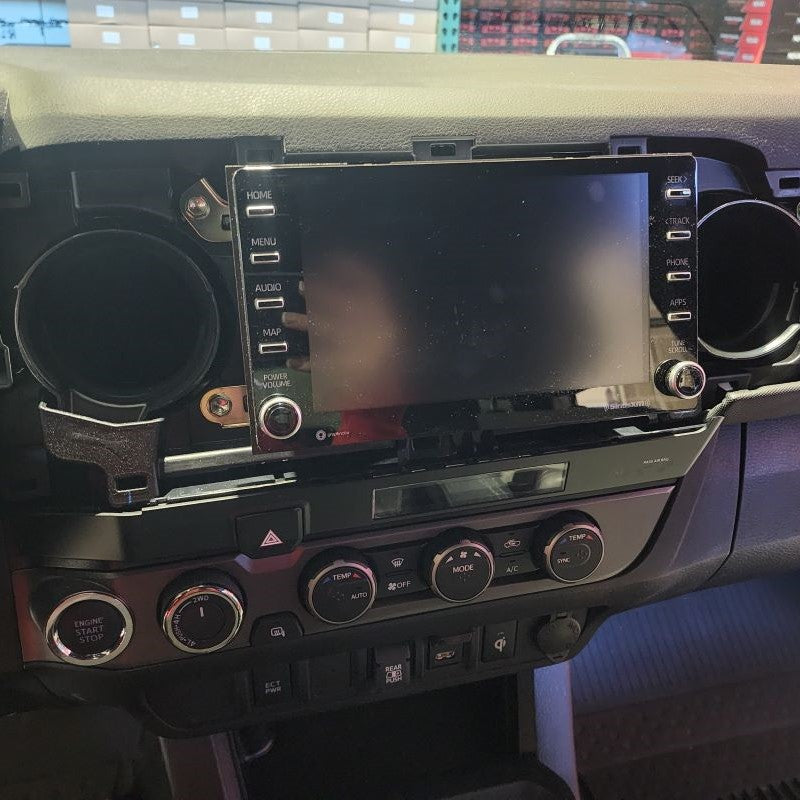
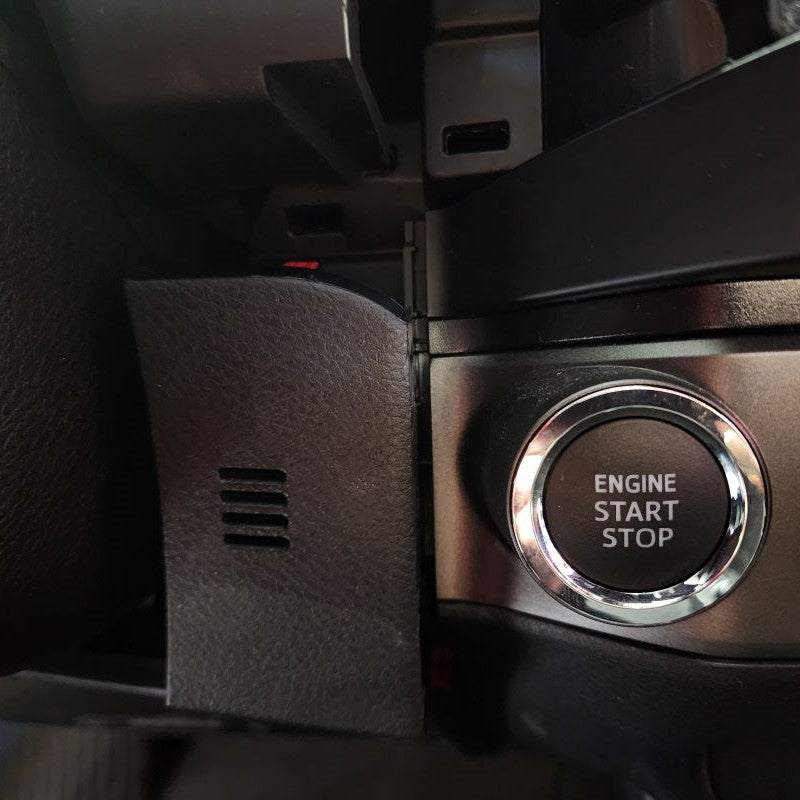
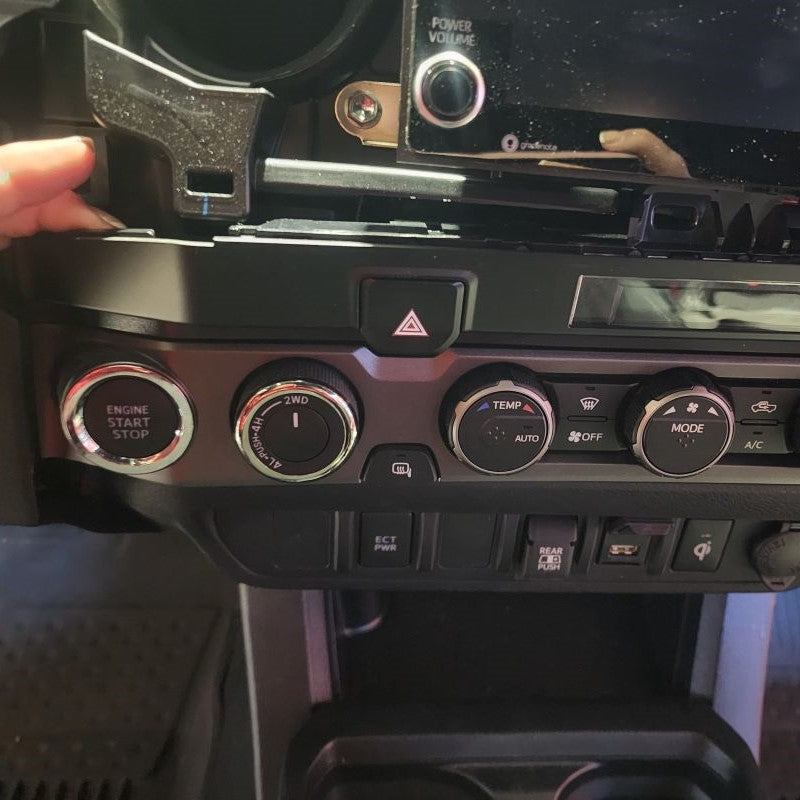
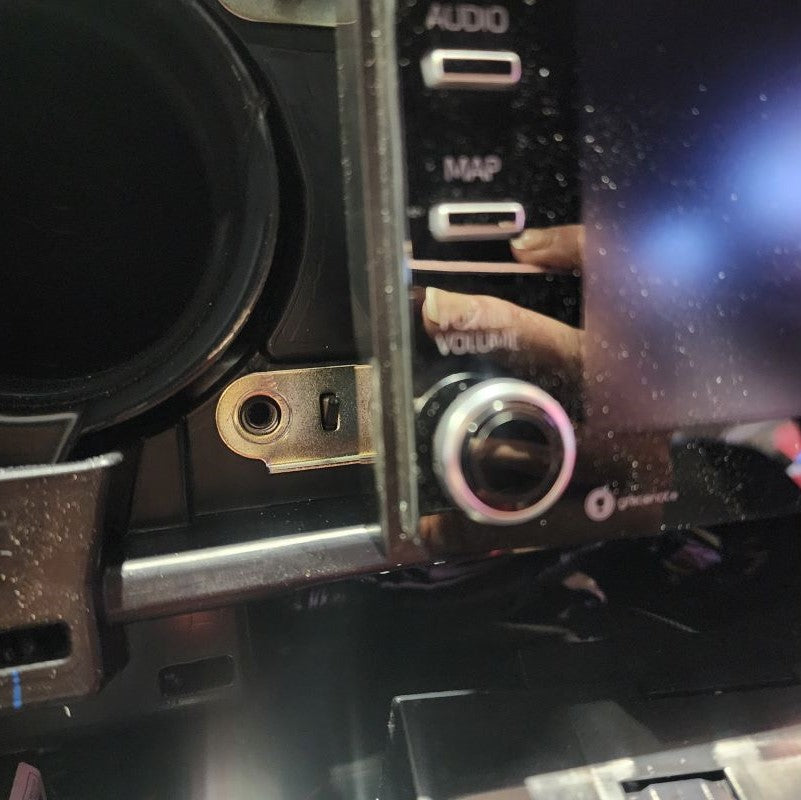
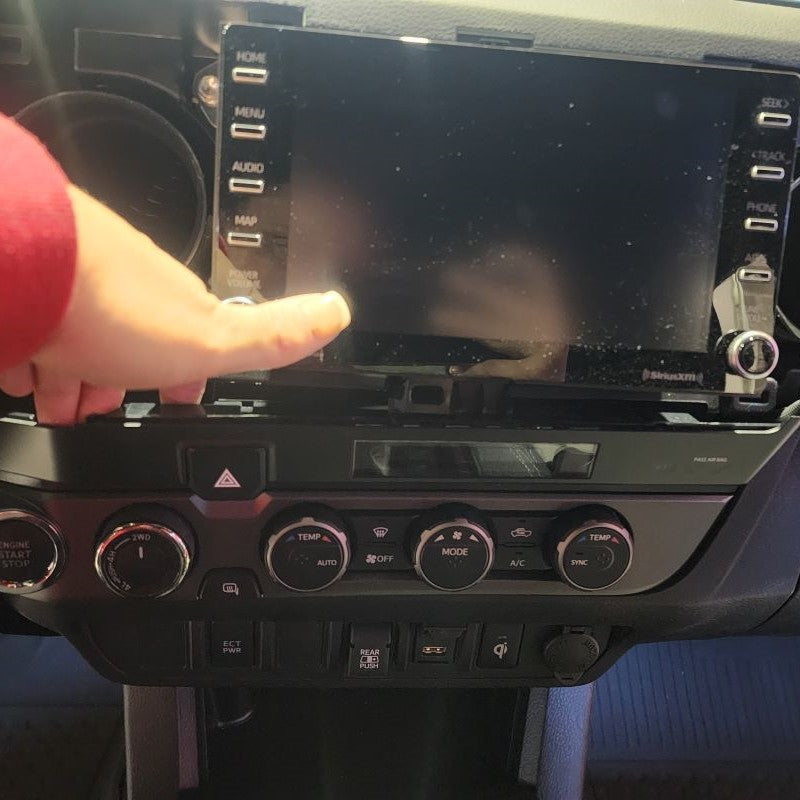
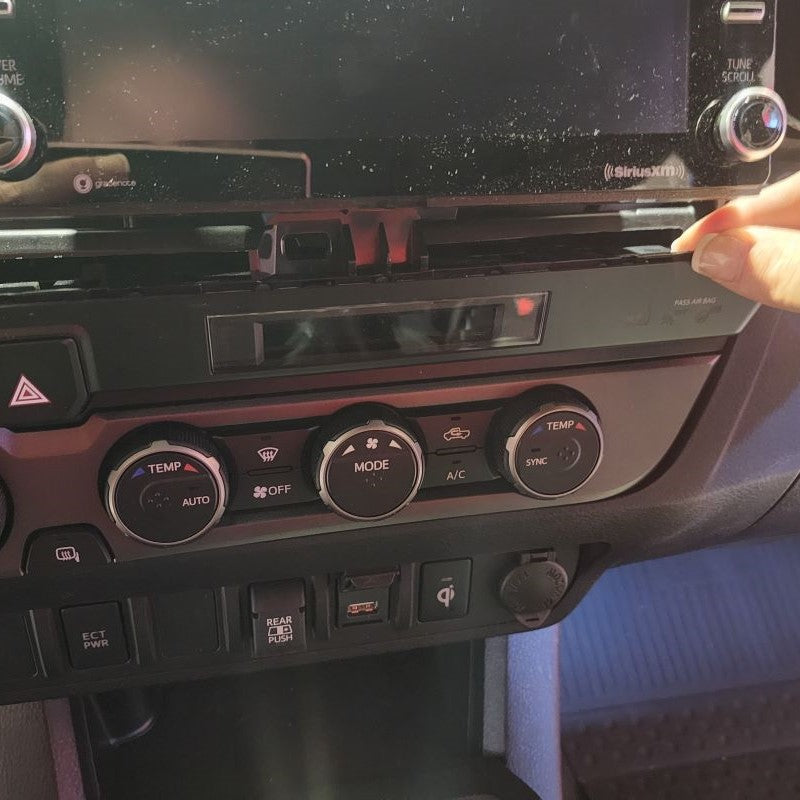
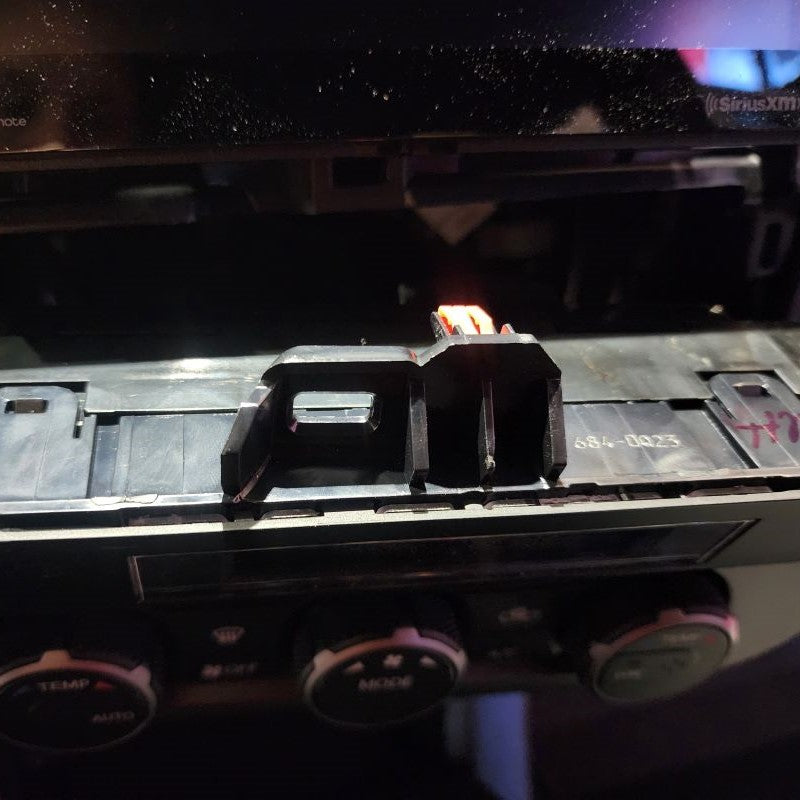
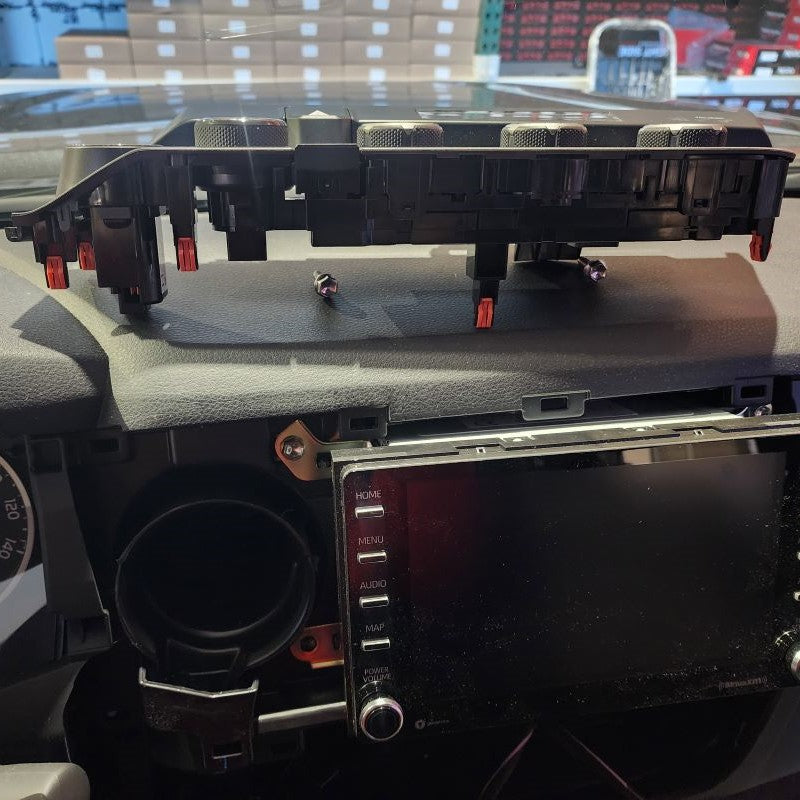
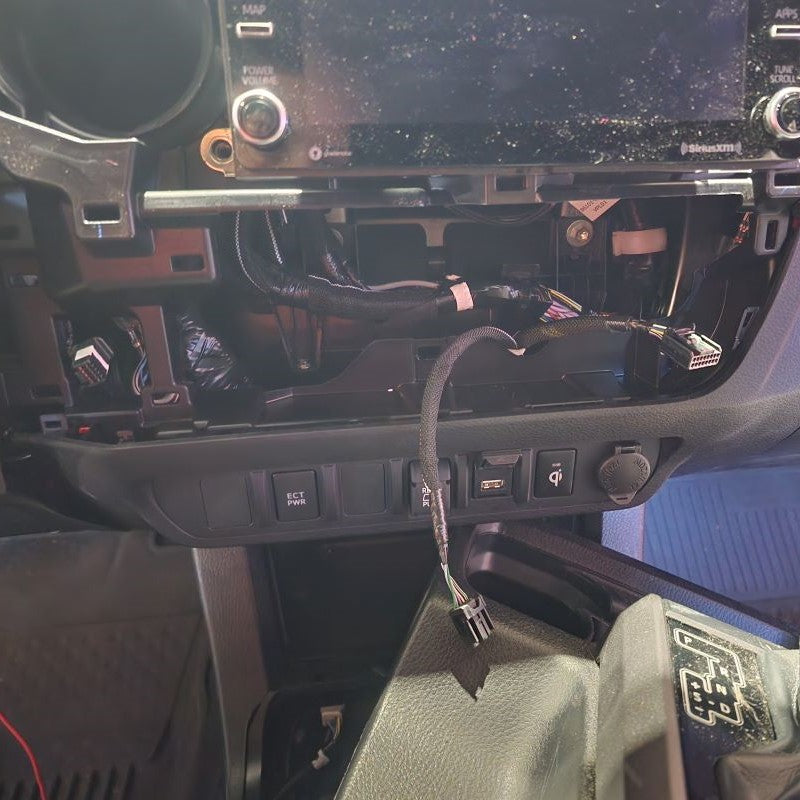
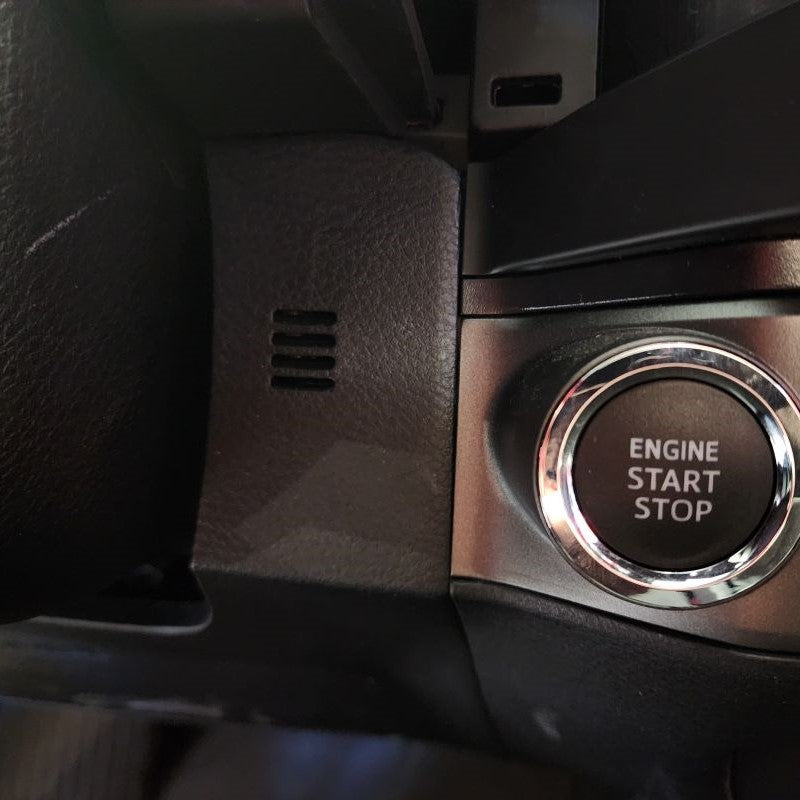
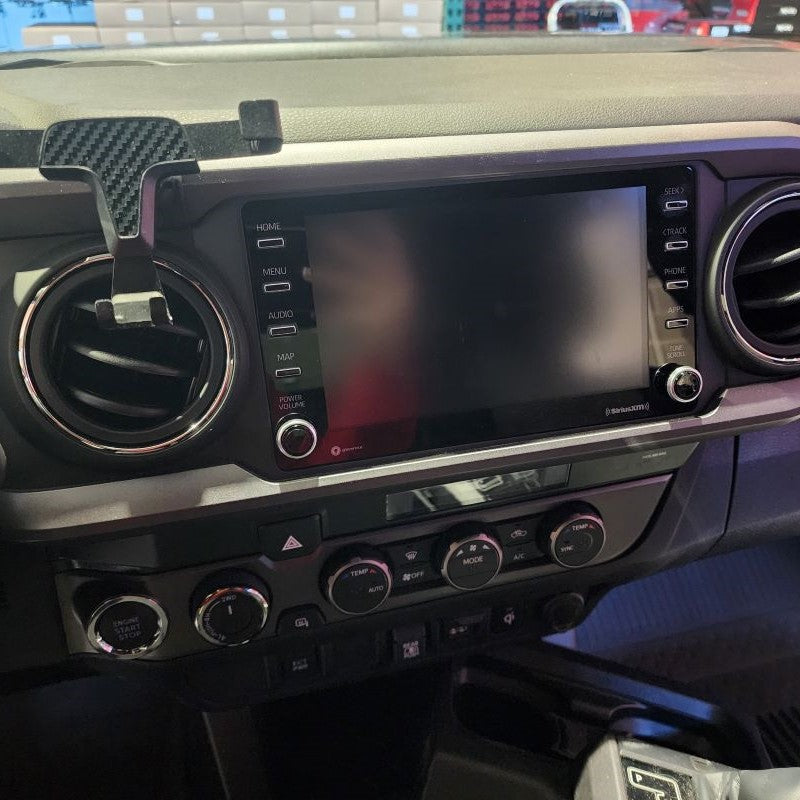
For those that have a Toyota Tacoma Model Years 2019 or Newer, you will have a little longer of a process before getting to Step 4. So......starting with your Center Trim Bezel covering your stereo, you will need to remove this first. Don't worry, it just pulls straight off. Put your fingers behind the Center Console Panel Trim and slowly just work your way around pulling it outward towards the center of the cab. Once it is removed, set it aside. Next, you will be removing the climate control Trim Bezel. Start with the small lower instrument trim panel that goes under your steering column. All you need to remove is the right side little thin section by your push start button. Please see pictures below. You can slowing start pulling the climate control bezel out.
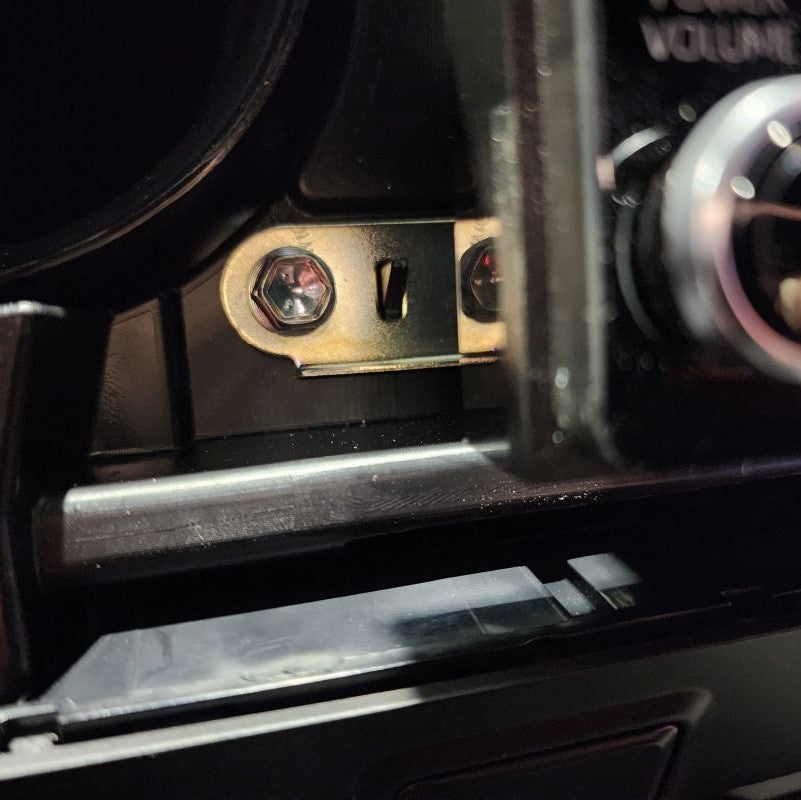
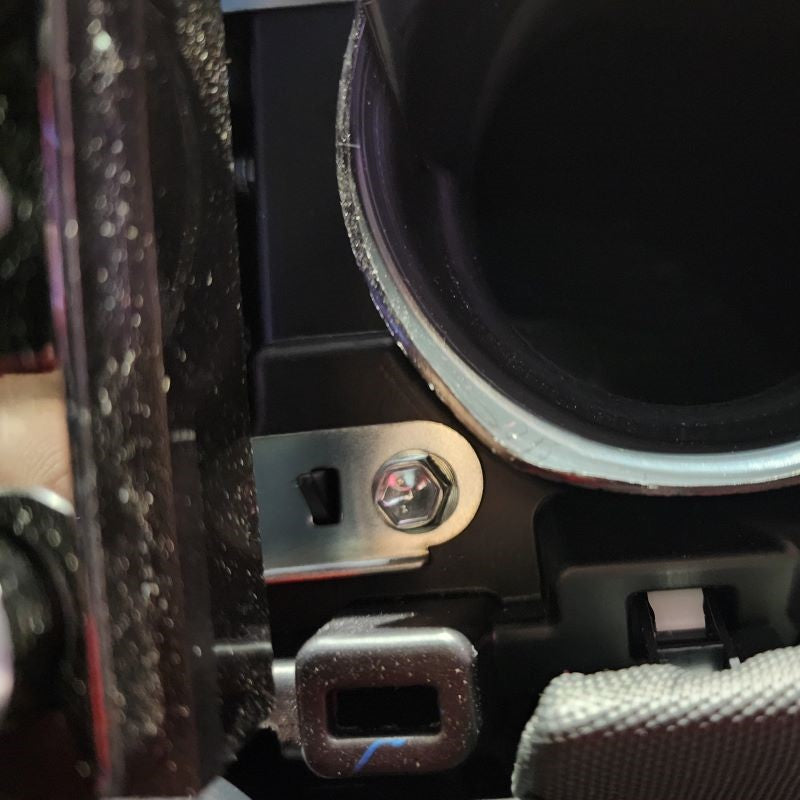
SIDE NOTE: It may help taking the two lower 10mm bolts out of your stereo bracket to be able to lift it and release the notches at the top of the climate control bezel.
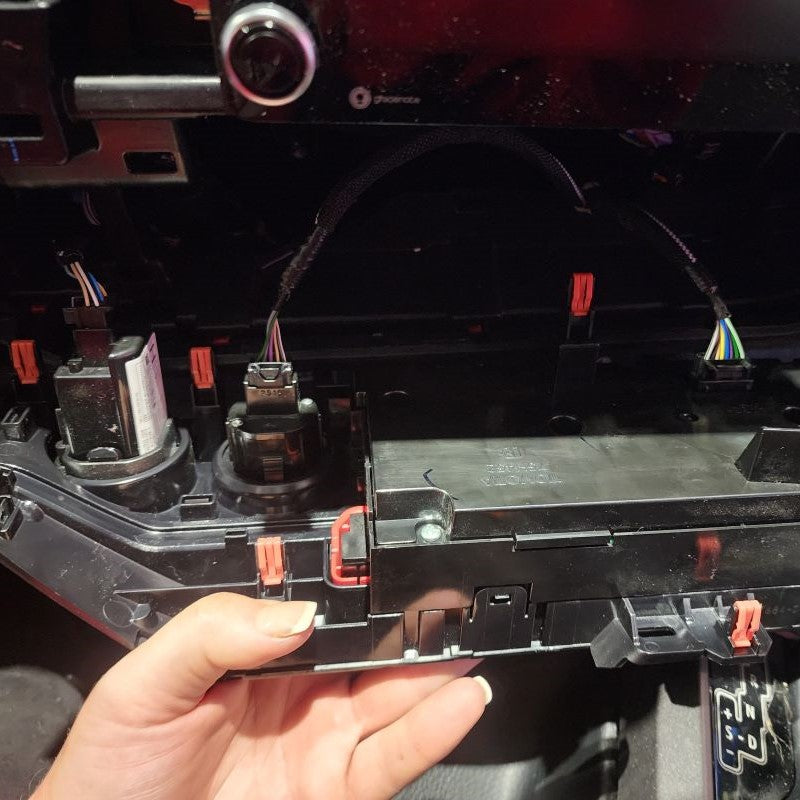
Once you have the climate control bezel released, be careful not to pull it all the way out until you discconnect the factory connectors on the backside. Set aside for later when you will reinstall.
INSTALL IMAGES


STEP 4
-
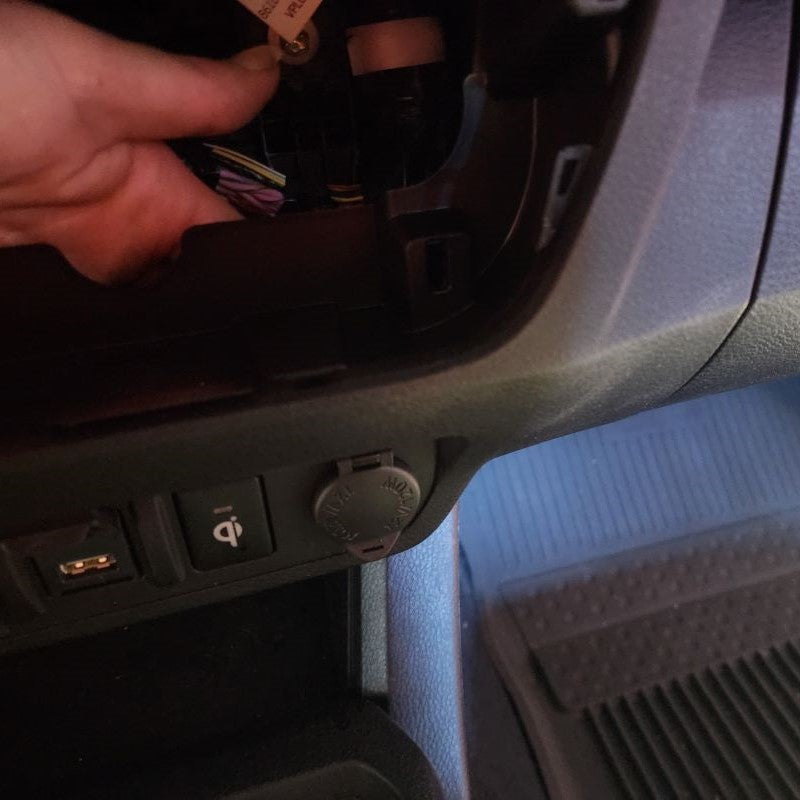
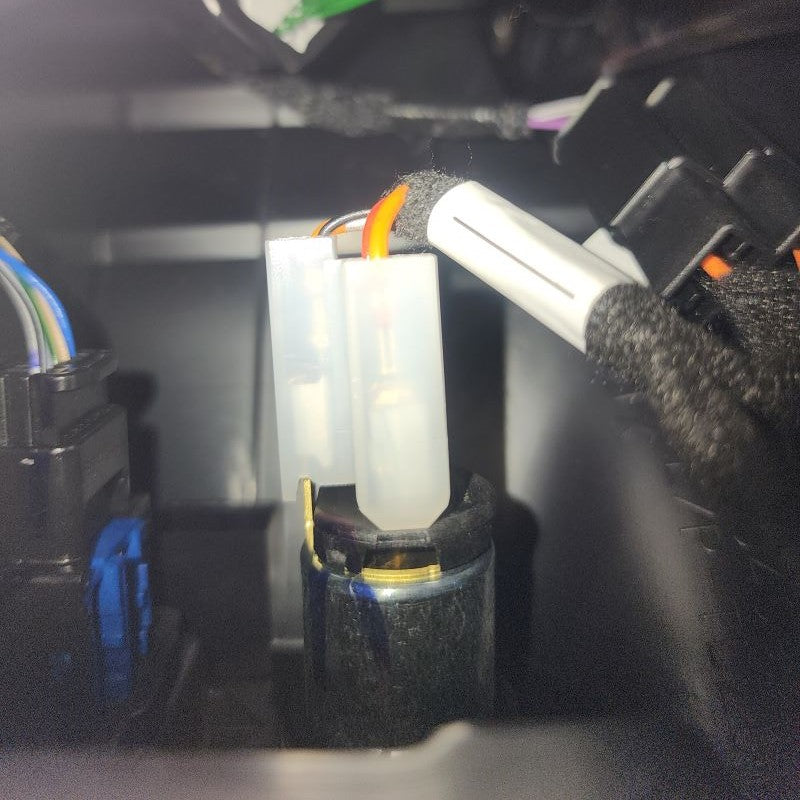
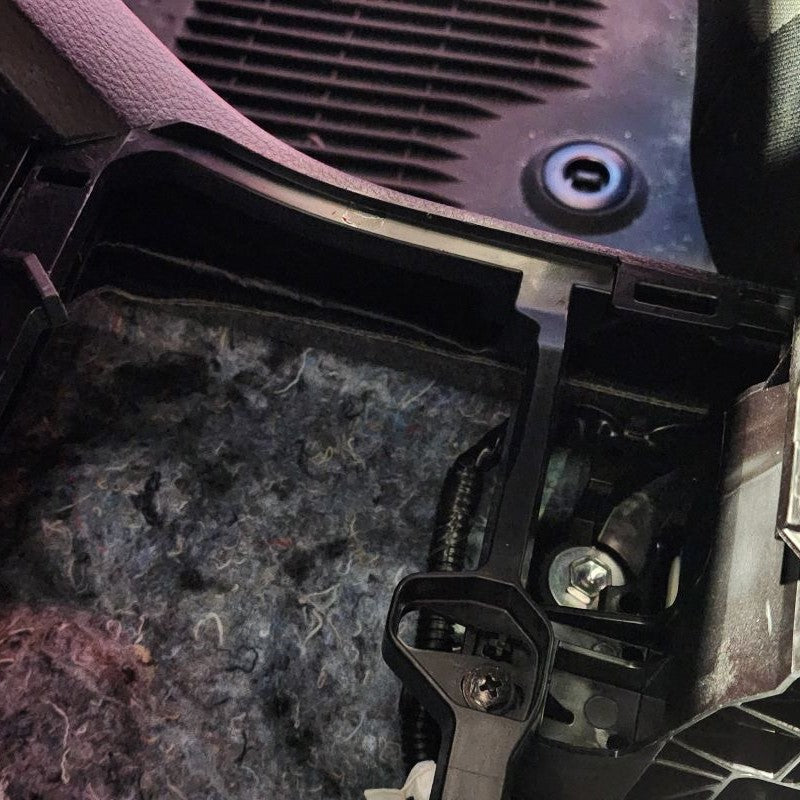
Now that the upper dash trim panel sections are removed and out of the way, you now have a clear path to the 12V Power Source connector in the back. Reach behind and just pull the connector off the backside of the factory plug. You will notice that it is a direct fit to the included Plug-N-Play Wire Harness from the package. The New Wire Harness will now connect to the back side of the 12V Power Source allowing you to run your wiring harness underneath and into the center console section where the shift knob is located. If you have a fishing tape wire puller it would be helpful, but it is not required.
INSTALL IMAGES


STEP 5
-
In reverse order, go ahead and re-install all of your dash trim panel pieces.
INSTALL IMAGES


STEP 6
-
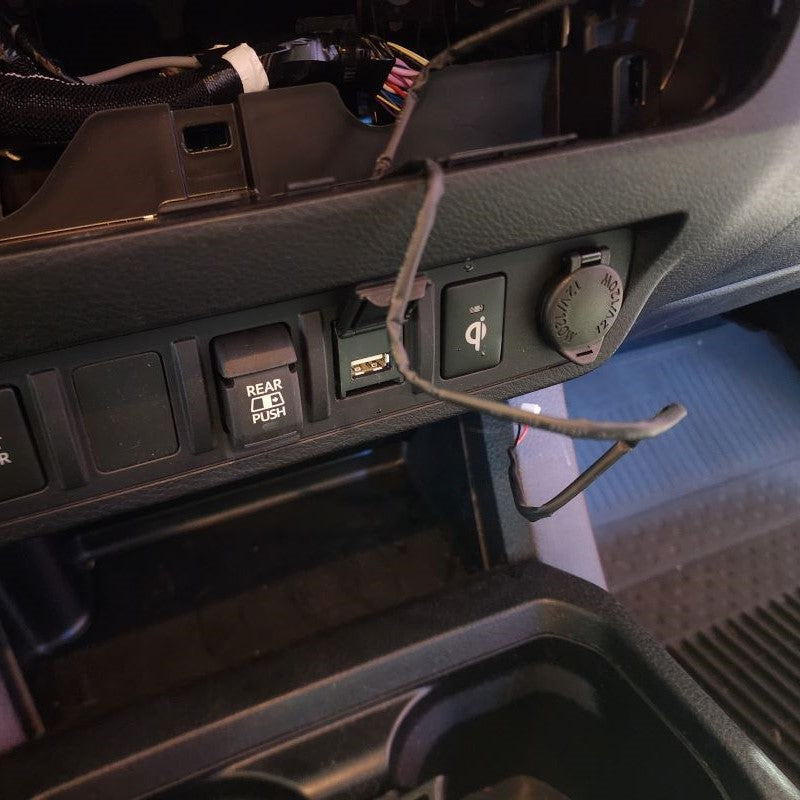
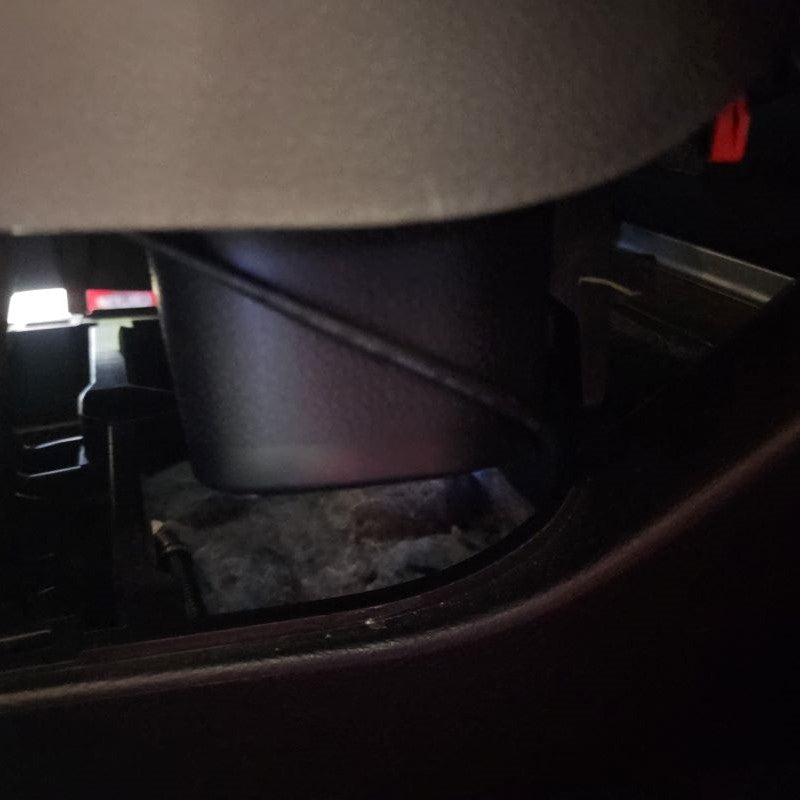
To make sure the wire harness is out of the way for the cup holders, run it along the passenger side. Take a look at the first two pictures below.
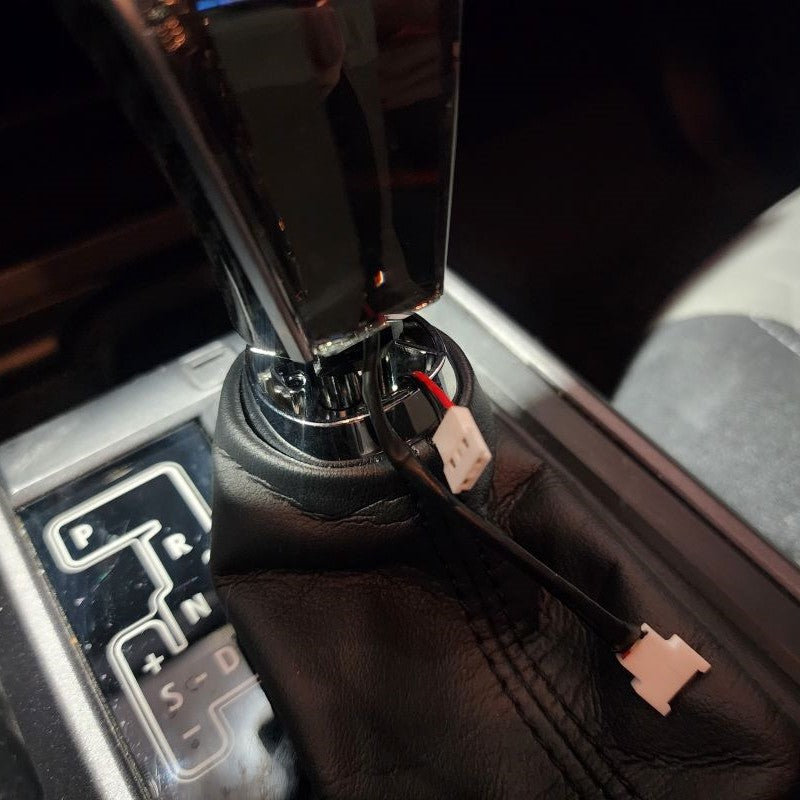
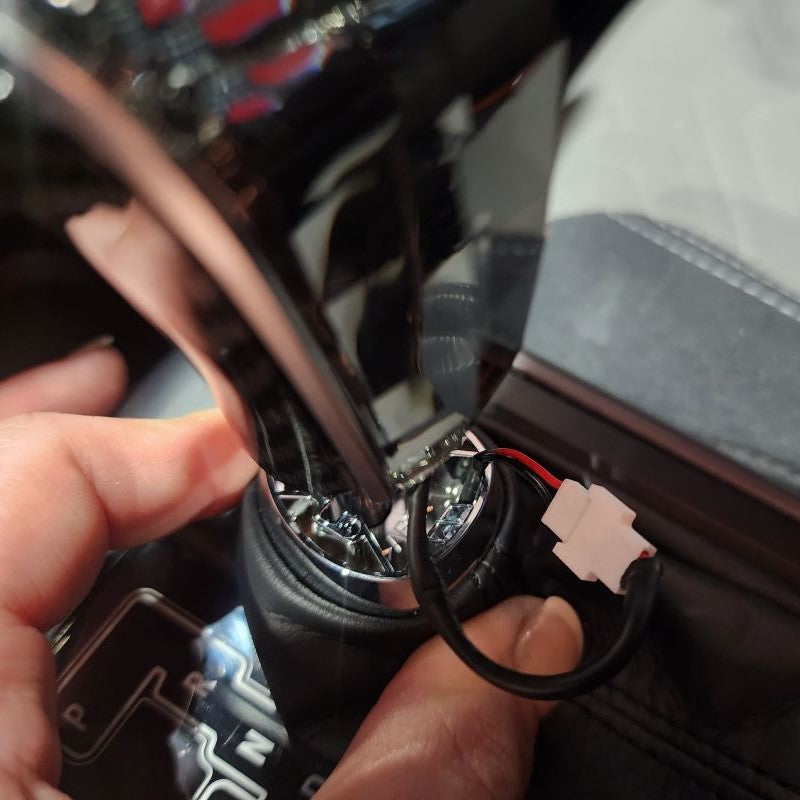
As you slowly lower the center console shift cover, re-connect the factory white connector you discconted in Step 2 and then run the New Wire Harness through the top of the Shift Knob opening. Once you have ahold of it, go ahead and press the center console down slowly making sure that all of the clips pop back into place and do not break or come off.
INSTALL IMAGES


STEP 7
-
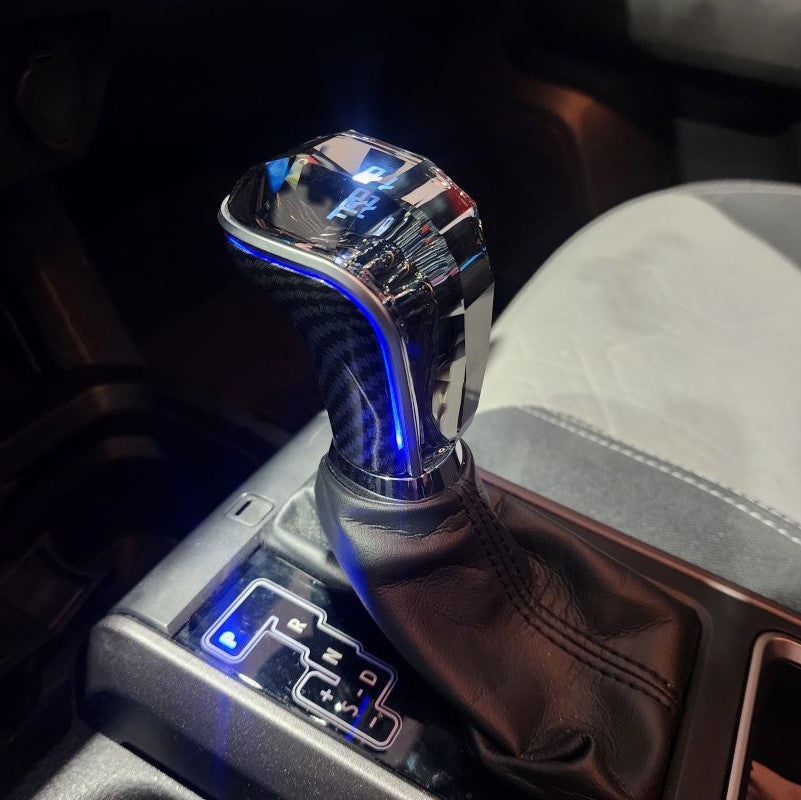
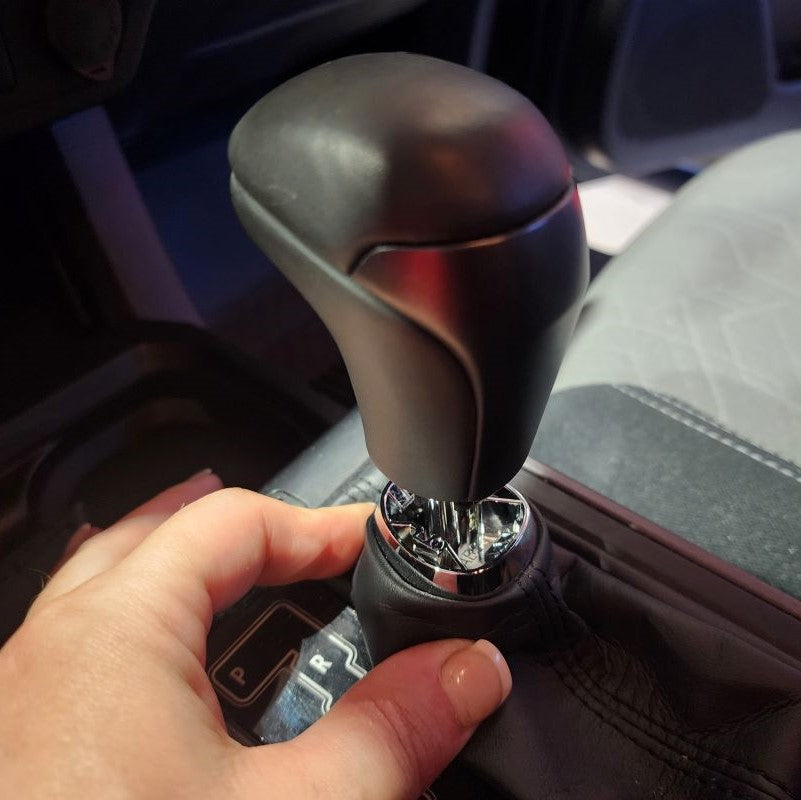
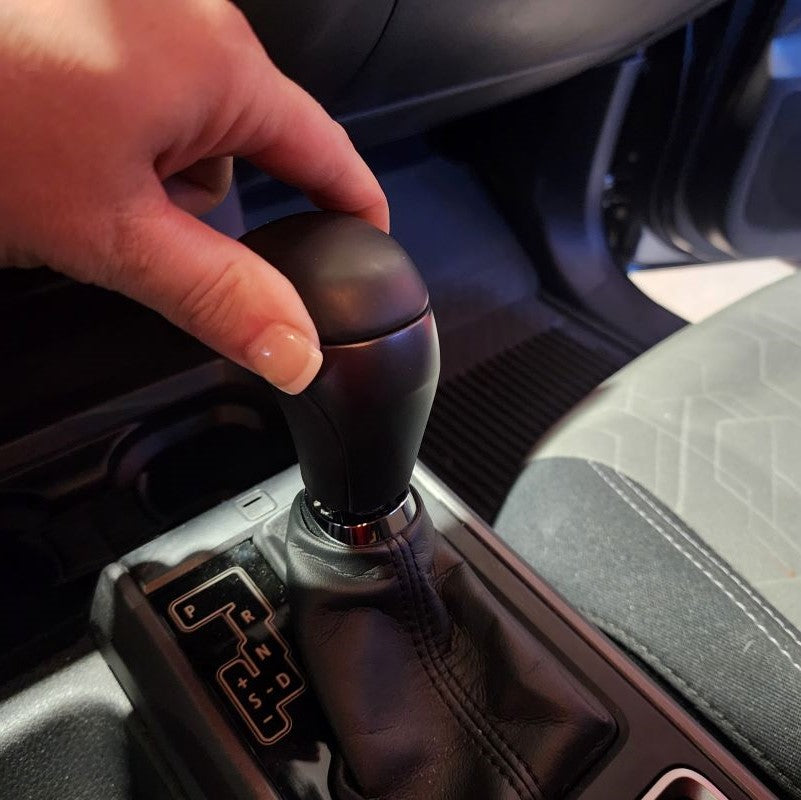
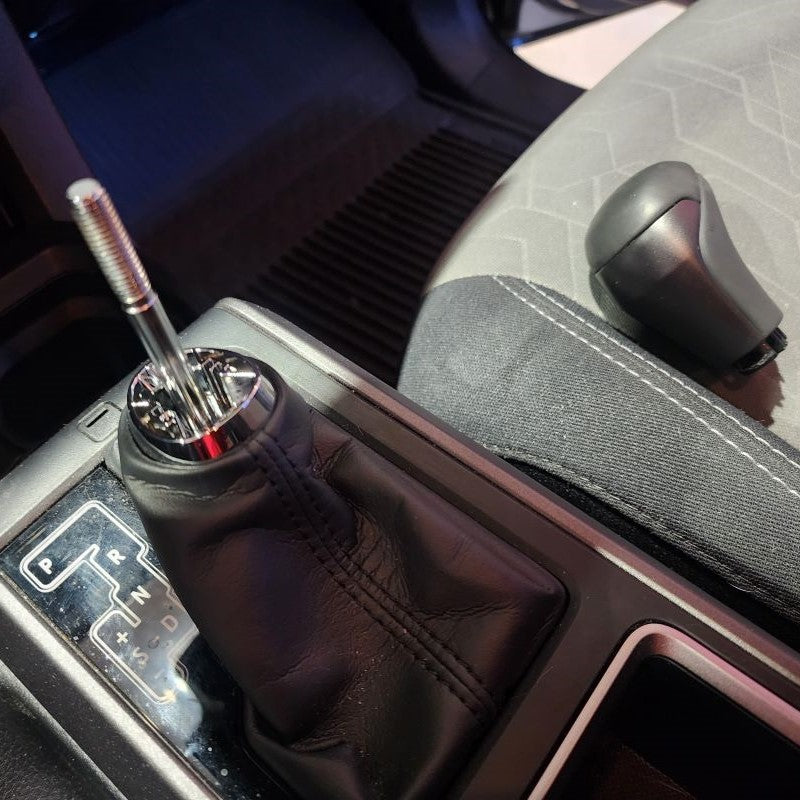
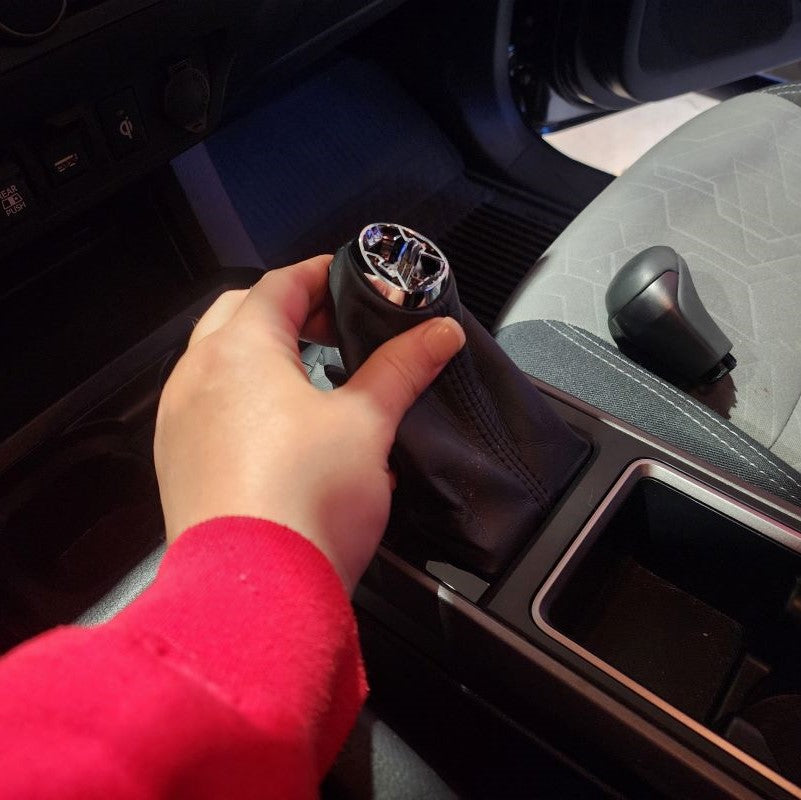
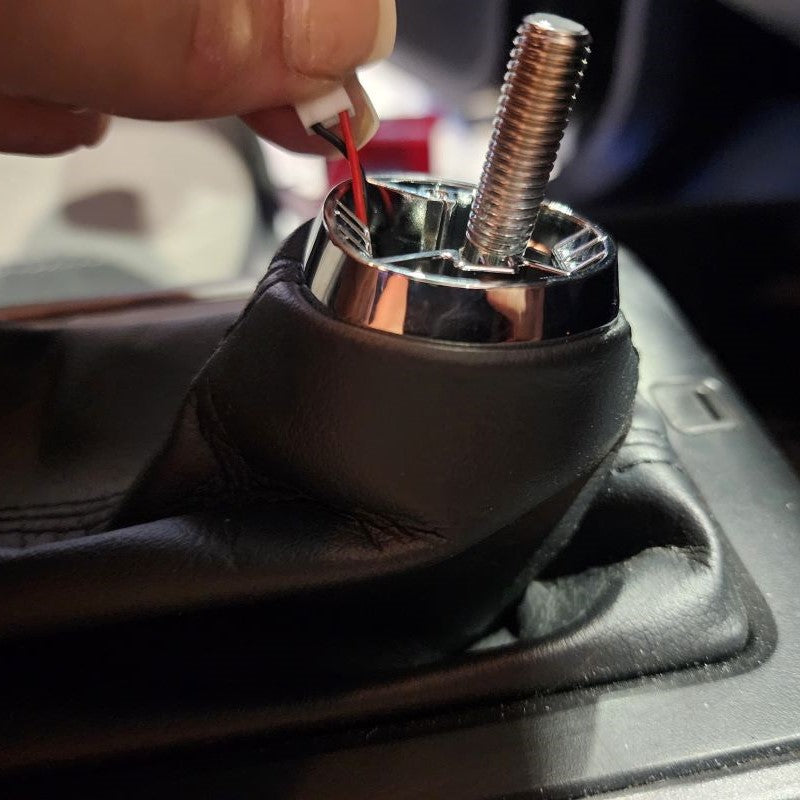
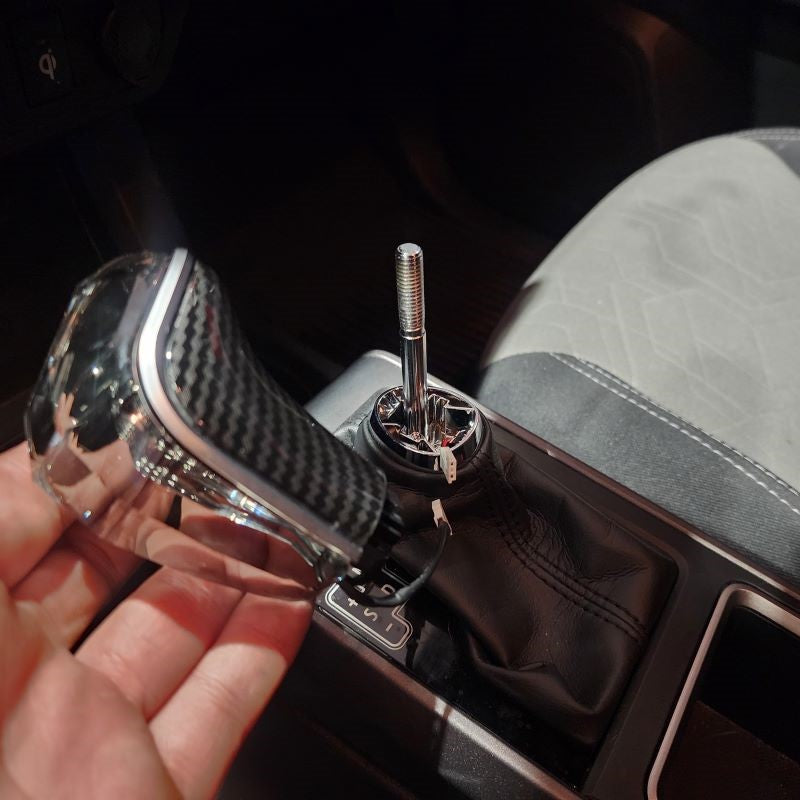
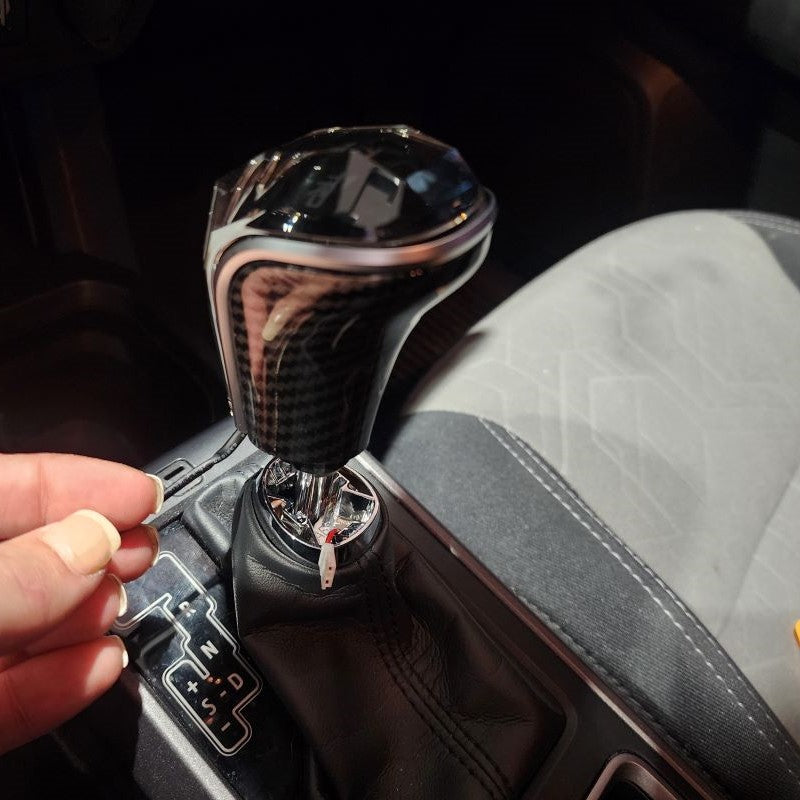
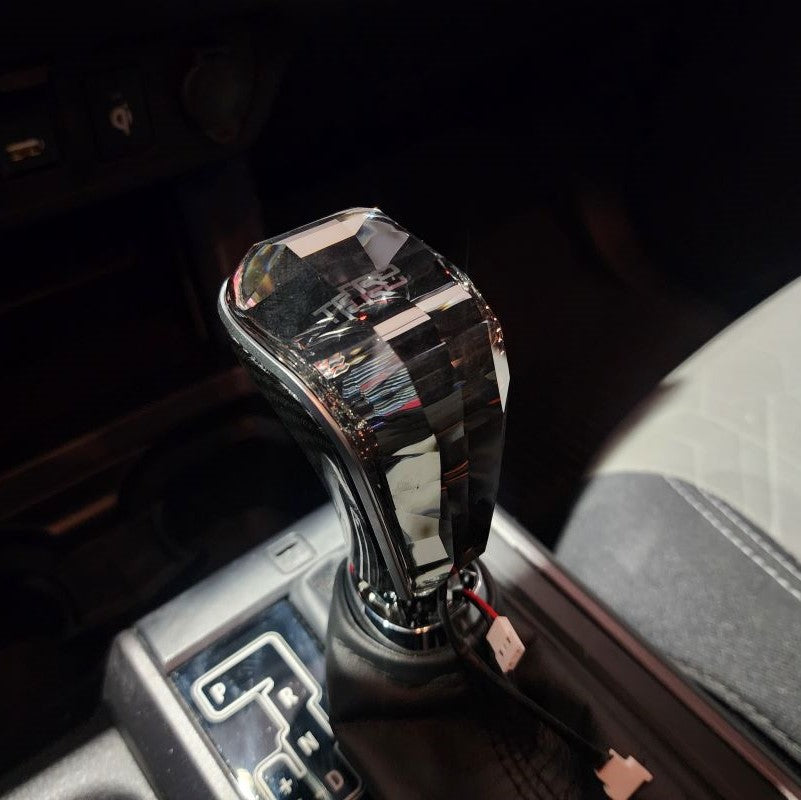
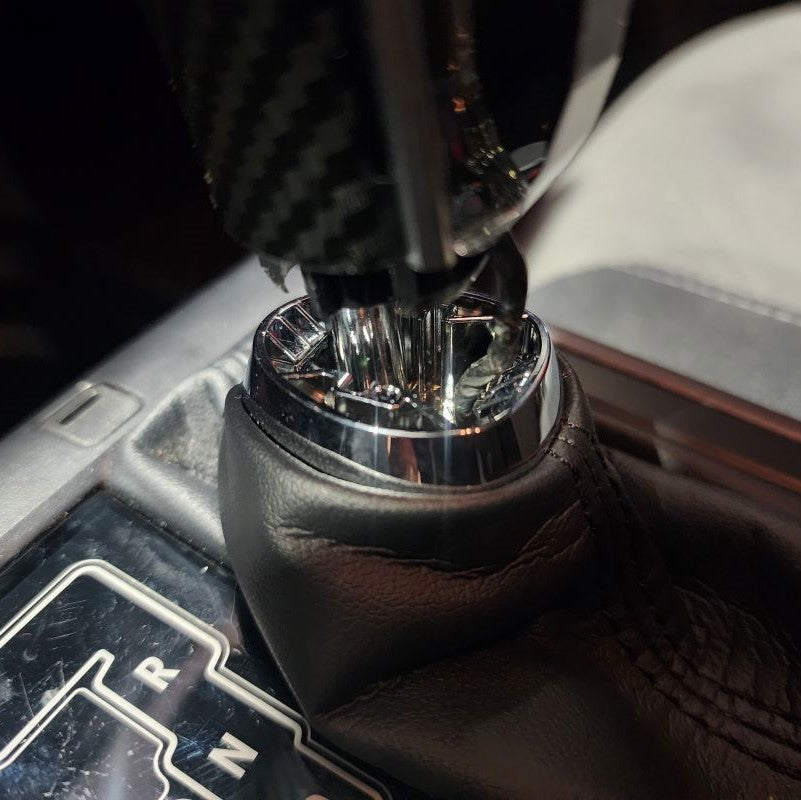
Now is time for the install of your Crystal LED Shift Knob. You are going to want to twist the Shift Knob clockwise to lower it onto the Gear Shift rod.
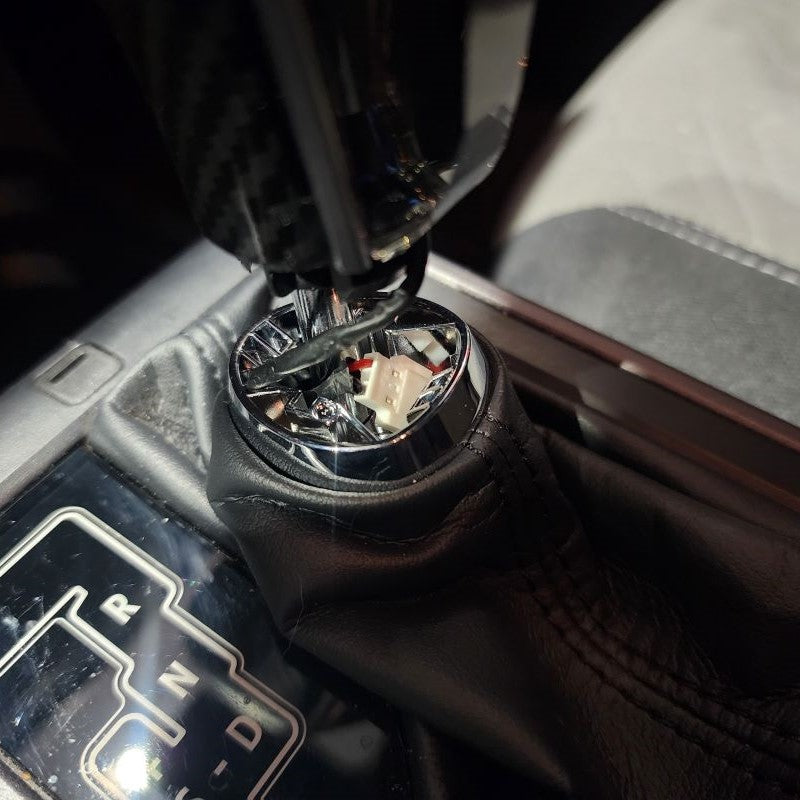
NOTE: Do not connect the wire harnesses at this stage. It will wrap around and break/snap. Make sure to pay close attention to this.
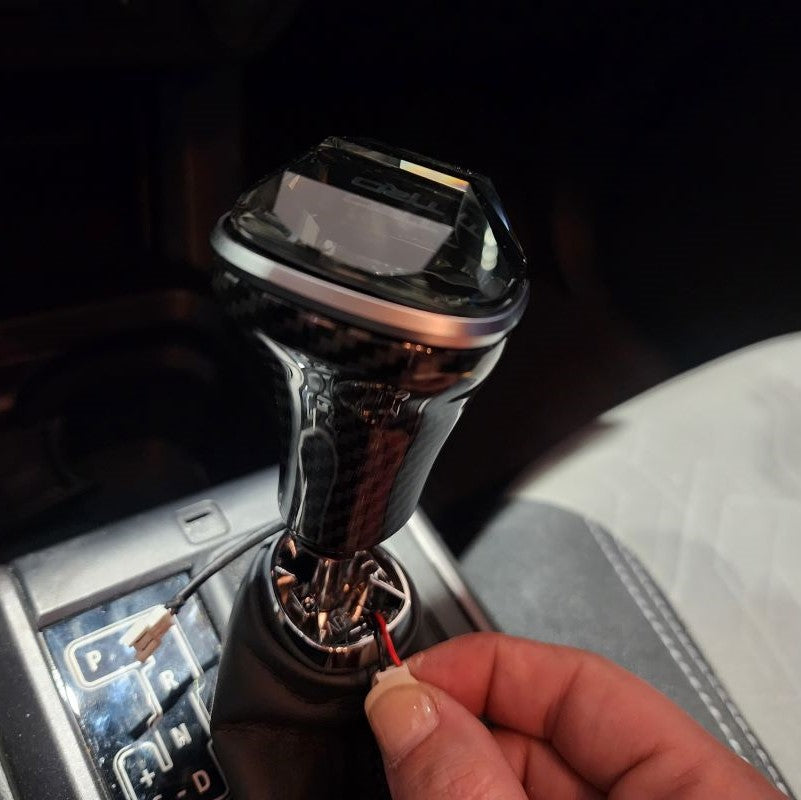
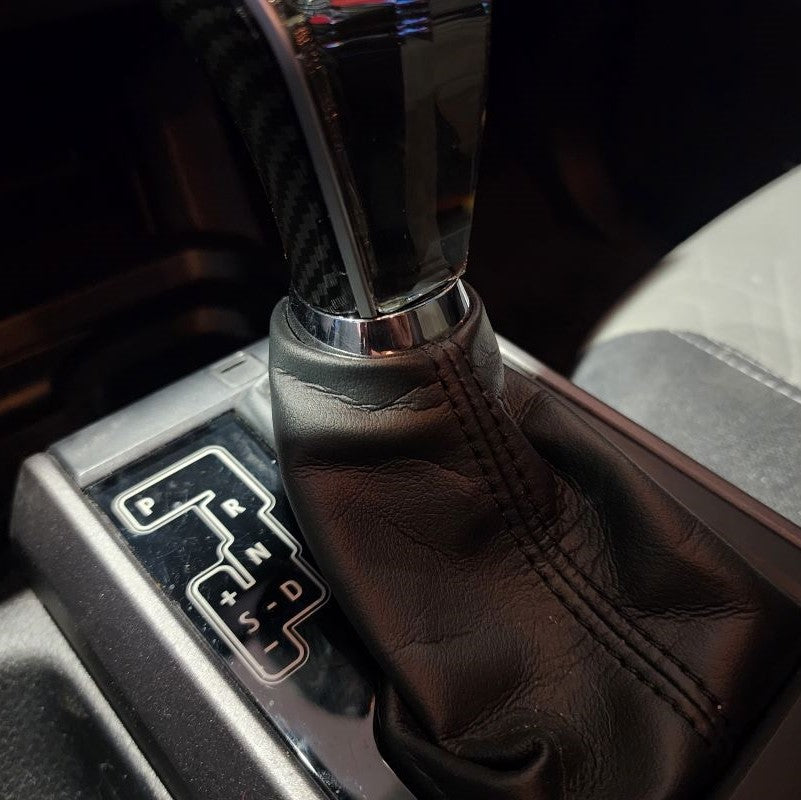
After the Crystal Shift Knob is as low as you desire, go ahead and connect both wire harnesses at this point. Next, you can push the wires back down into your Shift Boot. This will clear space for your to raise the Shift Boot and directly snap it back into place with your New Crystal Shift Knob.
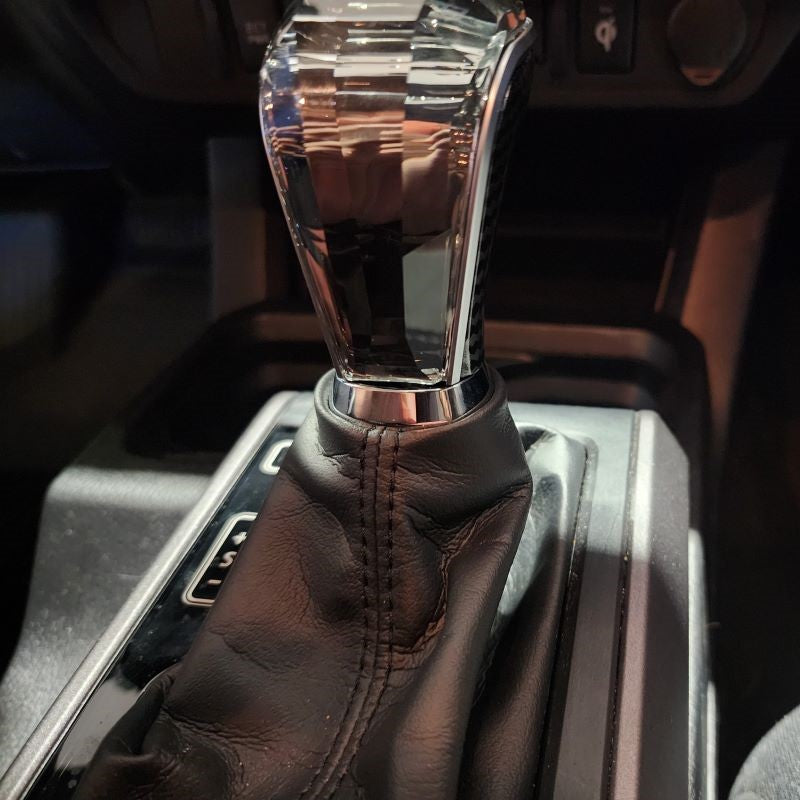
Only thing left to do is to test it!
INSTALL IMAGES


STEP 8
-
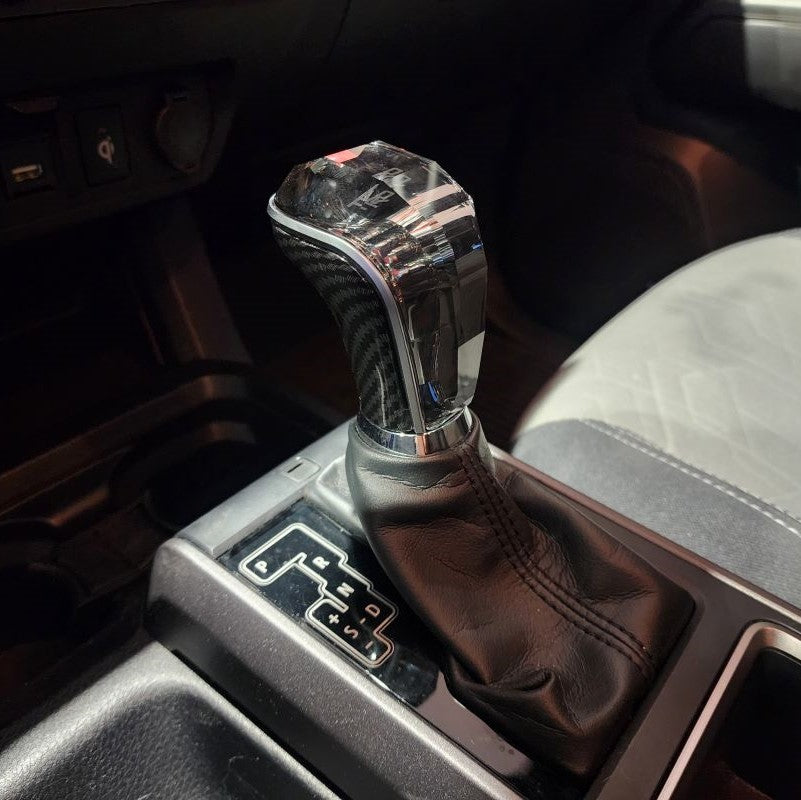
Enjoy your New Crystal Shift Knob!
INSTALL IMAGES