Your Cart is Empty


FOR TOYOTA TACOMA MODEL
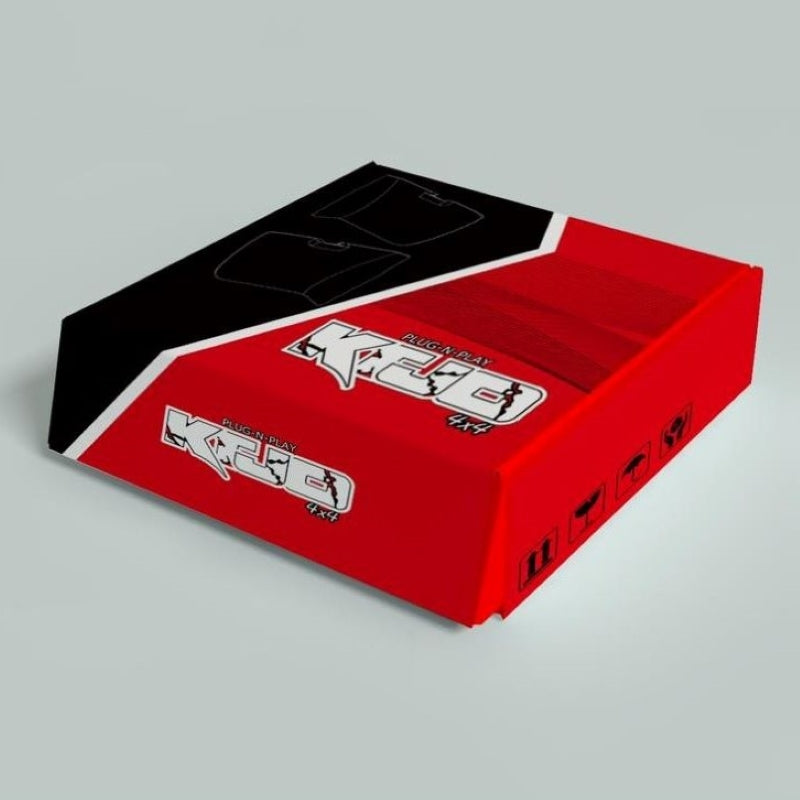
ITEMS INCLUDED IN THE HEADS-UP DISPLAY PACKAGE:
1 x DIY Heads-Up Display
1 x Trim Panel Remover
1 x Reflective Film
1 x Plug-N-Play OBDII Wiring Harness
1 x Plug-N-Play Steering Column Extension Wiring Harness
1 x Scraper
PERFORMANCE CHARACTERISTICS:
- For Special Car
- Plug-N-Play, Easy Installation
- Powerful and Easy to Use
- Low Operating Current, Low Standby Current
- HD Display, Automatic Brightness Adjustment
- Original Car Style, Original Car Quality
Installation Instructions - Heads Up Display (Located on Website)
1/2-in Drive Ratchet
Socket (10 mm)
Phillips Screwdriver
Spray Bottle (Water/Glass Cleaner)
Electrical Tape (Optional)
SPEED CORRECTION:
If it is found that the speed of the vehicle and the speed of the instrument panel are inconsistent, you can enter the speed correction to correct it. There are two ways to enter the speed correction:
1. In the vehicle starting state, the vehicle speed is 0, and under the condition of no fault code, long press the "-" button to enter the speed correction;
2. The speed of the vehicle is greater than 0, long press "-" can also enter the speed correction; At this time, the "KM/H" unit flashes and is adjusted by "+" and "-". When the speed is 100KM/H, how many times the difference is made, click "ok" to save.
Remark : When the speed is 50KM/H, how many yards are different, you need to press twice.
Such as : The instrument panel displays 50KM/H, and the product display 48KM/H, you need to press the "+" button 4 times.
Must Press + to see the narrative on each Step
-
Using your included plastic trim panel removal tool with the heads-up kit. Simply pry the “SRS Curtain Airbag” bolt cover off to expose the bolt underneath.
Once the SRS Curtain Airbag bolt cover is removed (and left hanging), remove the bolt underneath using your 10mm socket wrench.
With the 10mm bolt removed, you can now pry off the factory A-pillar. The pillar has a few clips underneath holding it into place. Just take your time prying behind the panel with your plastic pry tool and pull it up and away from the windshield.
STEP 1 (Optional)
INSTALL IMAGES


STEP 2
-
Using the provided trim removal tool from your package, start on one of the front edges and work your way back towards the windshield slowly prying the factory panel trim piece up. It is held in by three fasteners and in the front it has two teeth tabs that tuck underneath the front dash. To fully remove this, you will need to have the first three fasteners released so that you can pull the full sub assembly back towards the cab and away from the windshield. Once this is complete, you can set this dash trim piece aside as you will not need it again.
INSTALL IMAGES


STEP 3
-
To make your installation go smooth, we are going to remove all the dash panel assembly sections that will allow for you to have a clear path from the upper dash location to your OBDII (Tacoma Year Models 2016-2018) or under your steering column (Tacoma Year Models 2019+) You will continue to use the trim removal tool and 10mm socket.
INSTALL IMAGES


STEP 4
-
In the second portion, you are removing the lower dash panel assembly. This will make a clear path to underneath the steering column. It is held in with som red fasteners, but just take your trim removal tool around the edges slowly and pry it away from the edges slowly.
INSTALL IMAGES


STEP 5
-
To remove the steering column cover, you will need to turn your steering wheel both directions to locate the hidden screw behind it. Once both screws are removed, you will be able to pull the bottom cover down completely.
INSTALL IMAGES


STEP 6
-
Start by running the wire harness down the side slot of your truck. You will want to run it right next to the factory wire harness. Use some of the included zip ties in the kit or optional electrical tape to secure it to the factory wire harness as you go. Once you have the wire harness all the way through the dash to the bottom, you can secure the Heads-Up Display into the top of the Dash using the tabs on the backside of the panel just like you removed the factory Panel Sub Assembly. Complete this task in reverse order.
INSTALL IMAGES


STEP 6
-
Now is the time you are going to want to clean up the wiring and use the included zip ties or optional electrical tape. Again, for those that have a Toyota Tacoma Model Years 2016-2018, you are going to use the wire harness with the OBDII. For those that have a Toyota Tacoma Model Years 2019 or Newer, you are going to use the additional wire harness in the package and disconnect the OBDII wire harness. You are going to run your wire harness under your steering column. Follow the pictures below and use the additional zip ties to tidy up the wires and make for clean install. You will see a white factory 5-pin connector that looks identical to the one in the picture below. It also is identical to your Plug-N-Play Harness included in the package. Disconnect the factory connector, plug it into the included new harness, and then plug the new harness into your truck.
INSTALL IMAGES


STEP 7
-
Take this time to make sure all of your trim pieces and steering column cover gets put back on and there is nothing out of place. Make sure all of your red factory fasteners are in their correct locations so that you have no loose sections. Very important. You really do not want any rattling going on while your driving down the road from a loose dash.
INSTALL IMAGES


STEP 8
-
Almost done.
First, you are going to want to put something down on your dash for when you spray your windshield, it doesn't get everywhere.
Second, make sure the inside of your windshield is clean. You can use All Purpose Cleaner, Windex, etc.
Next, you are going to want to use something to spray on your windshield like water to help with aligning your reflective film during installation. (Note: Prior to spraying the water, peel off the side that says BACK on the reflective film)
Now, since the windshield has the water on the windshield, you will put the reflective film right on that spot with the water. Make sure you get it directly in the location that is ideal for you. On one side, you may need to hold it at first so it doesn't move, while on the other side you use the included squeegee tool. After it starts, you will not have to hold it. Scrape all of the water from behind to have a clean finish.
Finally, once it all is removed, peel off the side that says FRONT.
INSTALL IMAGES


STEP 9
-
Enjoy your New Heads-Up Display!
INSTALL IMAGES

