Your Cart is Empty


FOR TOYOTA TUNDRA MODEL
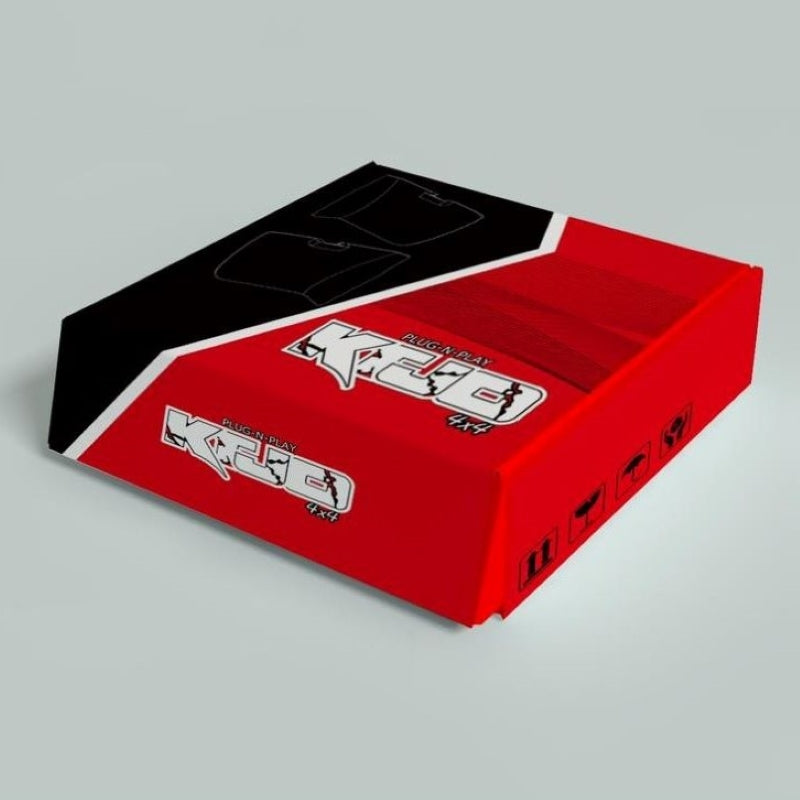
ITEMS INCLUDED IN THE ONE TOUCH MULTIFUNCTIONAL SMART WINDOW CONTROL PACKAGE:
1 x Driver Plug-N-Play Wiring Harness
1 x Control Module
1 x 3M Mounting Pad
FEATURES:
In addition to the Automatic Up and Down features with the OEM Key Fob, you also get the following included combination features:
1. Auto Window Closing when Locking: Press Lock 2x on the Remote Control to Lock the Truck and it raises the windows after the Truck is powered off and all doors are shut.
2. Auto Window Opener when Unlocking: Press Unlock-Lock-Unlock on the Remote Control, the four windows will descend for the convenience of heat cooling.
3. Auto Window Closing Pause: Press Unlock on Remote Control to pause all windows from going up all the way.
4. Auto Window Opener Pause: Press Lock on Remote Control to pause all windows from going down all the way.
5. Auto Window Ventilation Pinch: Press Lock-Unlock-Lock on the Remote Control, the four windows will descend 2cm for the convenience of heat cooling. Repeat and windows will continue to descend an additional 2cm.
6. Auto All Window Up/Down One Touch: Press all 4 Switches in Driver’s Seat to operate as “One Touch” Up and Down Switches. They will Open, Close, and Pause All Windows with one click. Likewise, Press All Passenger Seat Switches and they operate as “One Touch” Up and Down Switches. They will Open, Close, and Pause Windows with one click.
7. Auto Window Opener Lock Mode: Press Unlock-Lock-Unlock on the Remote Control, the four windows will descend for the convenience of heat cooling. To activate just the Lock Mode Press Lock on the Remote Control to only Lock the Truck without Closing the Windows. The Windows of the Truck stay Open in Lock Status. Press Lock on the Remote Control a 2x and All Windows will Auto Close.
8. Waiting for Someone Mode: Press Unlock-Unlock-Lock on the Remote Control after the Truck is powered off and all doors are shut to Lock the Truck without raising the windows.
TOOLS NOT INCLUDED BUT ARE NEEDED:
Installation Instructions - One Touch Multifunctional Smart Window Control (Located on Website)Phillips Screwdriver
Door Panel Remover (optional)
DISCONNECT THE BATTERY BEFORE YOU BEGIN INSTALLATION
Must Press + to see the narrative on each Step
-
Start by removing the triangle trim panel in the upper right corner of your door. It is held in with three plastic fasteners. Pull straight out away from the door and it will release. Be aware, some of the white plastic fasteners may stay in the door. Remove these and reinstall them on the trim panel for reinstallation later.
Following that, you will have one small circled fastener located right below the triangle trim piece you just removed. Push the center of that fastener inward to release it from the back of the door panel. Grab the outside of the circle fastener and it should release when you pull it out of the panel.
Next, as you continue to slide down the door panel, remove the door bowl hole cover by using a trim removal tool if you have one or something like it. Start on the left side closest to the door handle. Pry outward away from the door panel from behind the hole cover. It may be easier to pull the door handle out to create more space. Behind the hole cover, you will notice your first hidden screw. Take a screw driver and remove that screw. Set it aside for now.
Lastly, in preparing the door panel for removal, you will need to remove the window switch trim panel. Again, using a trim removal tool or something like, pry upward to release the tabs from the door panel underneath. Disconnect the factory connectors at this point and set the window switch panel aside. Along side of the window switch panel, remove the carpet that is located in the door panel armrest handle pull pocket. Hidden underneath the carpet, you will see another screw. Remove that screw and set it aside for now.
STEP 1
INSTALL IMAGES


STEP 2
-
Using your handy trim removal tool, begin in the lower right corner and start separating the door panel from the door frame. Slowly work your way around the bottom and sides, popping off each successive snap until you’re left with the door panel hanging by the top lip.
Before trying to lift and pull off the door panel, disconnect and remove all the connections on the backside of the panel.
Now, in order to remove the door panel, pull it up and straight back off the door frame at the top lip. Make sure not to pull the door panel too far away from the frame – we still need to deal with the latch and lock cables.
If you look behind the door panel you just pulled off, you’ll see one white and one green Bowden Cable termination. Carefully snap these out of the black housing and maneuver the steel cable ends out of their enclosures. If you should see anymore white connectors that may be connected to your door panel, this is the time to unplug them as they may be the last connections standing in the way of removing the door panel completely from the door frame.
Finally, at this time look around your door frame and make sure all of your white fasteners were removed with the door panel. If there are some still in the door, remove them and reinstall the missing fasteners back in your door panel for later.
INSTALL IMAGES


STEP 3
-
With now having the door frame exposed, we can easily find the window switch connector. – just follow the wire that’s coming out of the master switch panel and routing down to the white connector in the middle right side of the door.
Next, grab your new wire harness and connect it to the factory window switch connector. The opposite side will go back into the master swtich panel as shown, but wait to do this until you put the door panel back on the truck.
Set the driver side mirror to the side and follow Steps 1-3 for the passenger side mirror as well.
INSTALL IMAGES


STEP 4
-
Take the purple and grey wires, that have a plug-n-play harness at the end, and run it accross the door frame from right to left. Use electrical tape or zipties, that is up to you and your personal preference.
Once you get to the left side of the door frame, disconnect the door lock connector shown below. There is a little white tab that you press down while pulling the connector out. Connect the new harness to the factory connector and then push into place the other end to the door.
INSTALL IMAGES


STEP 5
-
Locate the factory white connector at the top of the speak and remove it. You will need either a 10mm socket or a phillips screw driver to remove the four screws securing the speaker to the door frame. Set the speaker to the side for re-installation at a later time.
INSTALL IMAGES


STEP 6
-
First, connect the control module to the brown connector on your new wire harness. There is only one connector that will work so locate that one on your new harness. Some new wire harnesses may vary so if you do not see brown, don't panic. Just locate the only that will fit in the control module.
Next, take the 3M mounting pad and attach it to the backside of the control module. Find a location on your door frame that best fits.
Finally, start running the last wire down your door frame. Again, with the door panel off, you will be able to follow the factory wires down to a black grommet where all the factory wiring is ran to the inside part of the door. Follow exactly how the wire harness is ran to the inside of the door. Please look at the pictures below.
INSTALL IMAGES


STEP 7
INSTALL IMAGES


STEP 8
-
Disconnect the factory connectors inside the driver side kick panel area that are part of the black door grommet. This will allow you to remove the grommet and pull the harness out completely from the cab making it easier to run the new wire harness through the grommet. Once you run the new wires through the grommet, you can re-install the grommet on both sides (door side and cab side).
INSTALL IMAGES


STEP 9
INSTALL IMAGES


STEP 10
INSTALL IMAGES


STEP 11
-
Start by making sure you connect the add-a-circuit to your new wire if you haven't done so already. Locate your fuse box that is underneath your dash. You will want to make sure that you connect the add-a-ciruit to a constant 12V fuse of your choice.
Finally, you can re-install your kick panel and door sill panel in reverse order from Step 7.
INSTALL IMAGES


STEP 12
-
Enjoy your Smart Window System with your New One Touch Multifunctional Window Closer!