Your Cart is Empty


FOR TOYOTA TACOMA MODEL
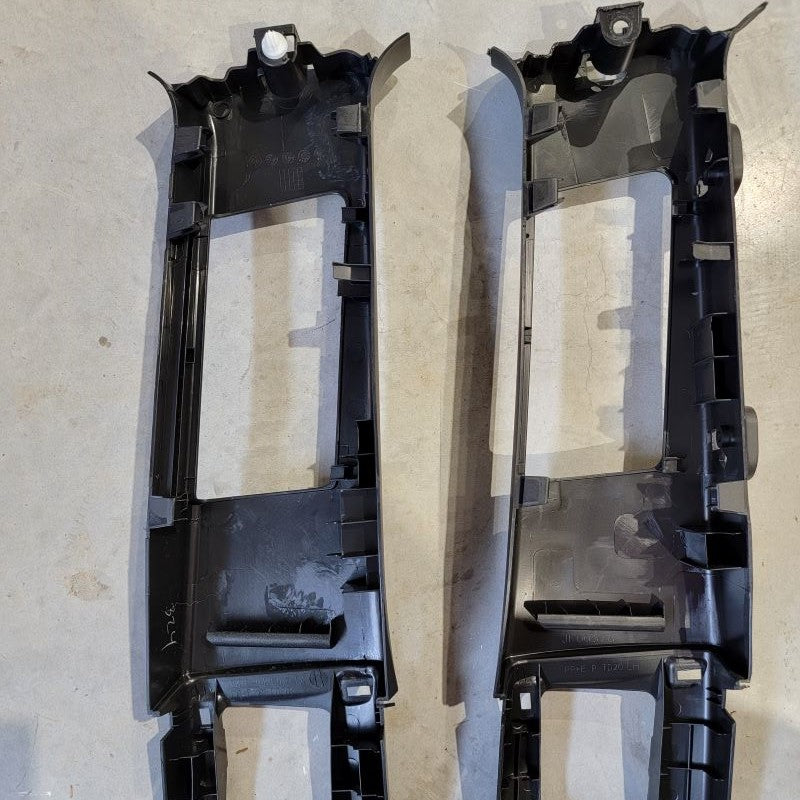
PARTS INCLUDED:1 x Replacement Upper Center Pillar Trim, Left (Black is C1)
1 x Replacement Upper Center Pillar Trim, Right (Black is C1)
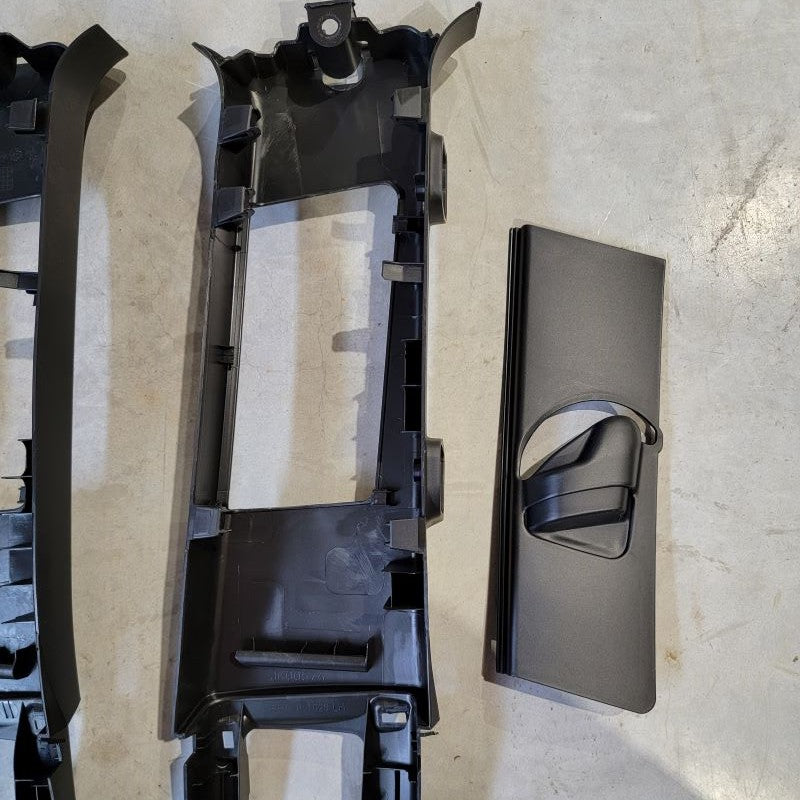
2 x Replacement Grip Handle (Black is C1)
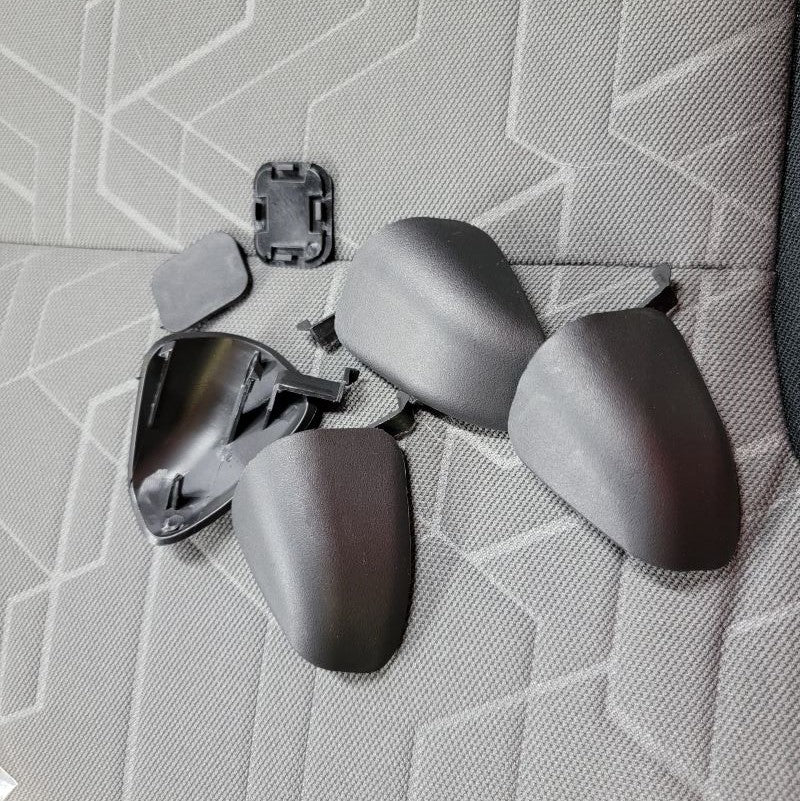
2 x Hole Cover, Grip Handle (Black is C1)
2 x Hole Cover, Support Bracket (Black is C1)
2 x Support Bracket
1 x Hardware Bag
1 x Tool, Rivnut Gun
1 x Tool, Trim Removal
TOOLS NOT INCLUDED BUT ARE NEEDED:
1/2-in Socket (10 mm)1/2-in Socket (14 mm)
1/2-in Drive Ratchet
Phillips Screw Driver
DISCONNECT THE BATTERY BEFORE YOU BEGIN INSTALLATION
Must Press + to see the narrative on each Step
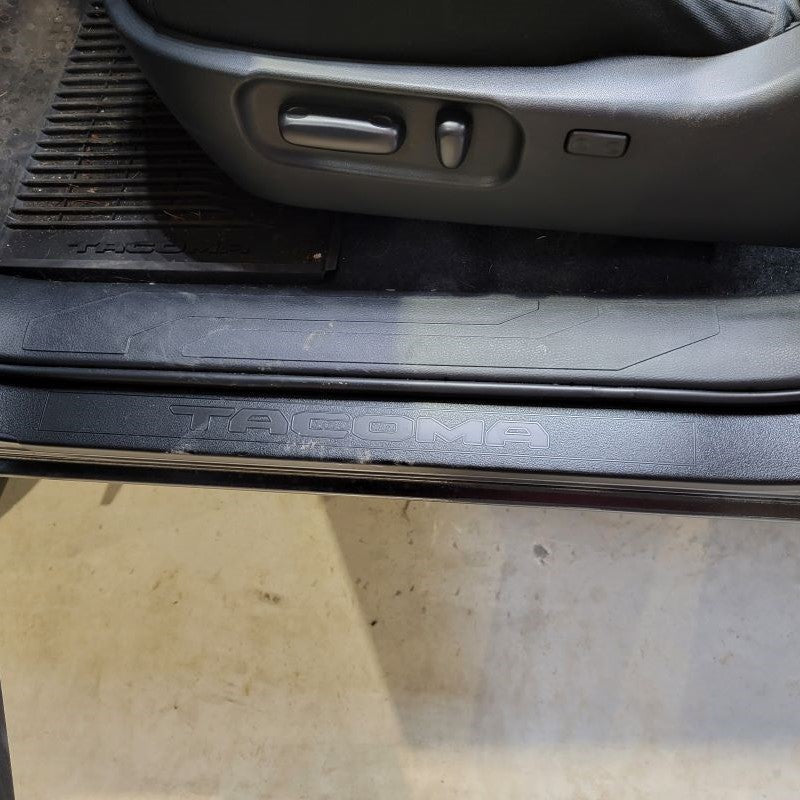
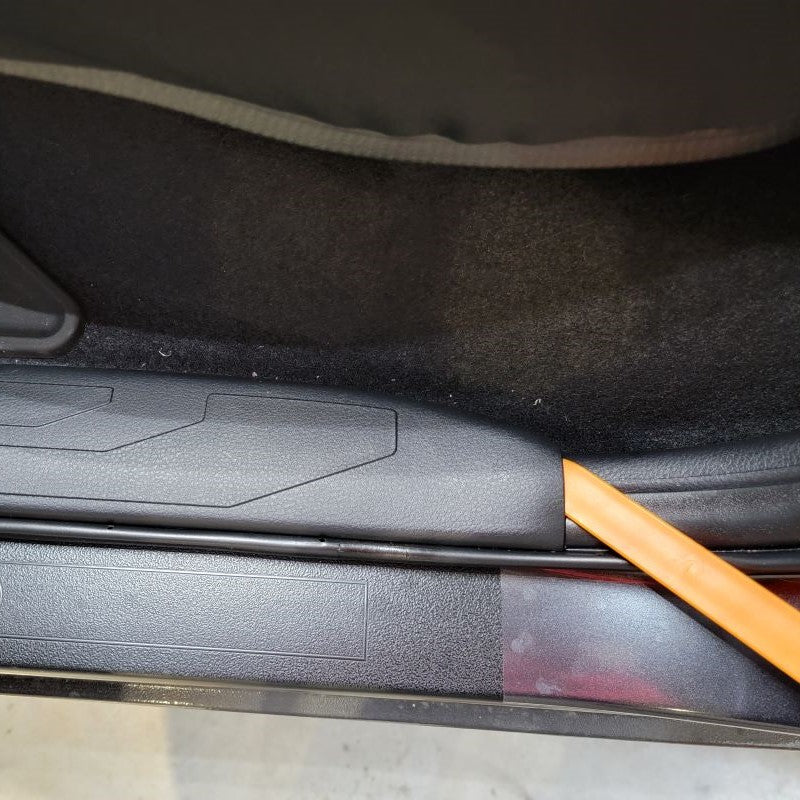
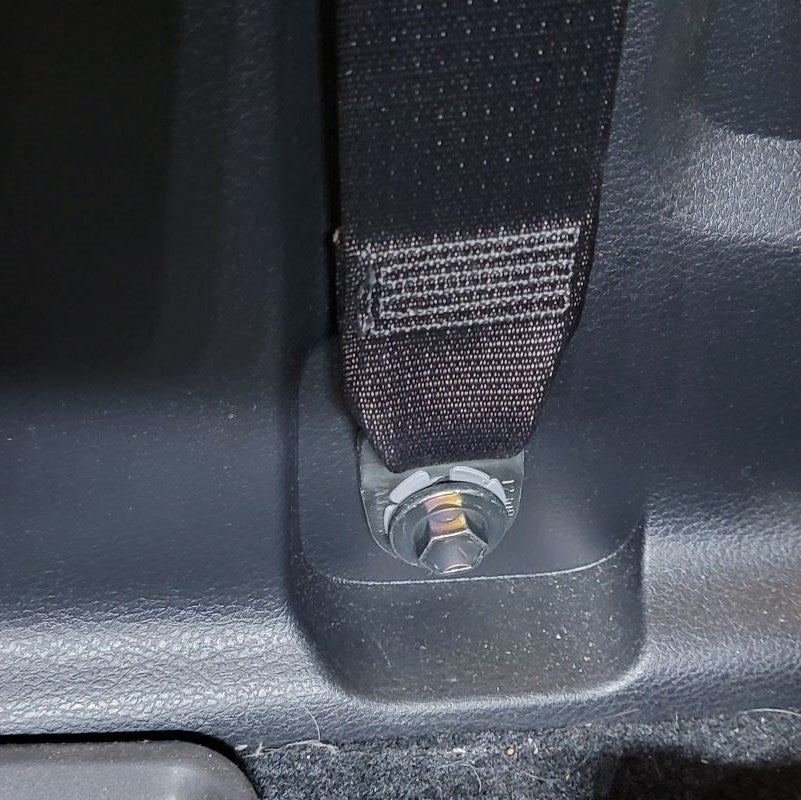
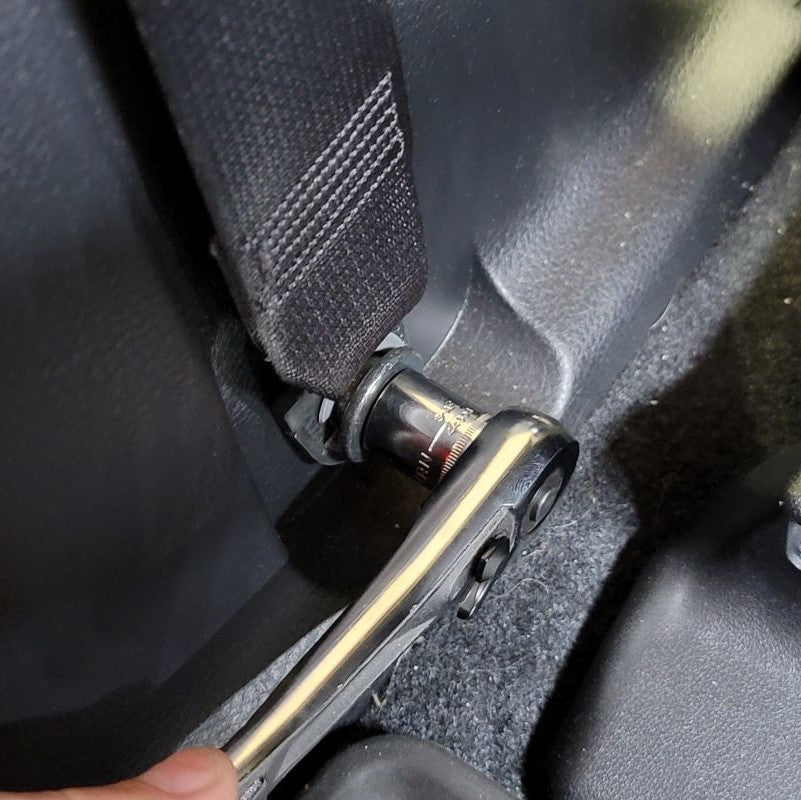
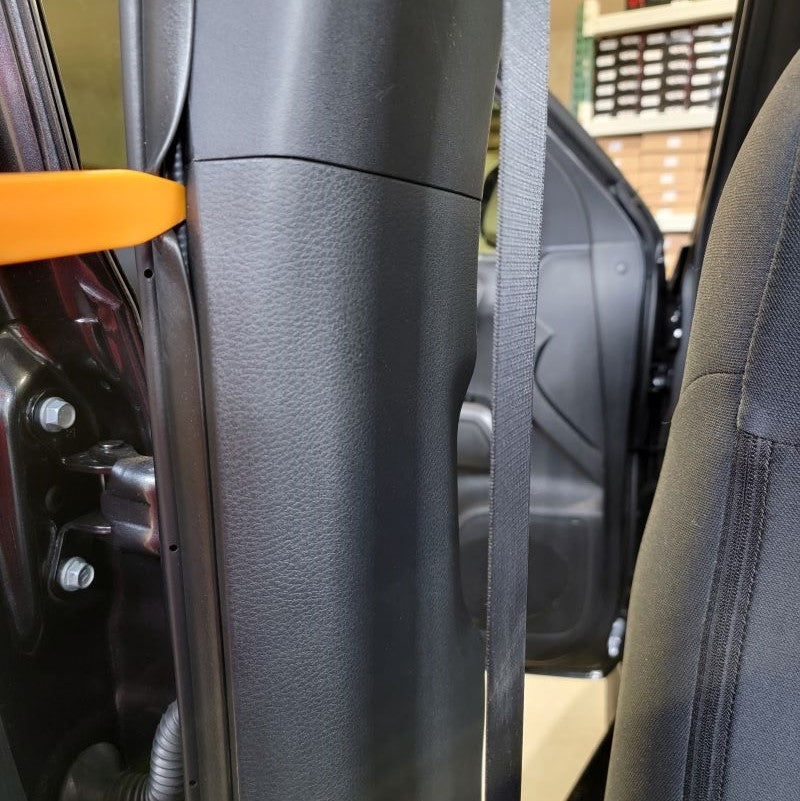
STEP 1
INSTALL IMAGES

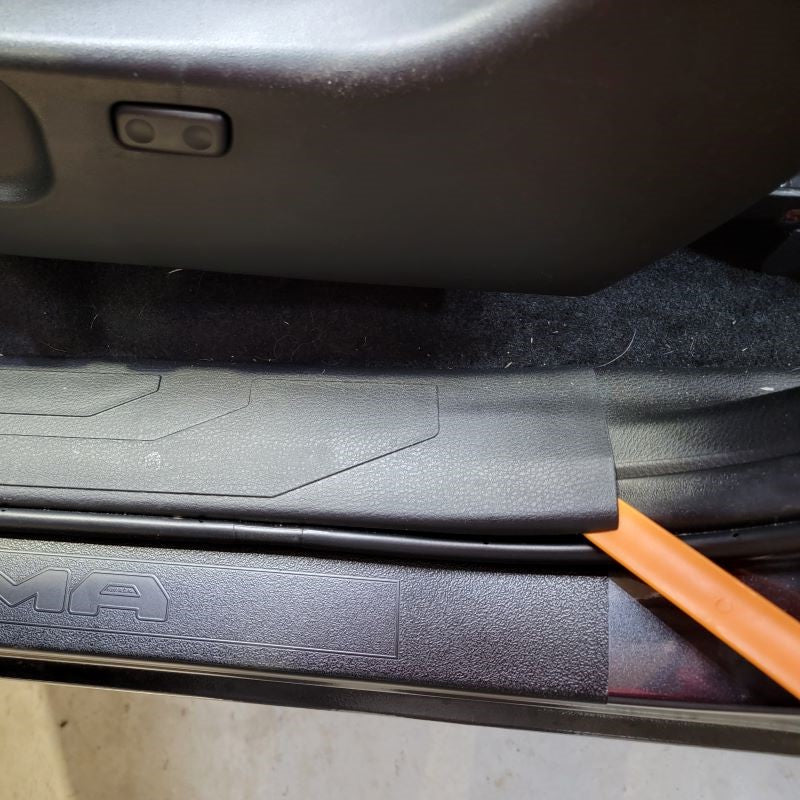


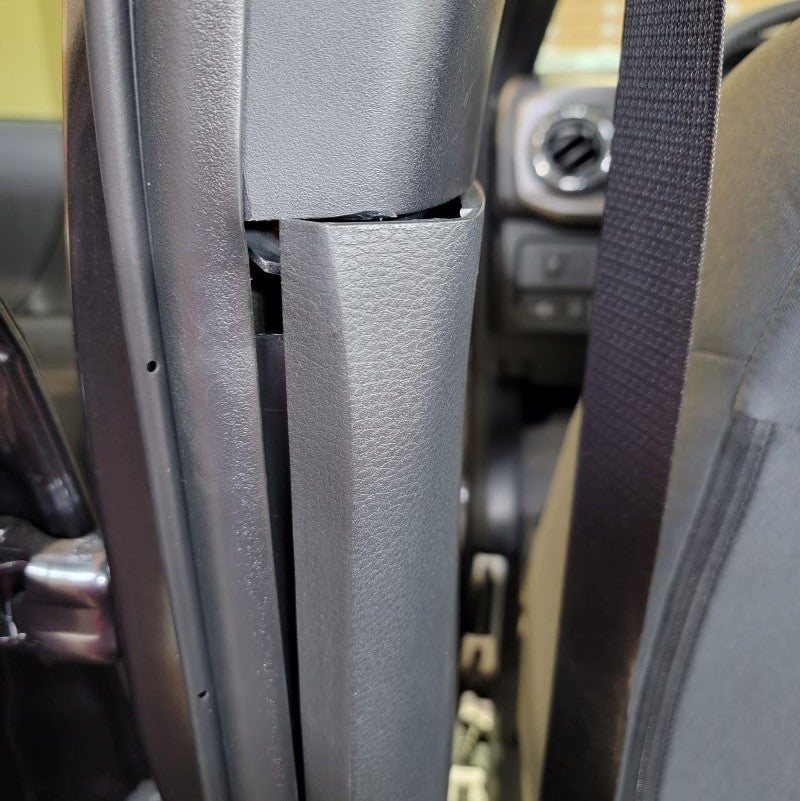


STEP 2
-
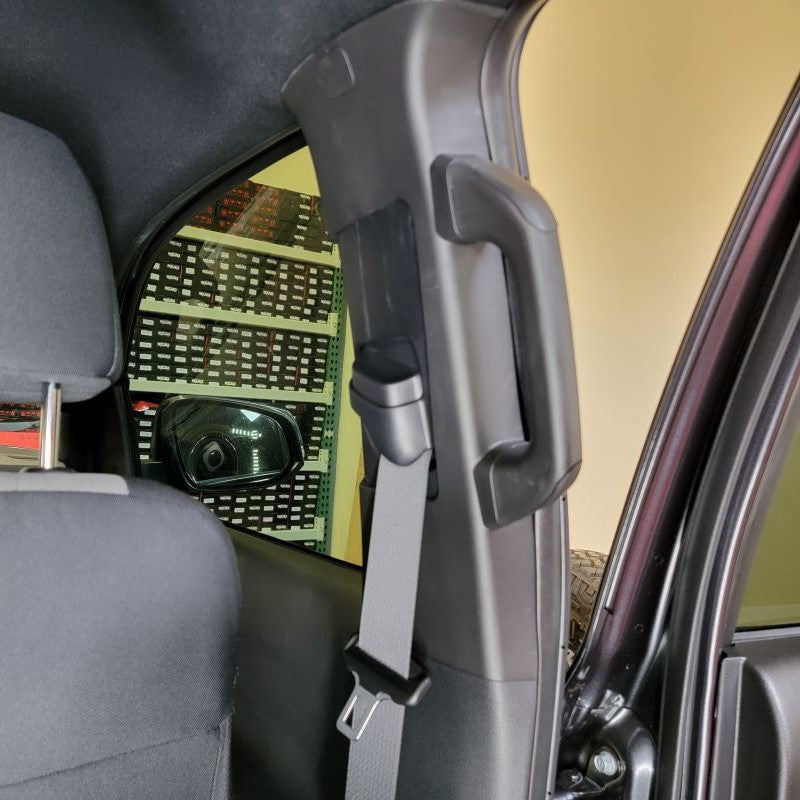
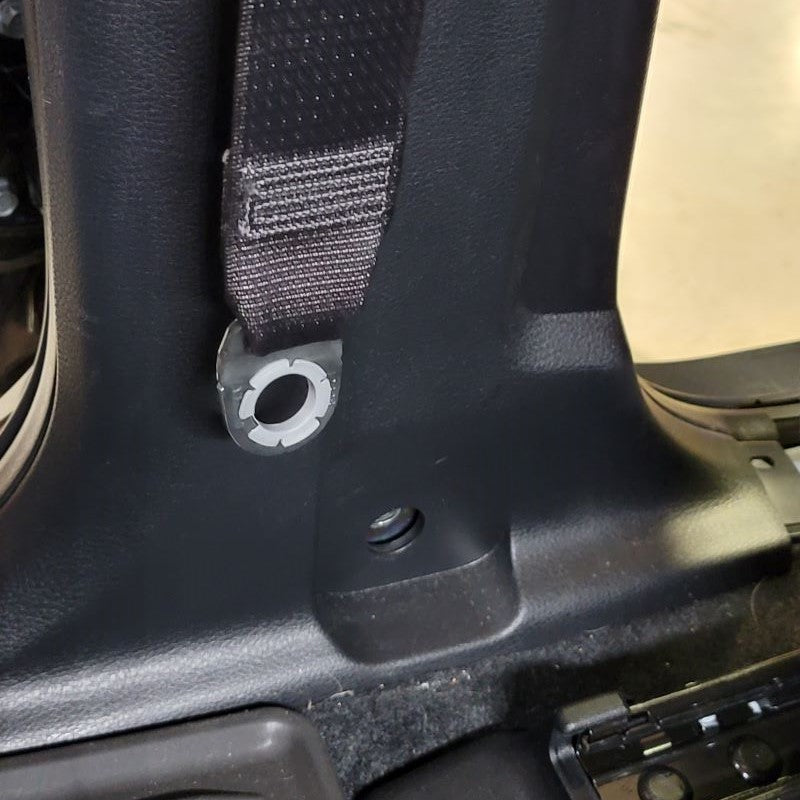
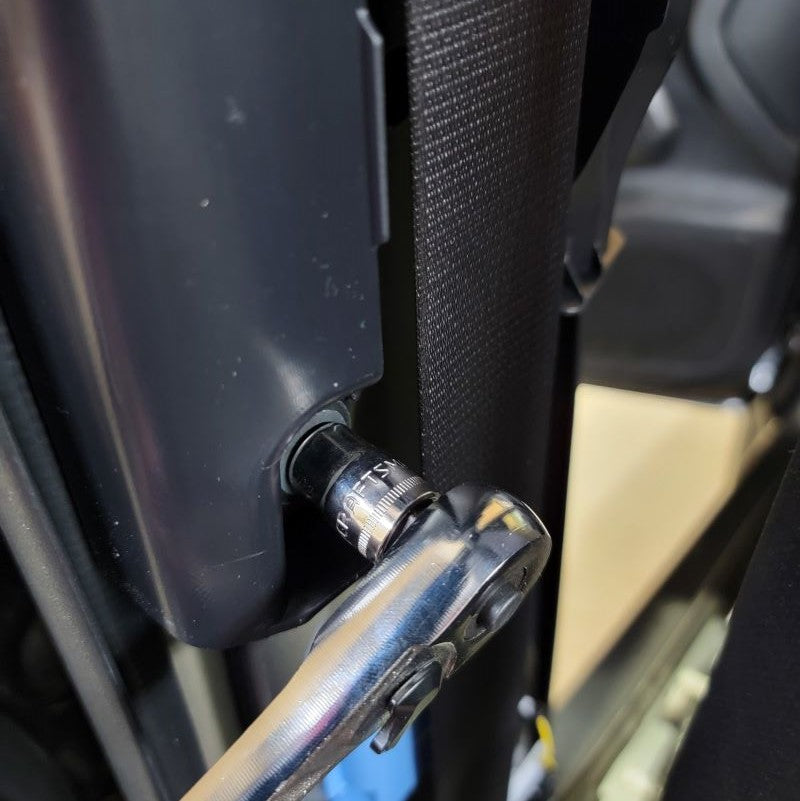
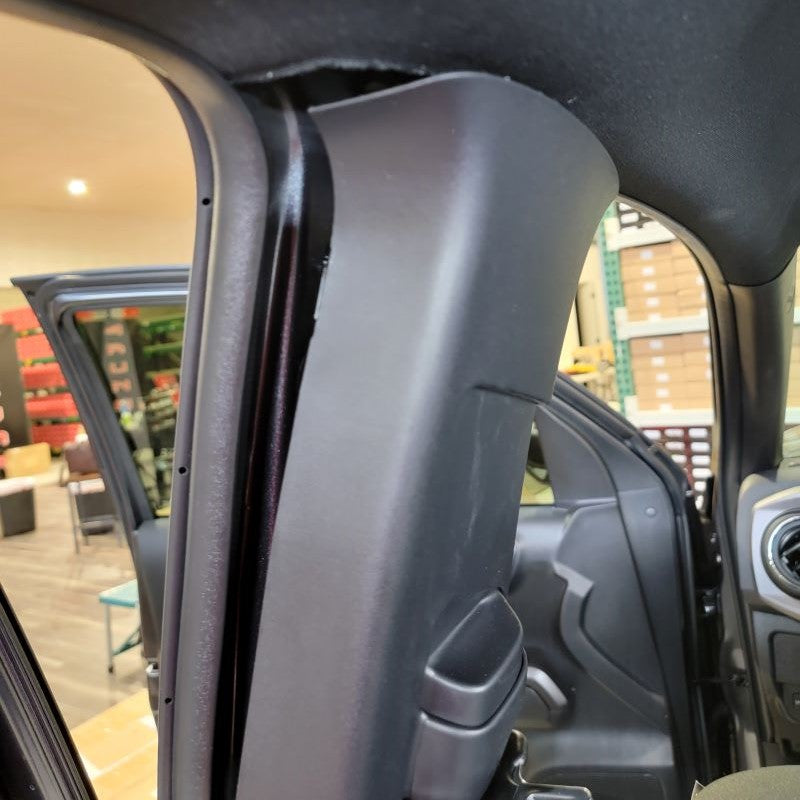
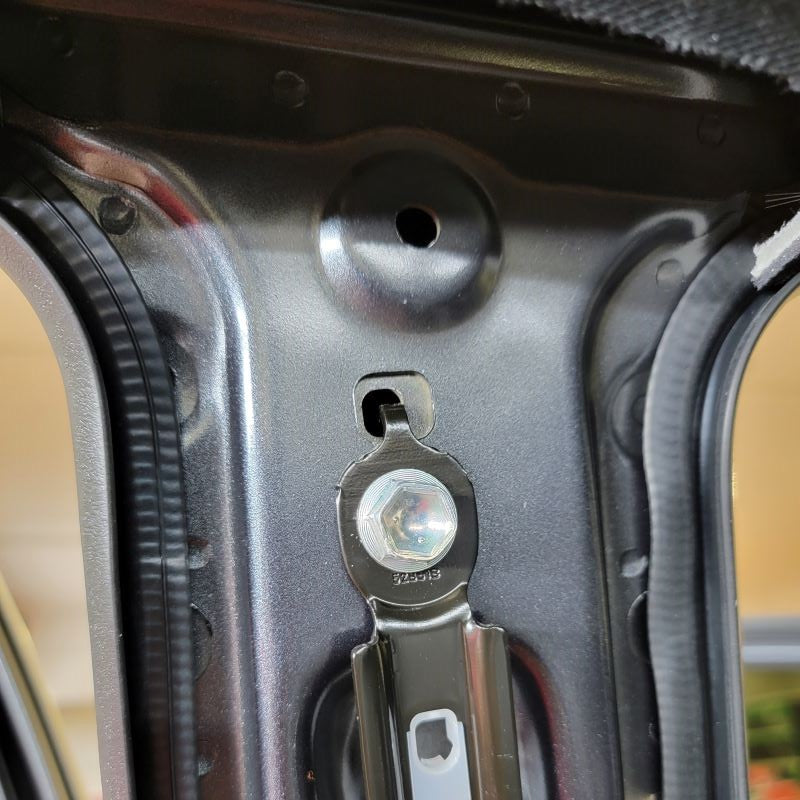
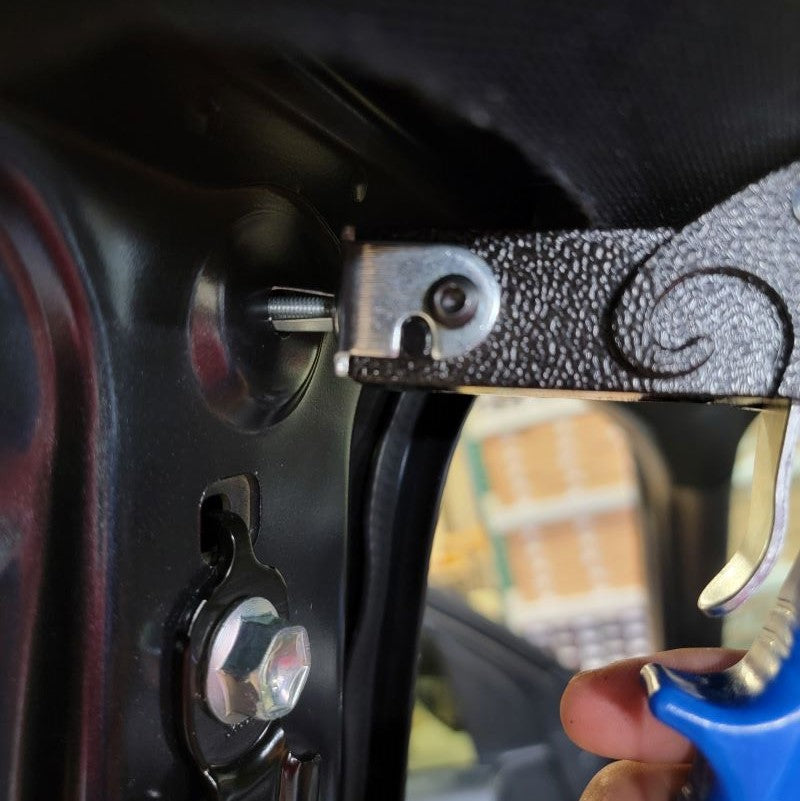
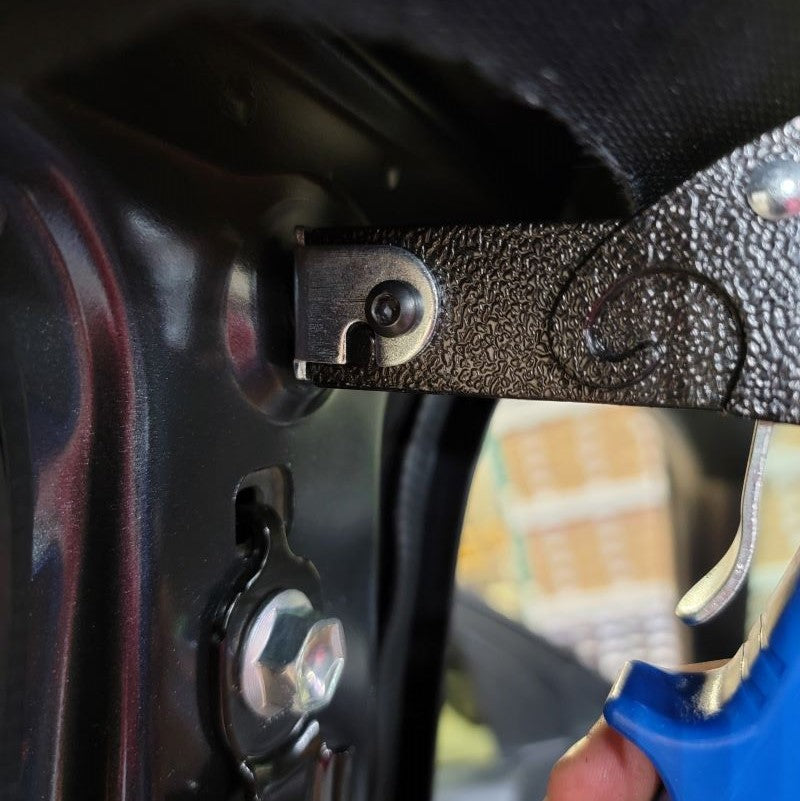
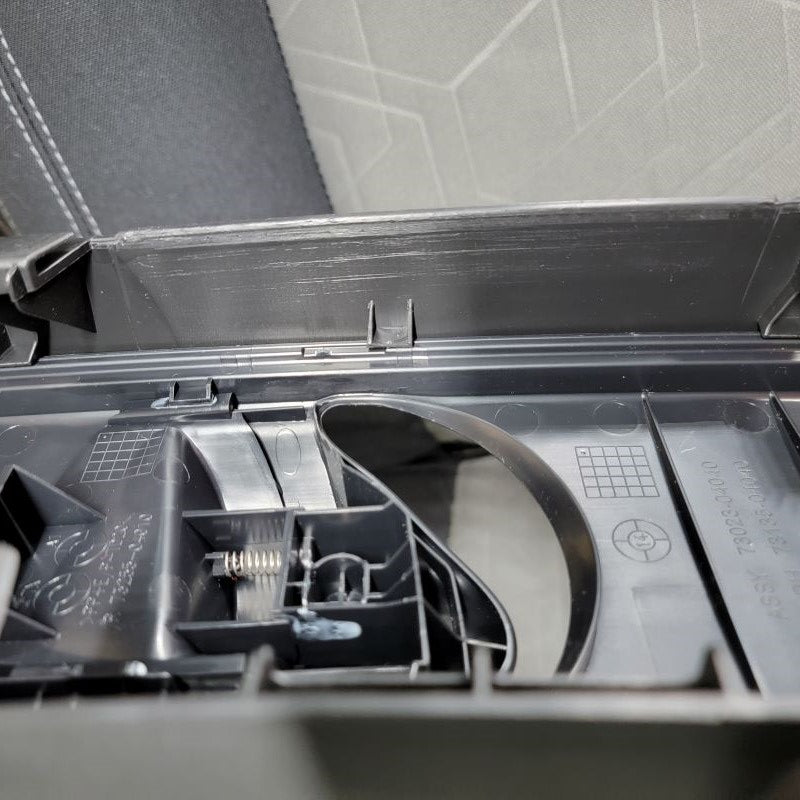
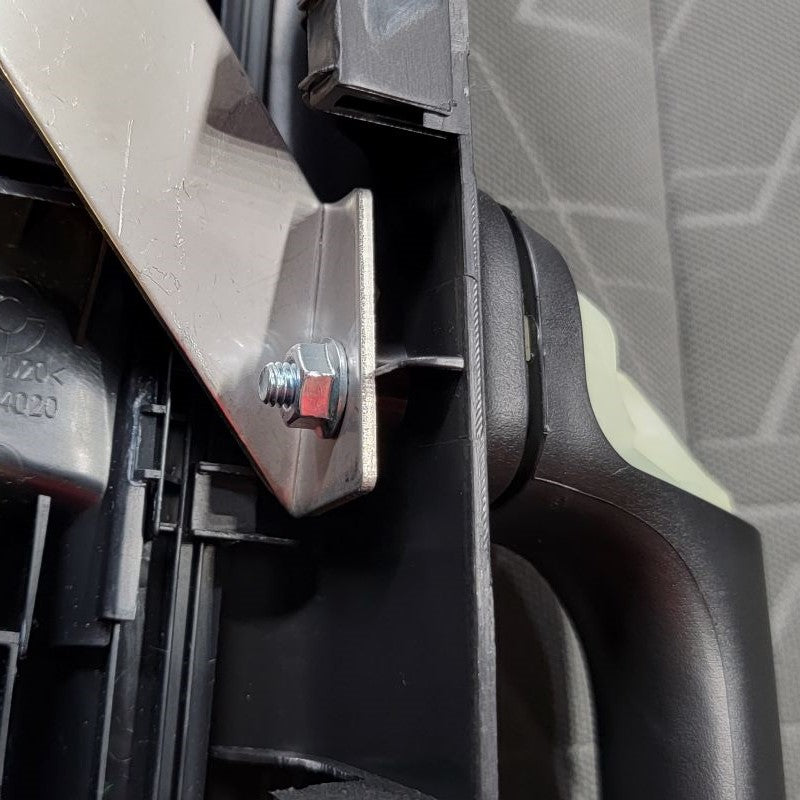
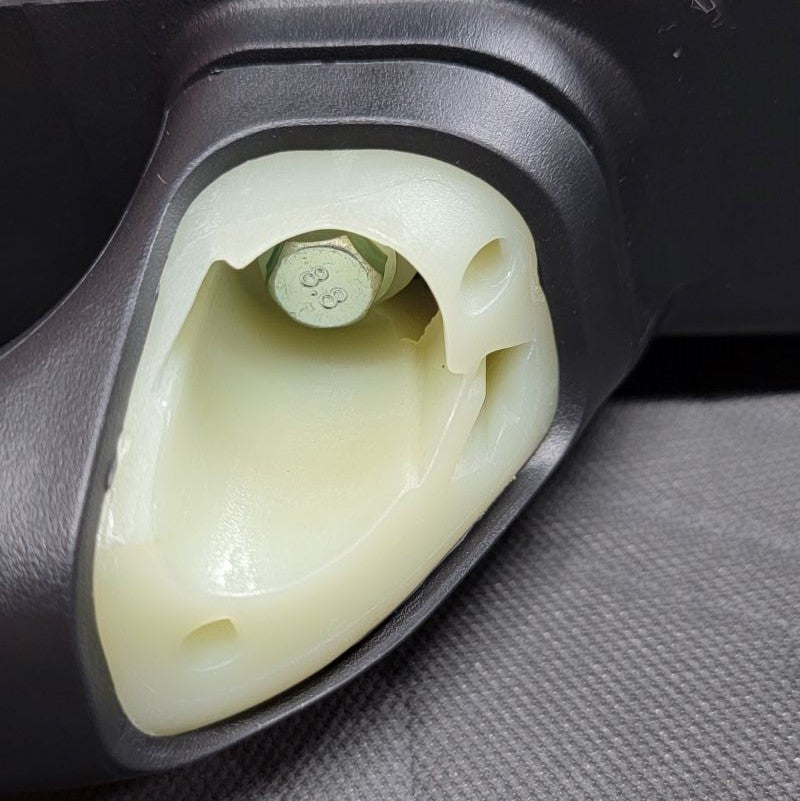
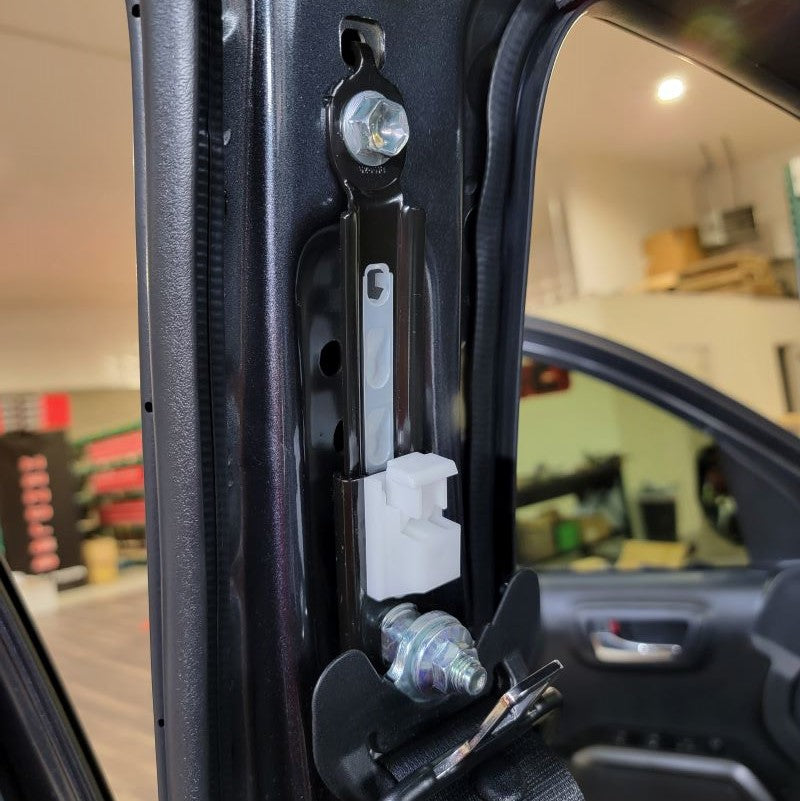
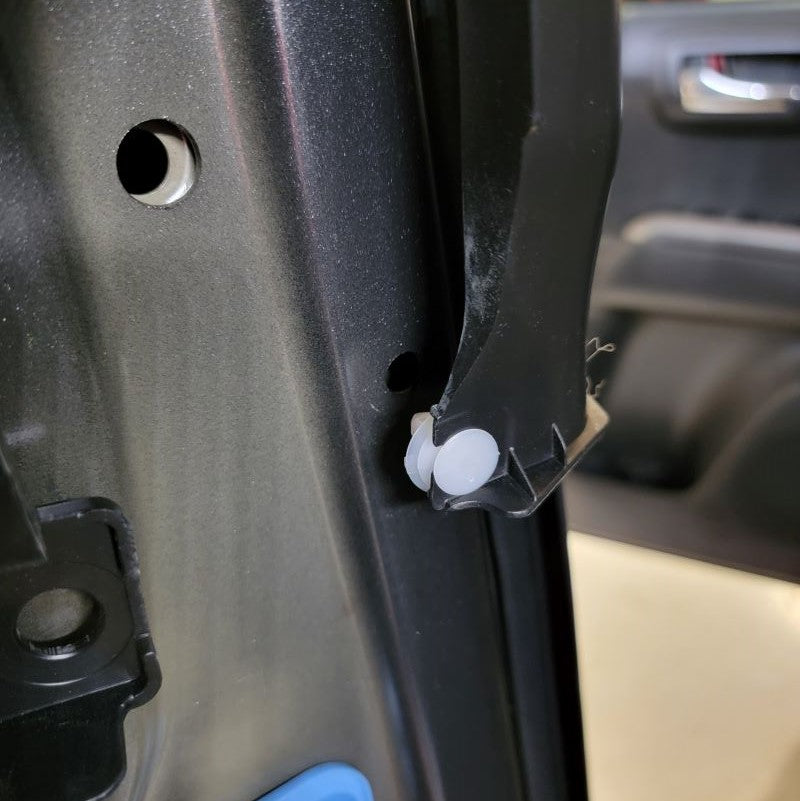
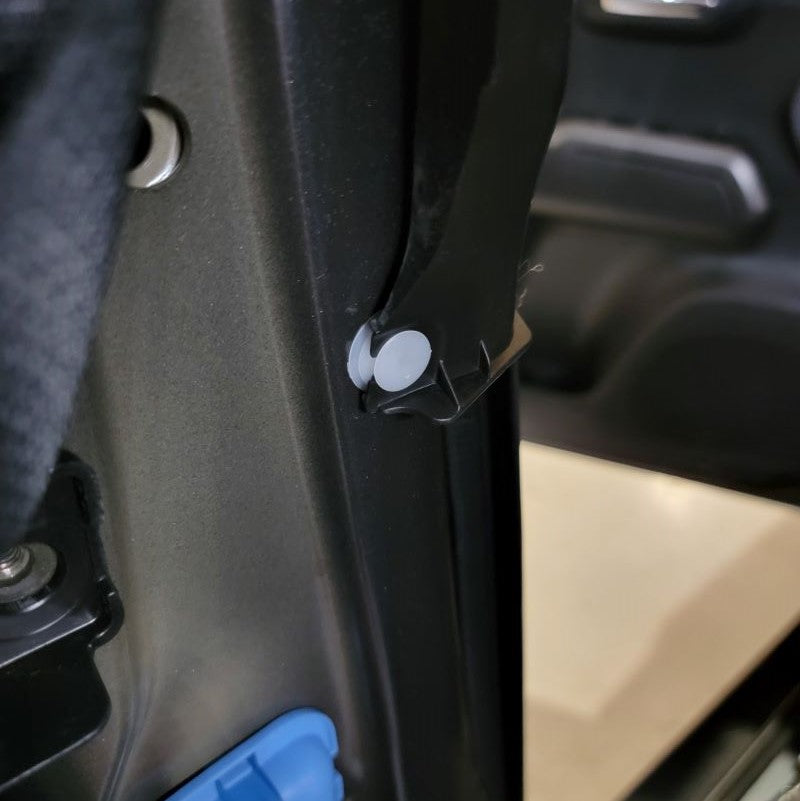
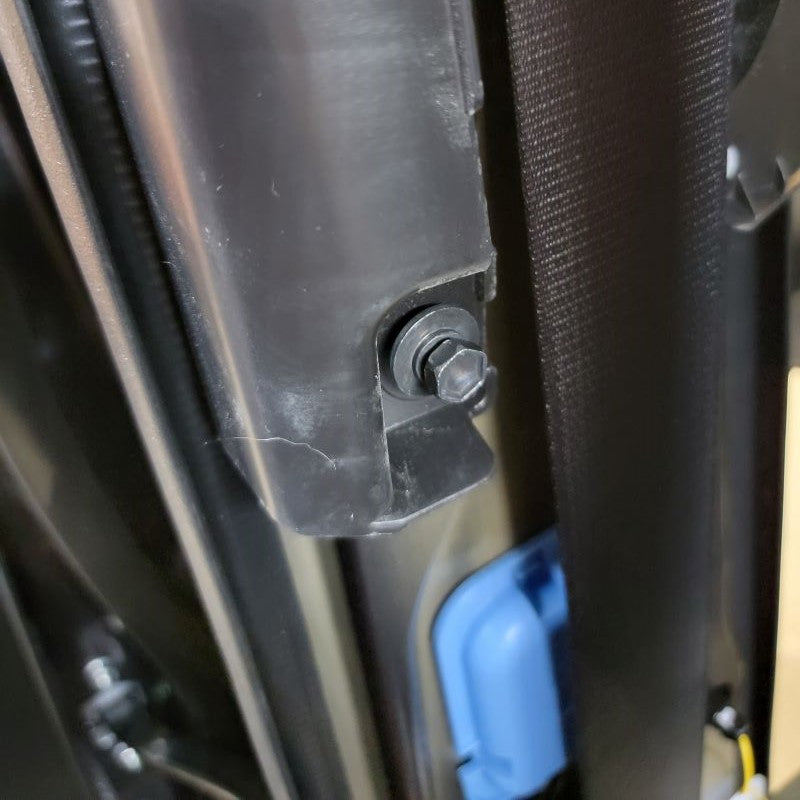
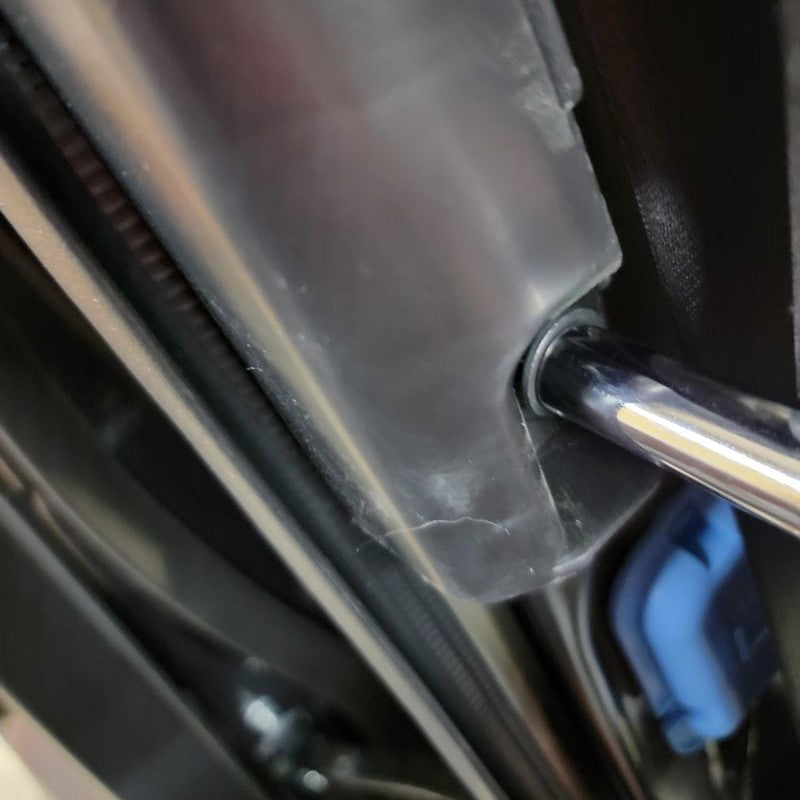
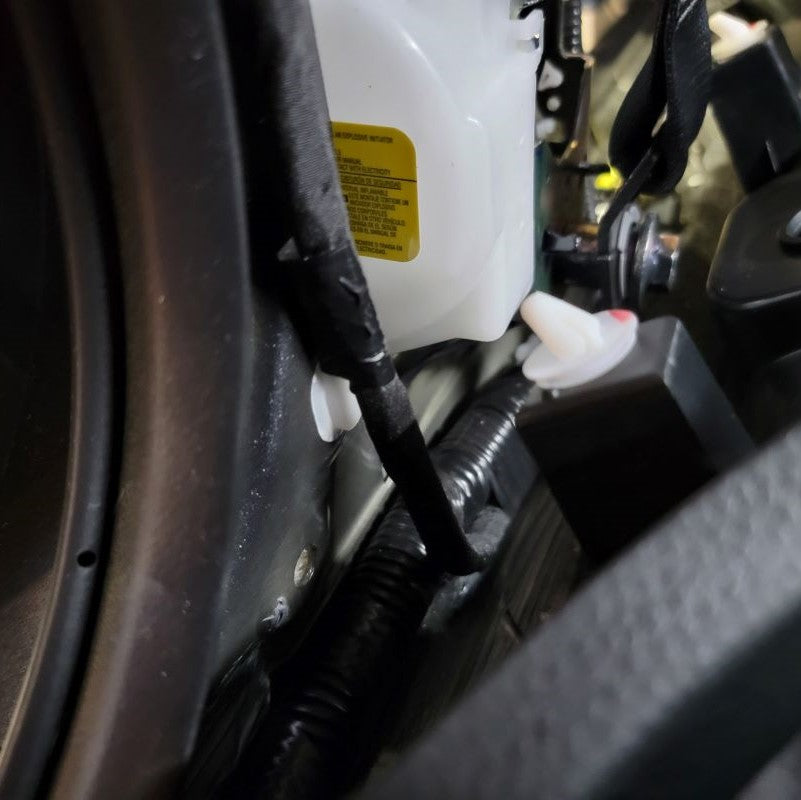
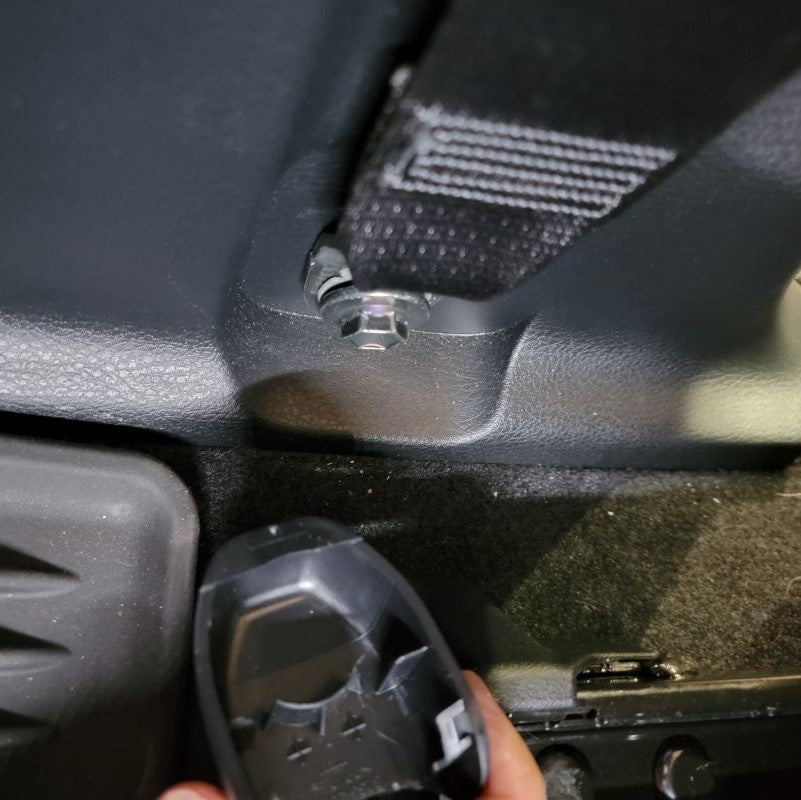
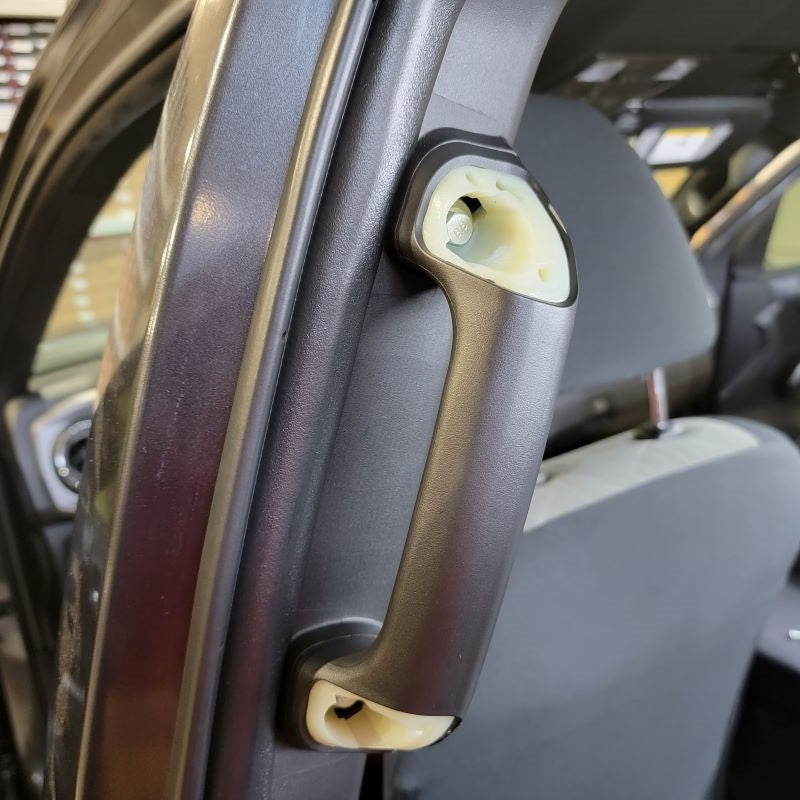
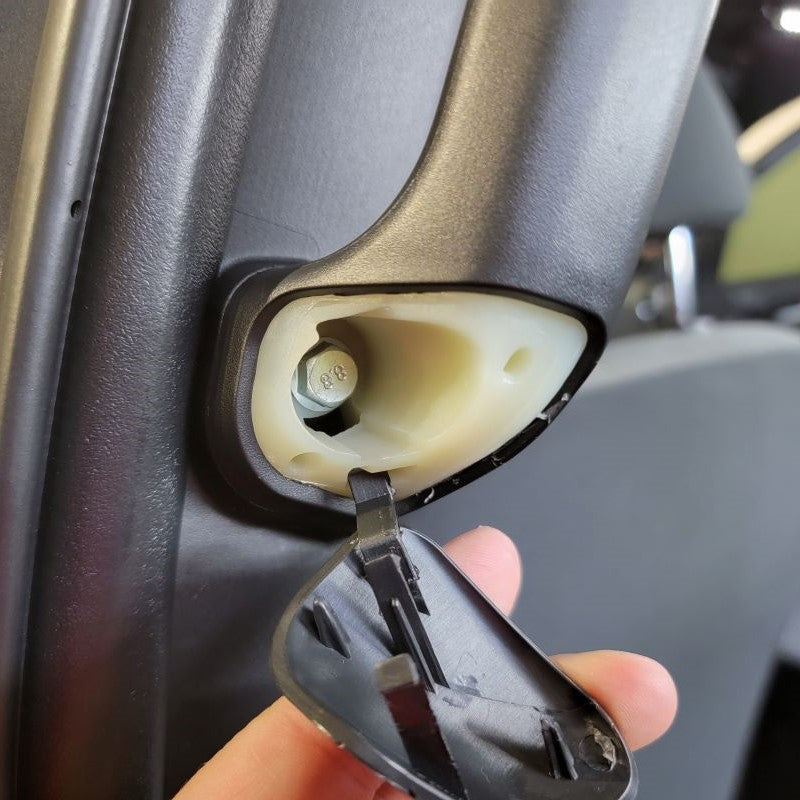
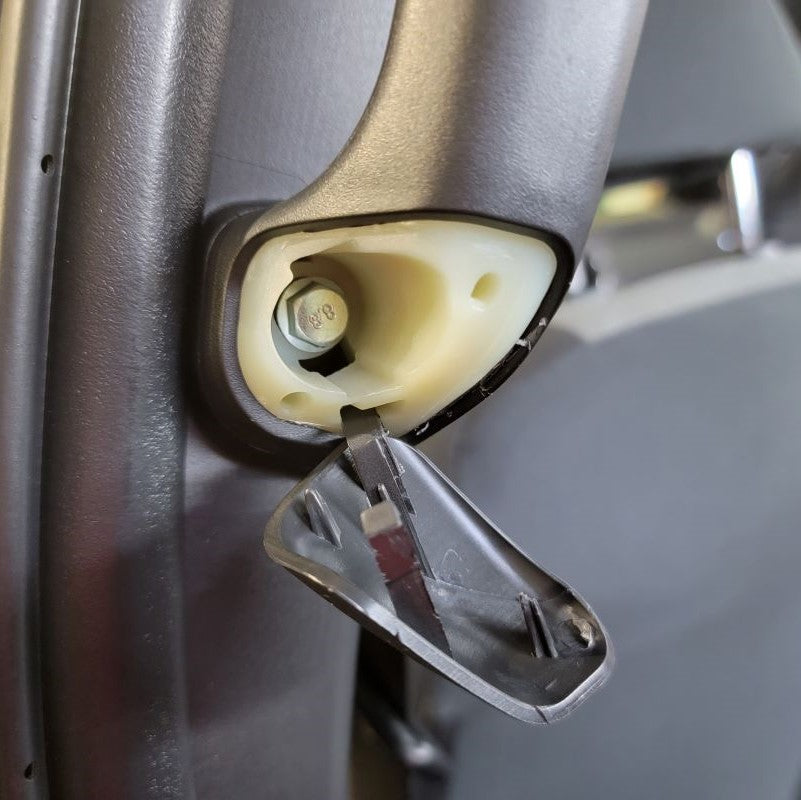
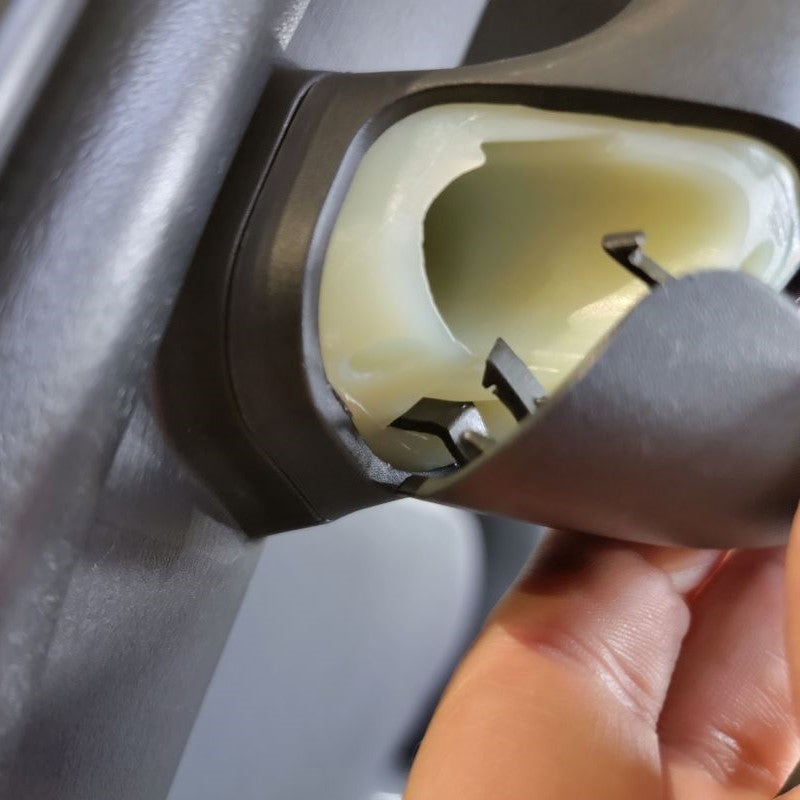
Unfortunately, Toyota did not leave a mounting point on the truck for stability in the new center pillar. Therefore, there is a hole that accepts the plastic retainer on the factory Garnish, Center Upper Pillar without the Grab Handle that will be used for an achoring mounting point.
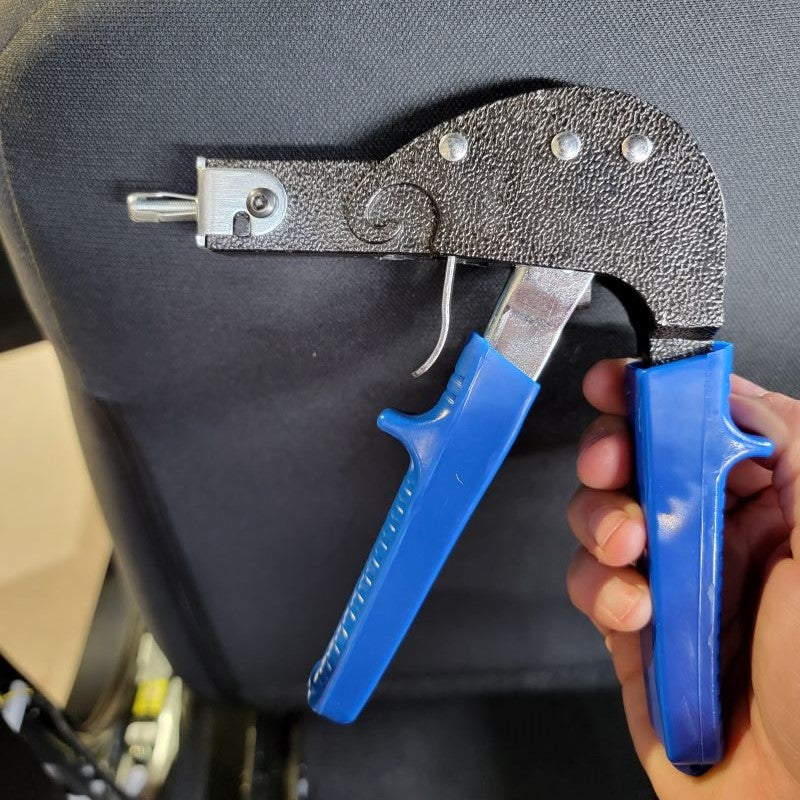
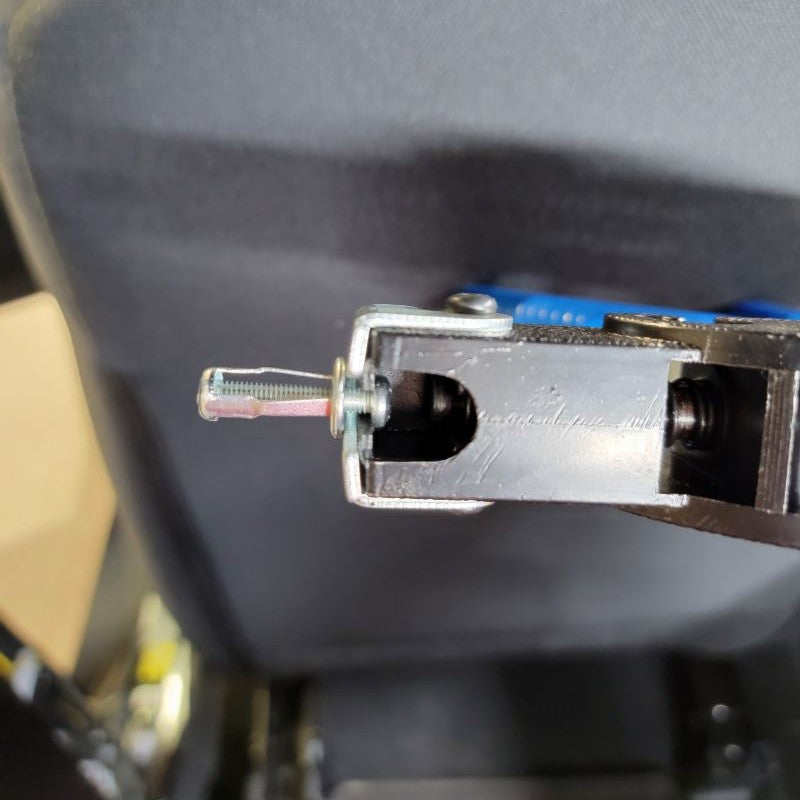
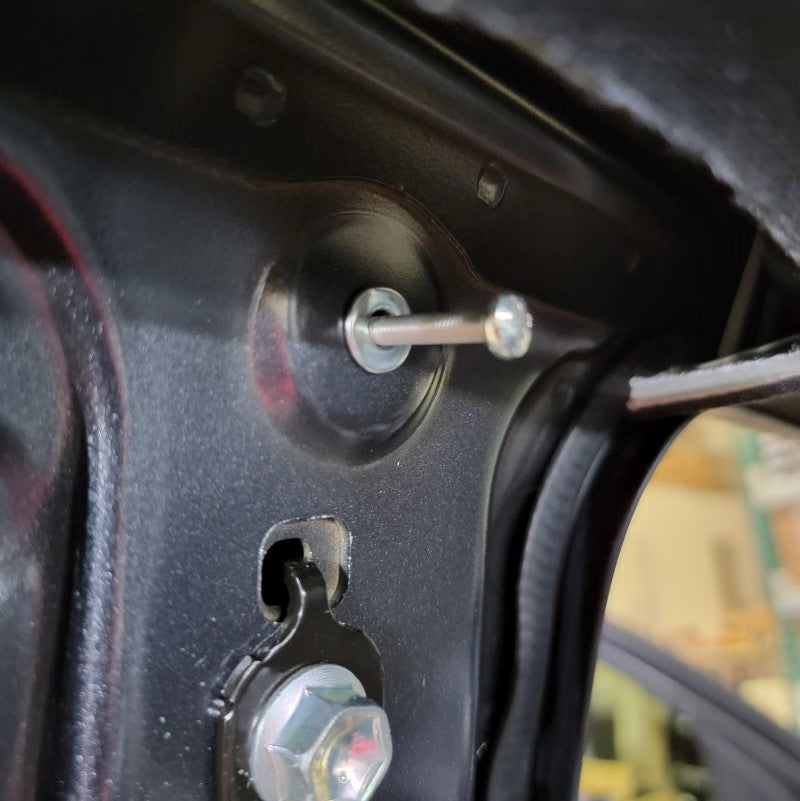
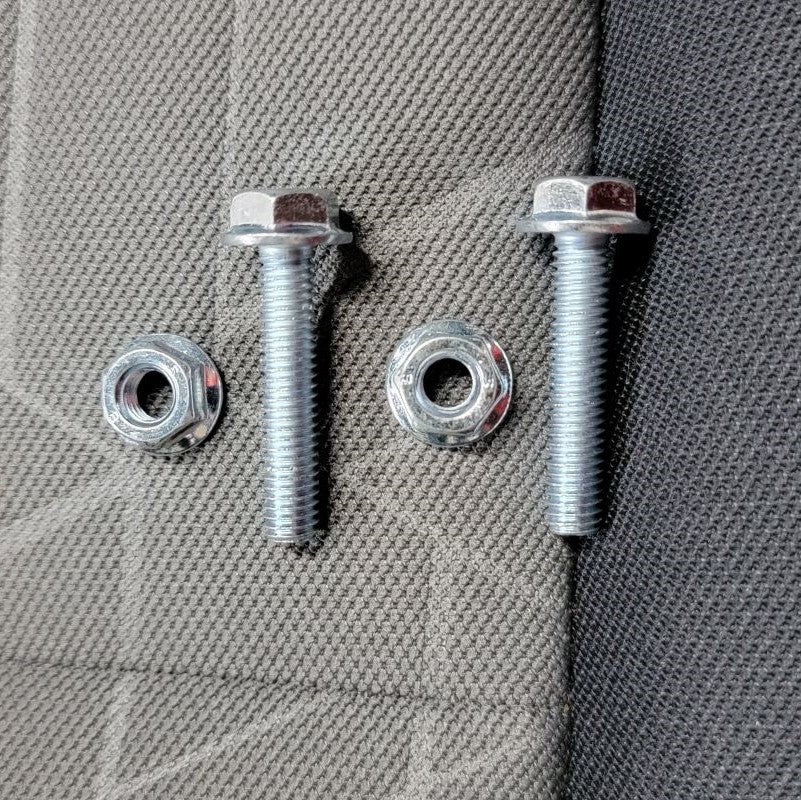
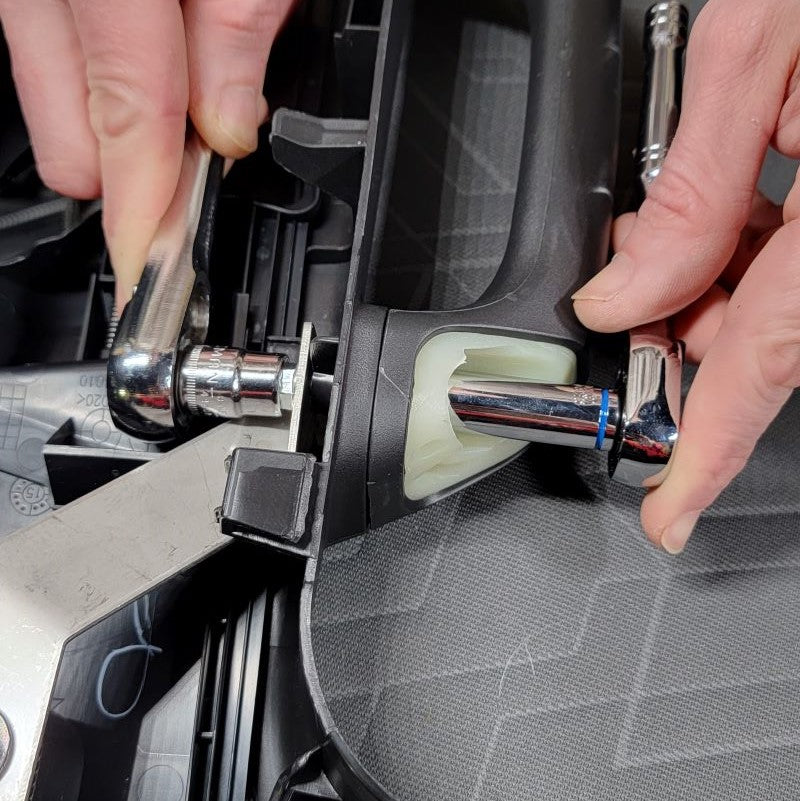
The following steps are necessary to create a solid mounting point for the New Center Upper Grip Handle. Slip the Jacknut with Screw over the end of the Rivnut Gun and insert the Jacknut into the factory hole. Squeeze the Tool until the Screw pops out into the Gun. It will "CRUSH" behind the panel and lock into the metal tight. Now, the new larger screw for the handle has something to thread into on the top. For the bottom you will use the factory 10mm bolt and fastener that you removed earlier in Step 1.
INSTALL IMAGES


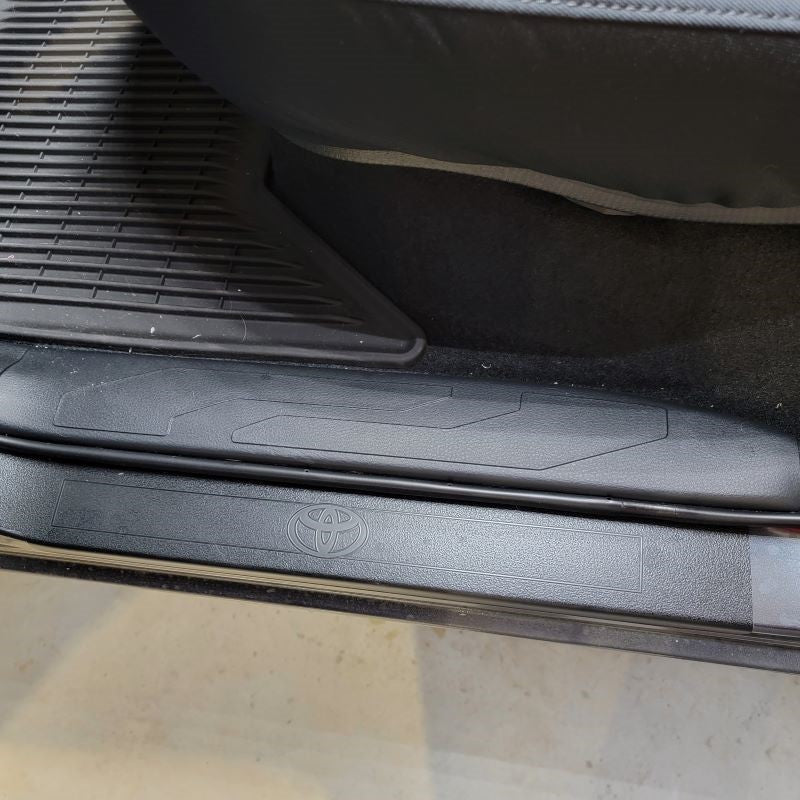
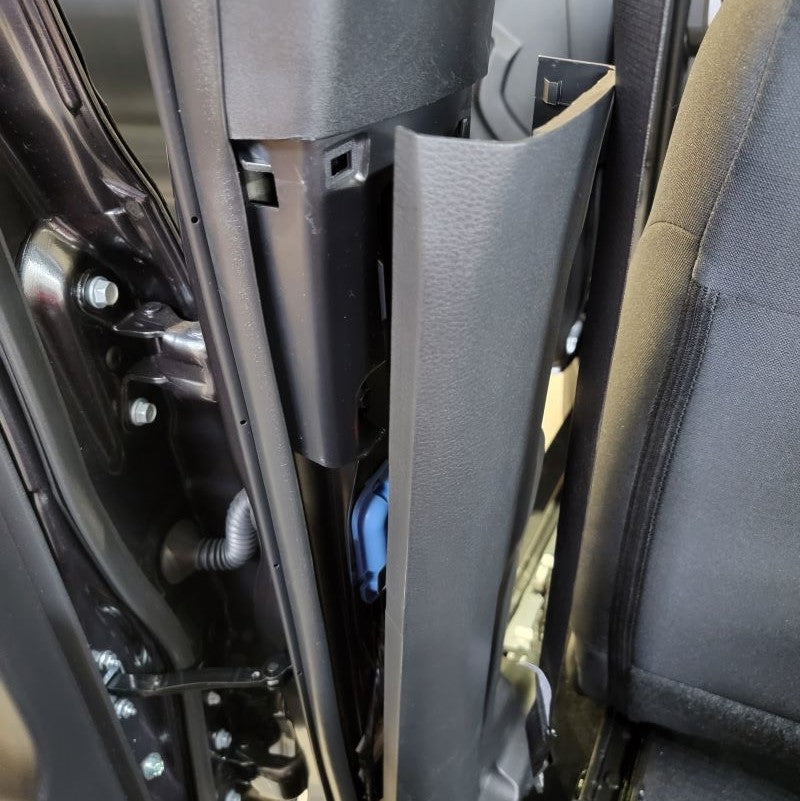
STEP 3
-
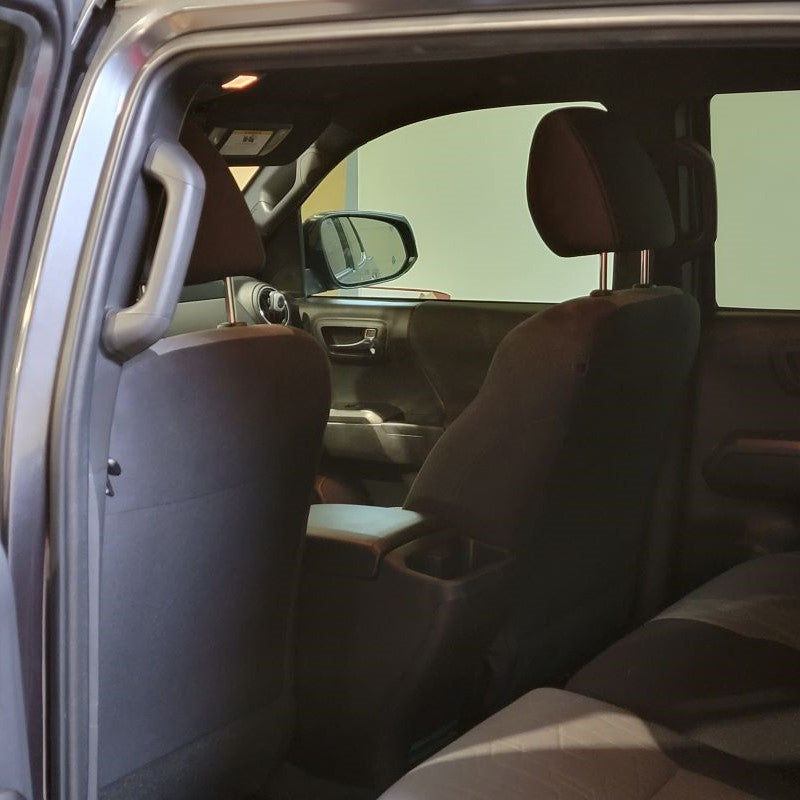
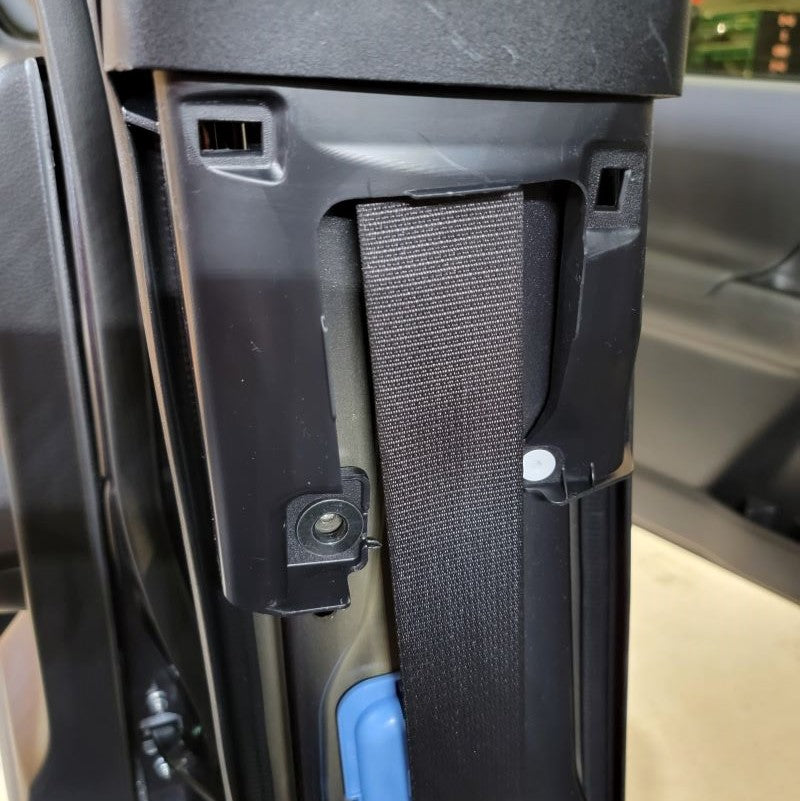
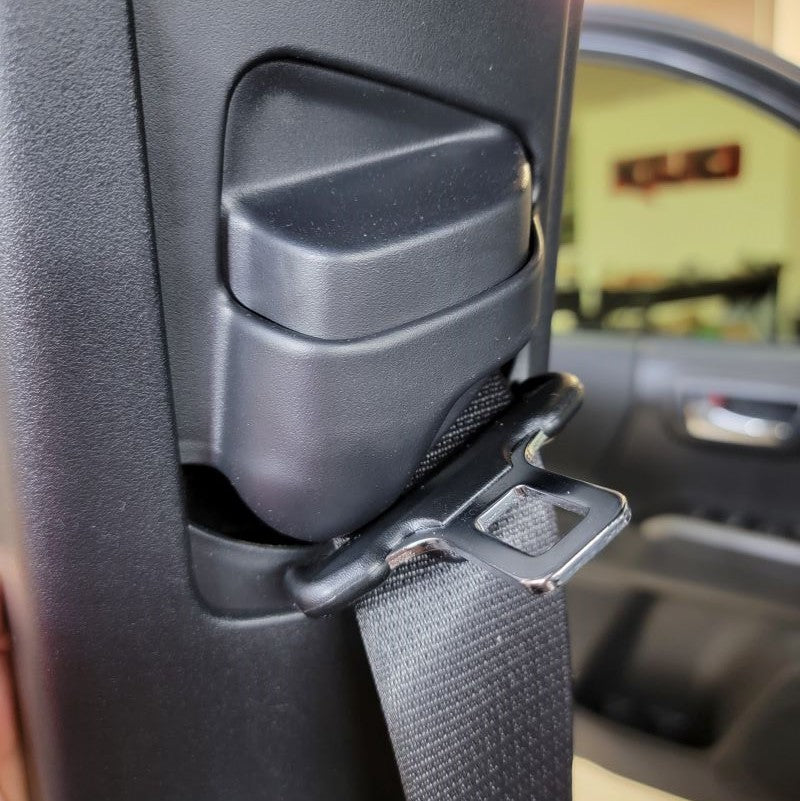
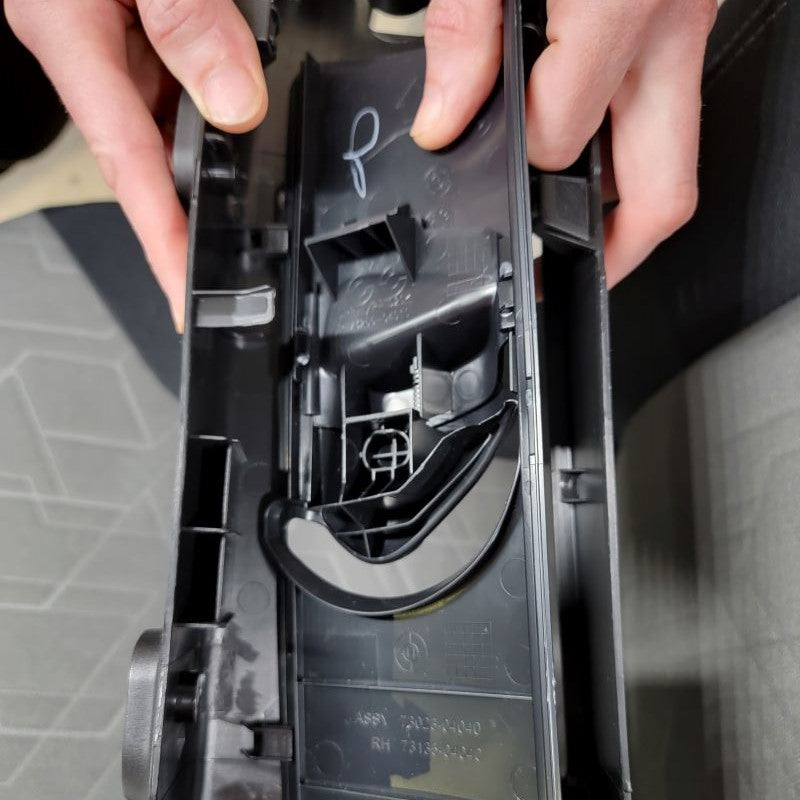
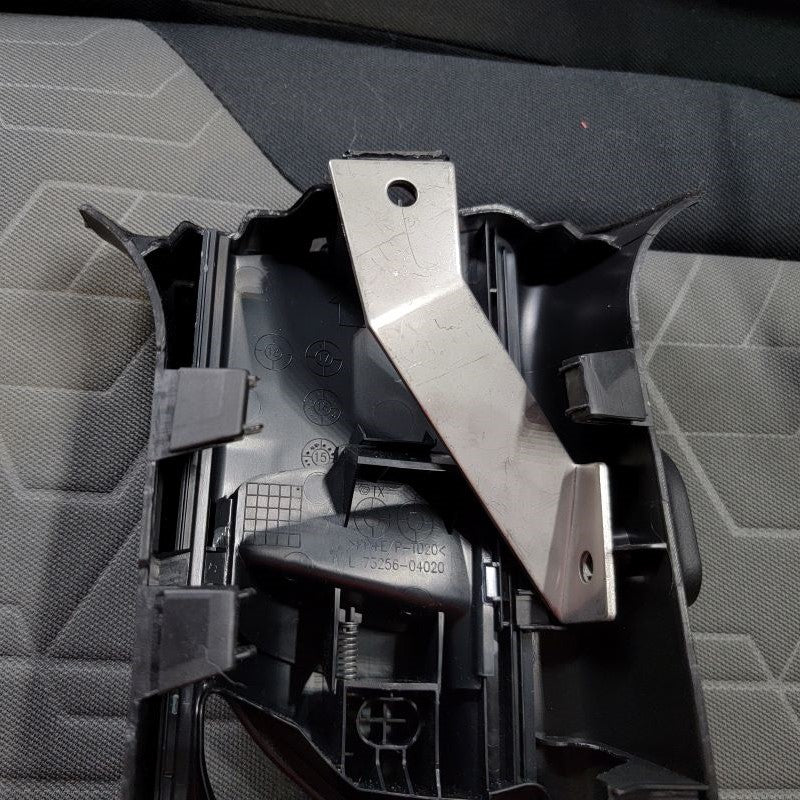
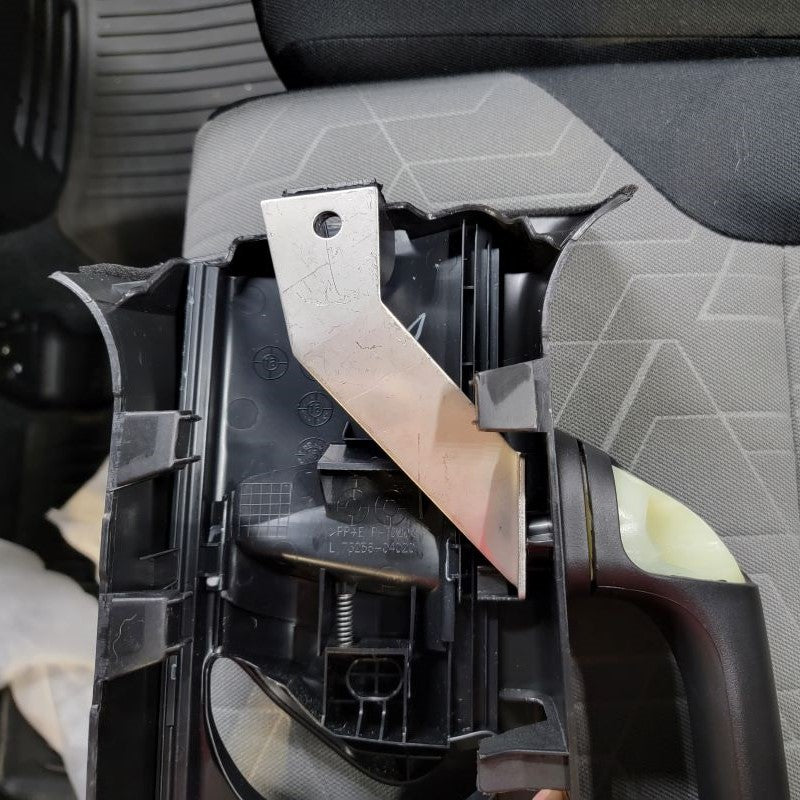
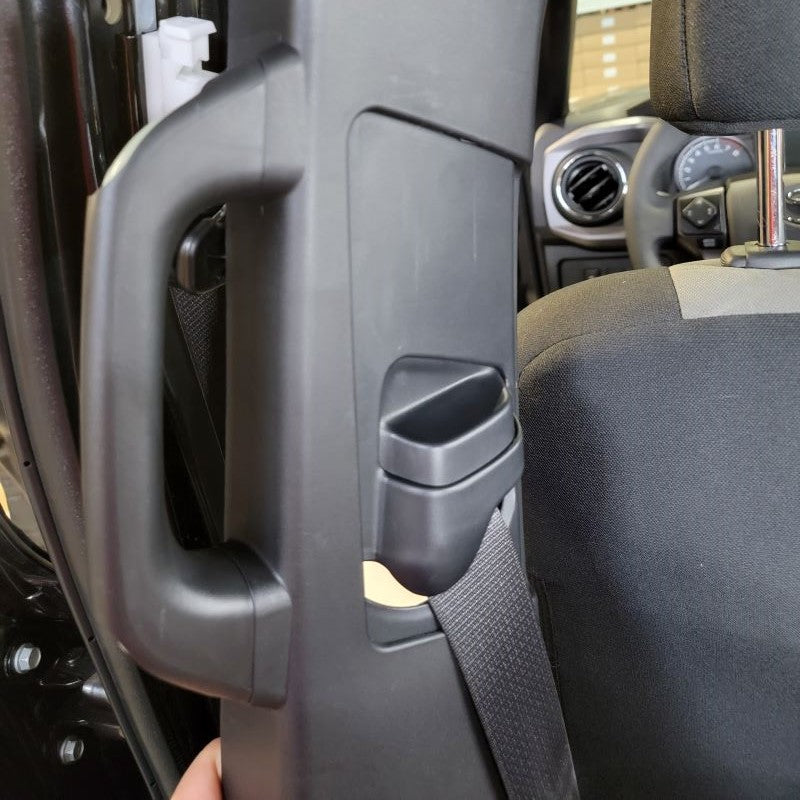
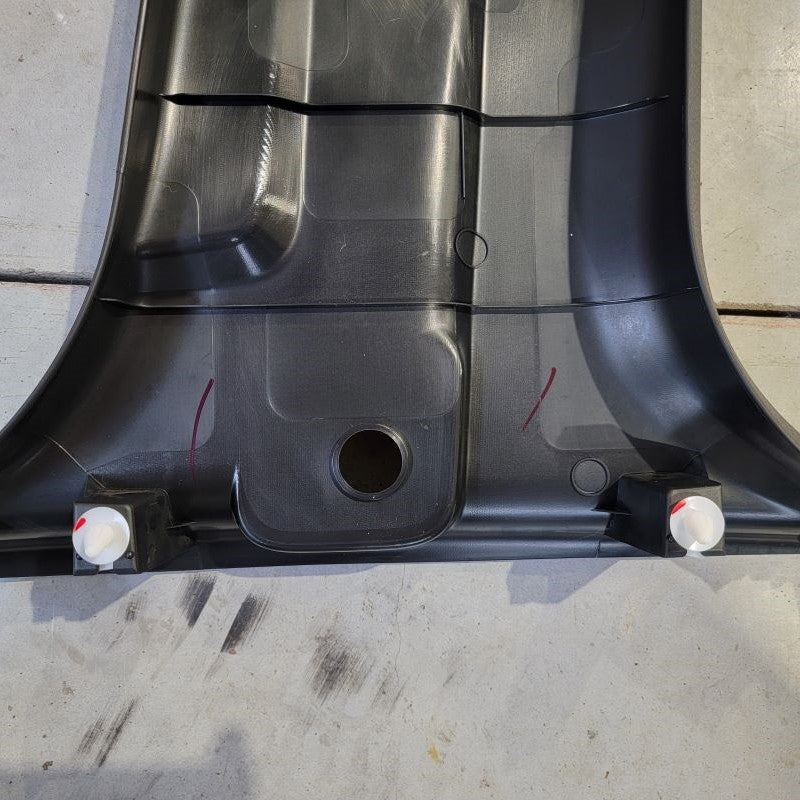
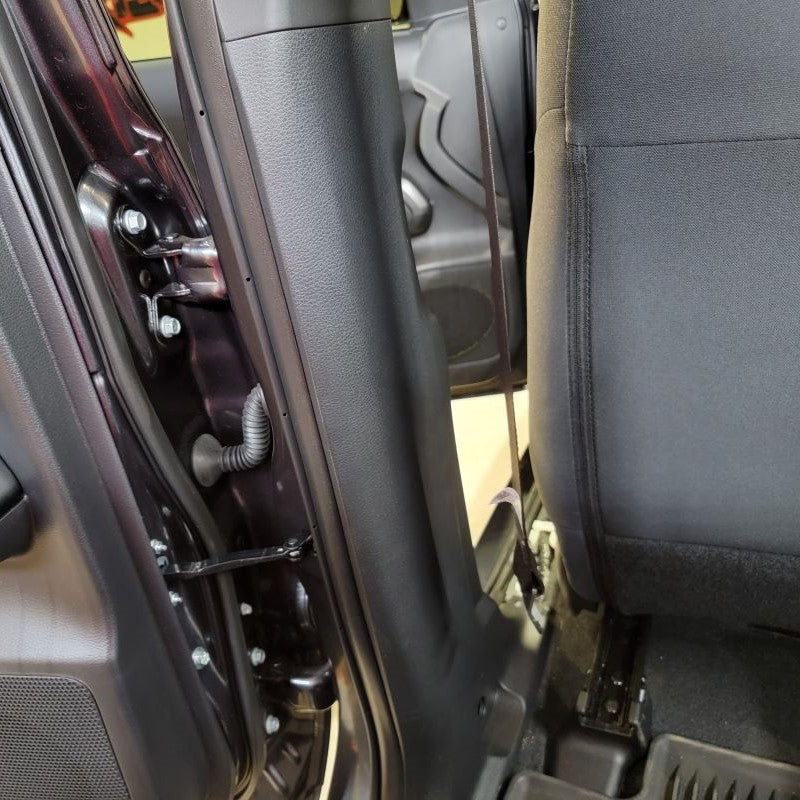
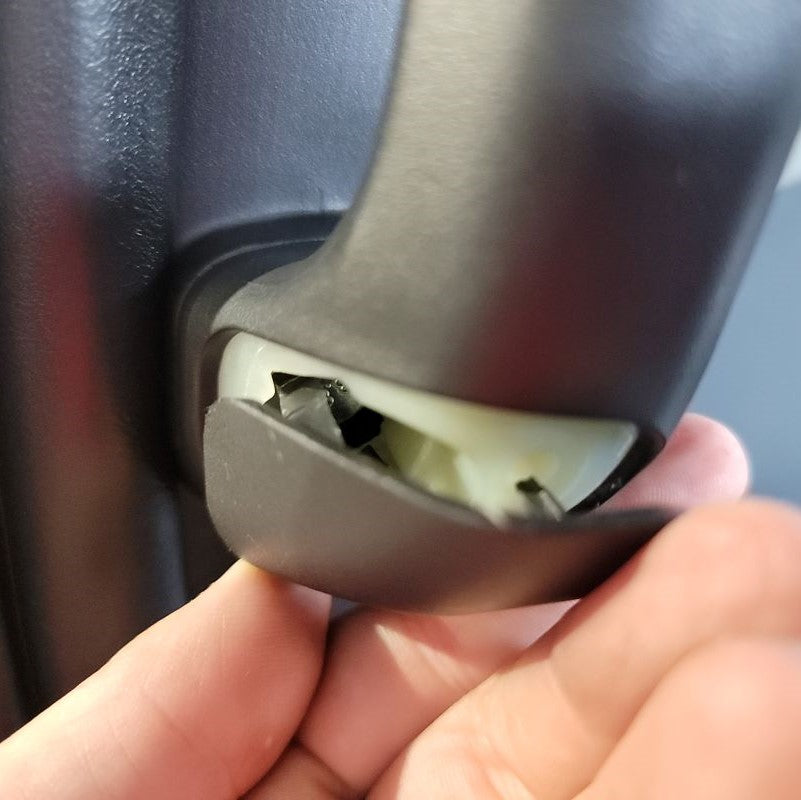
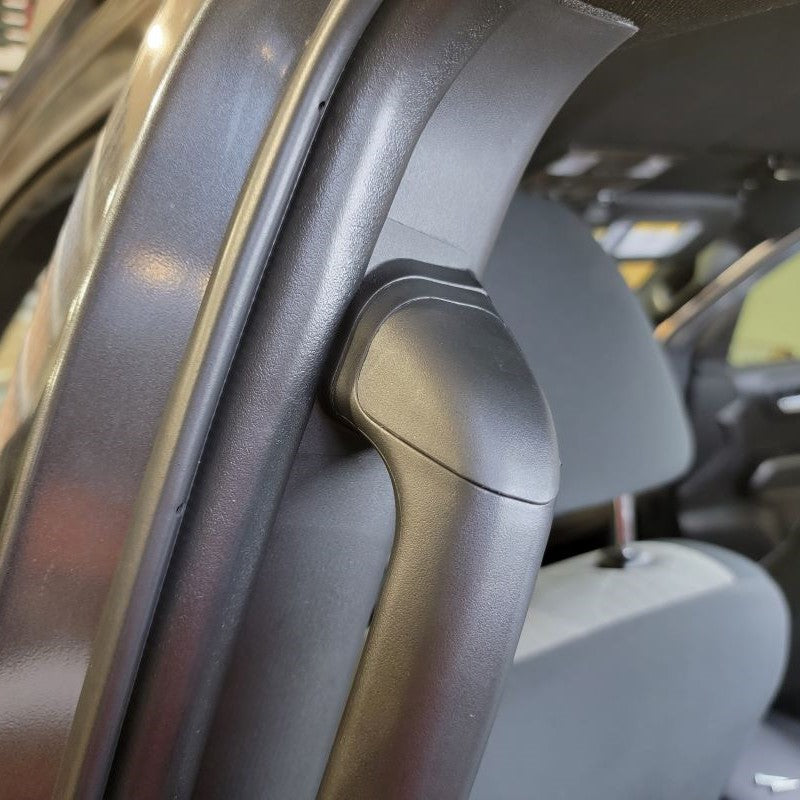
First, reinstall the Plate Sub-Assy, Front Shoulder Belt Anchor that you removed earlier from the factory garnish onto your New Garnish.
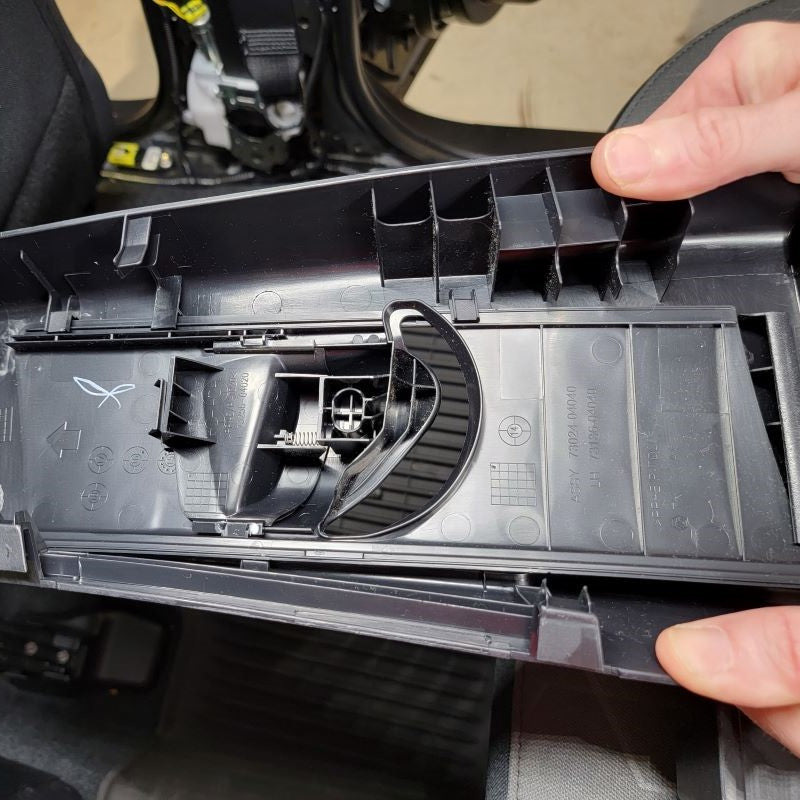
Next, install your New Interior Grip Handle onto your New Garnish, Upper Center Pillar. Do not forget to grab the support bracket included in the package for the top of the pillar. Do this prior to installing on the frame of the truck.
INSTALL IMAGES


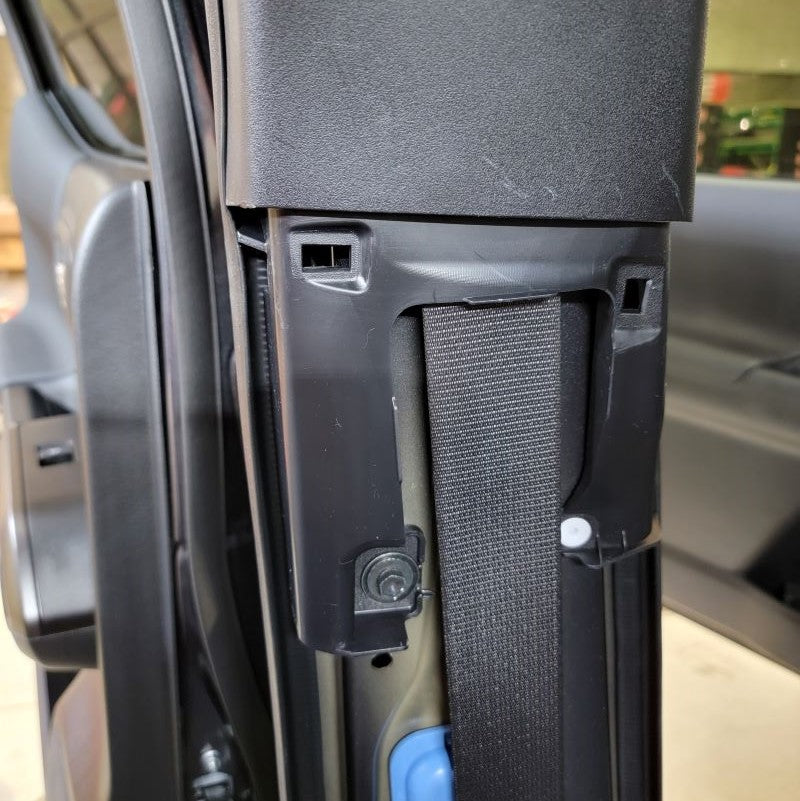
STEP 4
-
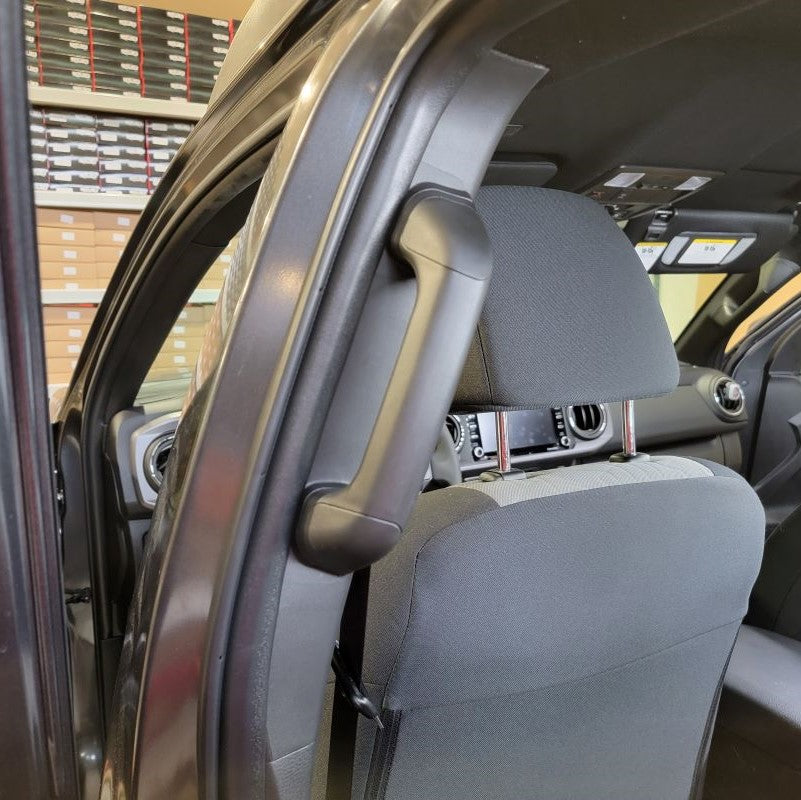
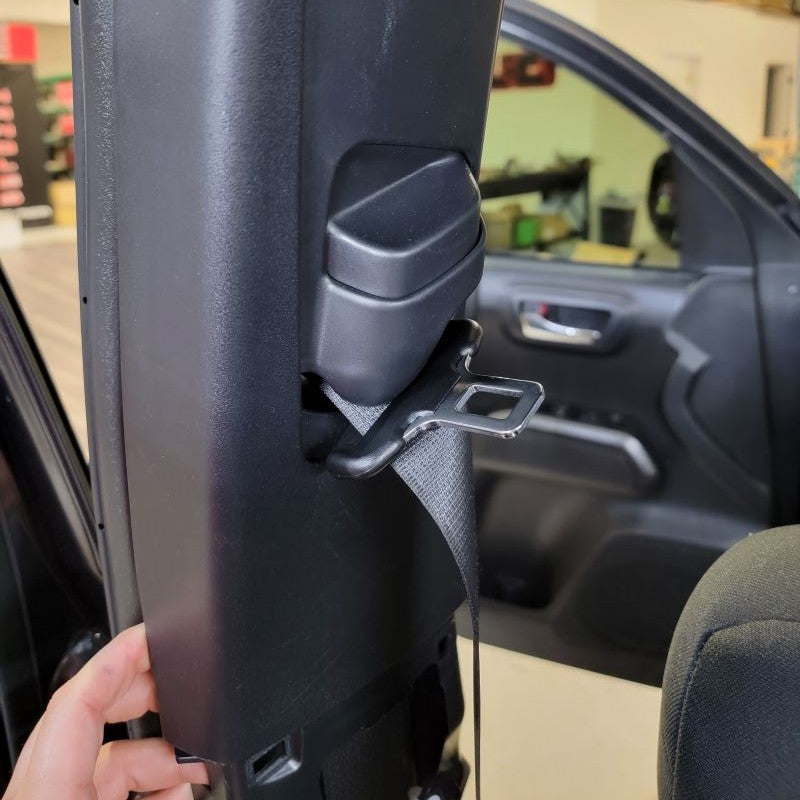
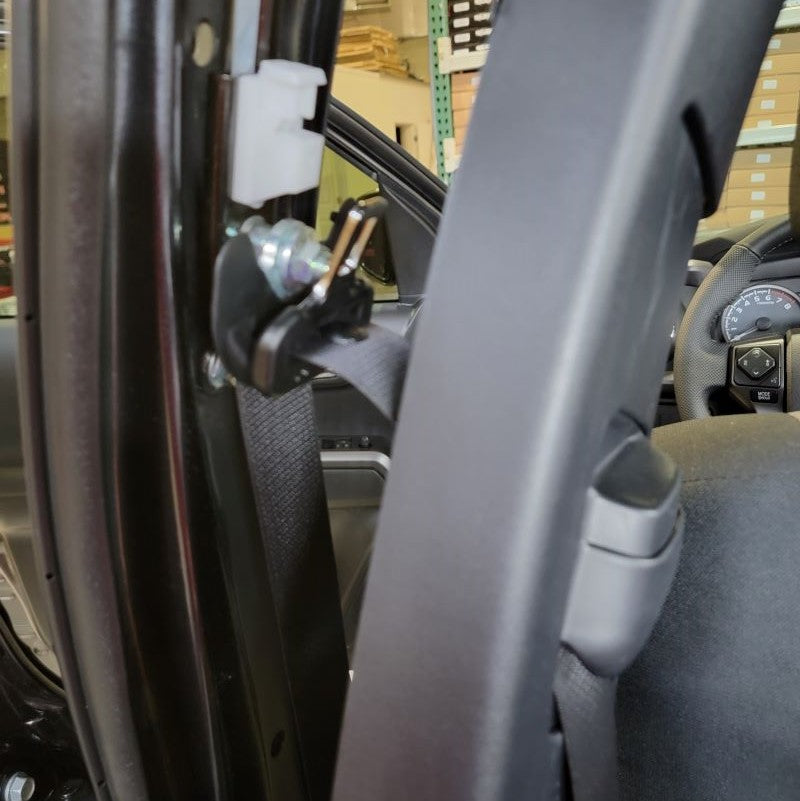
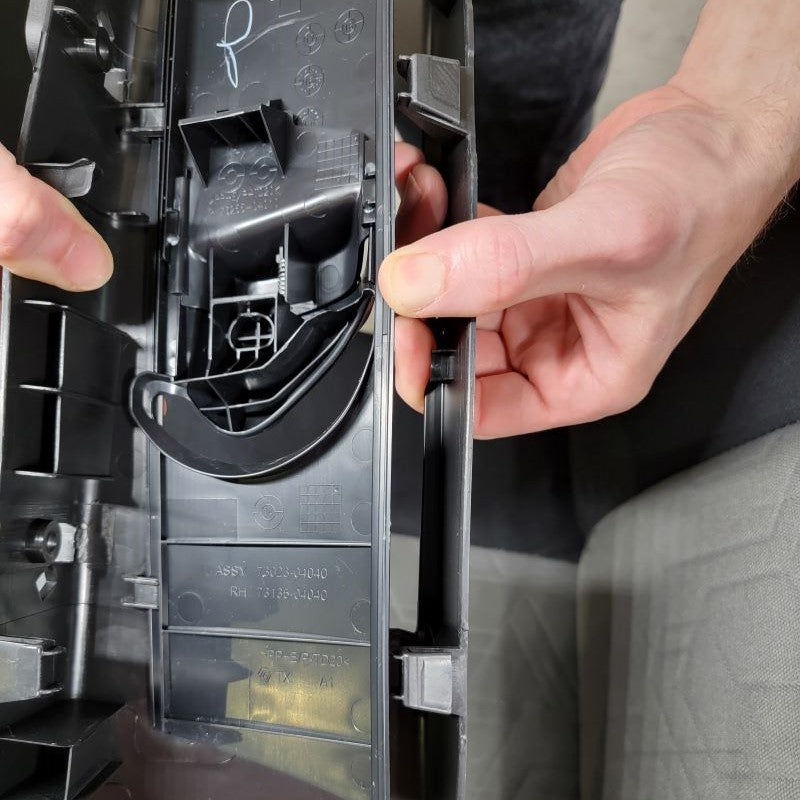
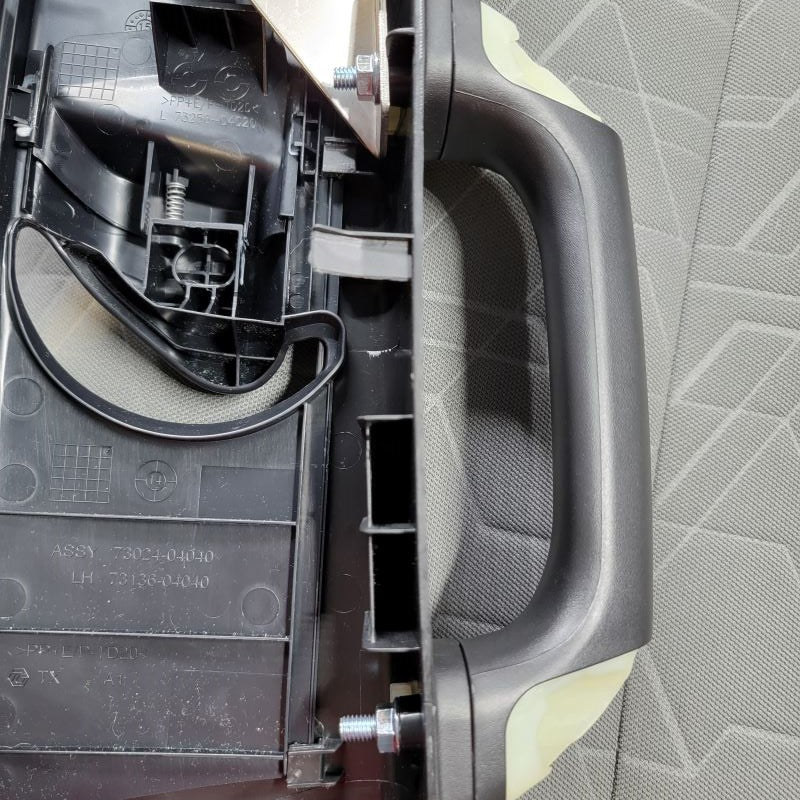
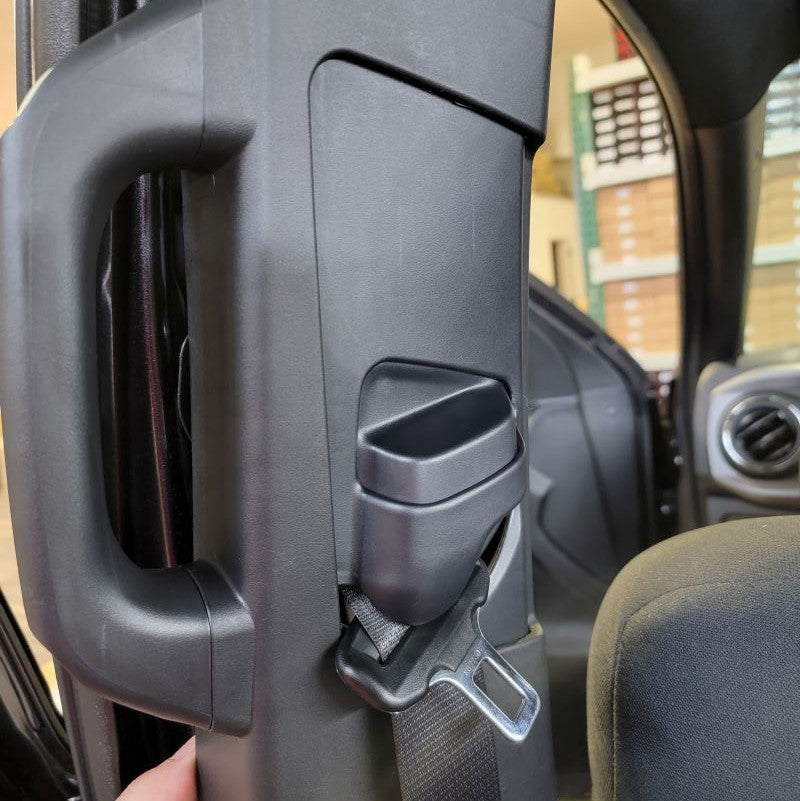
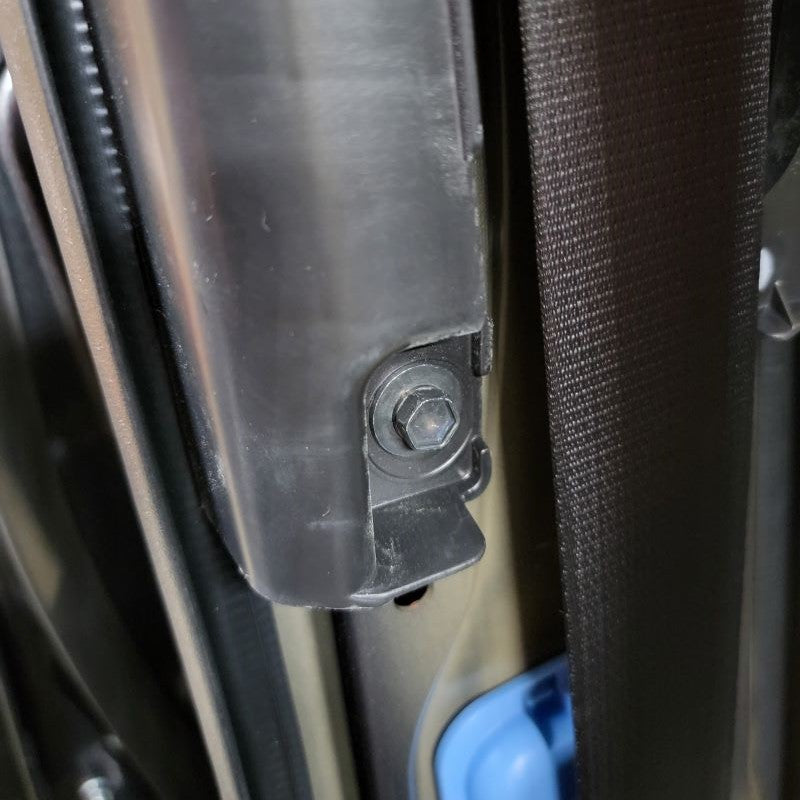
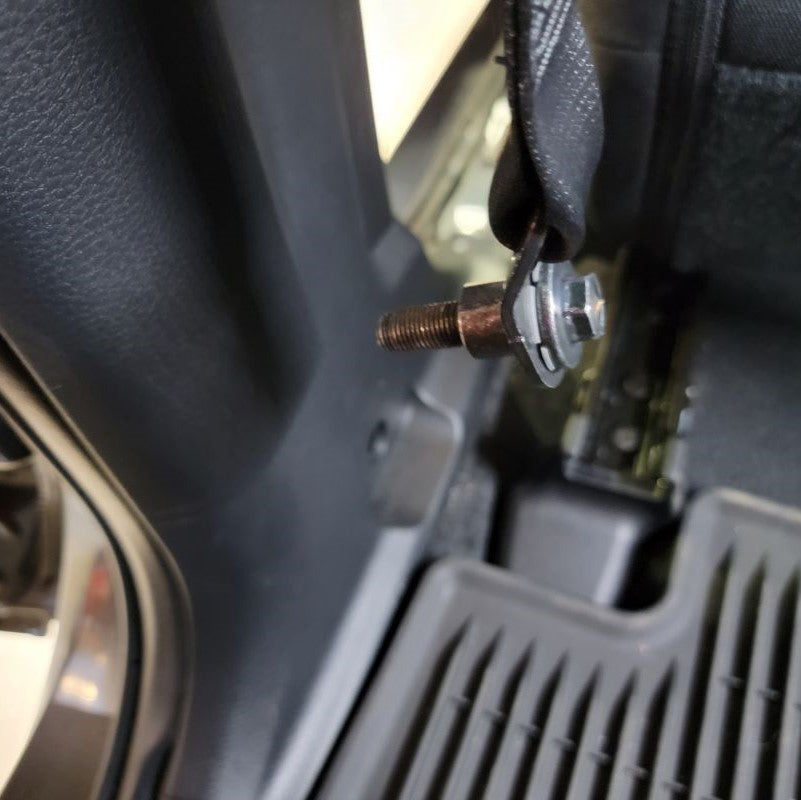
Make sure that all tabs on the back side go into their respectful places. If you do not feel comfortable with any part of this installation, professional installation is recommended.
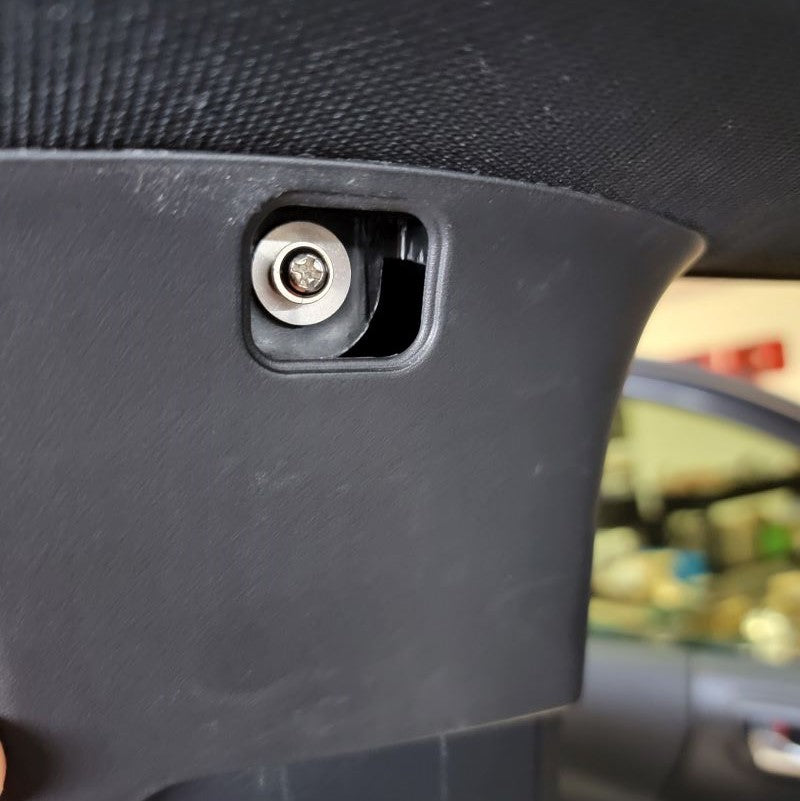
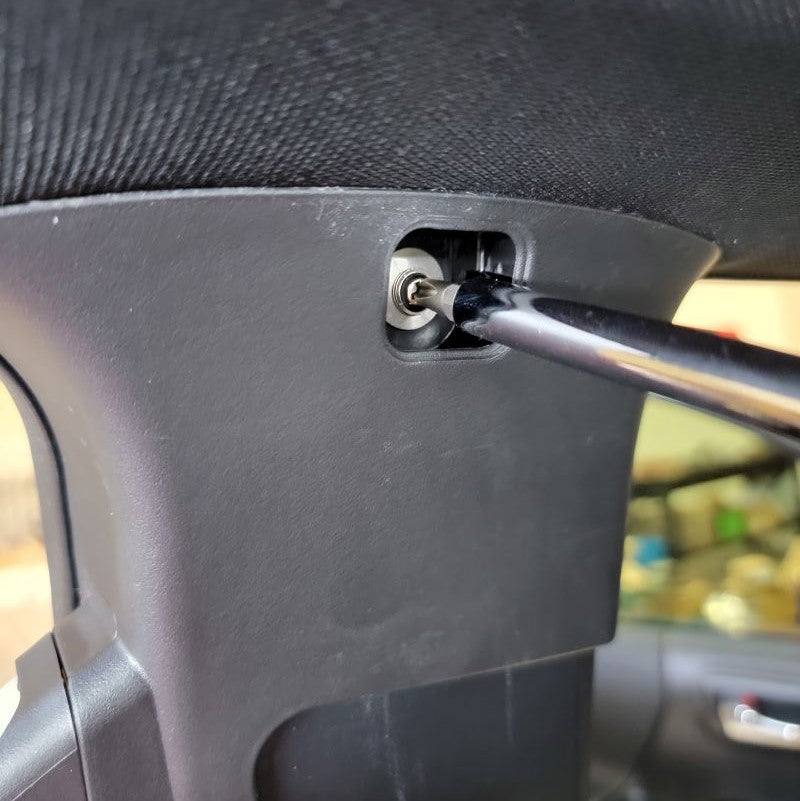
Remember to reinstall in reverse order and use the 10mm bolt and fastener to lock in the New Pillar. The new screw and washer included will get installed into the new anchoring location at the top.
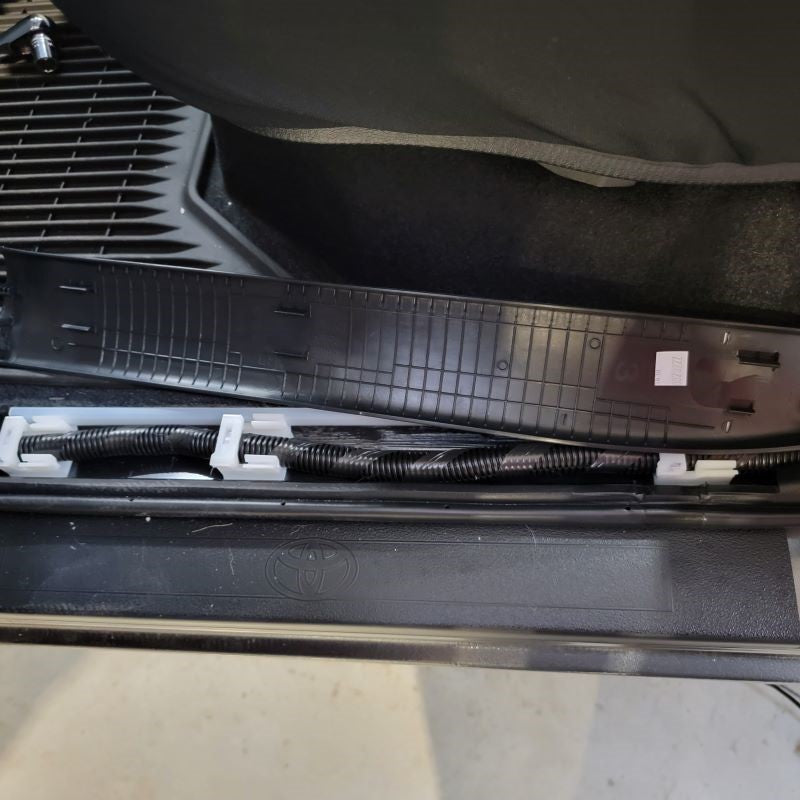
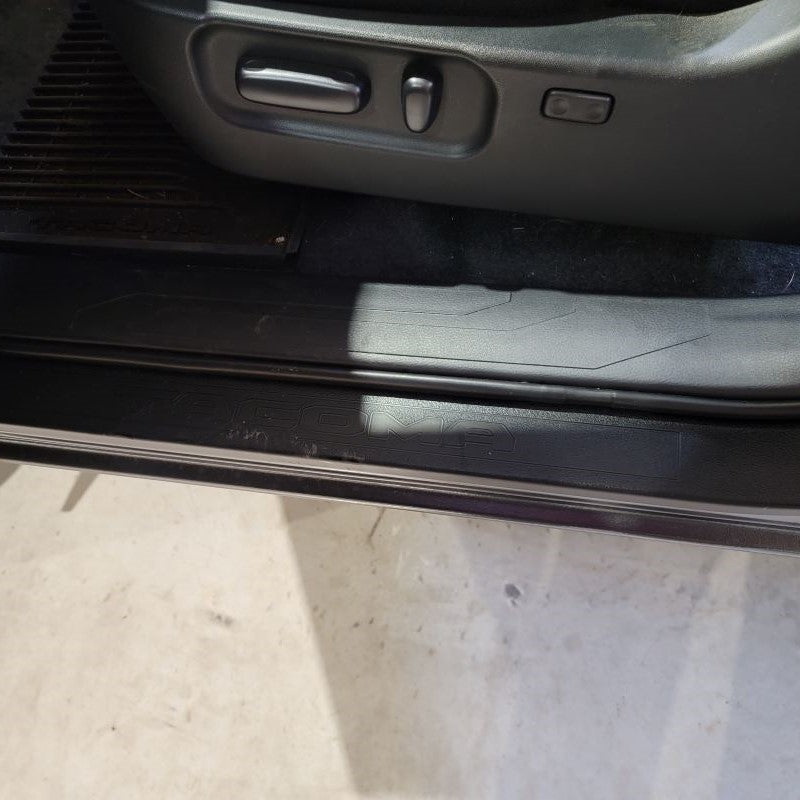
After proper installation takes place with the New Garnish, it is time to re-install the factory Center Lower Pillar.
INSTALL IMAGES


STEP 5
-
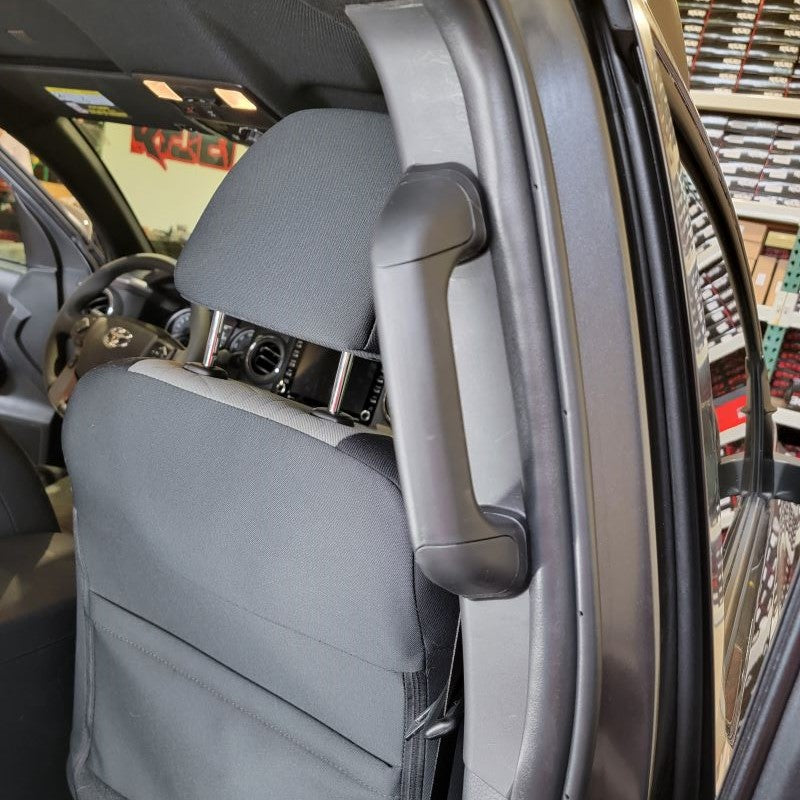
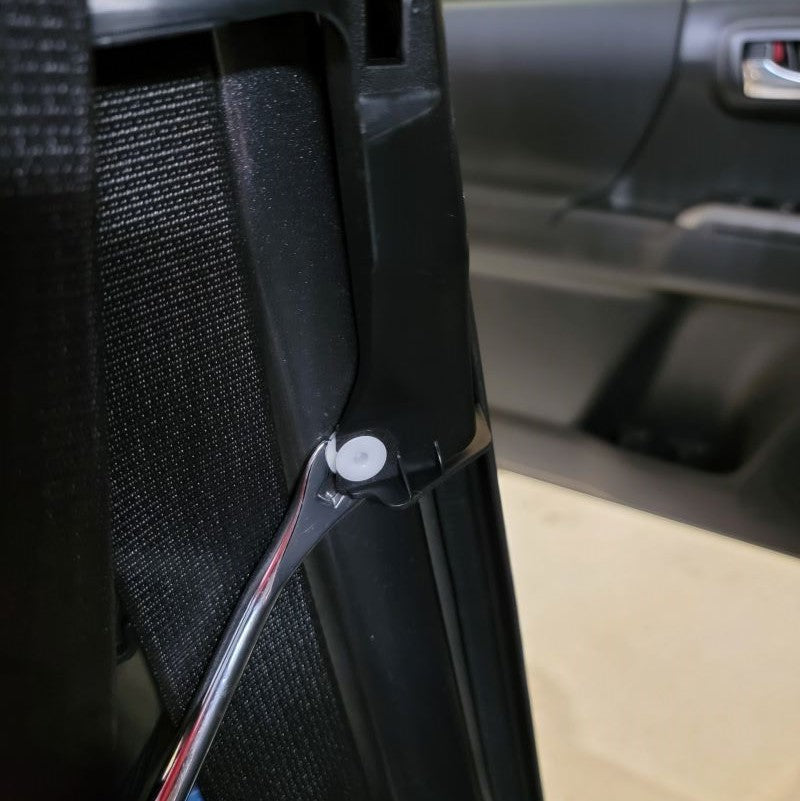
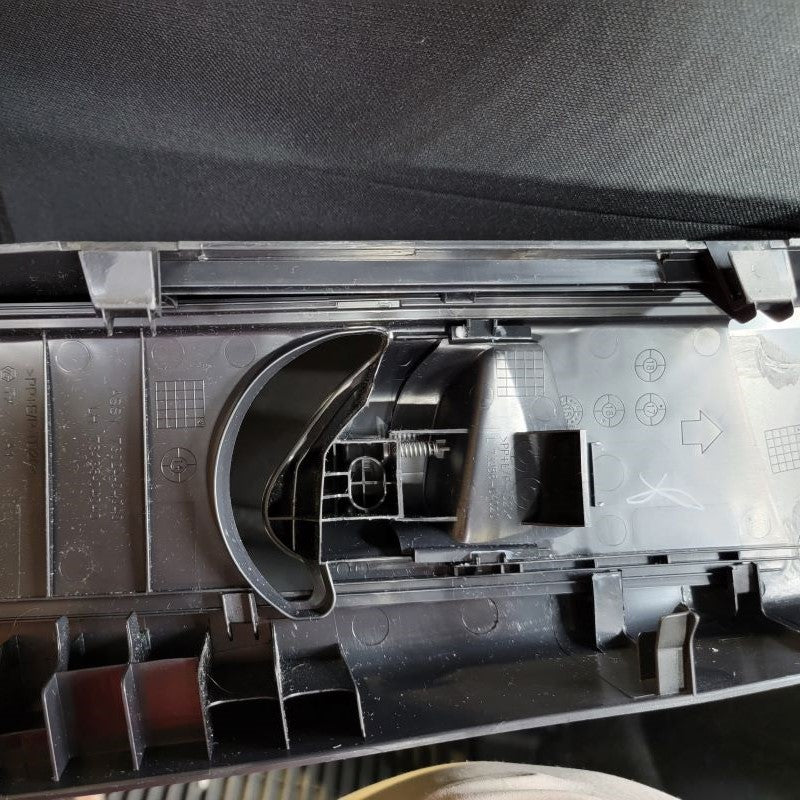
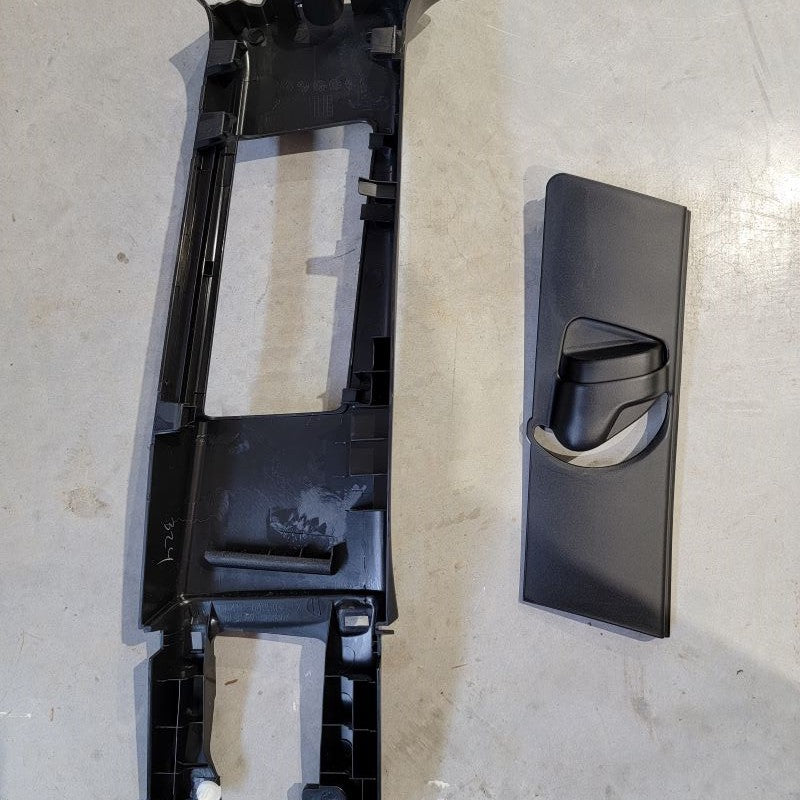
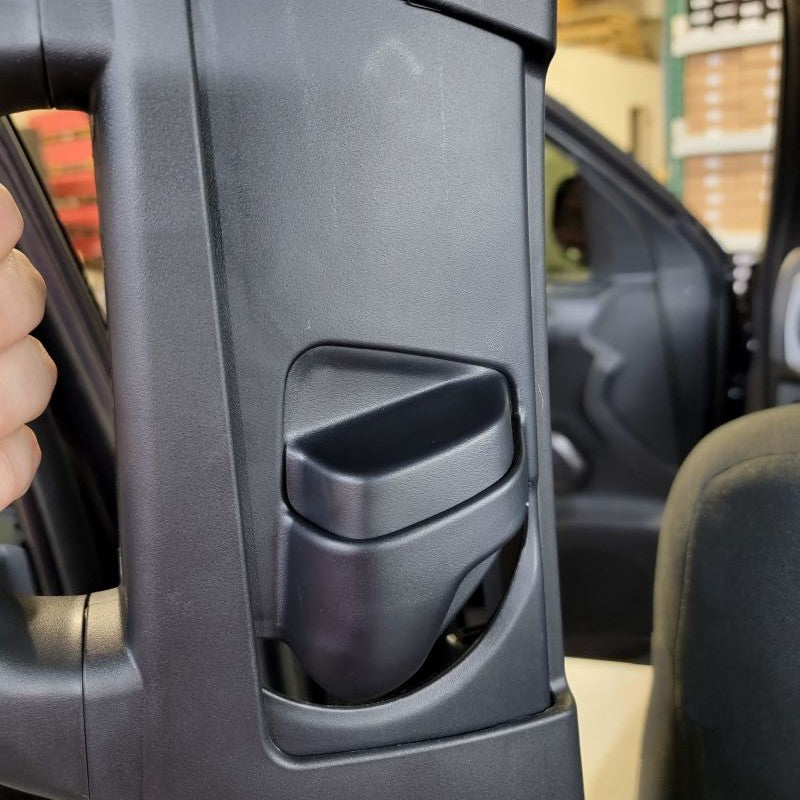
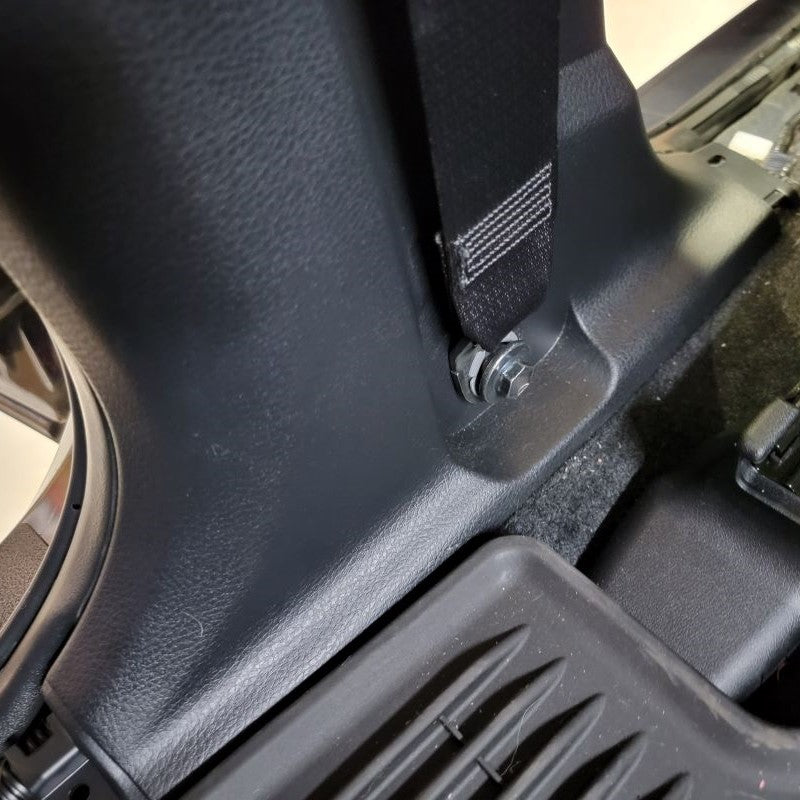
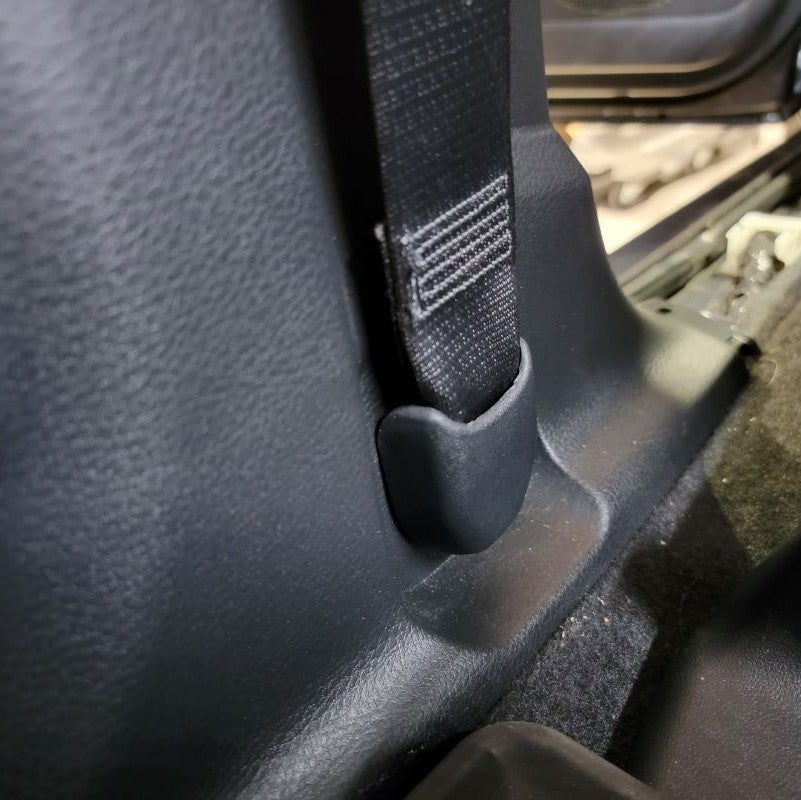
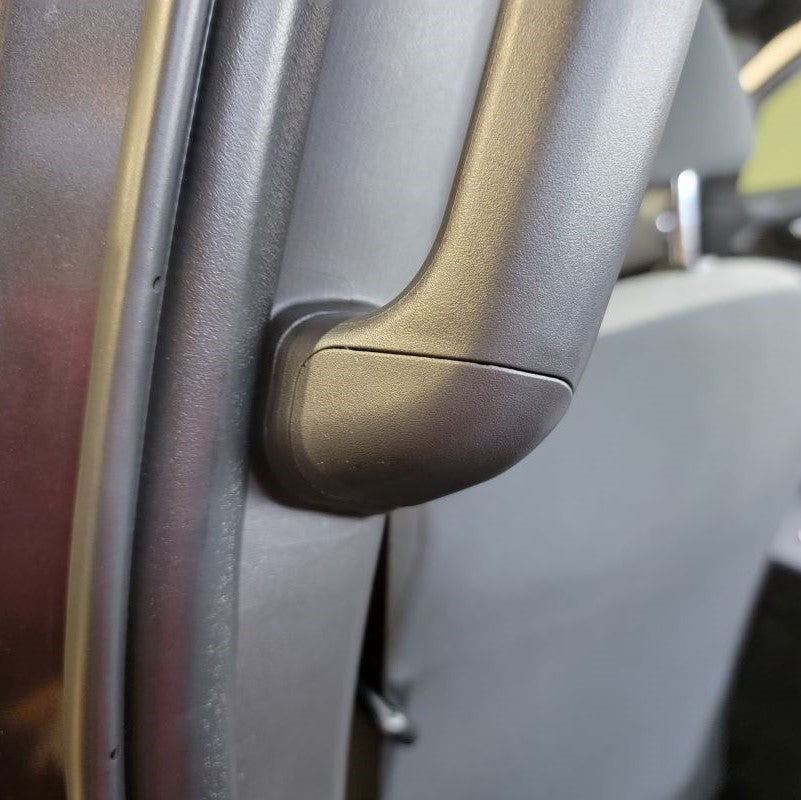
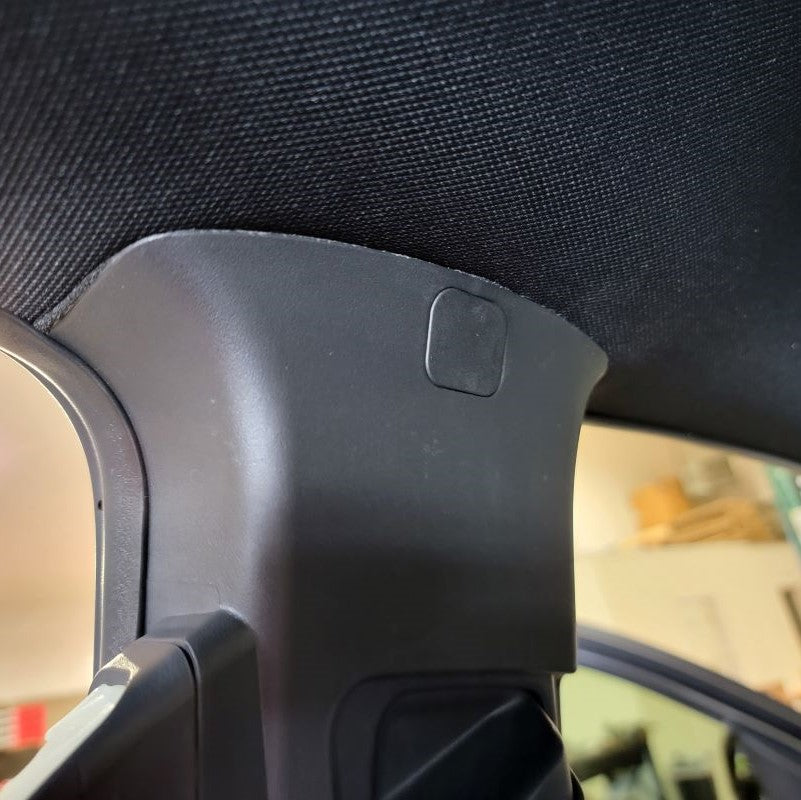
Insert the Hole Cover (included with package) on the bottom to hide the hardware you just installed. Repeat for the top hole location in the Grip Handle. Double check your weather stripping on the side of the Garnish, Center Upper Pillar is on the outside.
Finally, use the new smaller square Hole Cover (included with package) on the top of the Pillar to hide the new anchor location. Repeat Steps 1-5 for the other side now.
INSTALL IMAGES


STEP 7
-
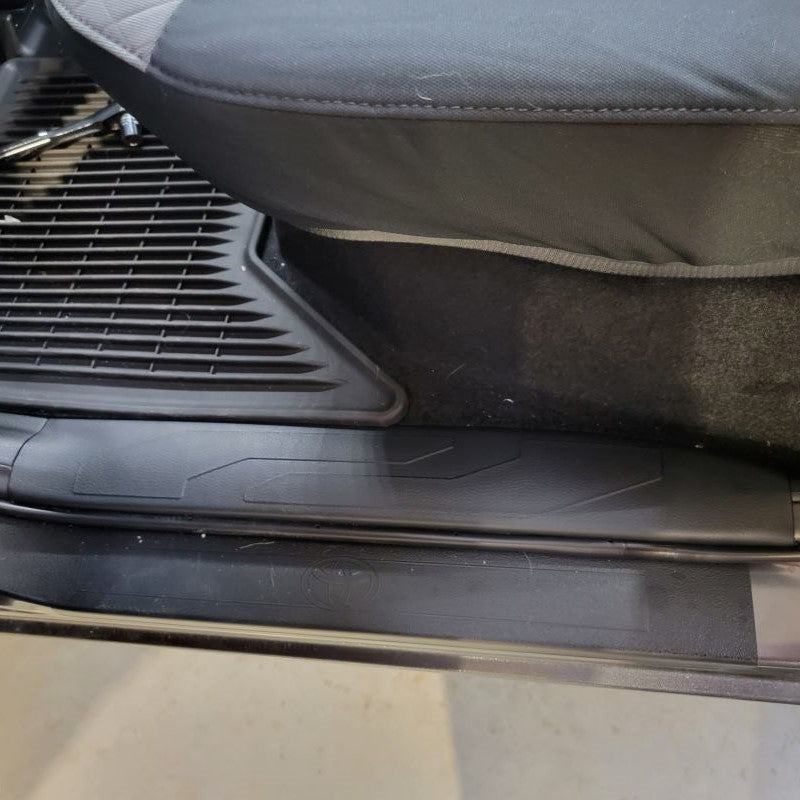
Enjoy your New Rear Grab Handles!
INSTALL IMAGES