Your Cart is Empty


FOR TOYOTA TACOMA MODEL
ITEMS INCLUDED IN THE ONE TOUCH MULTIFUNCTIONAL SMART WINDOW CONTROL PACKAGE:
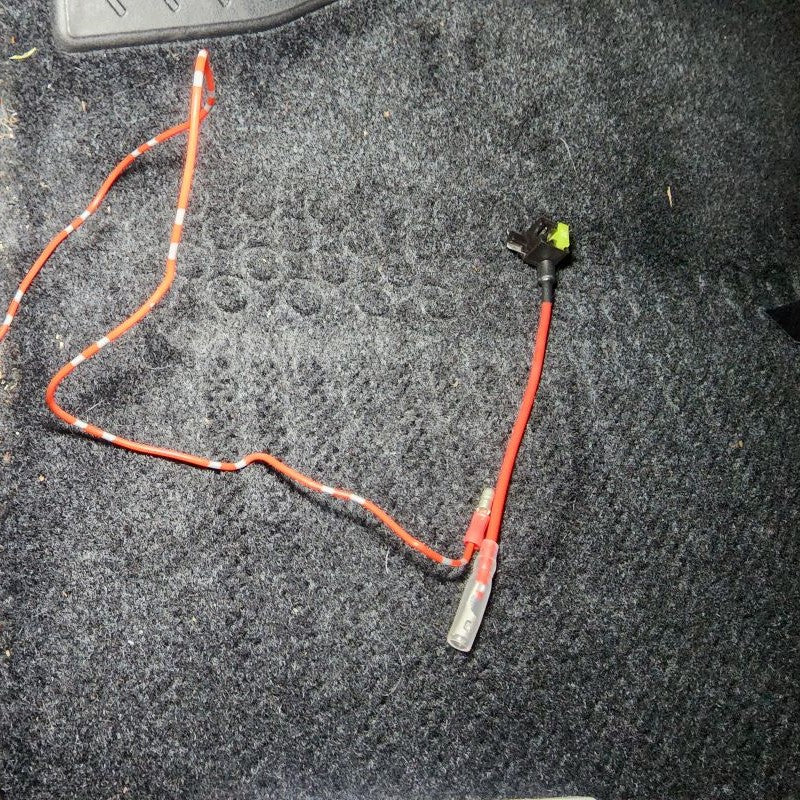
1 x Driver Plug-N-Play Wiring Harness
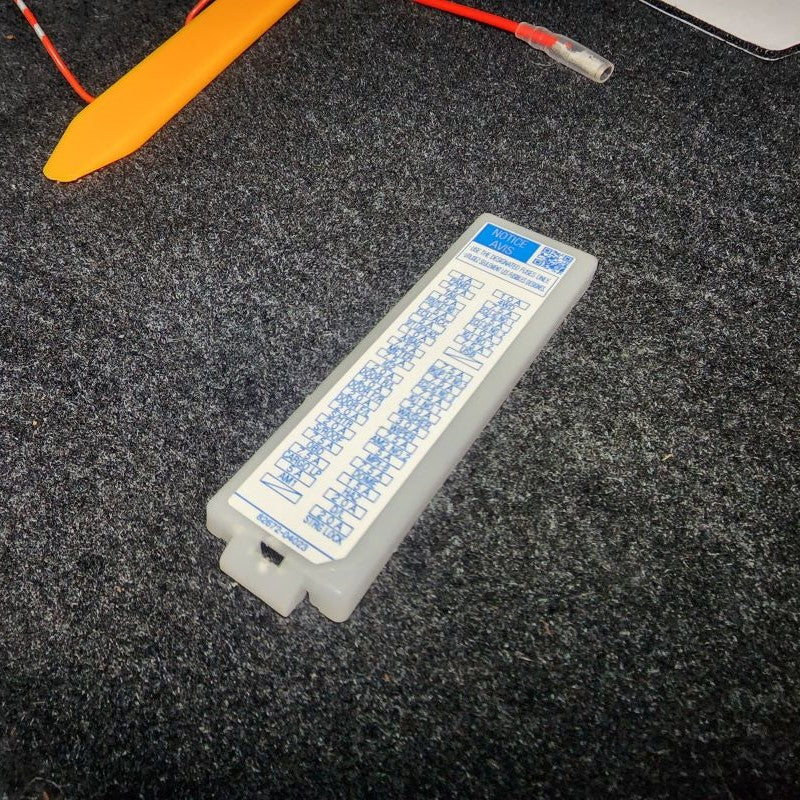
1 x Control Module
1 x 3M Mounting Pad
FEATURES:
In addition to the Automatic Up and Down features with the OEM Key Fob, you also get the following included combination features:
1. Auto Window Closing when Locking: Press Lock 2x on the Remote Control to Lock the Truck and it raises the windows after the Truck is powered off and all doors are shut.
2. Auto Window Opener when Unlocking: Press Unlock-Lock-Unlock on the Remote Control, the four windows will descend for the convenience of heat cooling.
3. Auto Window Closing Pause: Press Unlock on Remote Control to pause all windows from going up all the way.
4. Auto Window Opener Pause: Press Lock on Remote Control to pause all windows from going down all the way.
5. Auto Window Ventilation Pinch: Press Lock-Unlock-Lock on the Remote Control, the four windows will descend 2cm for the convenience of heat cooling. Repeat and windows will continue to descend an additional 2cm.
6. Auto All Window Up/Down One Touch: Press all 4 Switches in Driver’s Seat to operate as “One Touch” Up and Down Switches. They will Open, Close, and Pause All Windows with one click. Likewise, Press All Passenger Seat Switches and they operate as “One Touch” Up and Down Switches. They will Open, Close, and Pause Windows with one click.
7. Auto Window Opener Lock Mode: Press Unlock-Lock-Unlock on the Remote Control, the four windows will descend for the convenience of heat cooling. To activate just the Lock Mode Press Lock on the Remote Control to only Lock the Truck without Closing the Windows. The Windows of the Truck stay Open in Lock Status. Press Lock on the Remote Control a 2x and All Windows will Auto Close.
8. Waiting for Someone Mode: Press Unlock-Unlock-Lock on the Remote Control after the Truck is powered off and all doors are shut to Lock the Truck without raising the windows.
TOOLS NOT INCLUDED BUT ARE NEEDED:
Installation Instructions - One Touch Multifunctional Smart Window Control (Located on Website)Phillips Screwdriver
Door Panel Remover (optional)
DISCONNECT THE BATTERY BEFORE YOU BEGIN INSTALLATION
Must Press + to see the narrative on each Step
-
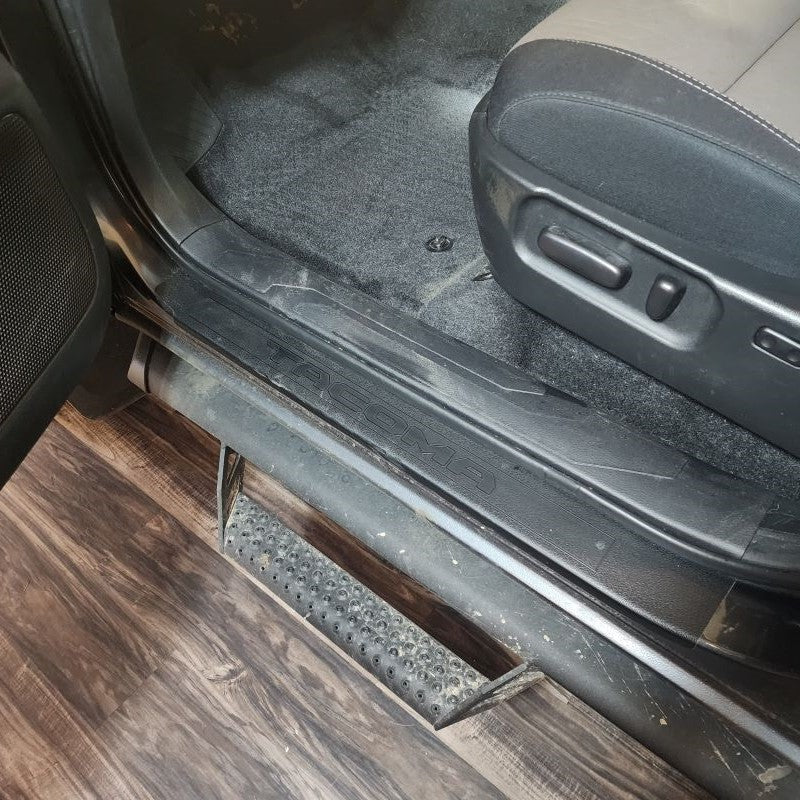
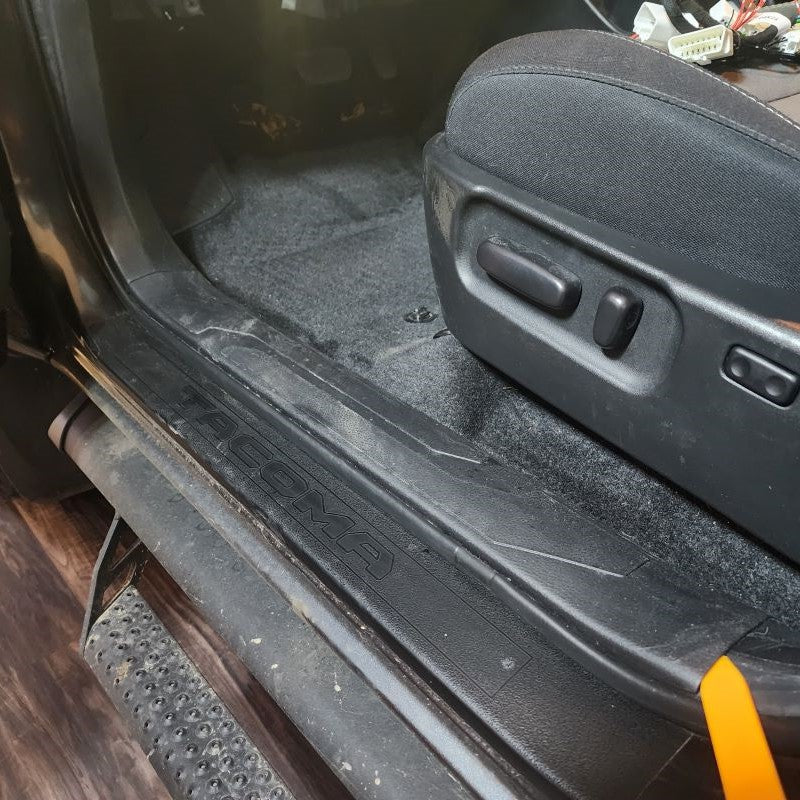
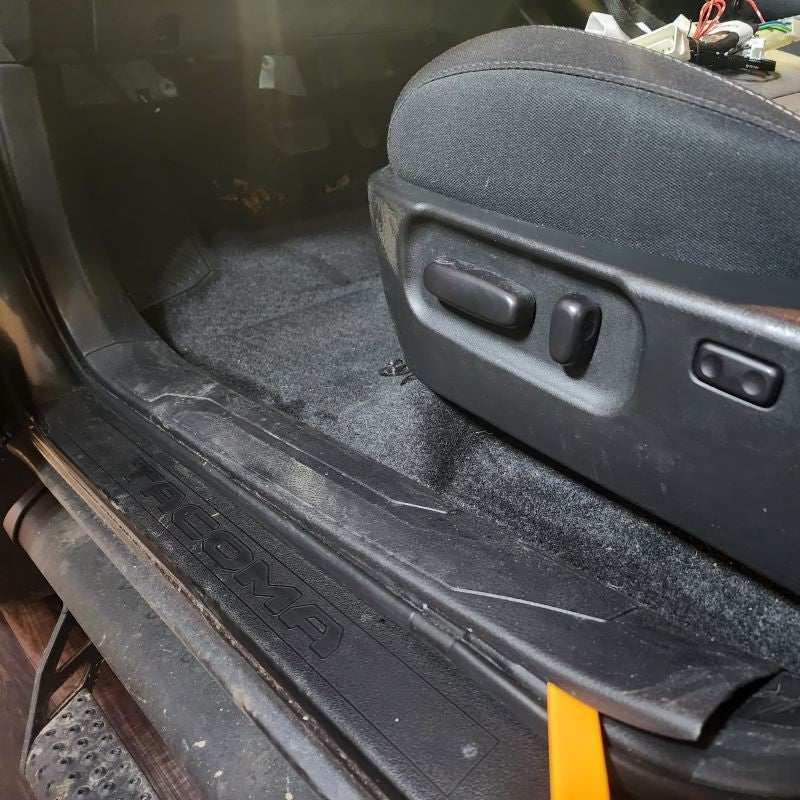
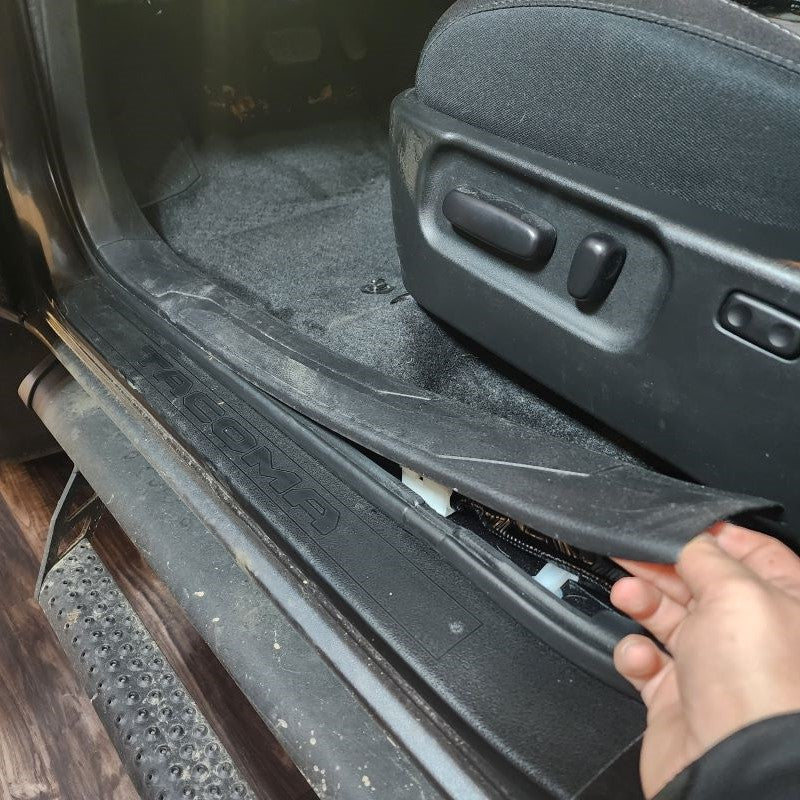
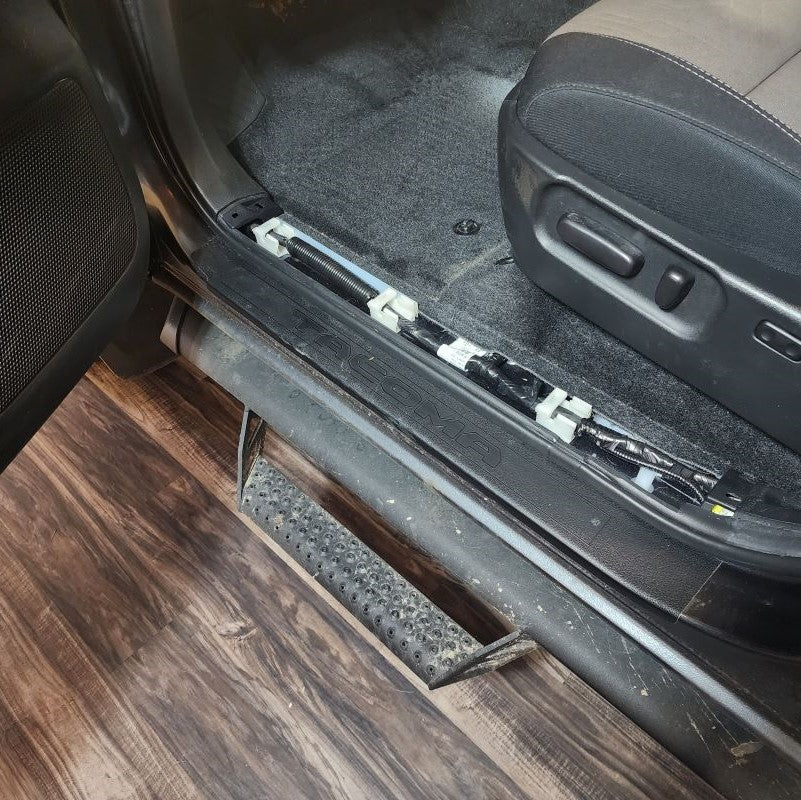
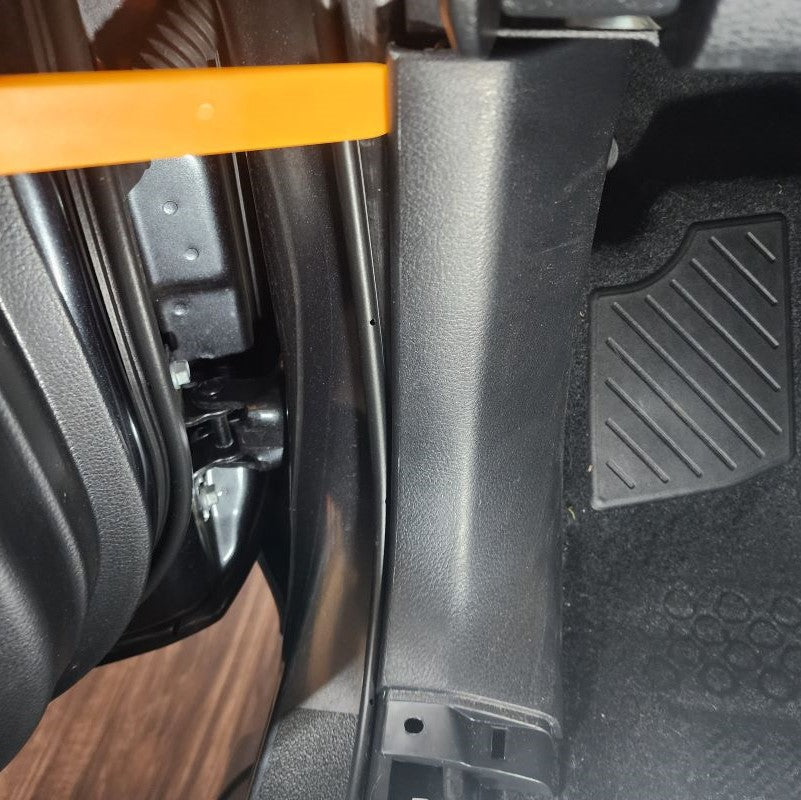
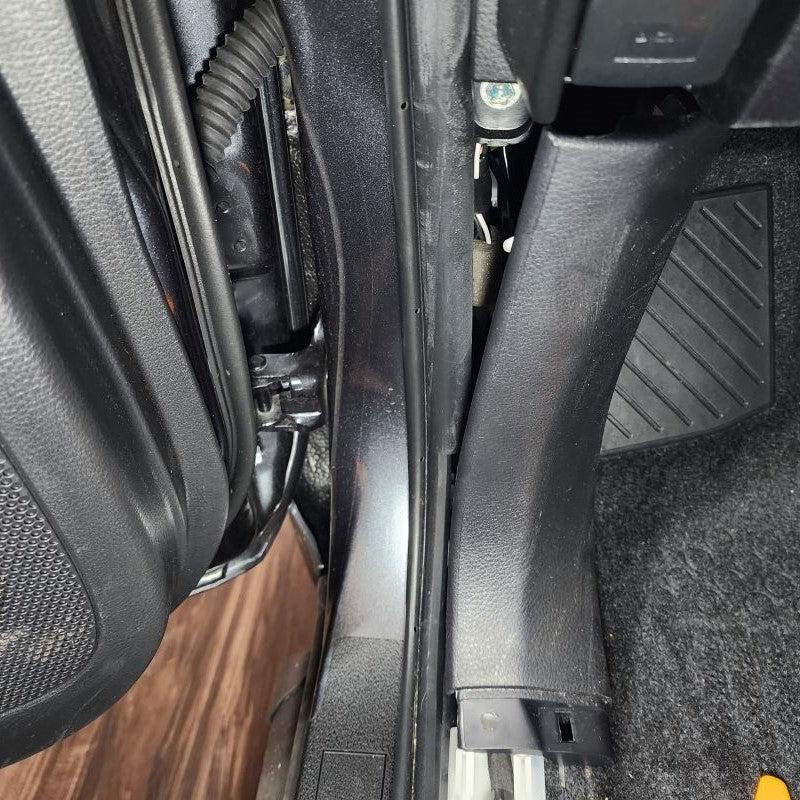
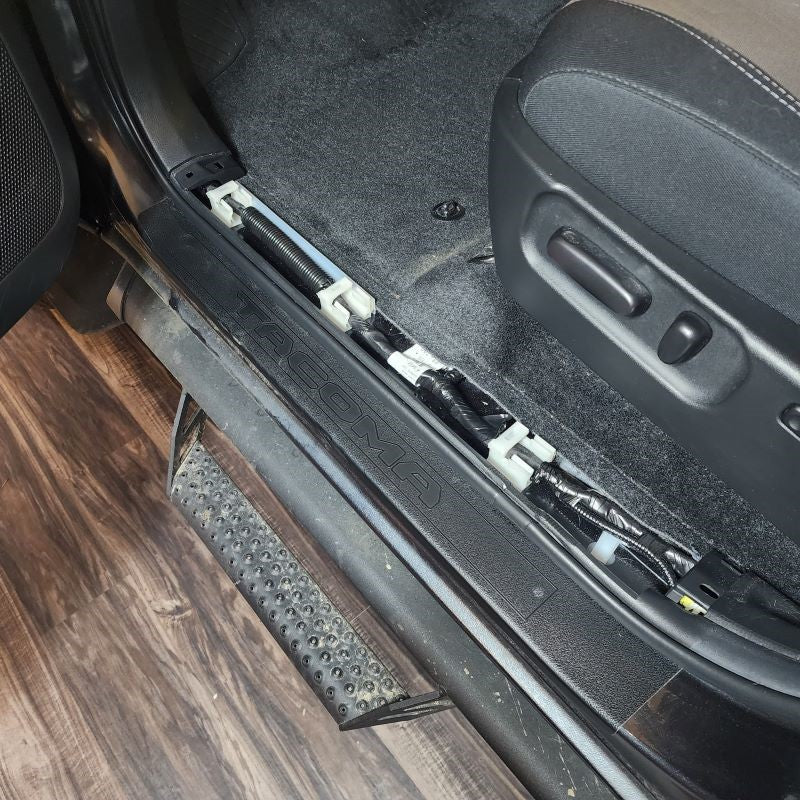
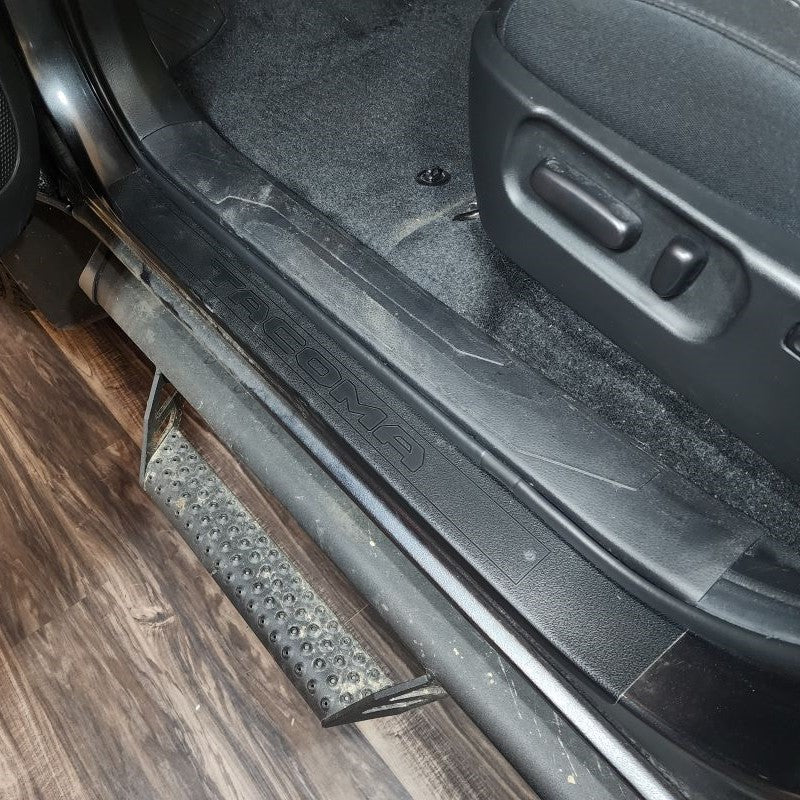
Start by removing the door sill protector panel. It is held in with plastic tabs that are connected to the three carpet rings underneath. Pull straight out away from the floorboard of the cab and it will release. Use your trim removal tool if it is too hard to do with just your hand.
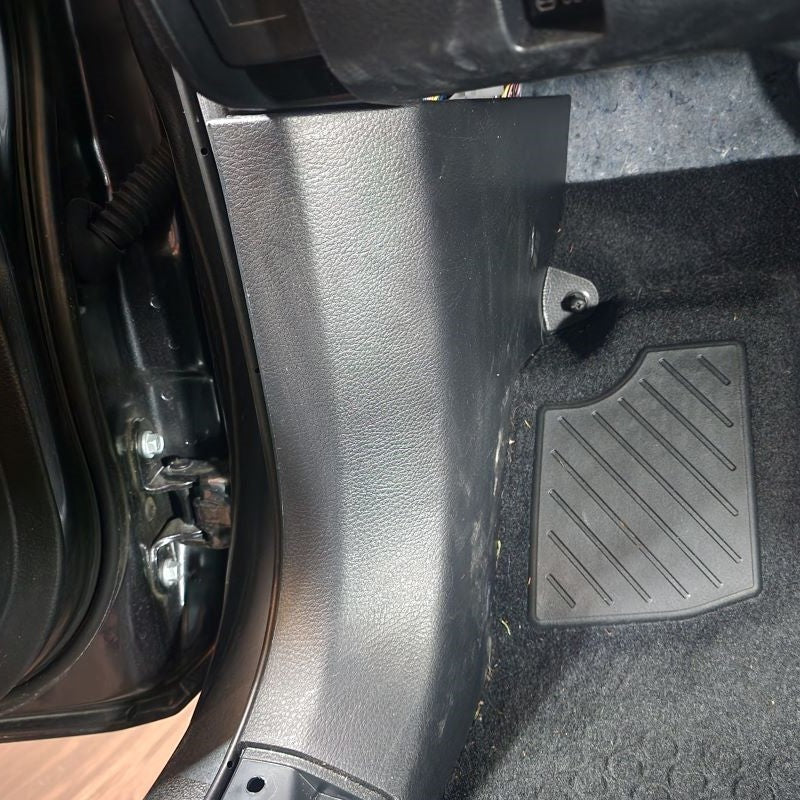
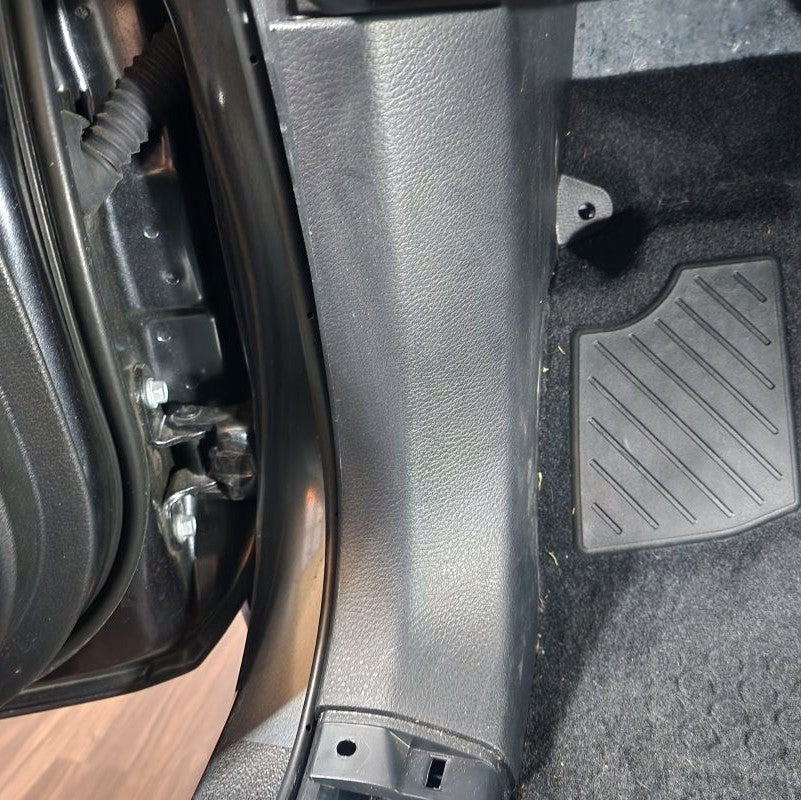
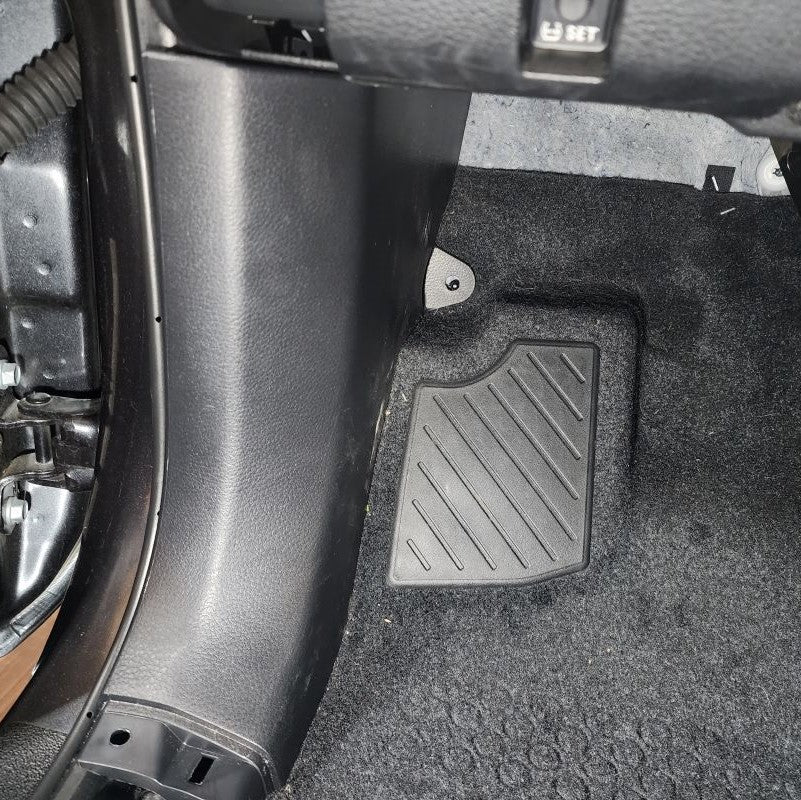
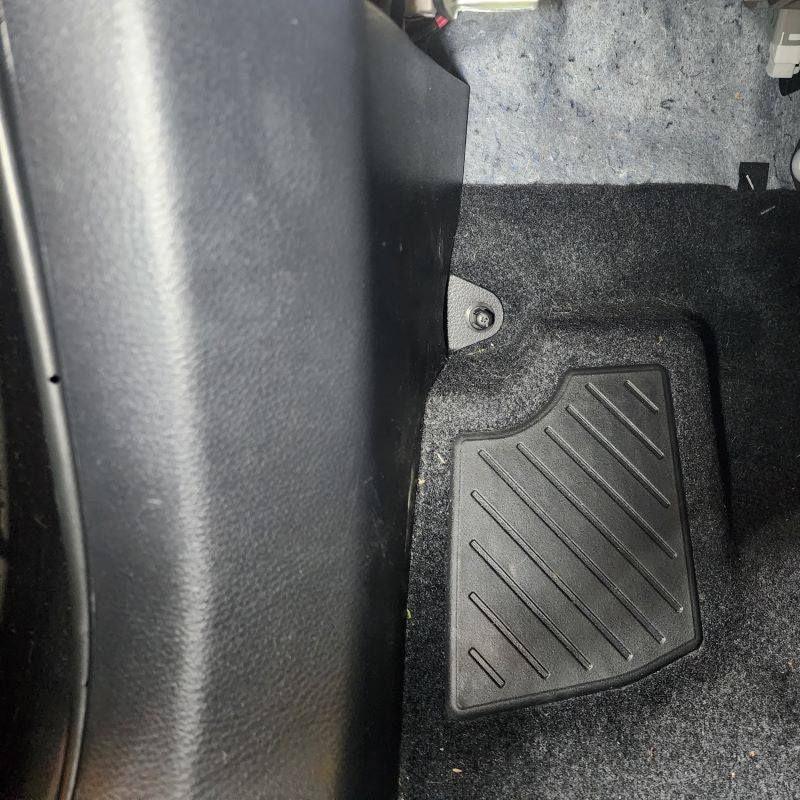
Following that, in preparing the kick panel for removal, you will need to remove the little black plastic fastener located in the back corner. You can use just your hands to unscrew it from the 10mm thread attached to the frame of the truck or a phillips screwdriver.
Finally, using your trim removal tool or simply just your hands, pry inward to release the tabs from behind the kick panel. If you haven't removed your kick panel before it can seem pretty tough the first time. Please do not worry about breaking anything. There are just two white plastic fasteners that secure the kick panel in place. If either of the two white fasteners stay in the frame of the truck, remove them and reinstall on your kick panel prior to setting aside.
STEP 1
INSTALL IMAGES


STEP 2
-
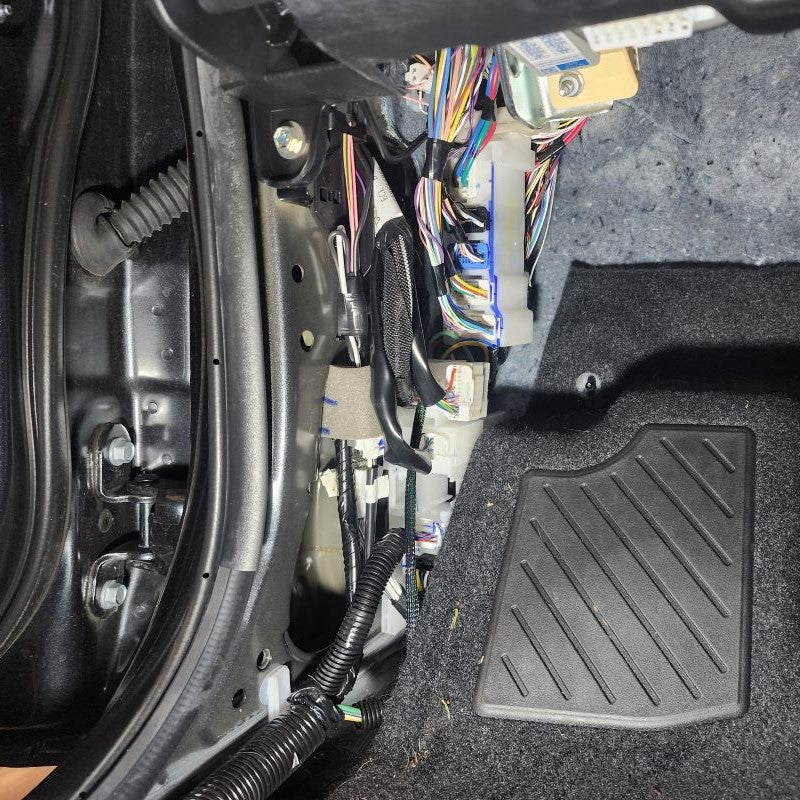
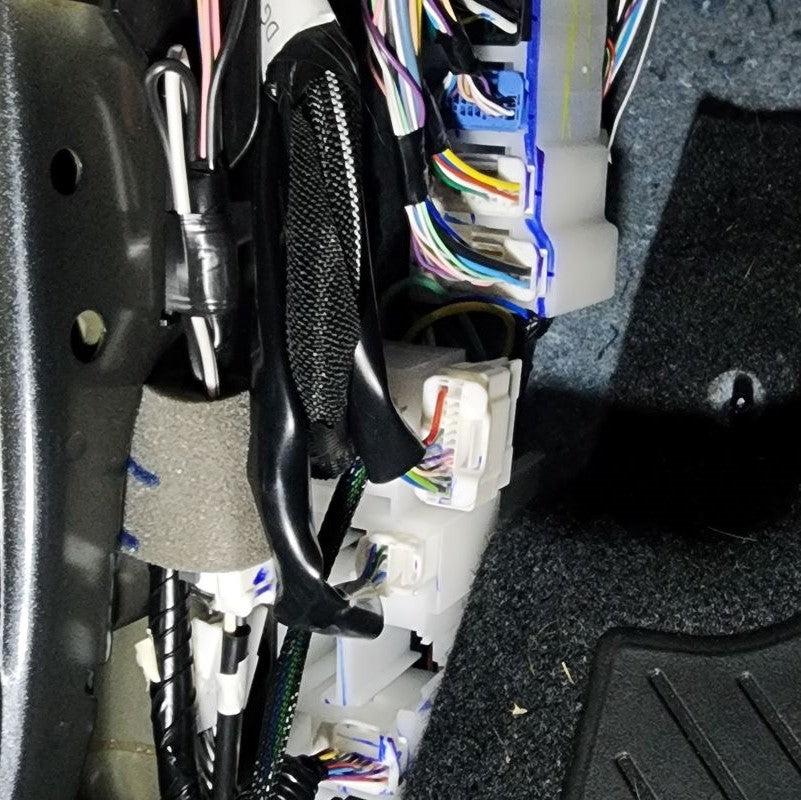
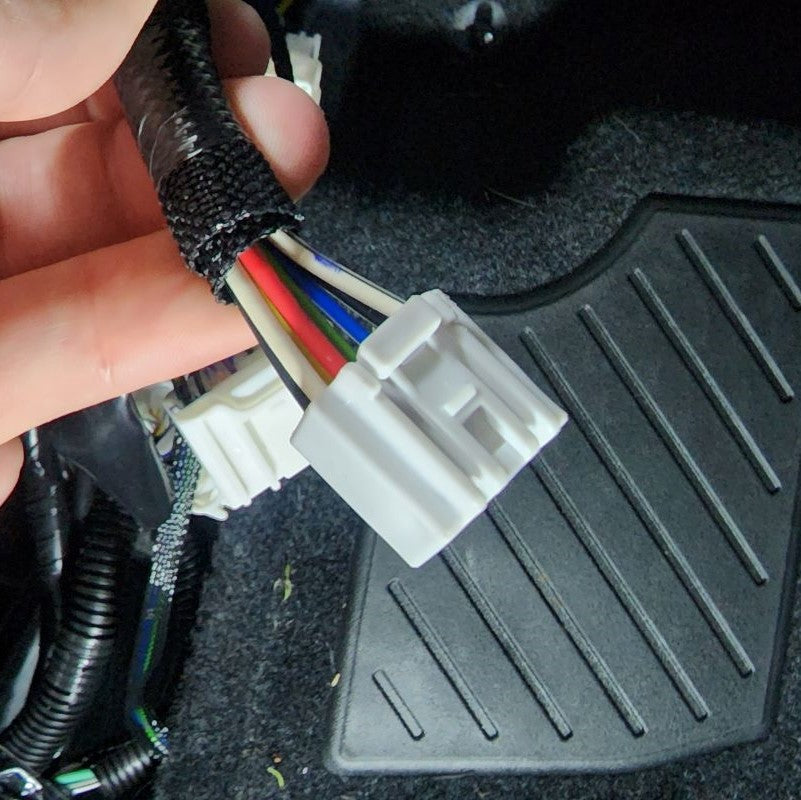
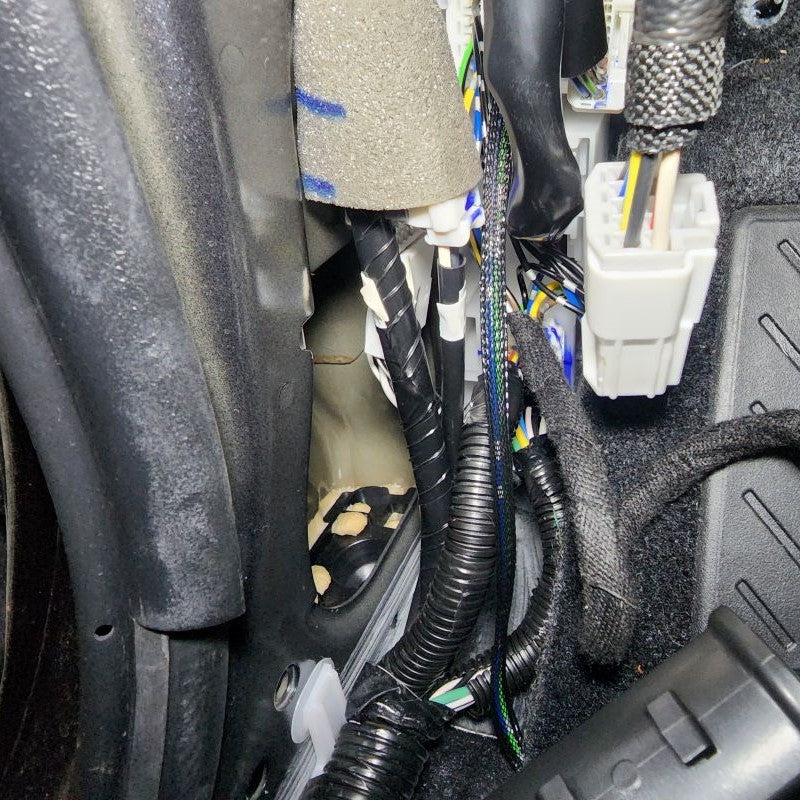
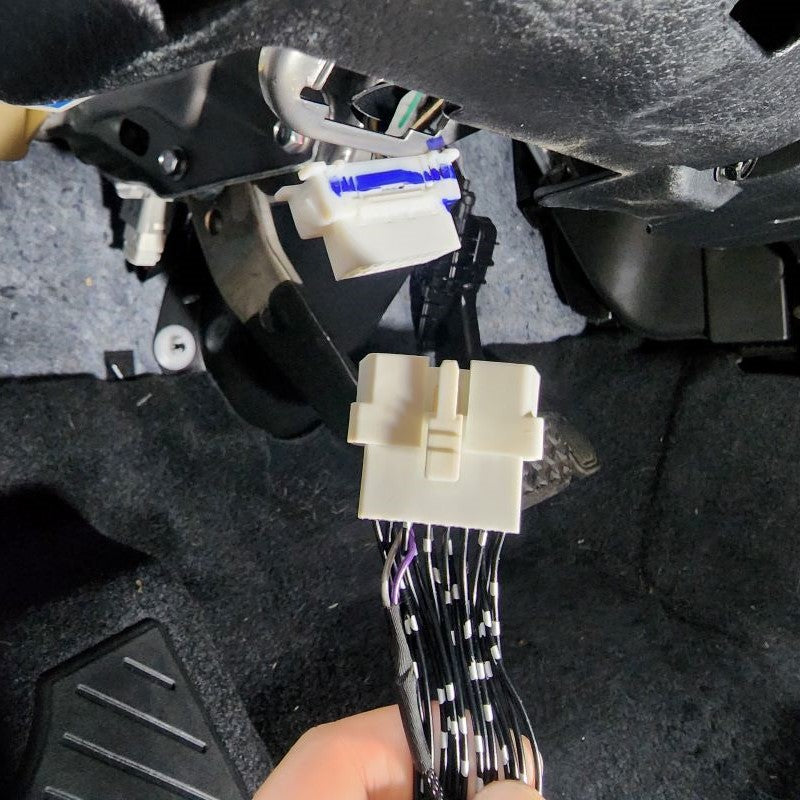
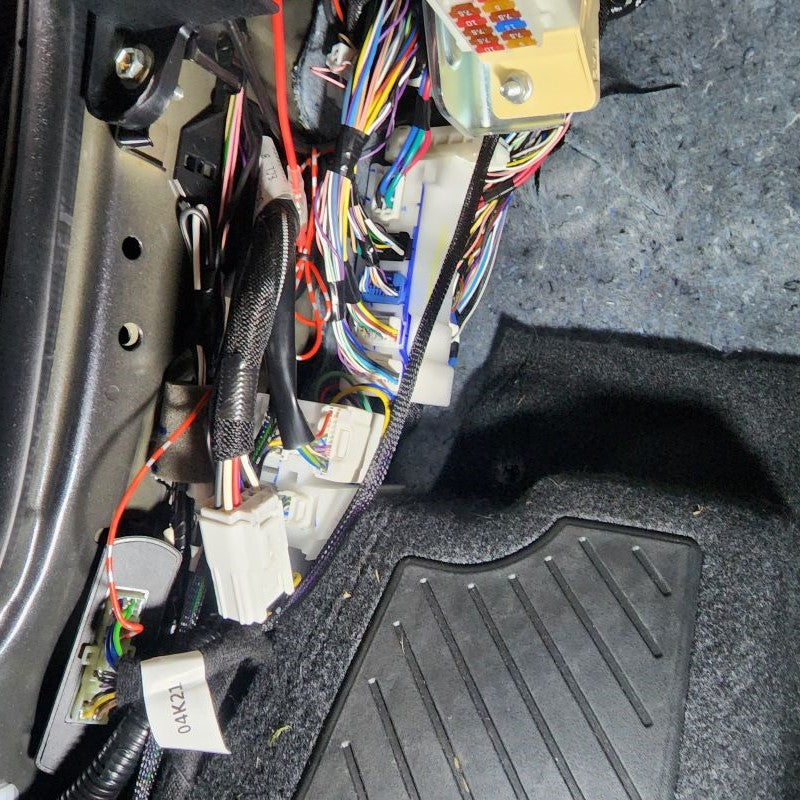
Looking inside your kick panel area where all the factory wires are located, disconnect the door lock connector shown below. There is a little white tab that you press down while pulling the connector out.
INSTALL IMAGES


STEP 3
-
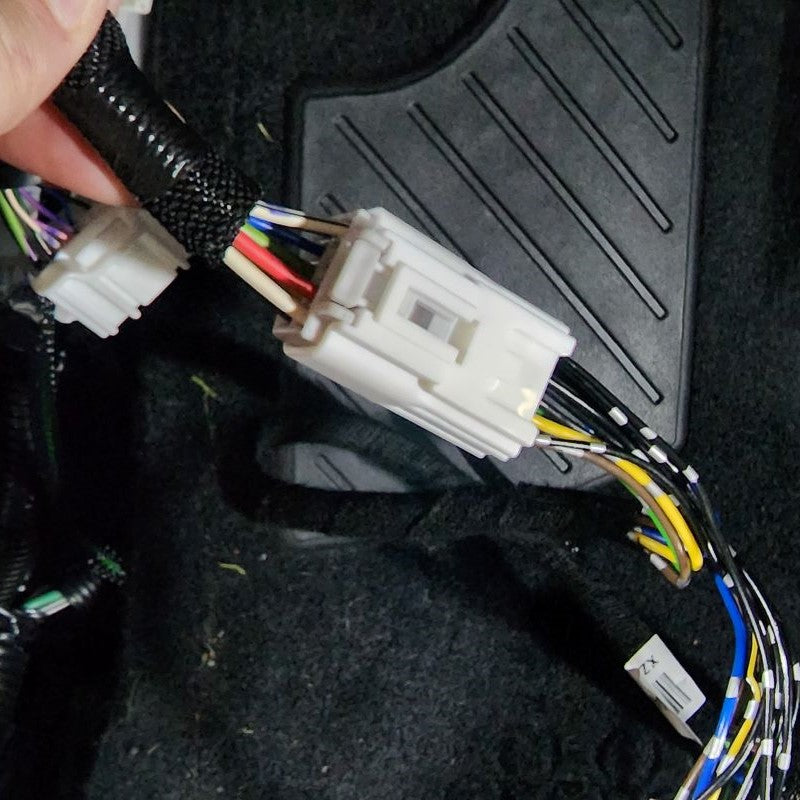
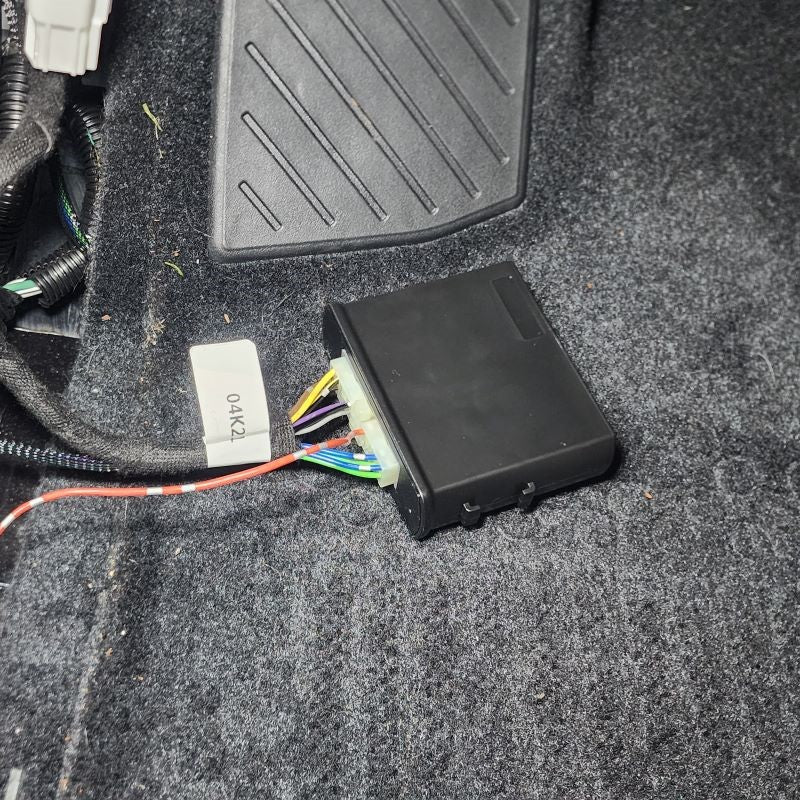
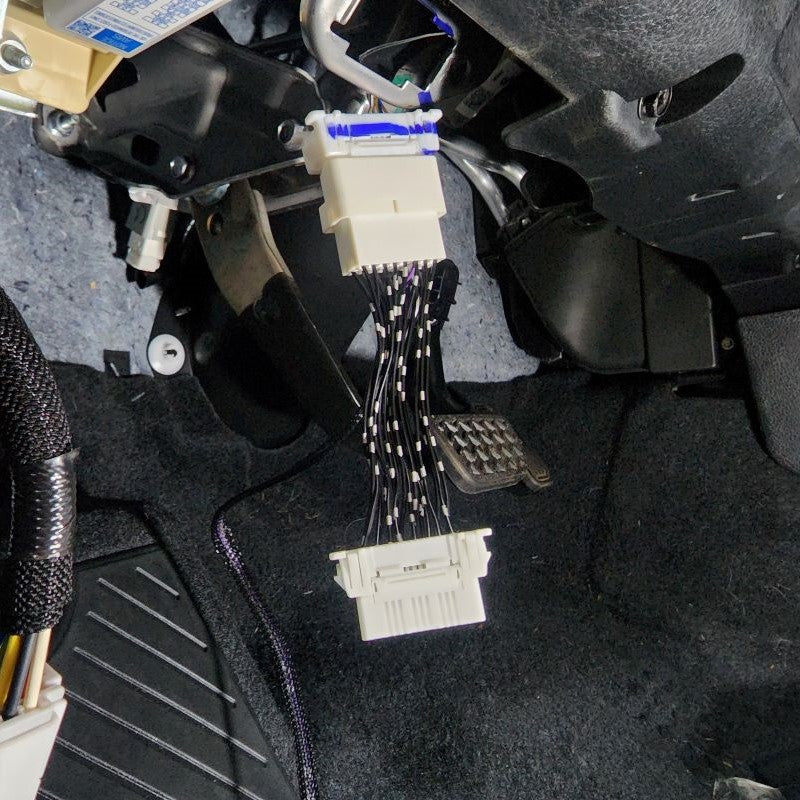
Connect the new harness to the factory connector you located and matched up in Step 2. Connect the the other end to the kick panel area where you removed the factory harness. Use electrical tape or zipties, that is up to you and your personal preference to tidy up the wiring along the way.
INSTALL IMAGES


STEP 4
-
You will see a pocket that is empty inside your kick panel area. Use this area to store your control module and get it out of the way of all the wiring. It will also help when you try to re-install the kick panel.
INSTALL IMAGES


STEP 5
-
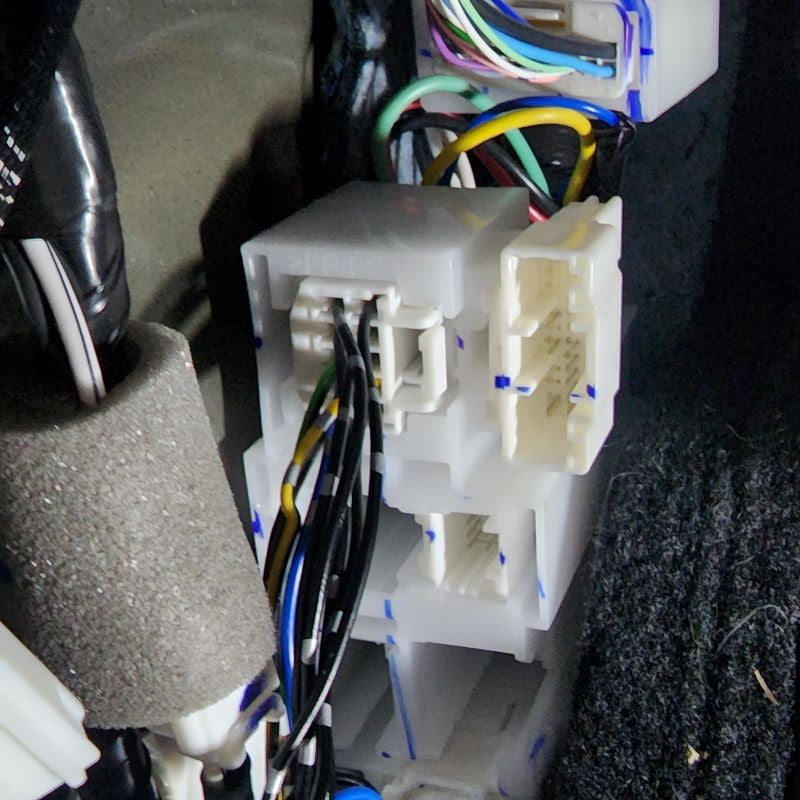
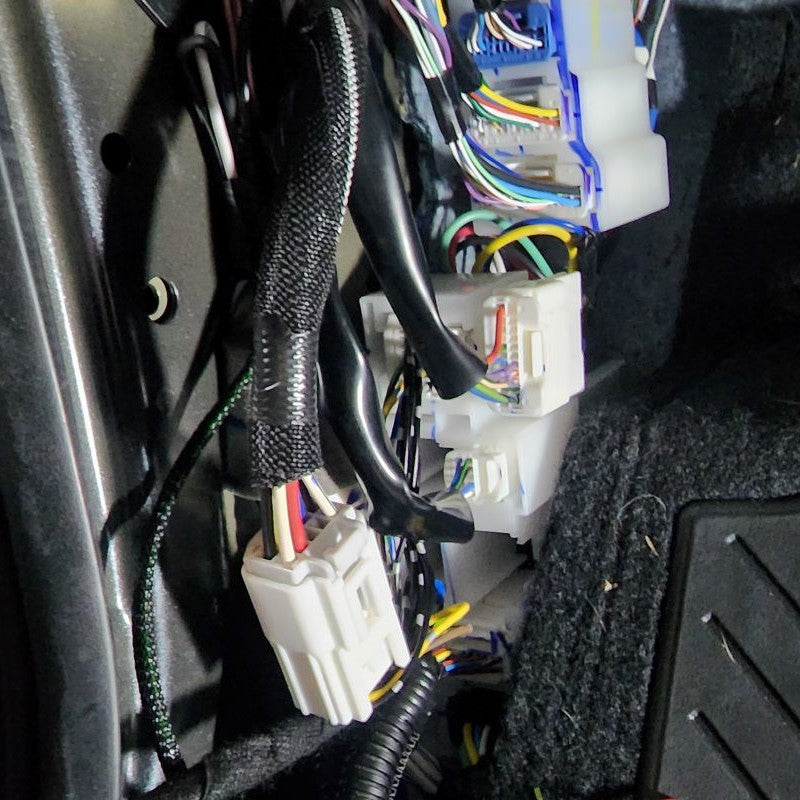
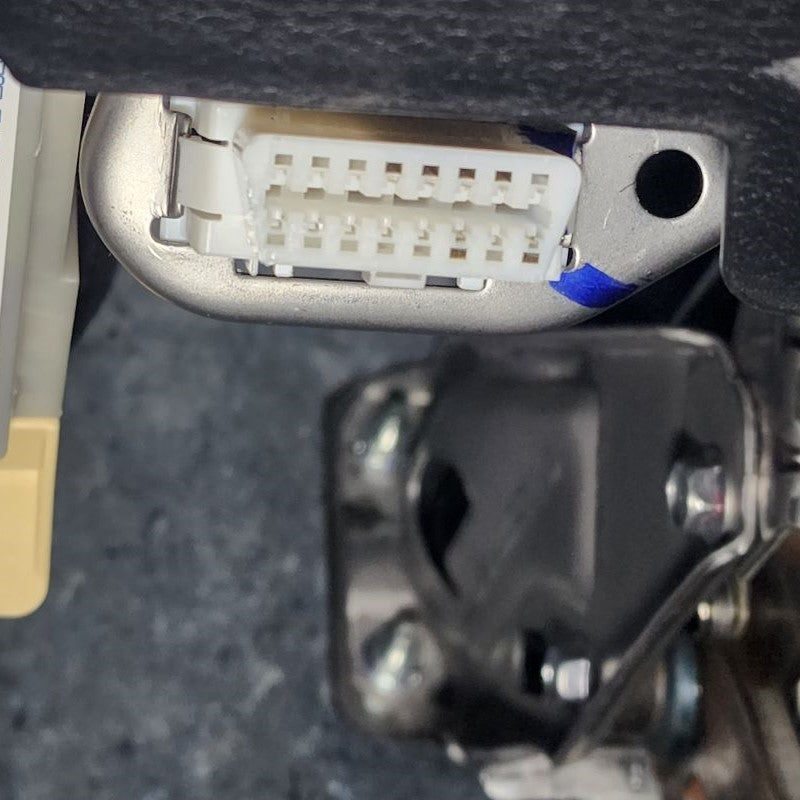
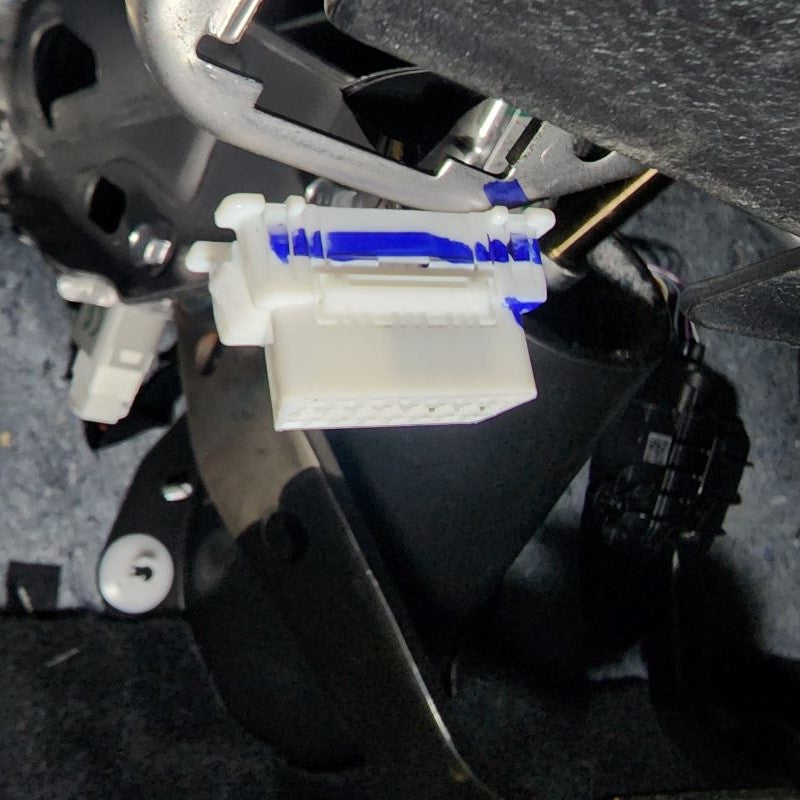
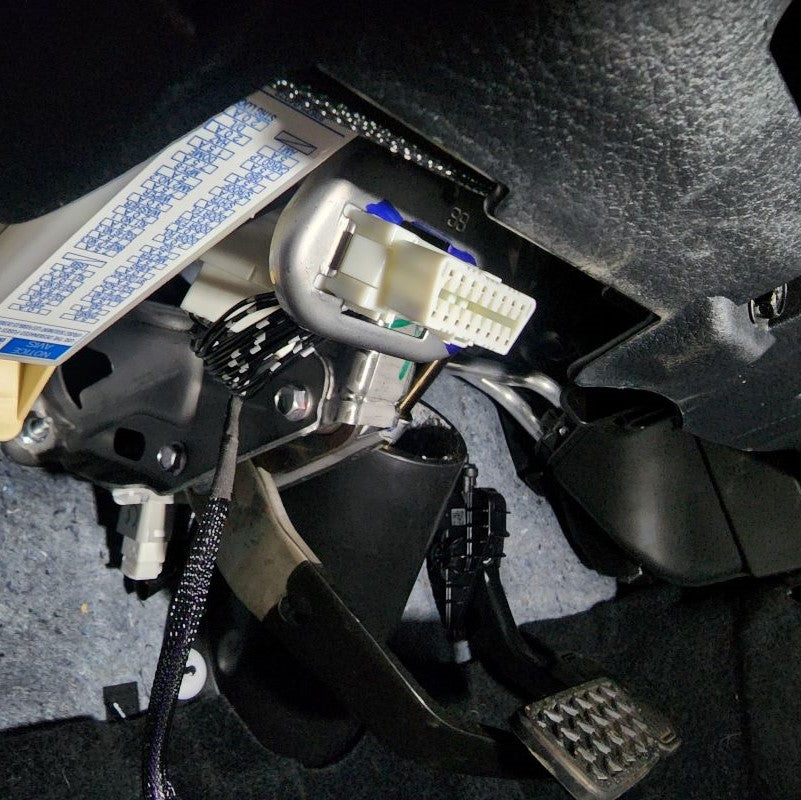
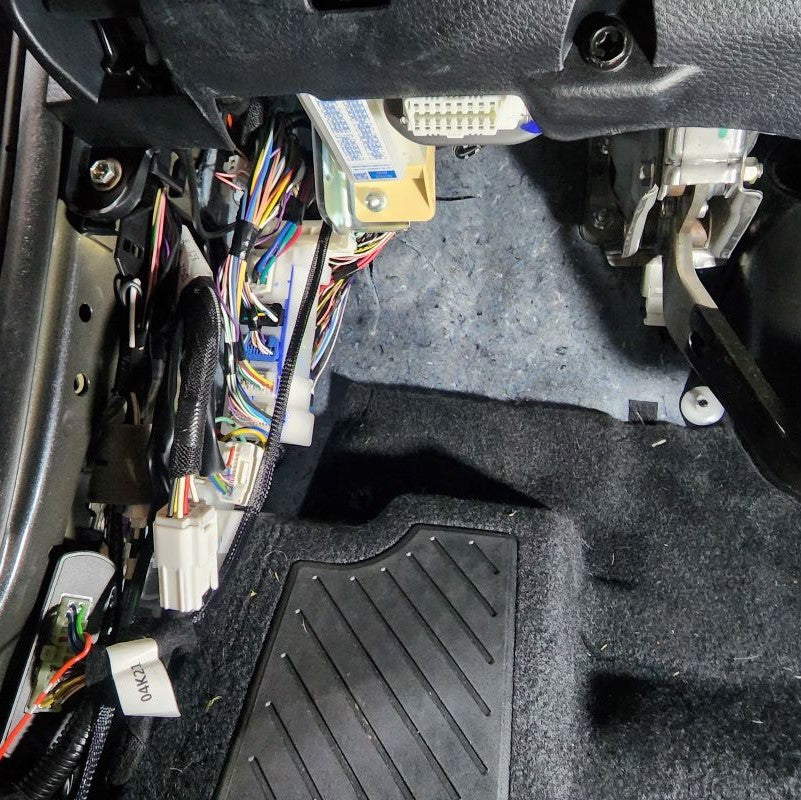
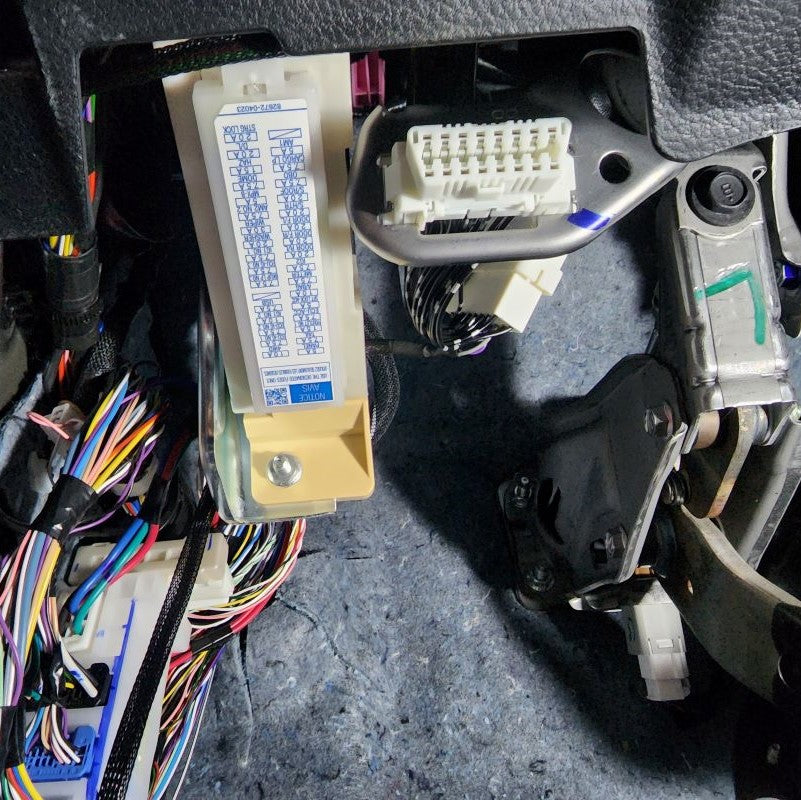
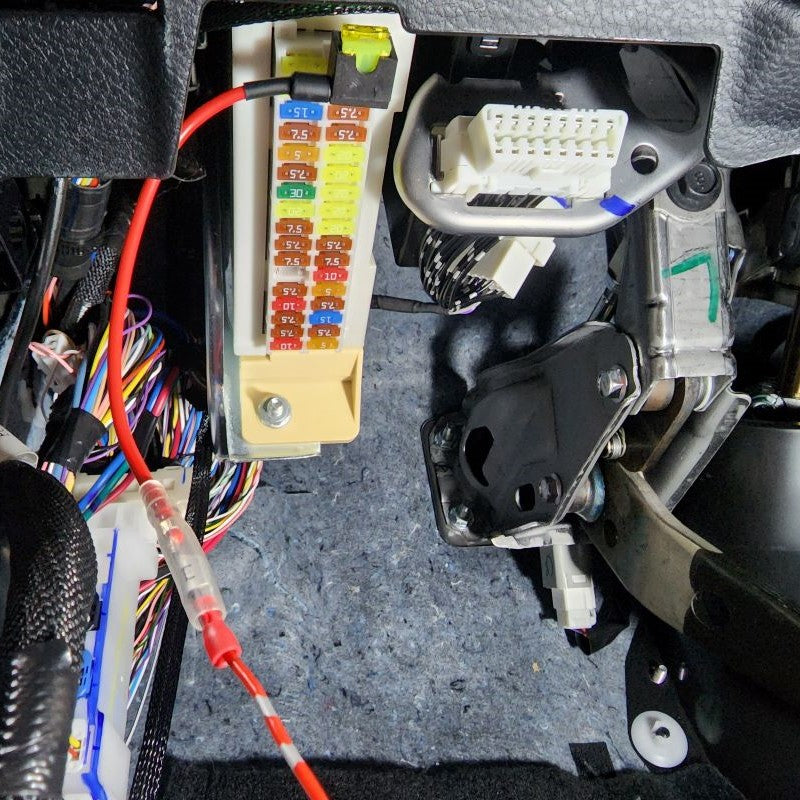
Locate the factory white connector at the bottom of the lower dash in front of the driver and under the steering column. Remove this connector from its secured location by pushing the two tabs on each side in and then removing it from the backside of the metal bracket. Connect your new harness and then re-install into the metal bracket. Go ahead and run the new wire harness from the kick panel area to the OBDII any way you choose.
INSTALL IMAGES


STEP 6
-
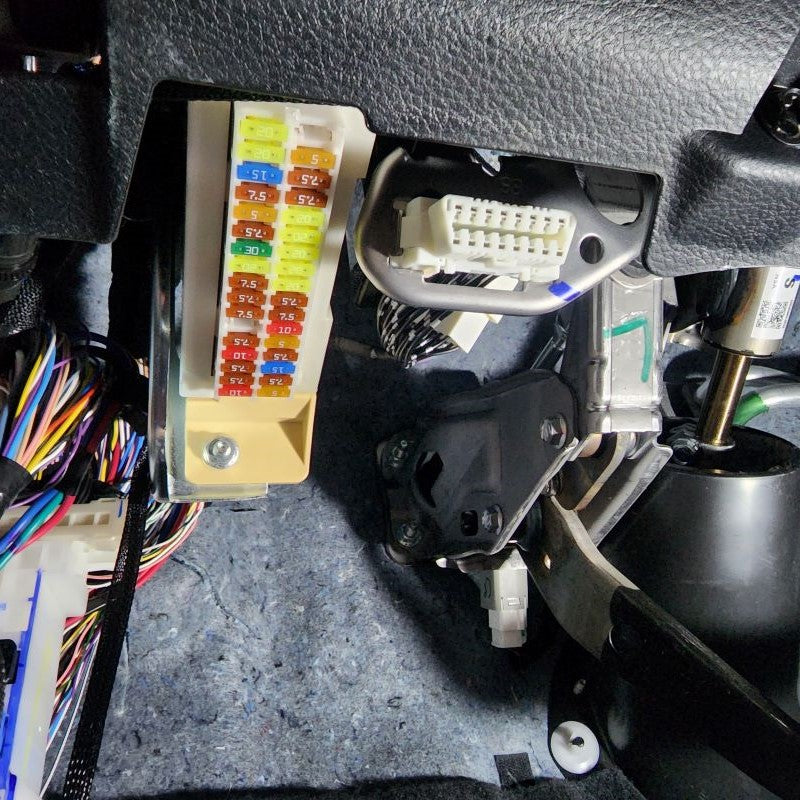
You will have one fuse that will need to plug into your choice of constant 12V power source under your dash.
INSTALL IMAGES


STEP 7
-
Finally, you can re-install your kick panel and door sill panel in reverse order from Step 1.
INSTALL IMAGES


STEP 8
-
Enjoy your Smart Window System with your New One Touch Multifunctional Window Closer!