Your Cart is Empty


FOR TOYOTA 4RUNNER MODEL
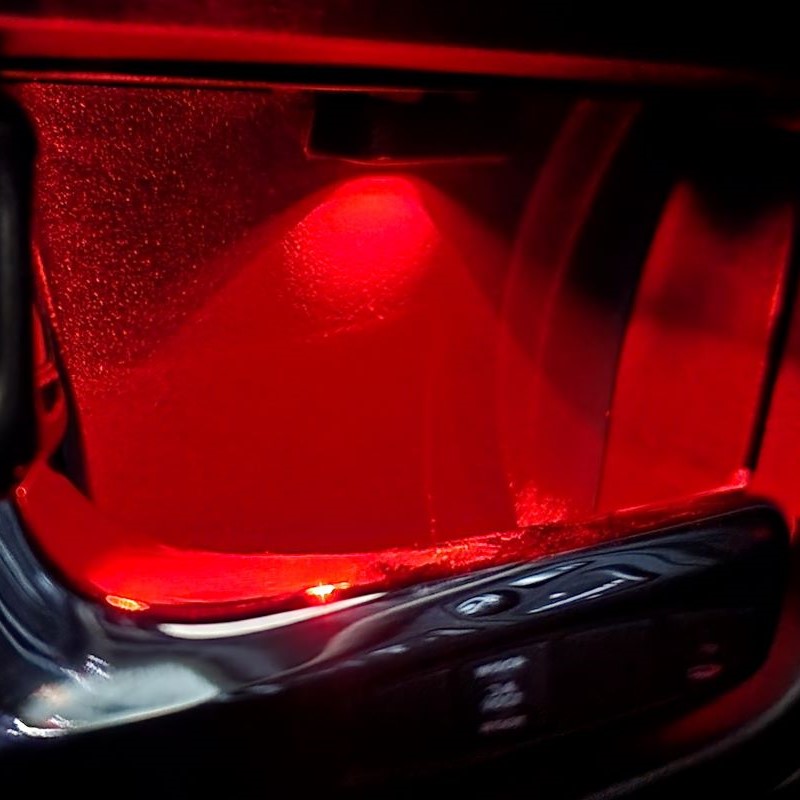
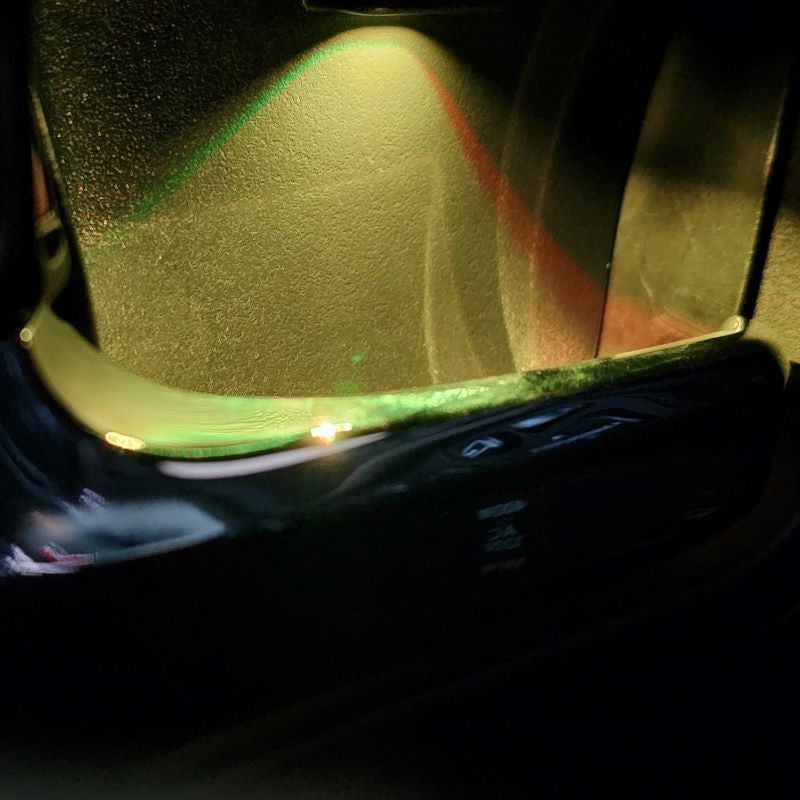
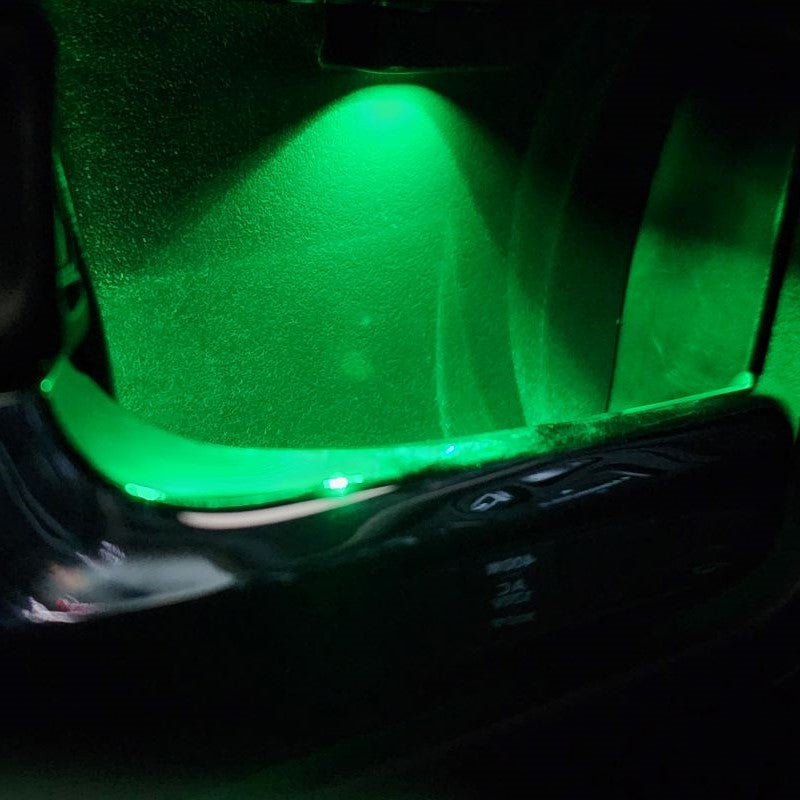
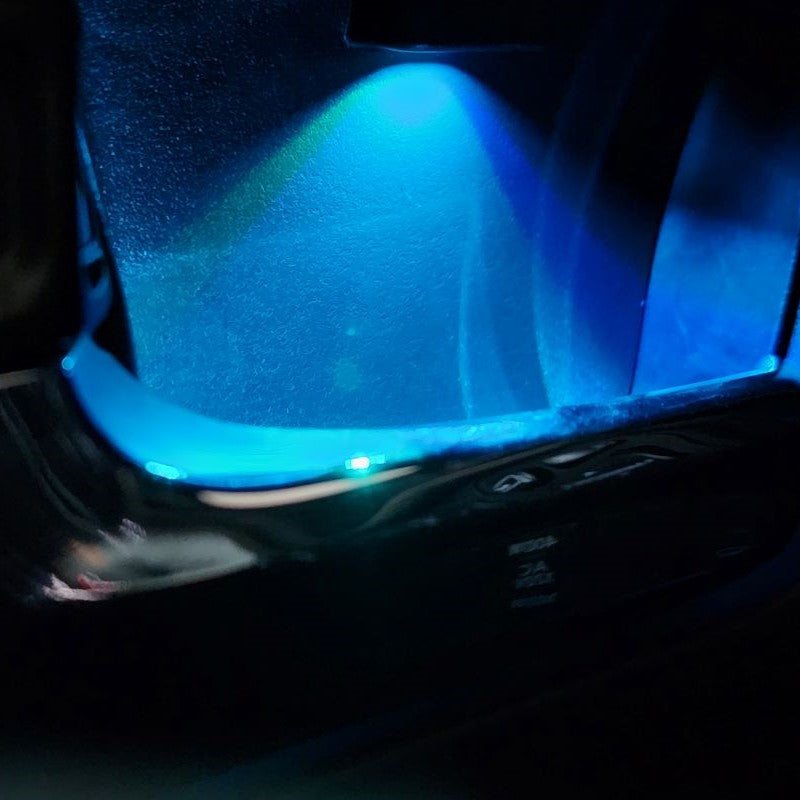
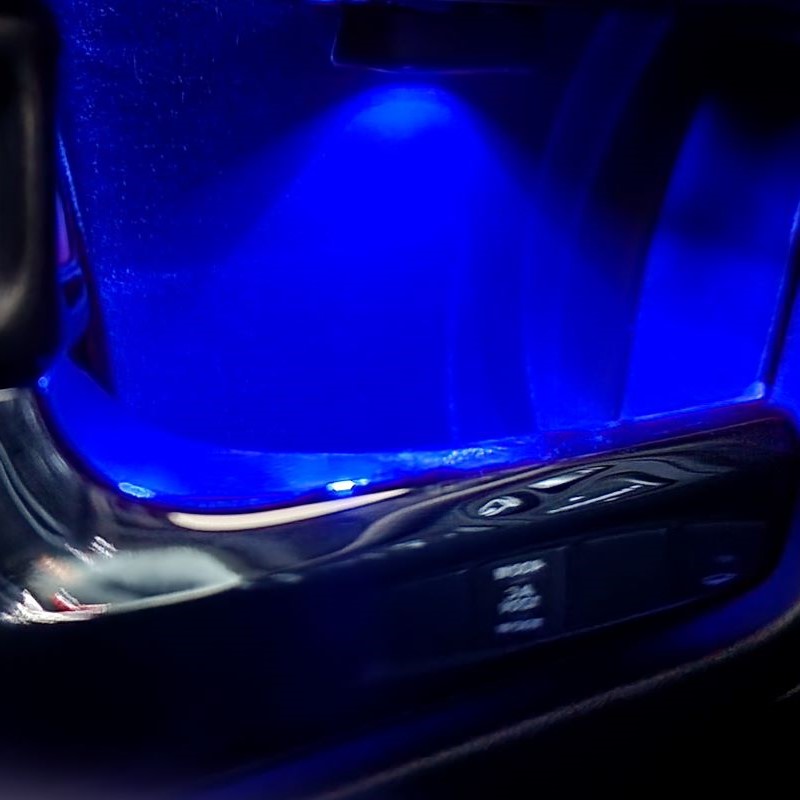
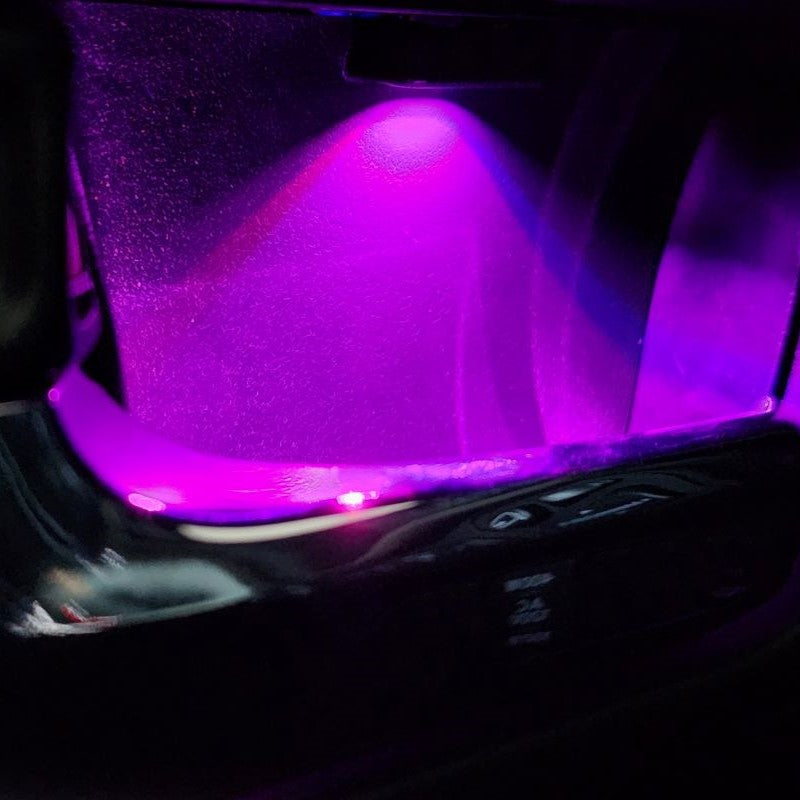
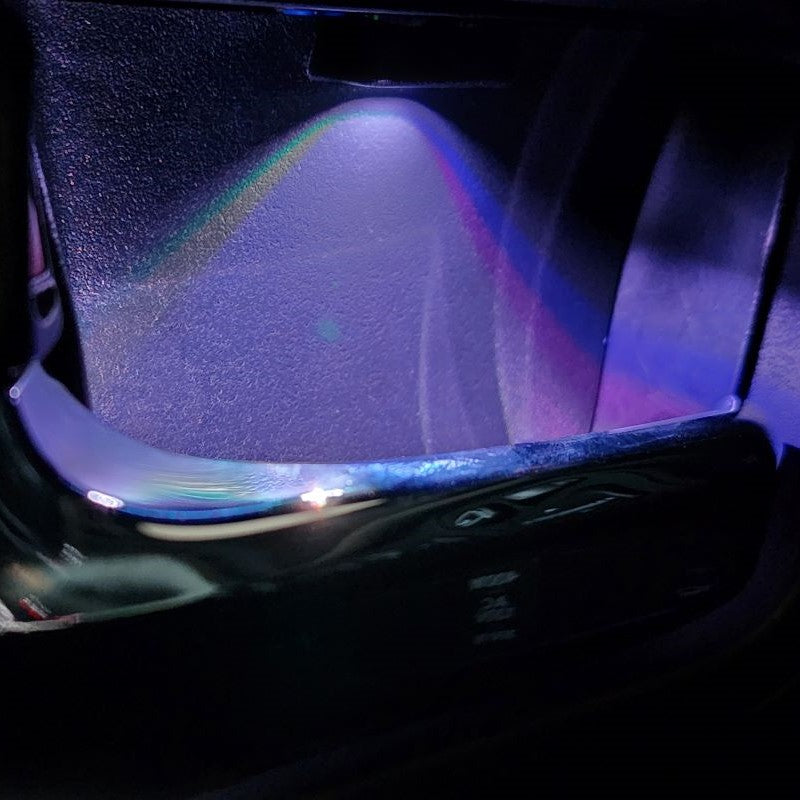
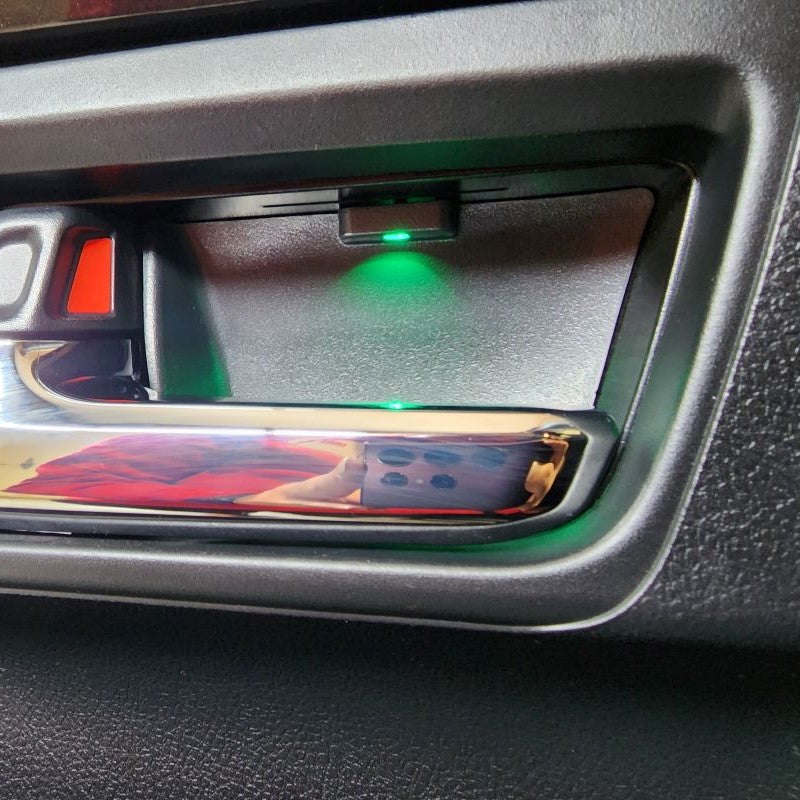
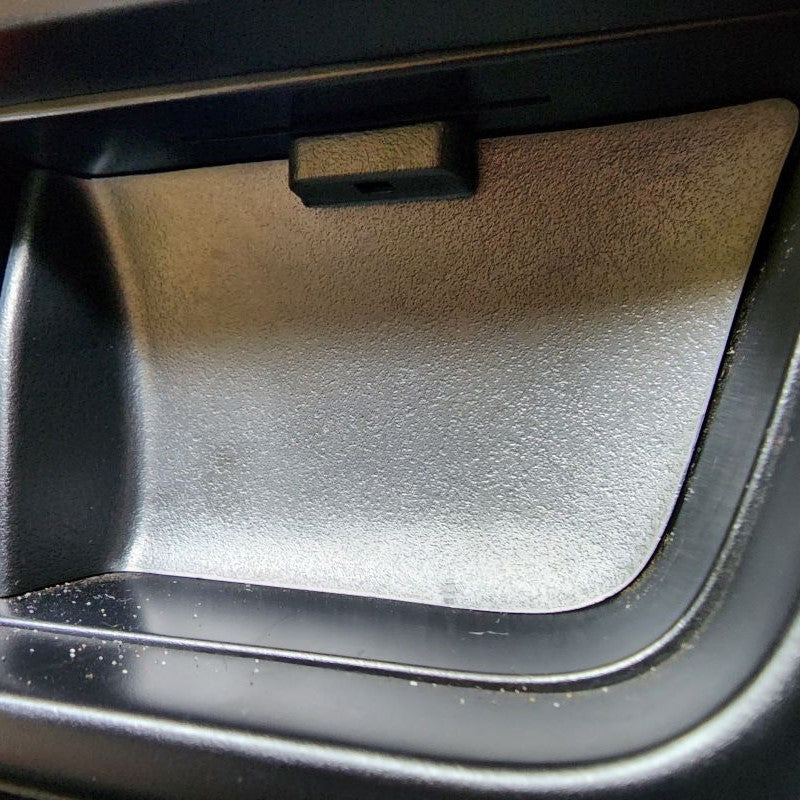
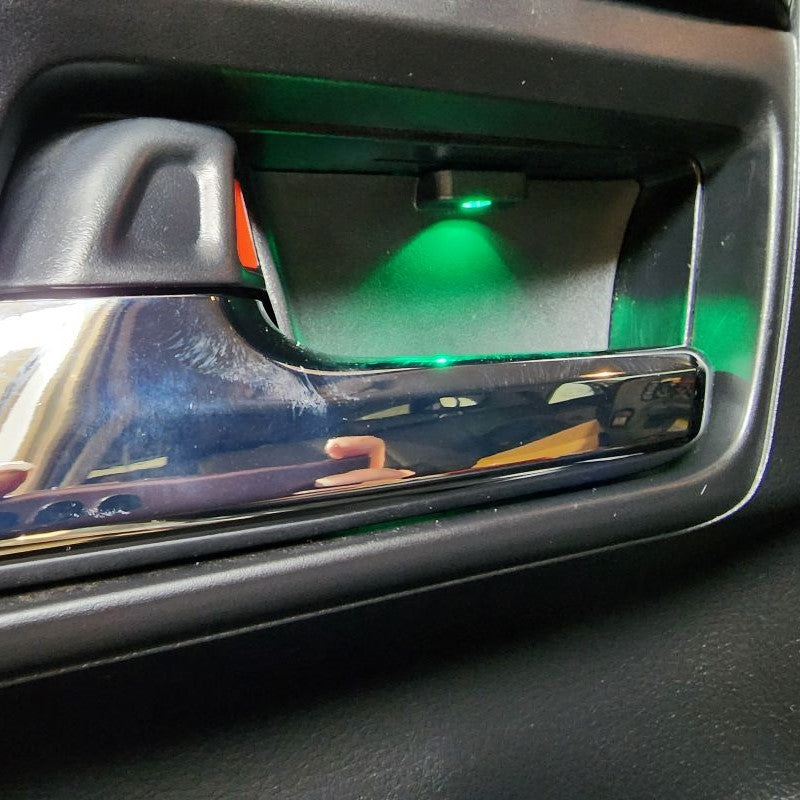
ITEMS INCLUDED:4 x Door Bowl "LED ILLUMINATED" Hole Covers
1 x Driver Plug-N-Play Wiring Harness
1 x Front Passenger Plug-N-Play Wiring Harness
2 x Rear Passenger Plug-N-Play Wiring Harnesses
All Connectors & LEDs Included
Installation Instructions - Door Bowl Lighting (Located on Website)
Phillips Screw Driver
Door Panel Remover (optional)
DISCONNECT THE BATTERY BEFORE YOU BEGIN INSTALLATION
Must Press + to see the narrative on each Step
-
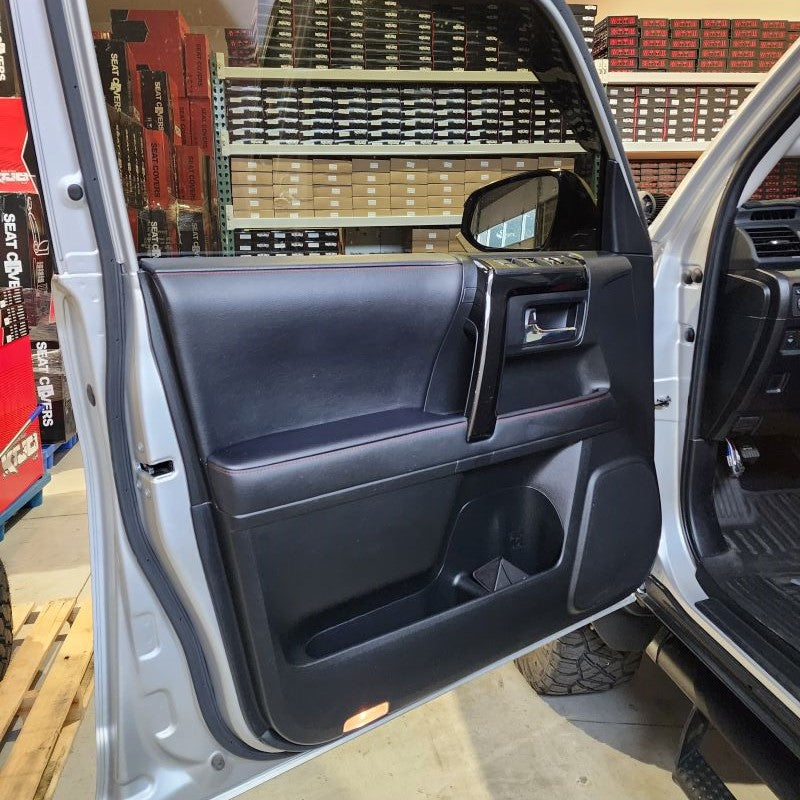
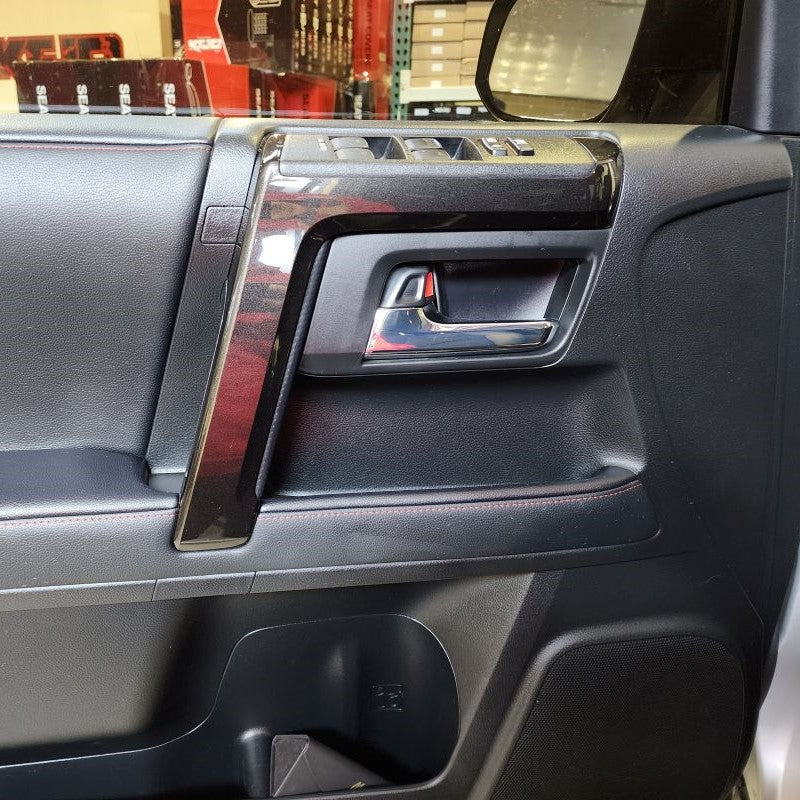
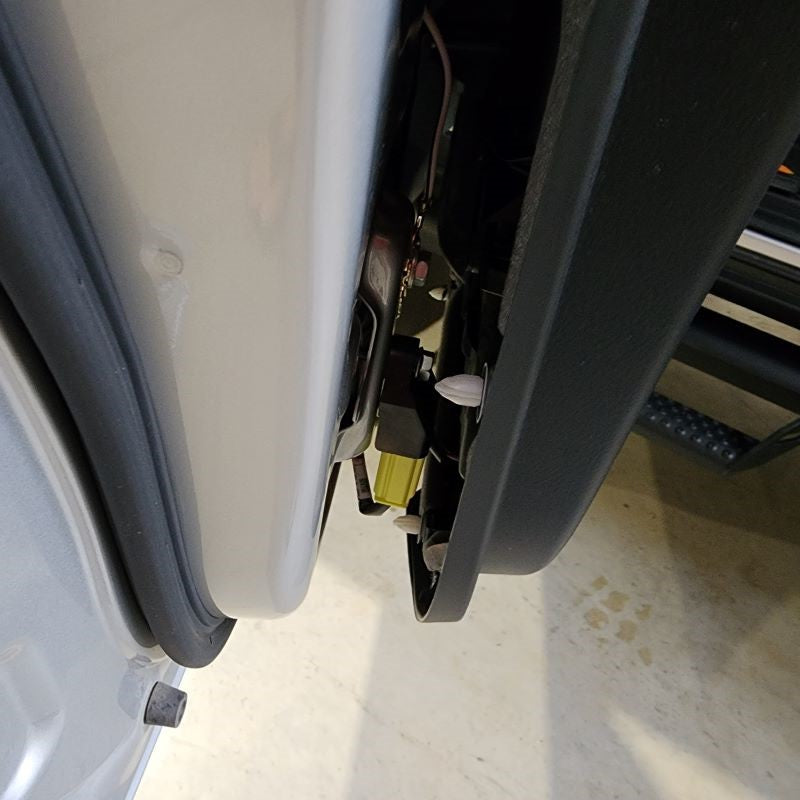
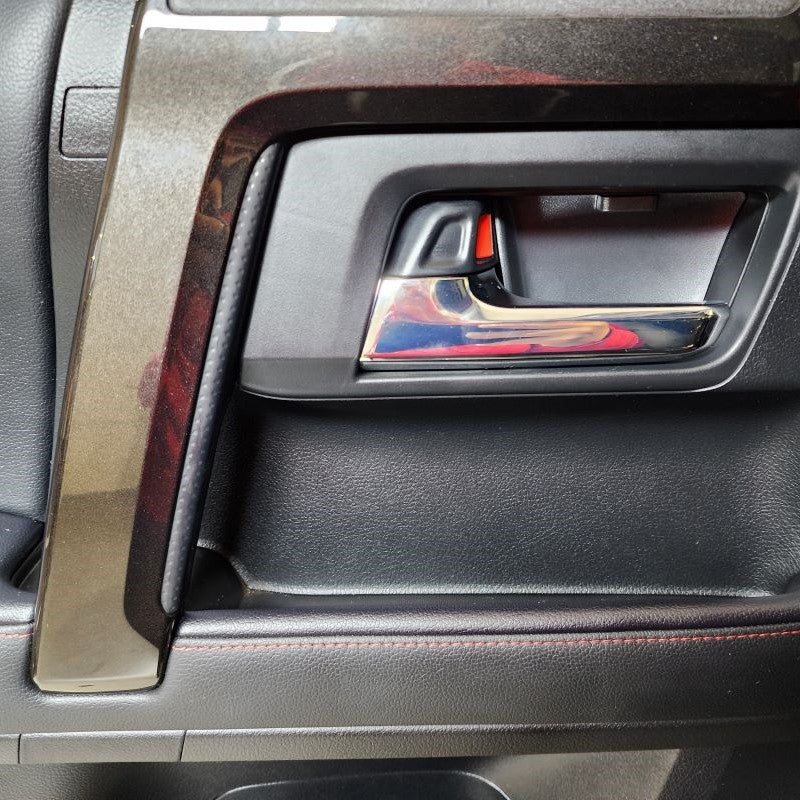
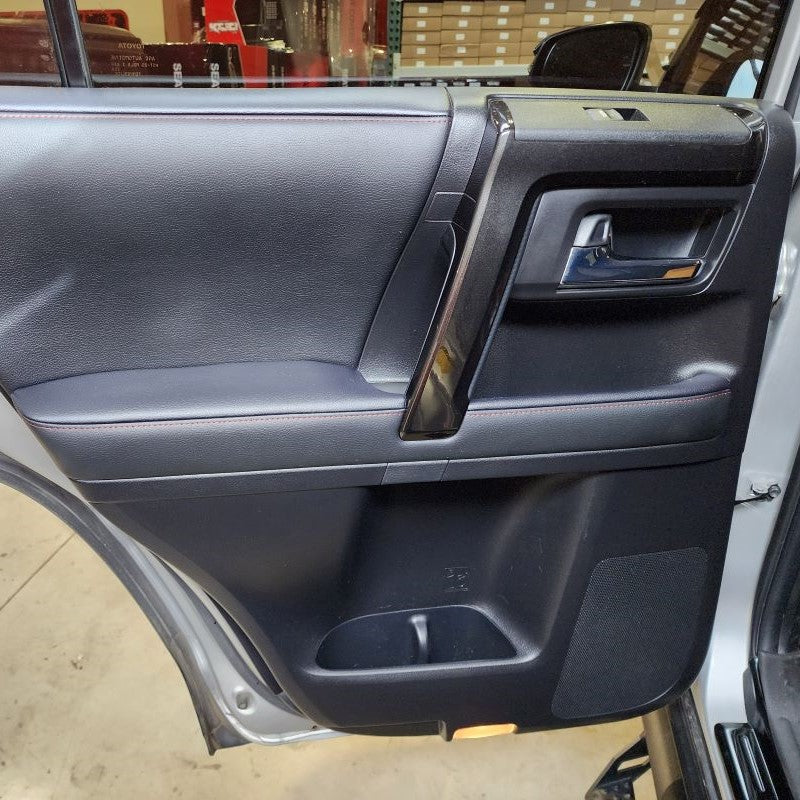
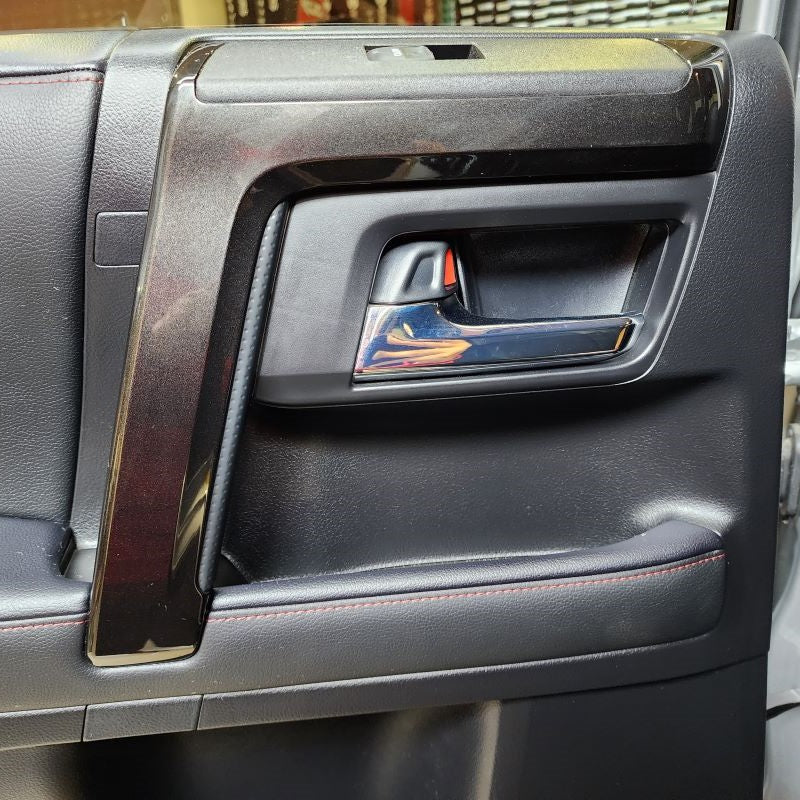
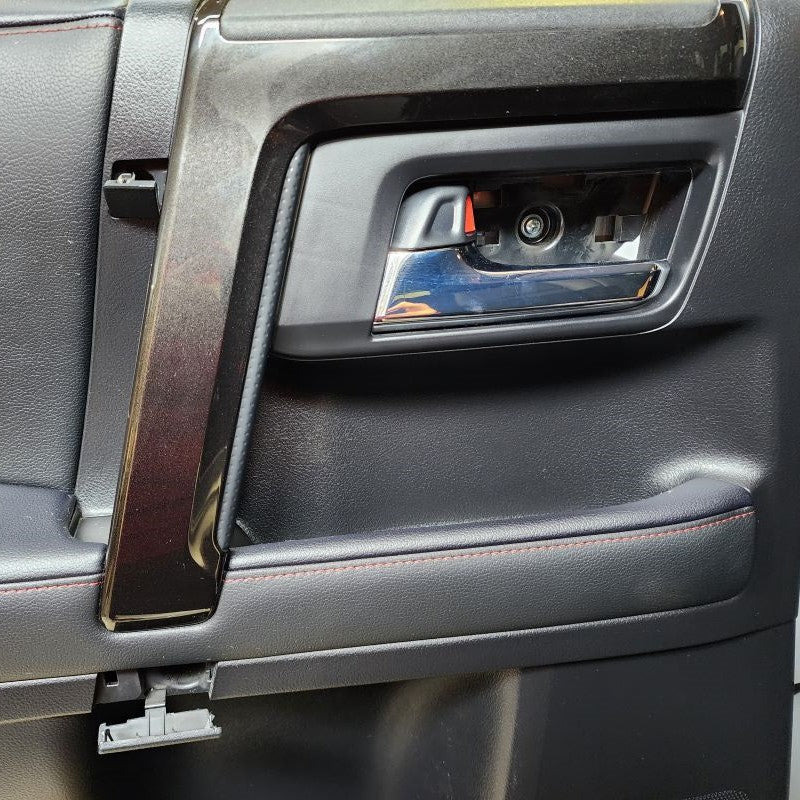
Start by removing the triangle trim panel in the upper right corner of your door. It is held in with three plastic fasteners. Pull straight out away from the door and it will release. Be aware, some of the white plastic fasteners may stay in the door. Remove these and reinstall them on the trim panel for reinstallation later.
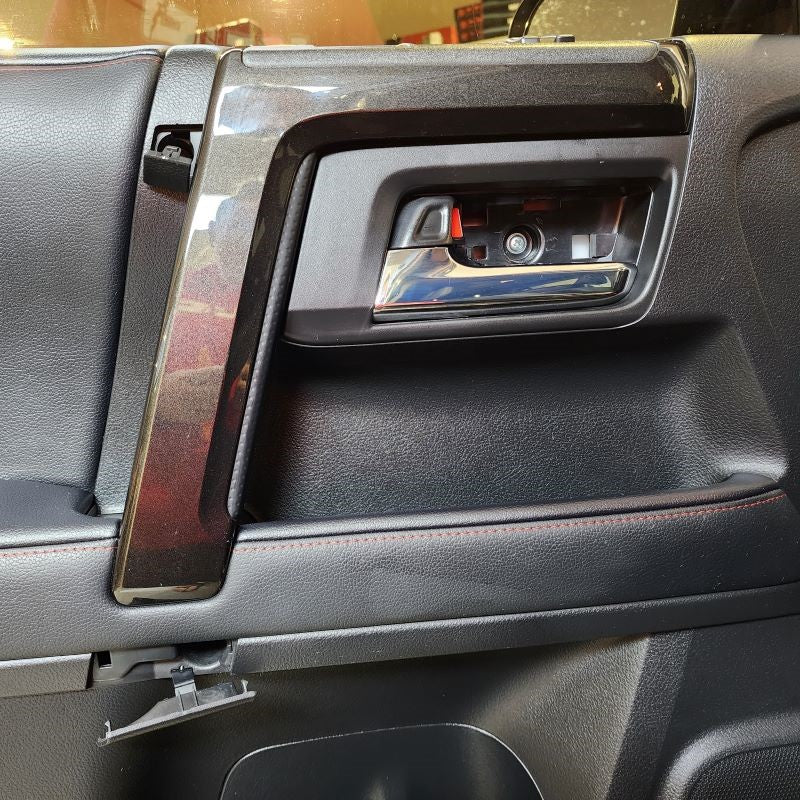
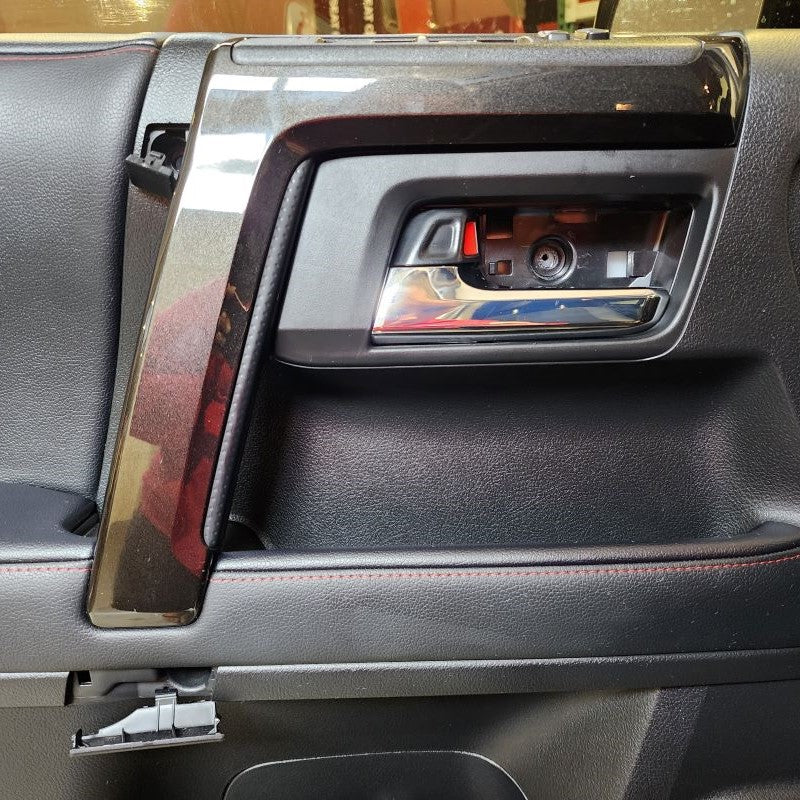
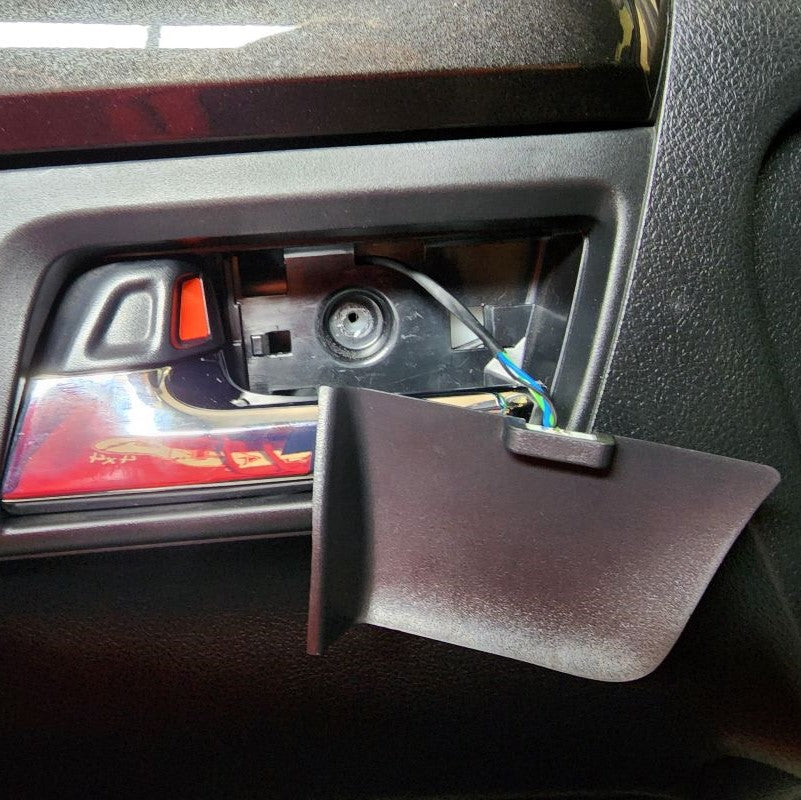
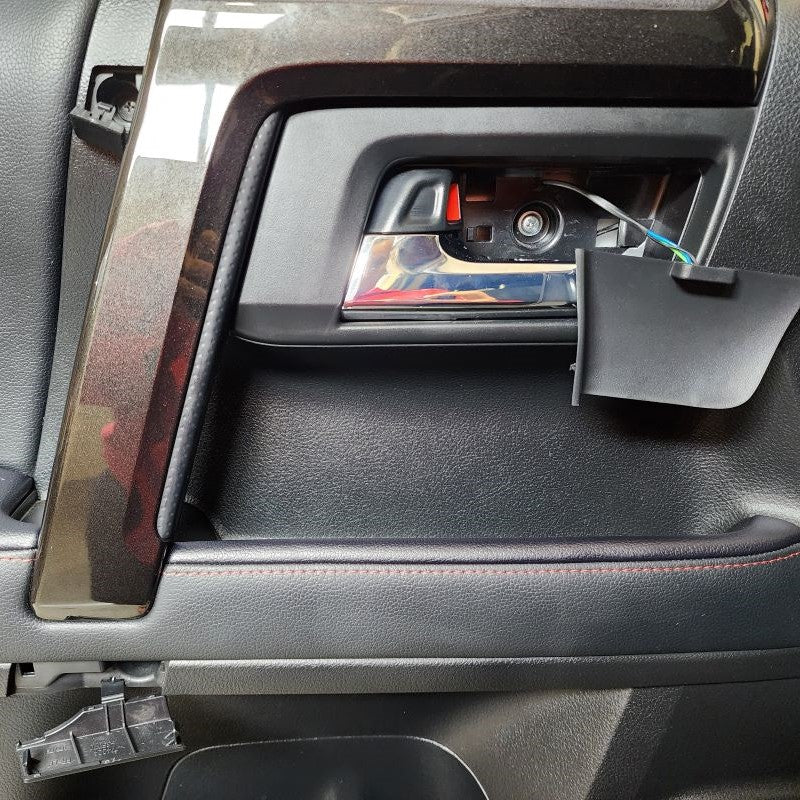
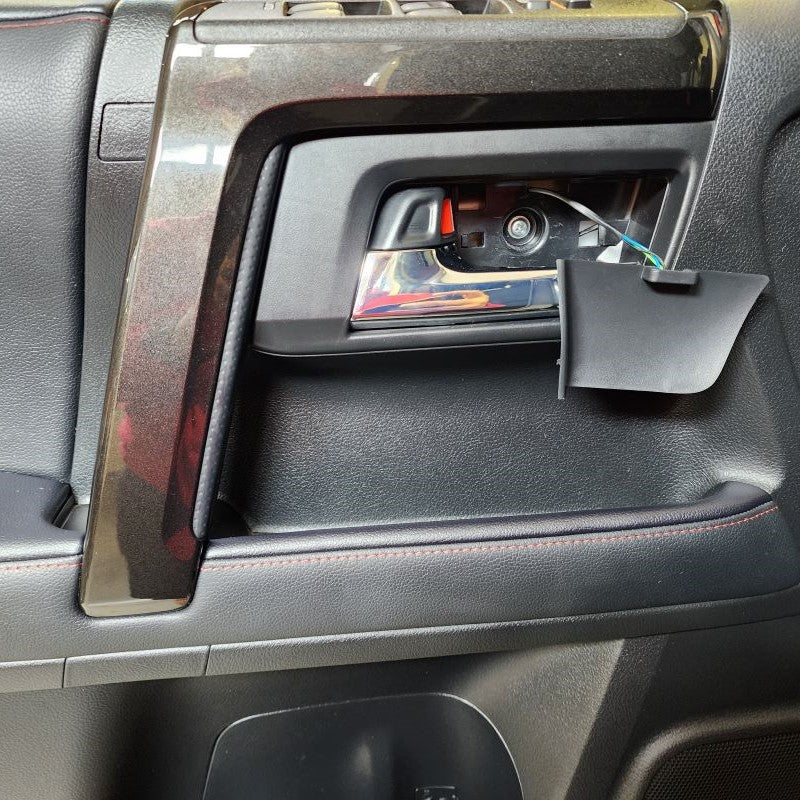
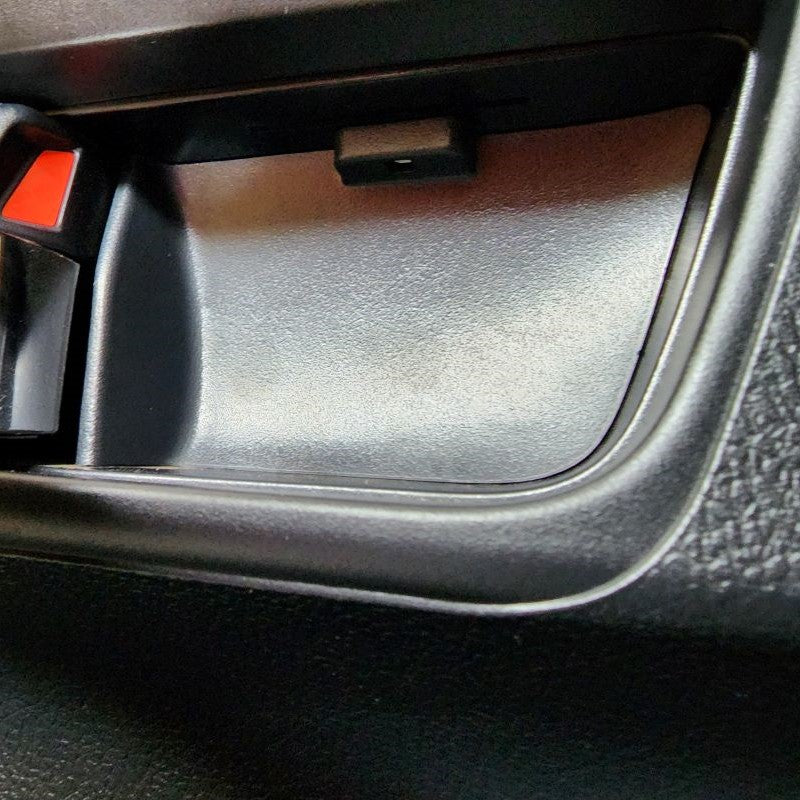
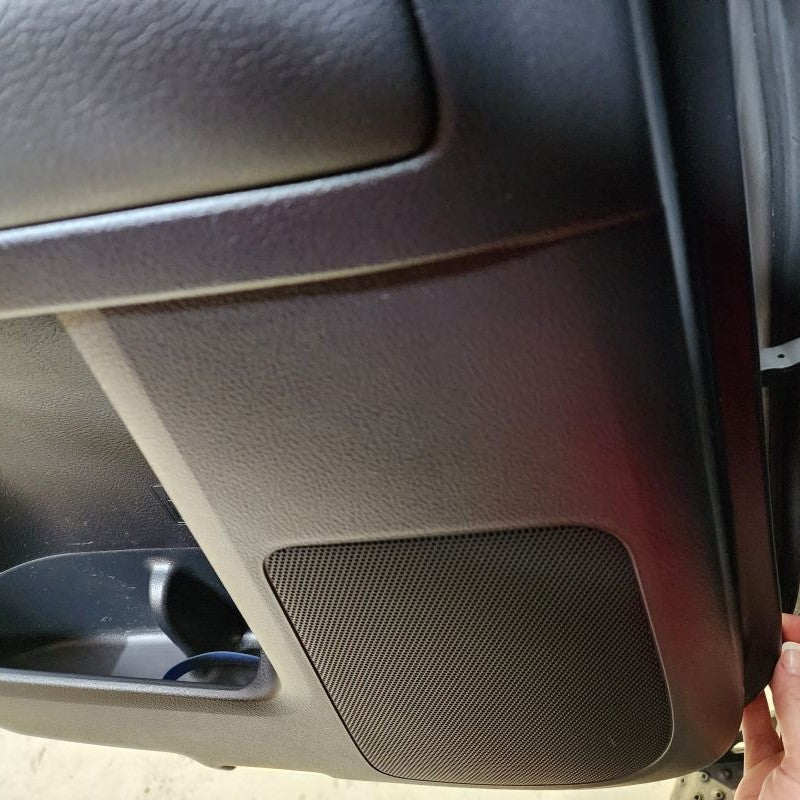
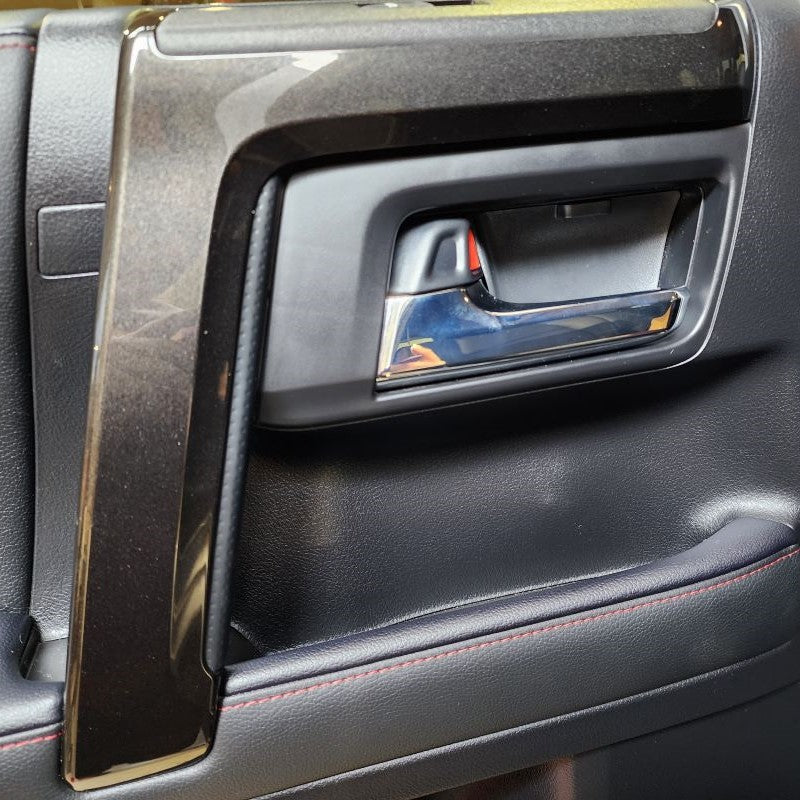
Next, as you continue to slide down the door panel, remove the door bowl hole cover by using a trim removal tool if you have one or something like it. Start on the left side closest to the door handle. Pry outward away from the door panel from behind the hole cover. It may be easier to pull the door handle out to create more space. Behind the hole cover, you will notice your first hidden screw. Take a screw driver and remove that screw. Set it aside for now.
Lastly, in preparing the door panel for removal, you will need to locate the two hidden screws located by the door panel armrest handle. You will see on the top left of the door handle, a square panel piece. Remove that, and you will find the first hidden screw. Once removed, locate the second hidden screw at the boot of the handle. You will see a rectangle panel piece. Remove that and you will find the second hidden screw. Remove both screws and set aside for now.
STEP 1
INSTALL IMAGES


STEP 2
-
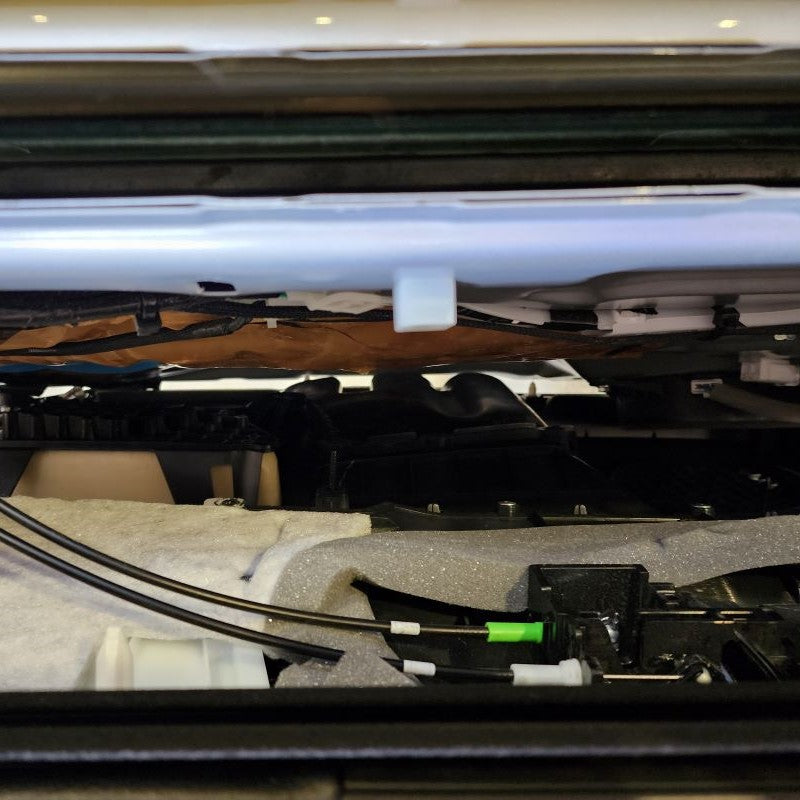
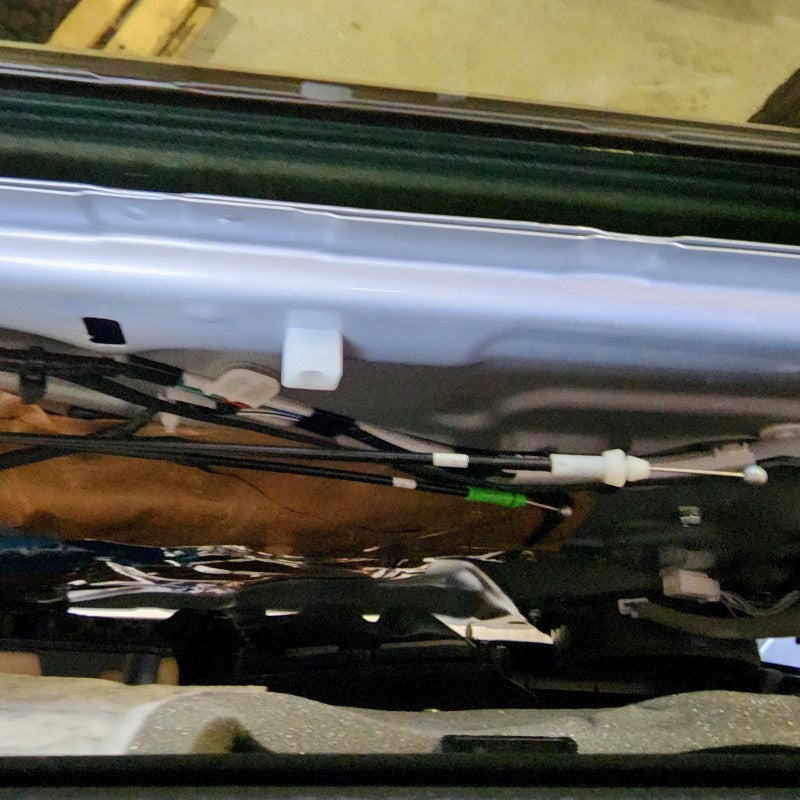
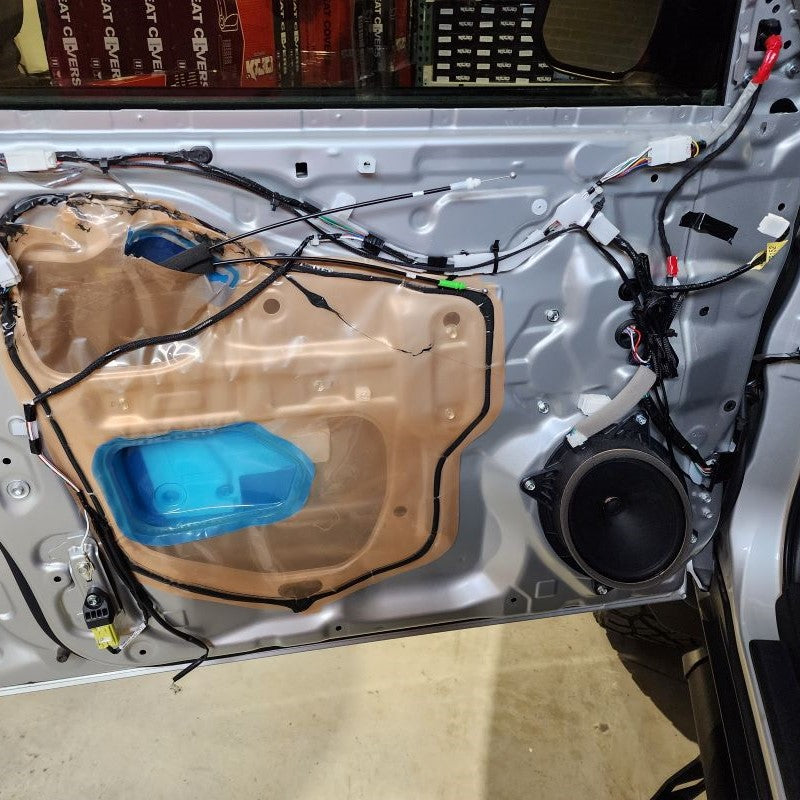
Using your handy trim removal tool, begin in the lower right corner and start separating the door panel from the door frame. Slowly work your way around the bottom and sides, popping off each successive snap until you’re left with the door panel hanging by the top lip.
Before trying to lift and pull off the door panel, disconnect and remove all the connections on the backside of the panel. First, disconnect the courtesy light connector located in the bottom left of the door panel. You’ll have to slightly pull the bottom of the door panel away from the door frame to access the connector. Push down on the tab on the rear of the white connector to disconnect.
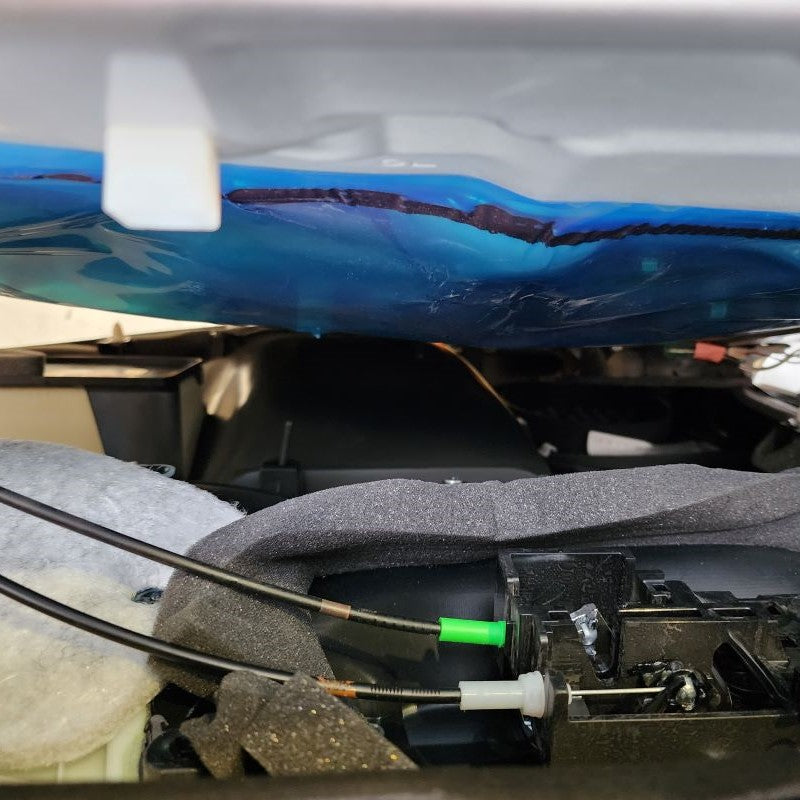
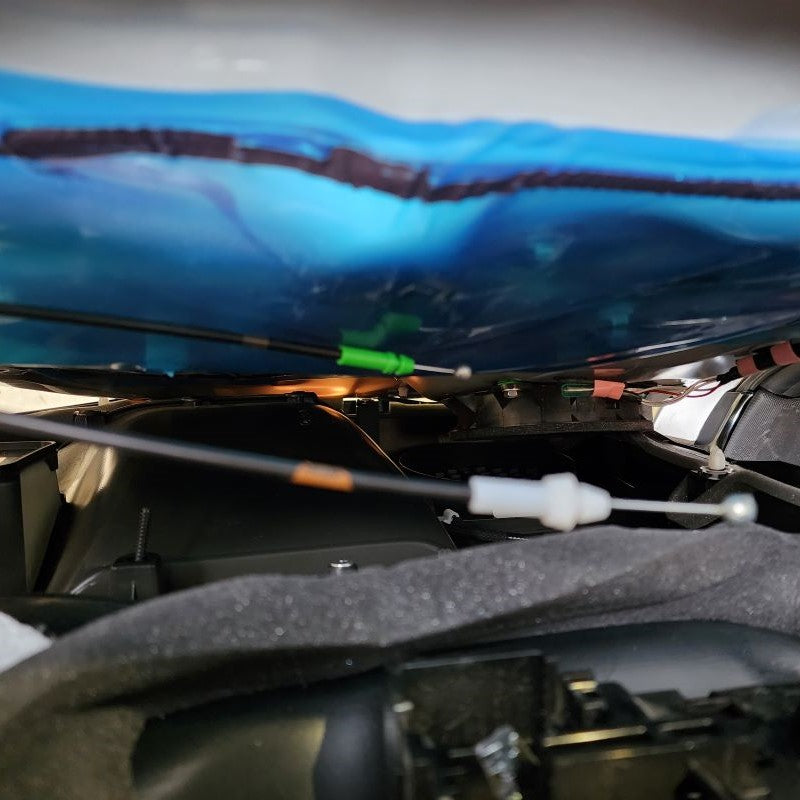
Now, in order to remove the door panel, pull it up and straight back off the door frame at the top lip. Make sure not to pull the door panel too far away from the frame – we still need to deal with the latch and lock cables and a couple other connections.
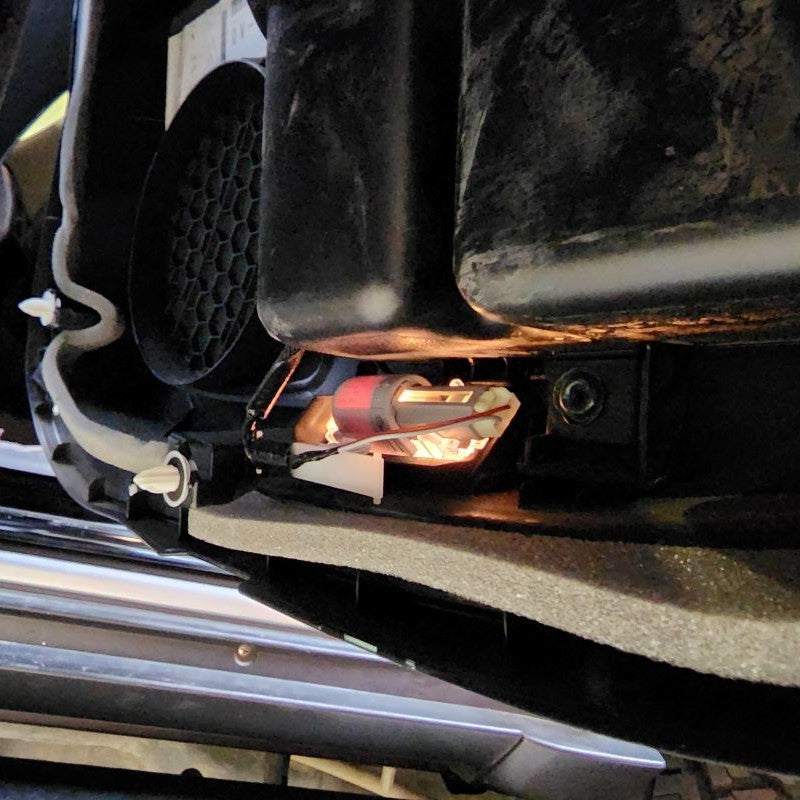
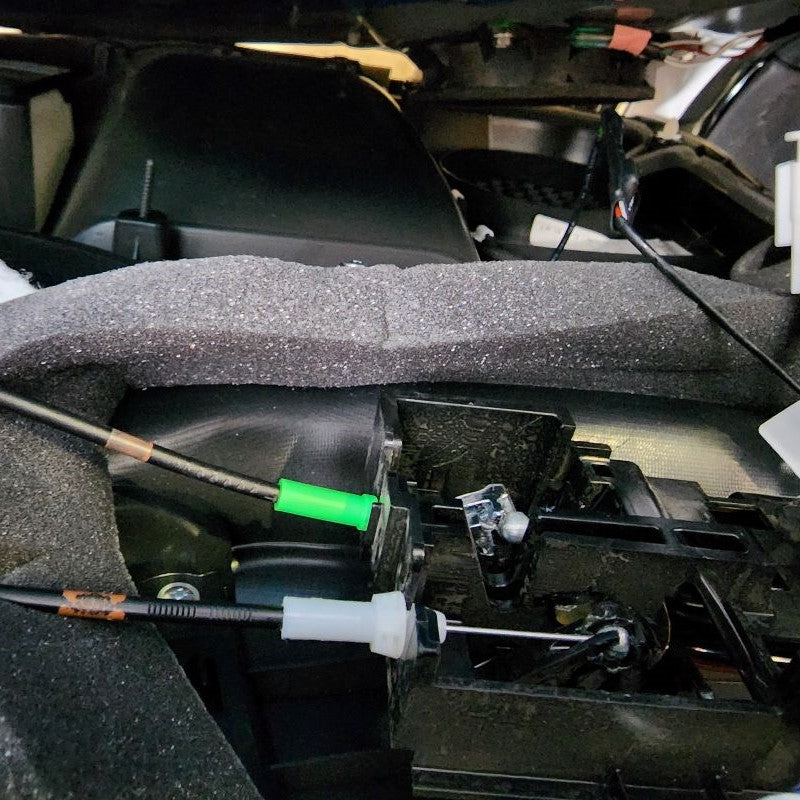
If you look behind the door panel you just pulled off, you’ll see one white and one green Bowden Cable termination. Carefully snap these out of the black housing and maneuver the steel cable ends out of their enclosures.
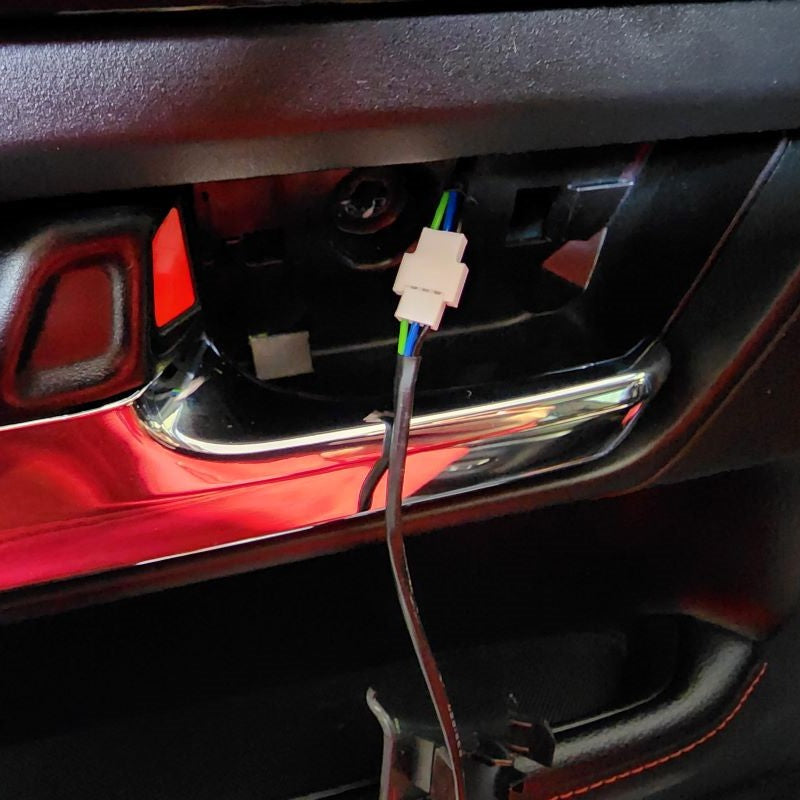
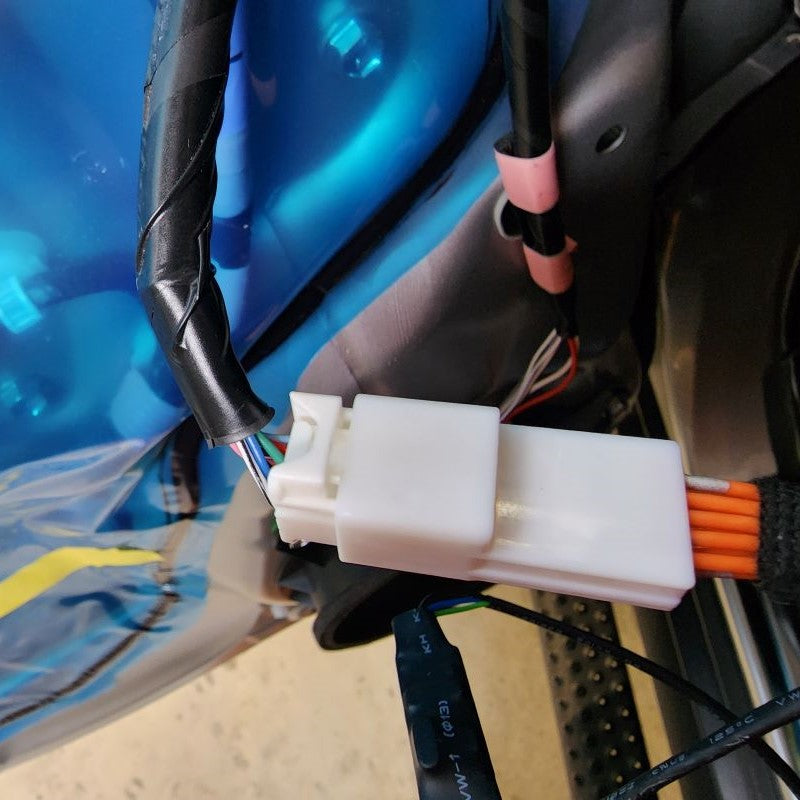
Finally, unplug the white connector towards the front of the door panel as it is the last connector that is standing in the way of removing the door panel completely from the door frame. This will be the connector we are going to work with for the Door Bowl Lights.
NOTE:It is not necessary to completely remove the door panel if you can just disconnect the window switch connector (white connector towards the front of the door panel) and reconnect it using the new harness from the package (Step 3).
INSTALL IMAGES


STEP 3
-
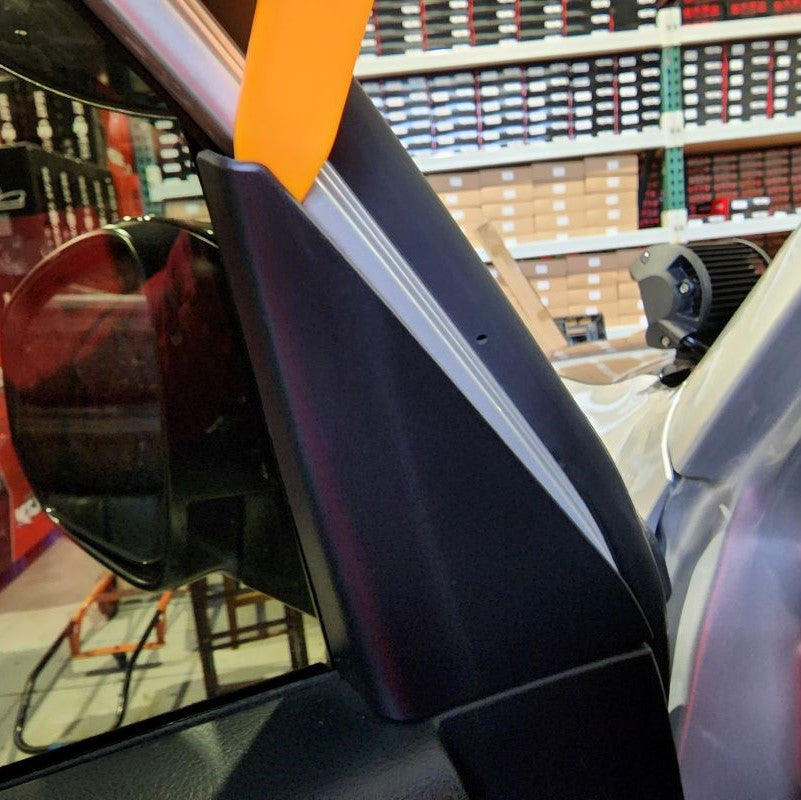
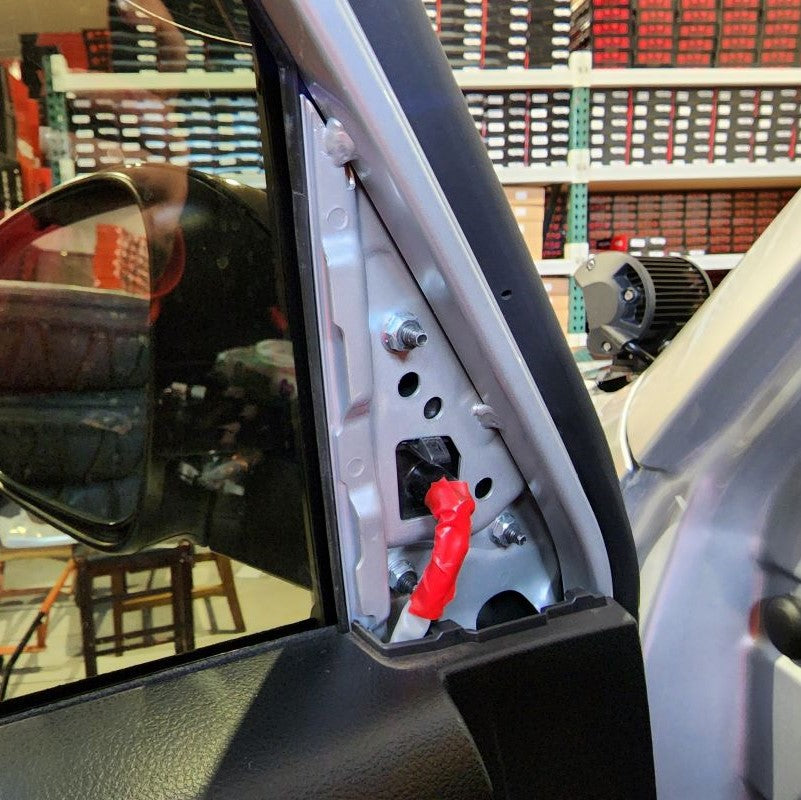
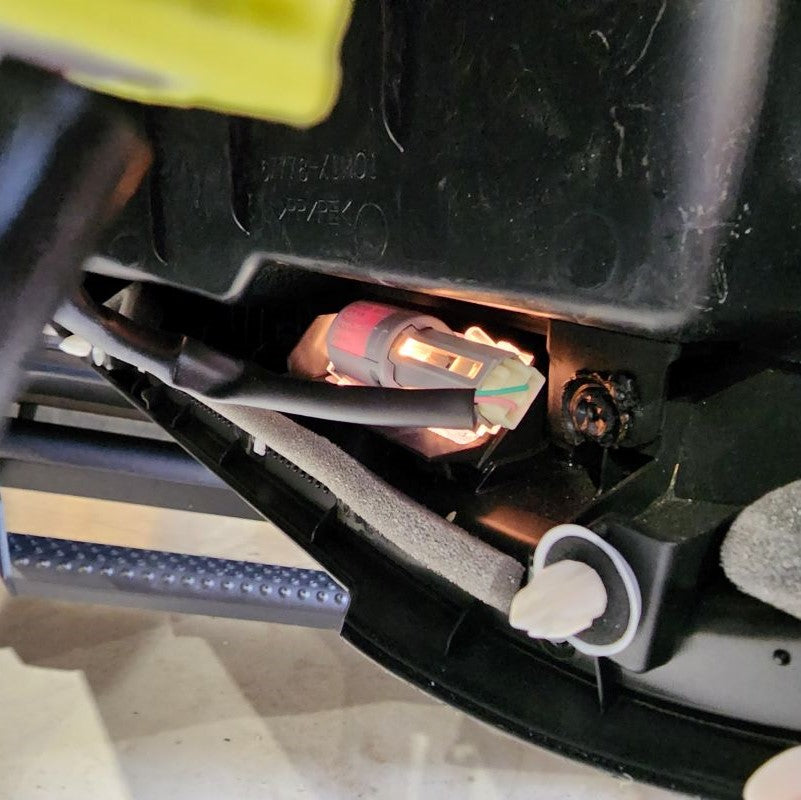
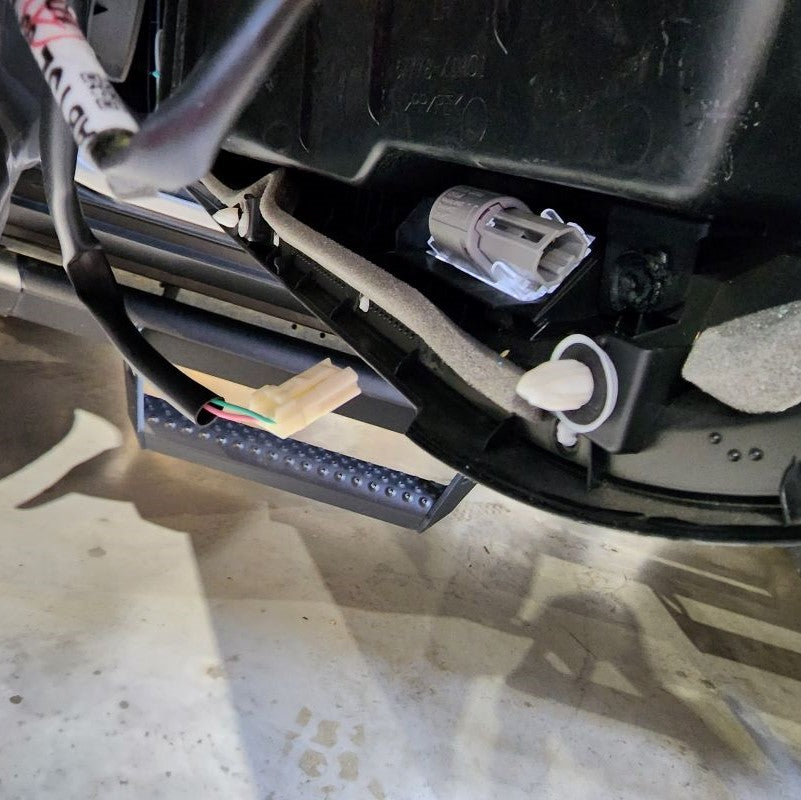
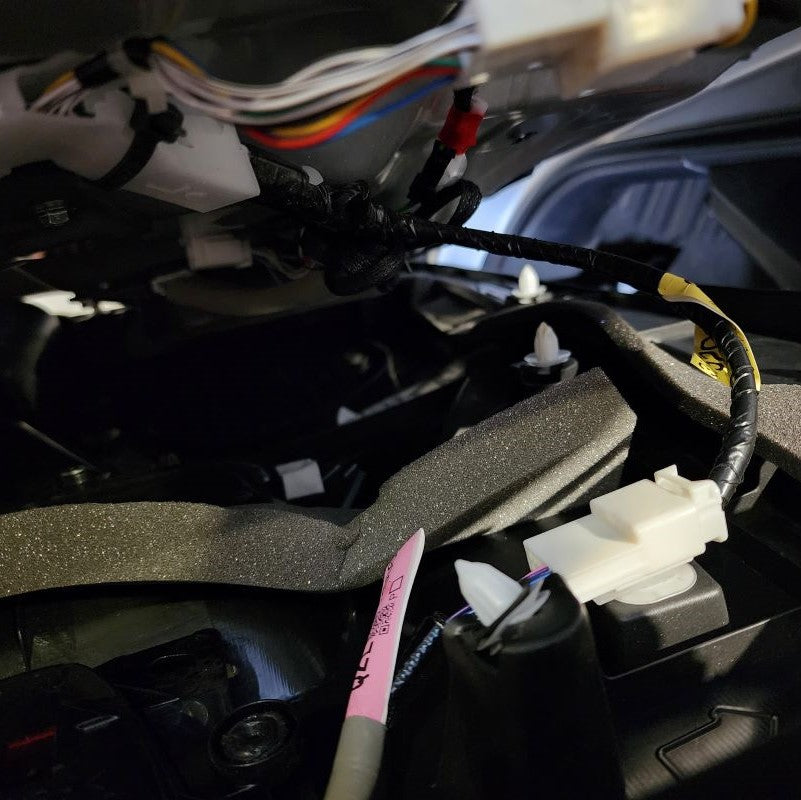
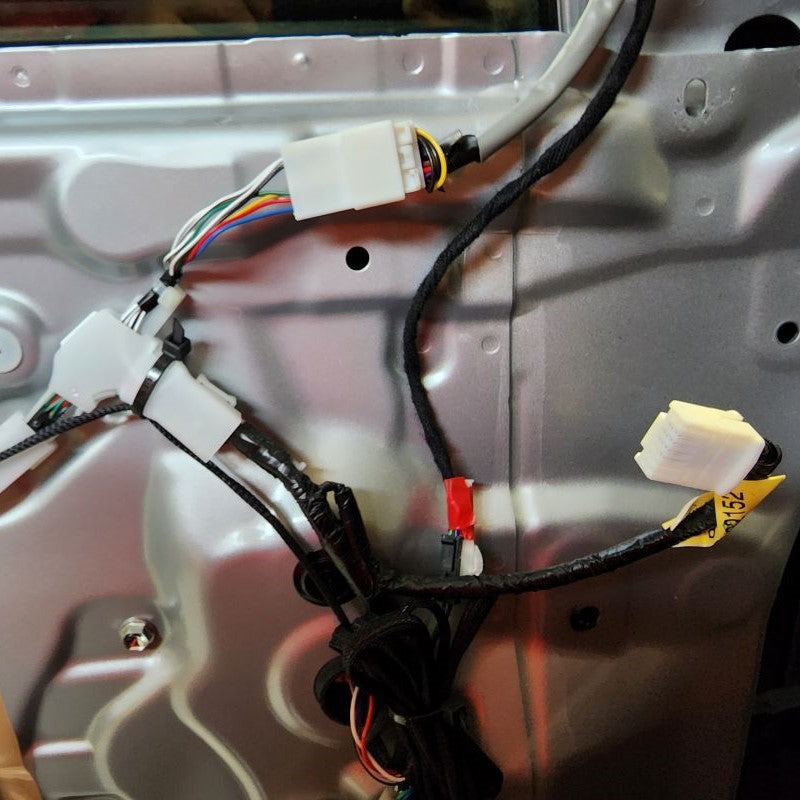
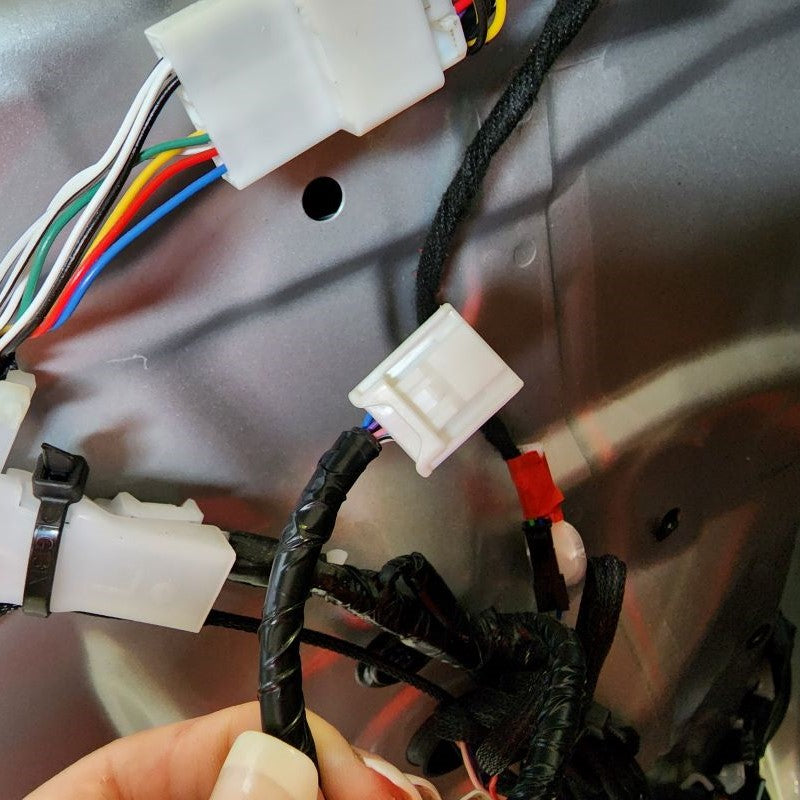
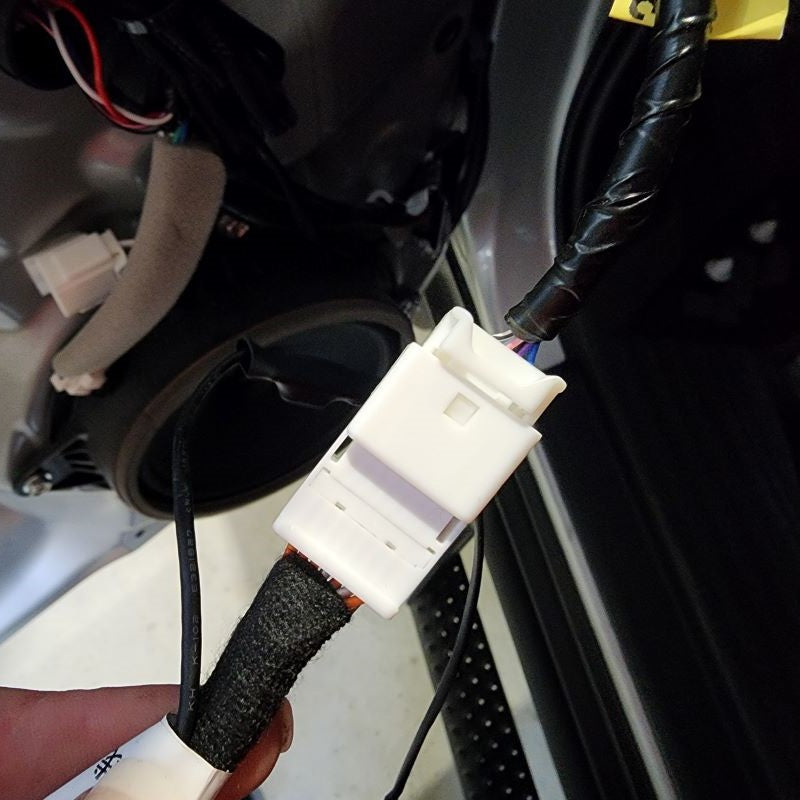
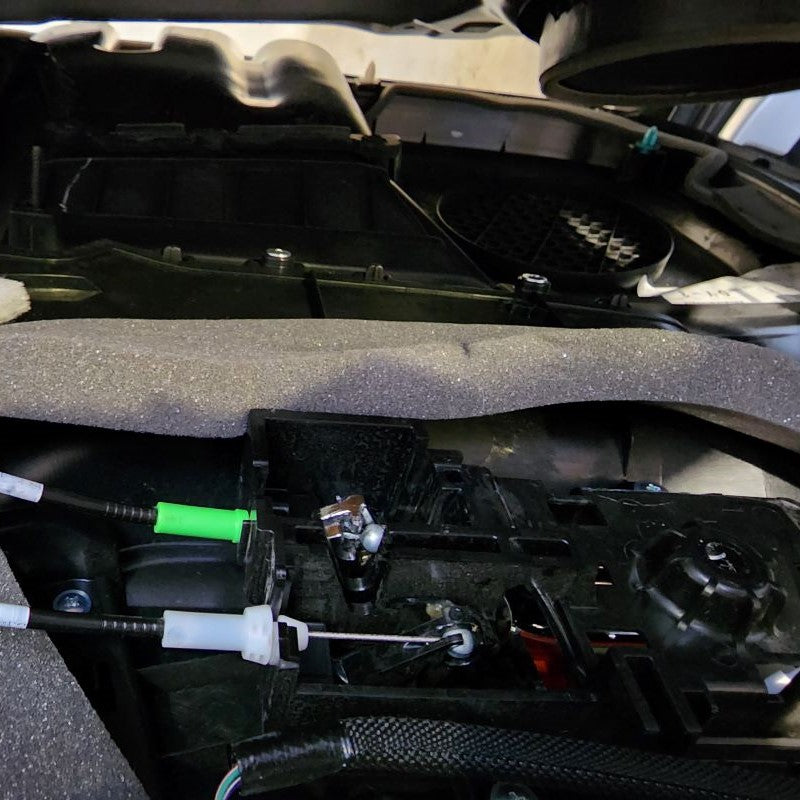
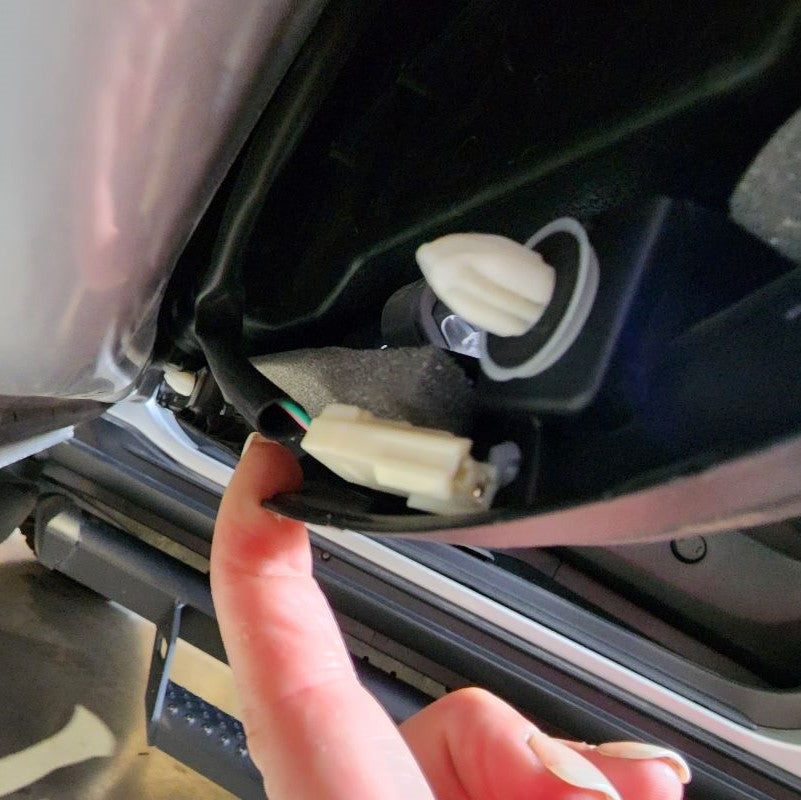
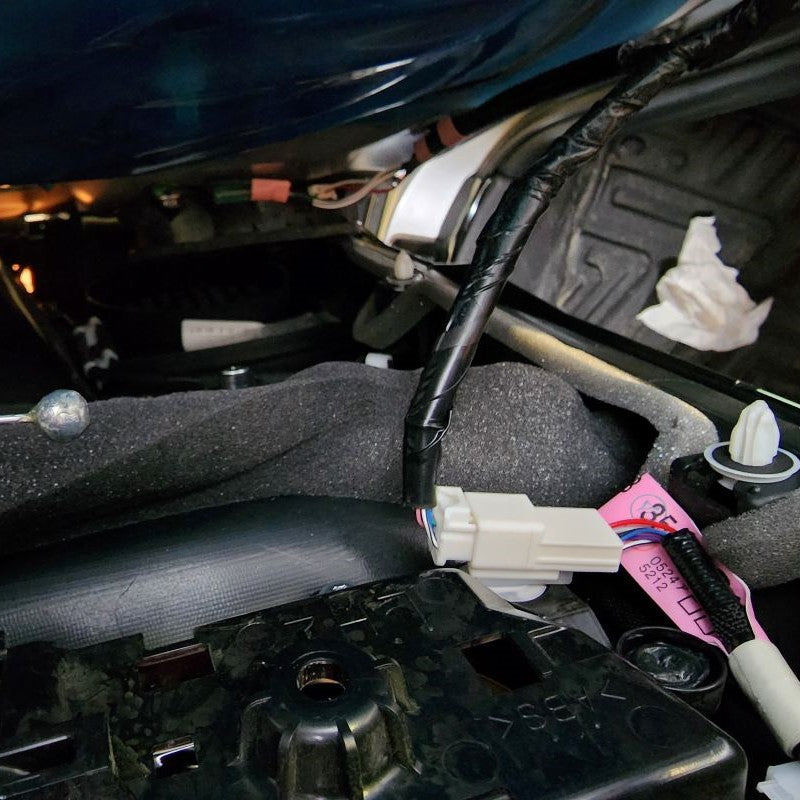
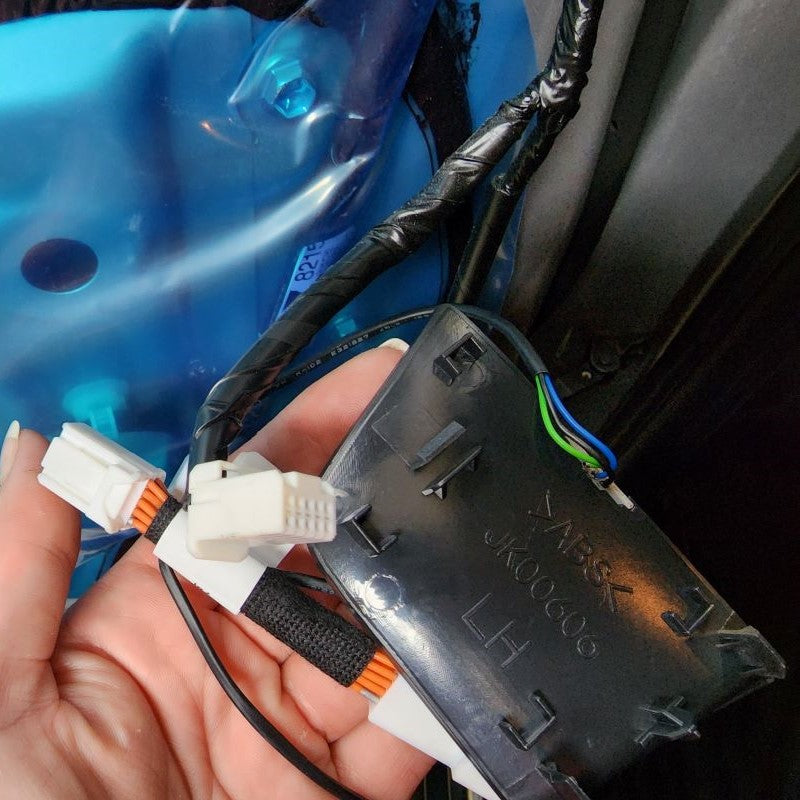
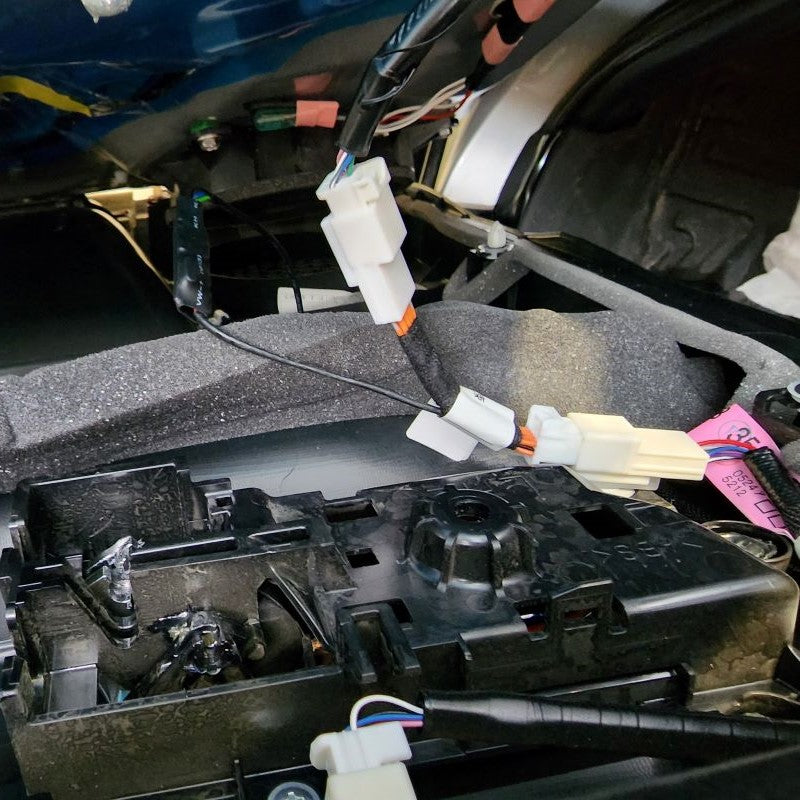
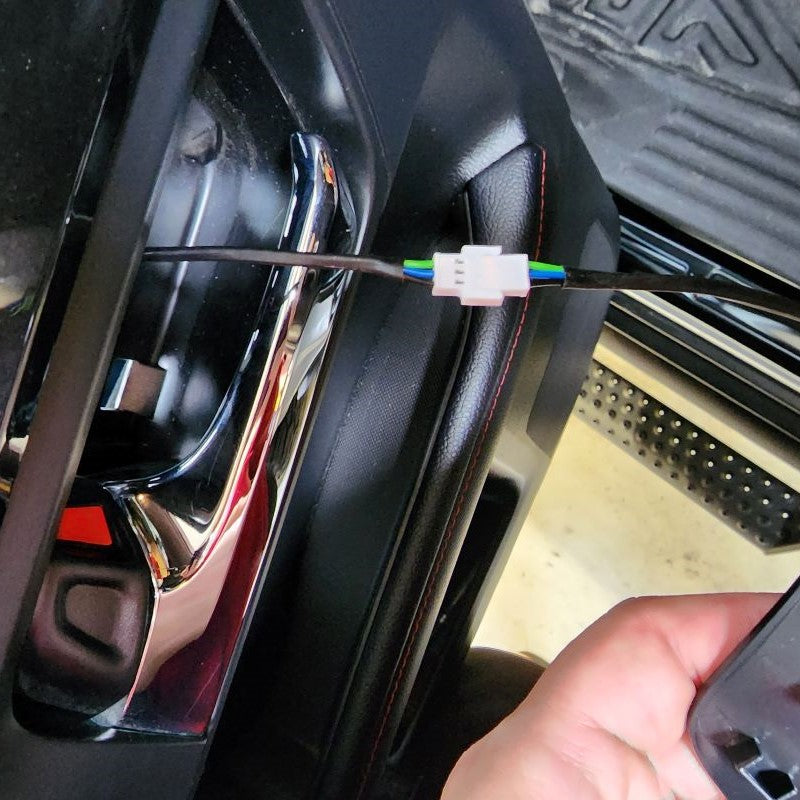
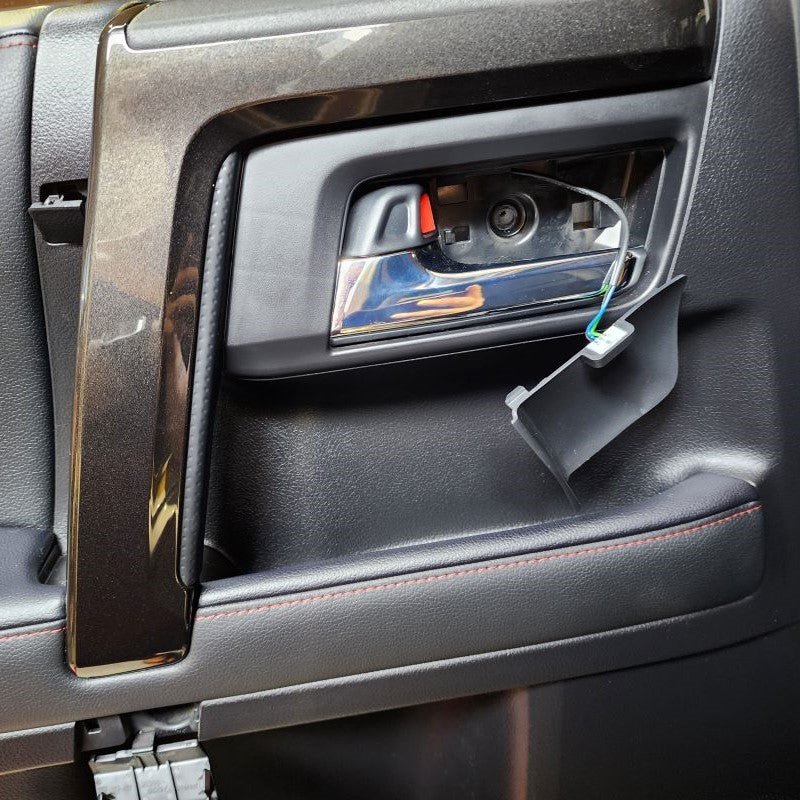
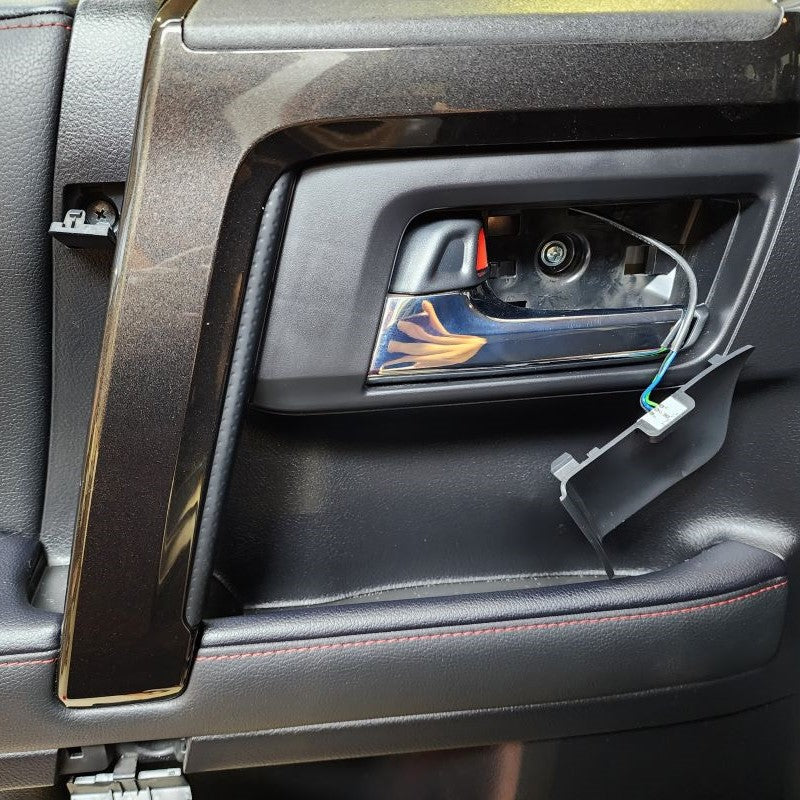
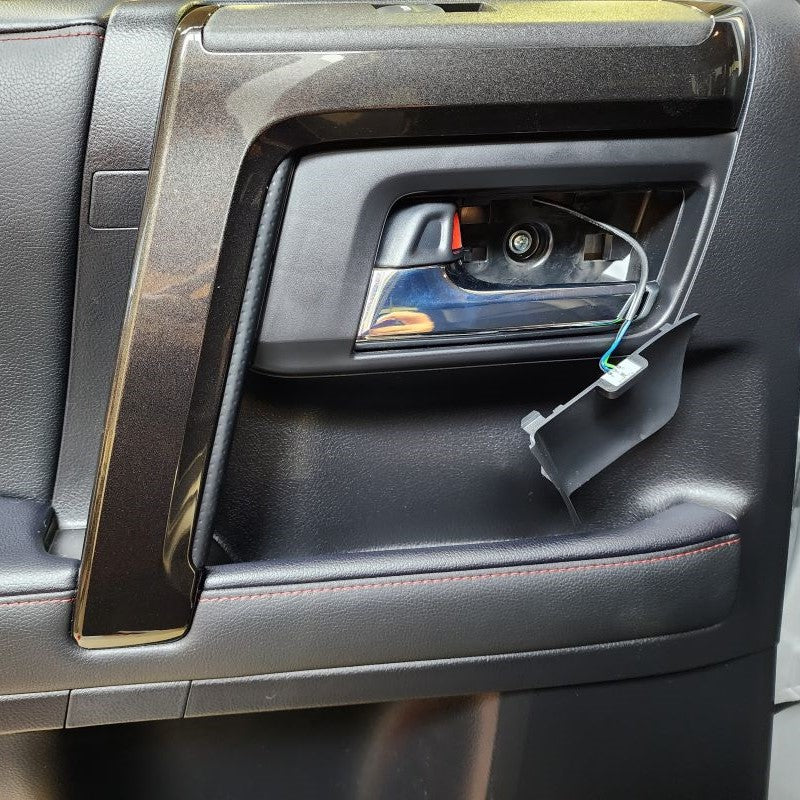
With now having the door frame exposed, we can easily find the window switch connector – just follow the factory wire harness that goes along the frame of the door and routes up to the white connector at the top right side of the door. In the pictures below, you see it is the one that has a yellow factory label wrapped around the wire harness. Depending on your vehicle, that may be different.
Once you locate this connector, you can go ahead and connect the included plug-n-play wire harness for the Door Bowl Light.
INSTALL IMAGES


STEP 4
-
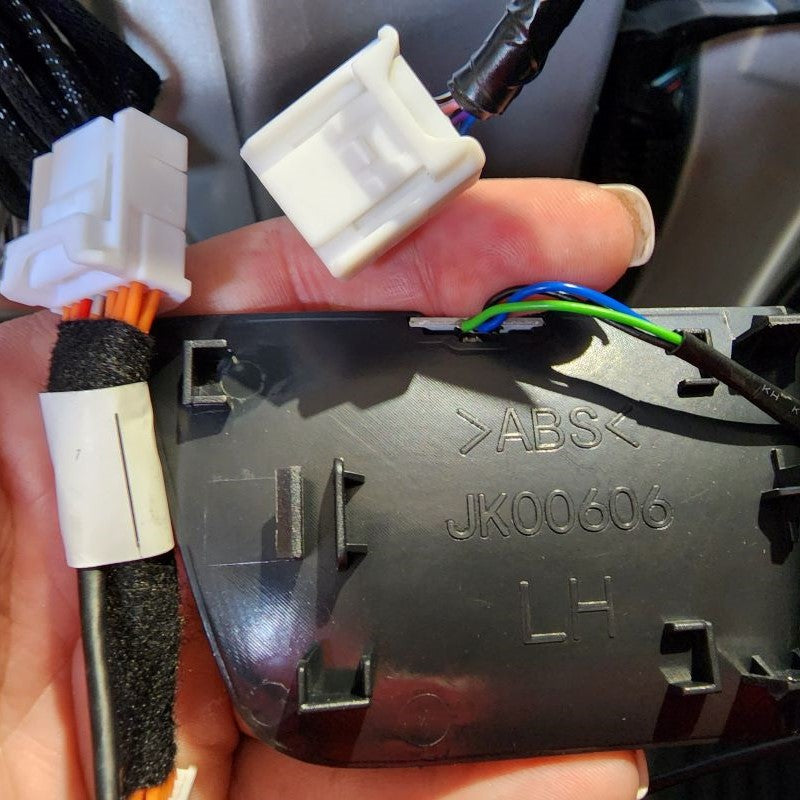
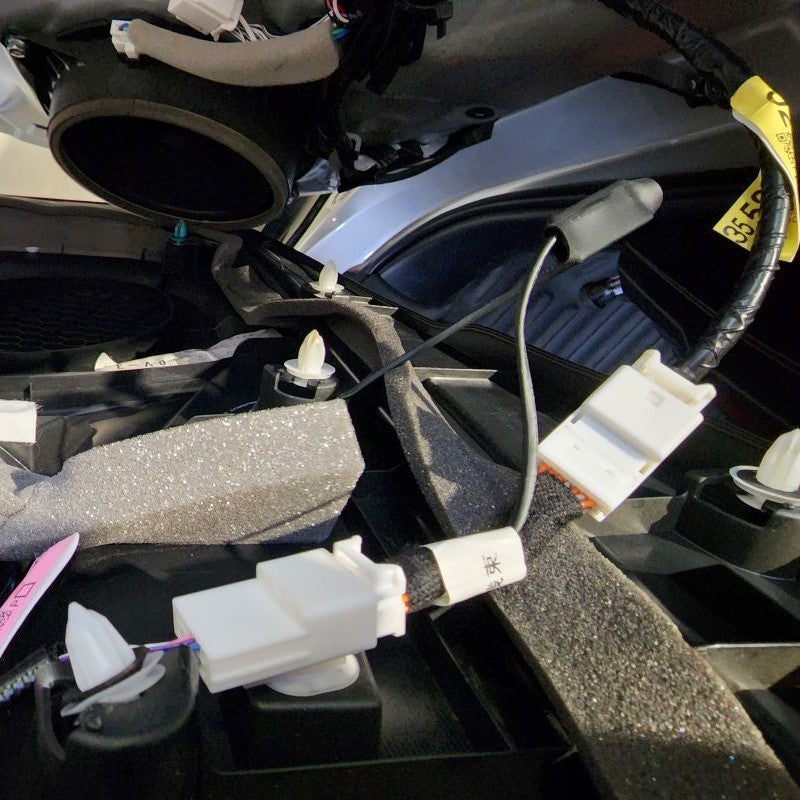
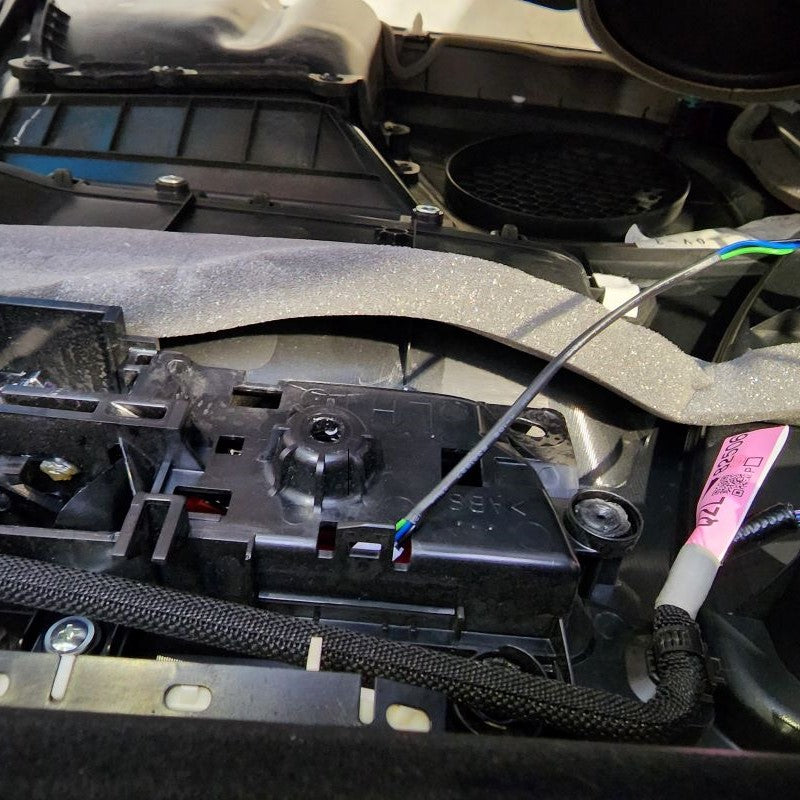
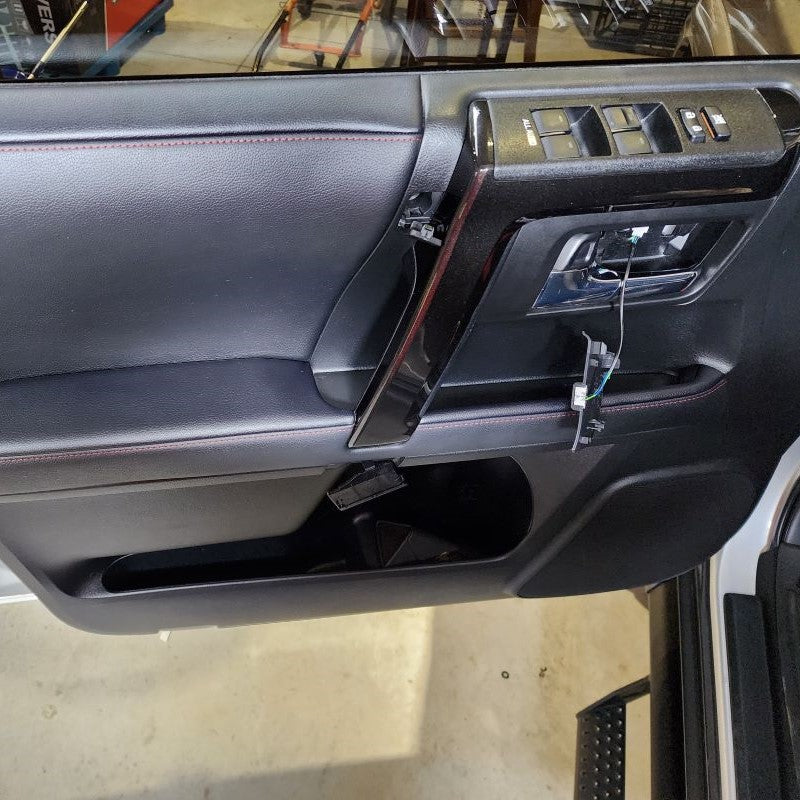
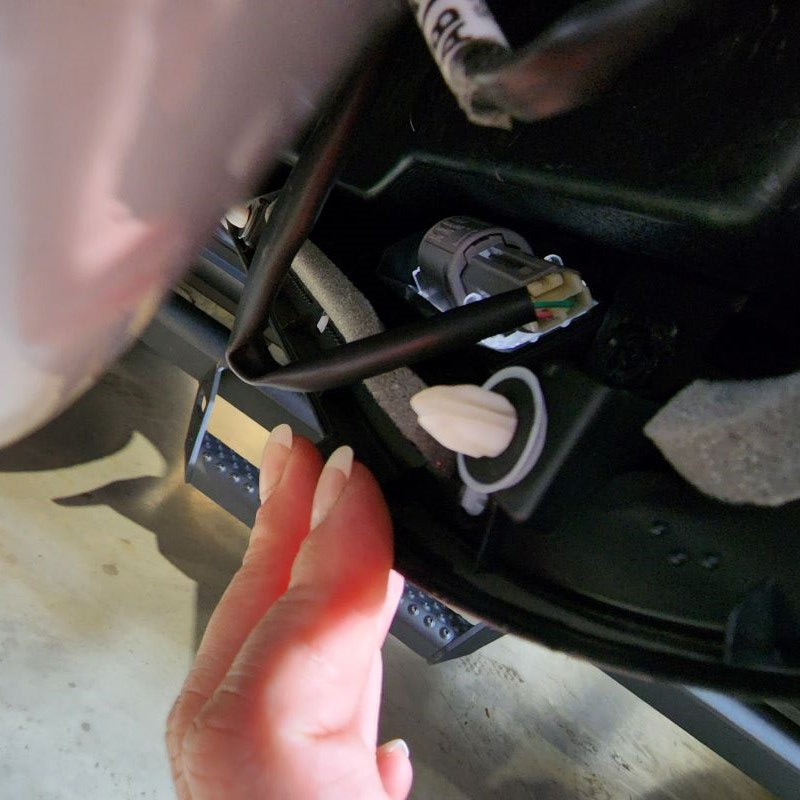
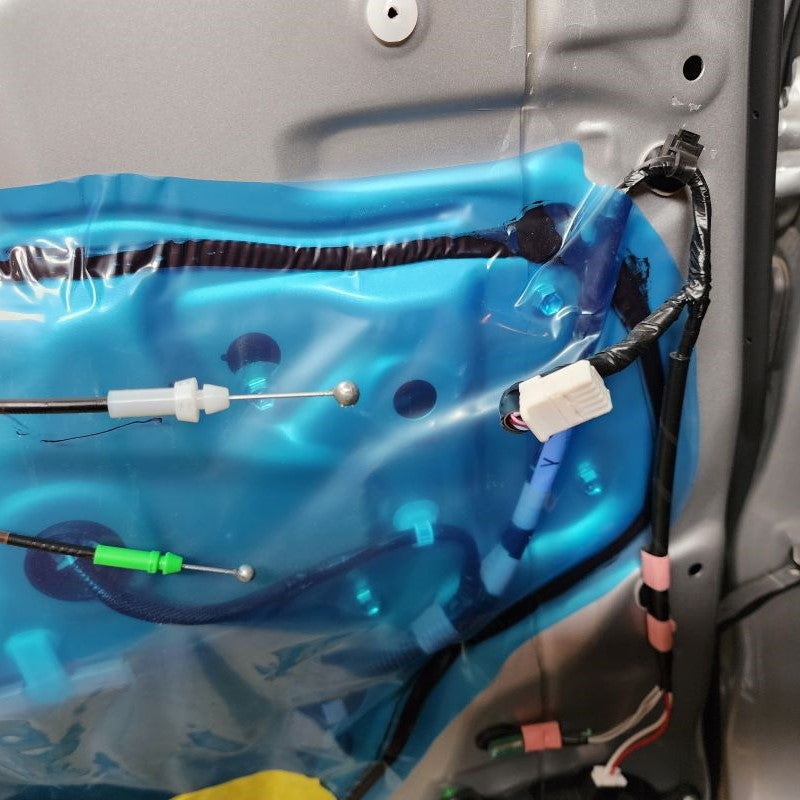
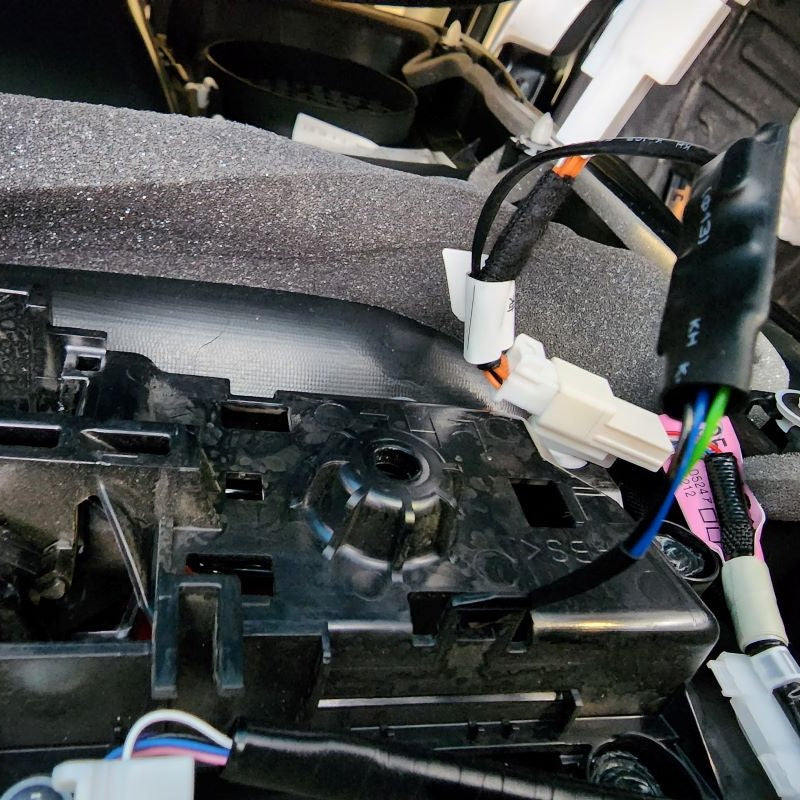
In order to connect the wire harness for the door bowl light, there are some narrow openings that the cable and connectors will need to travel through. The only way this can be accomplished is by doing it prior to reinstalling the door panel back on the frame of the vehicle.
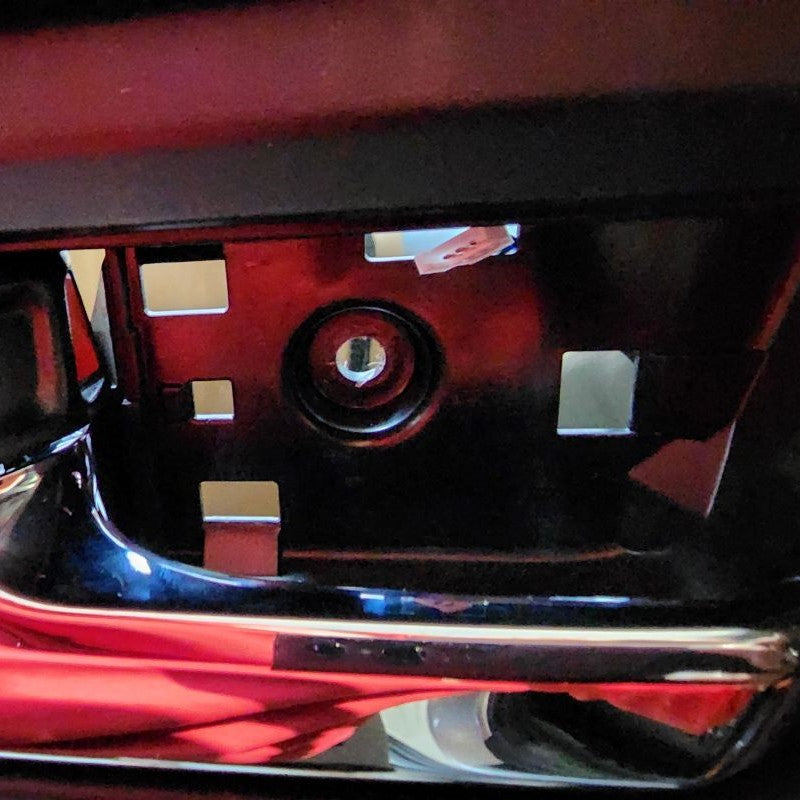
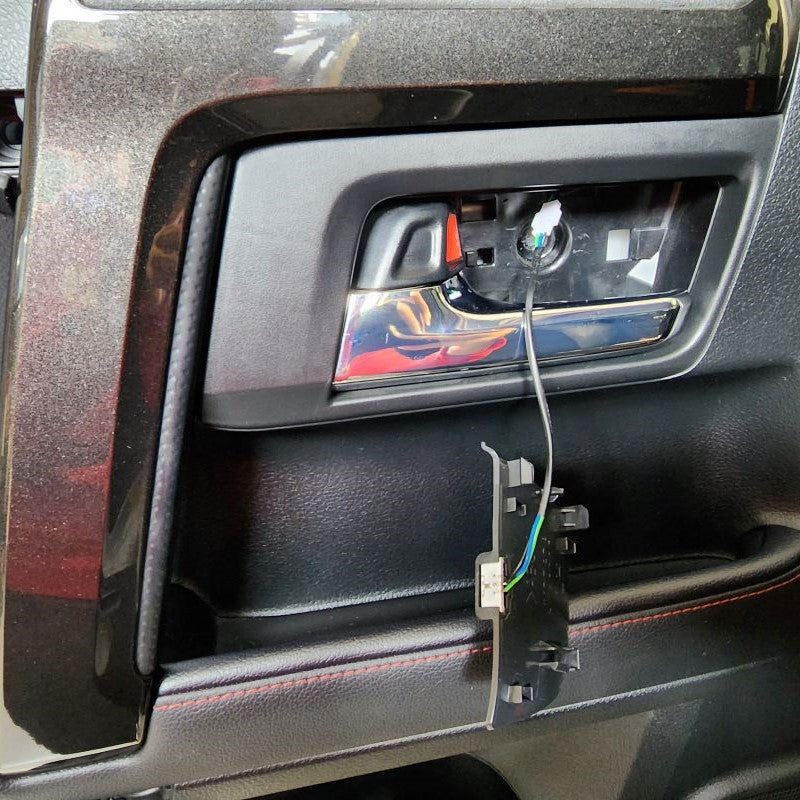
Look to see which hole on your door panel doesn't match up with the back of the hole cover. If you have one that will not be used by a tab, we recommend using it. If all of them are used, find one where the hole is slightly bigger and will be able to accomodate both the tab on the back of the hole cover and the wire. Connect the new Door Bowl Light and then go ahead and make sure all of the other connections on the back side of that door panel are back together prior to hanging it back on the top lip of the door frame.
One of the biggest things people forget to reconnect is the courtesy light connector at the bottom of the door panel.
INSTALL IMAGES


STEP 5
-
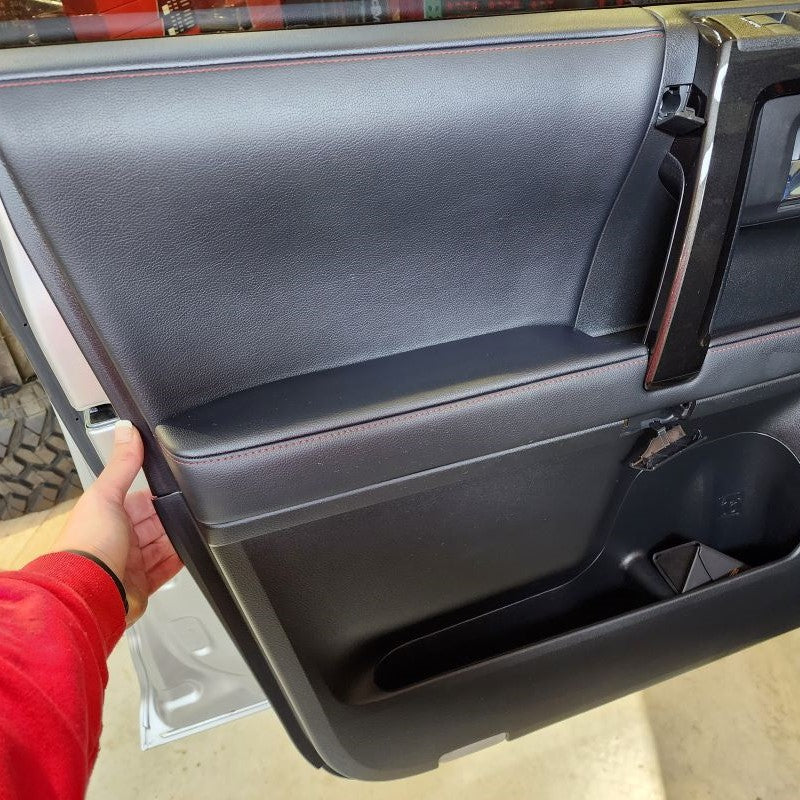
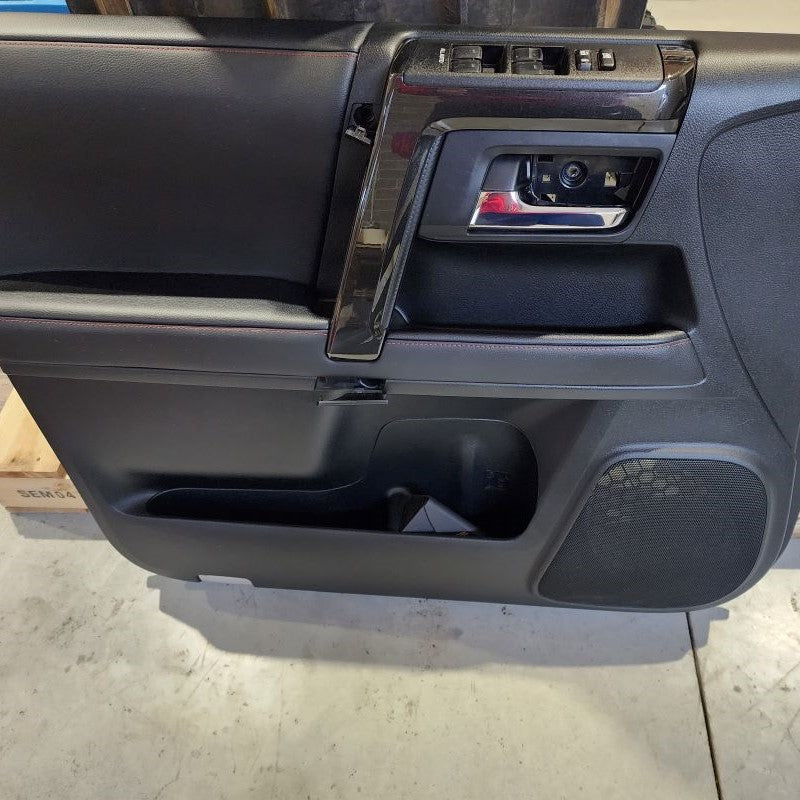
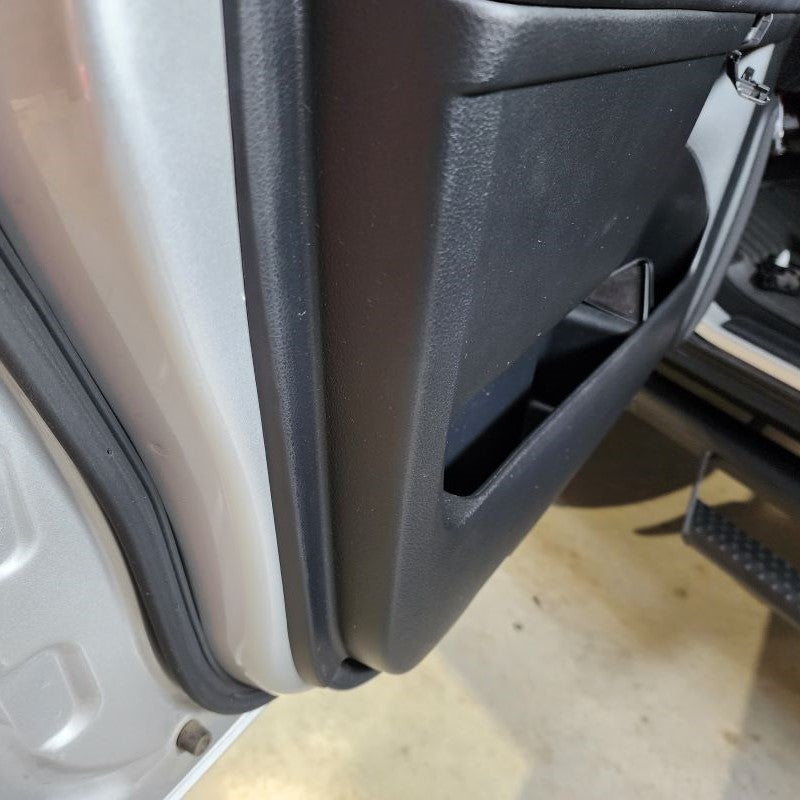
After tidying up the wires, make sure the door panel is pushed back into place against the door frame, then reinstall the three phillip screws to anchor the panel to the frame. Once the hardware is nice and tight, go ahead and push the two panel pieces back into place to cover the holes. Last, install your new Door Bowl Light Hole Cover. You may need to push your wire harness in the backside of the door panel a little more, but it shouldn't be a problem doing so at this point. Start by inserting the back tabs that are towards the cab of the vehicle first and then the back tabs that are towards the red lock indicator on the door handle last.
Now all you need to do is test your new setup!
INSTALL IMAGES


STEP 6
-
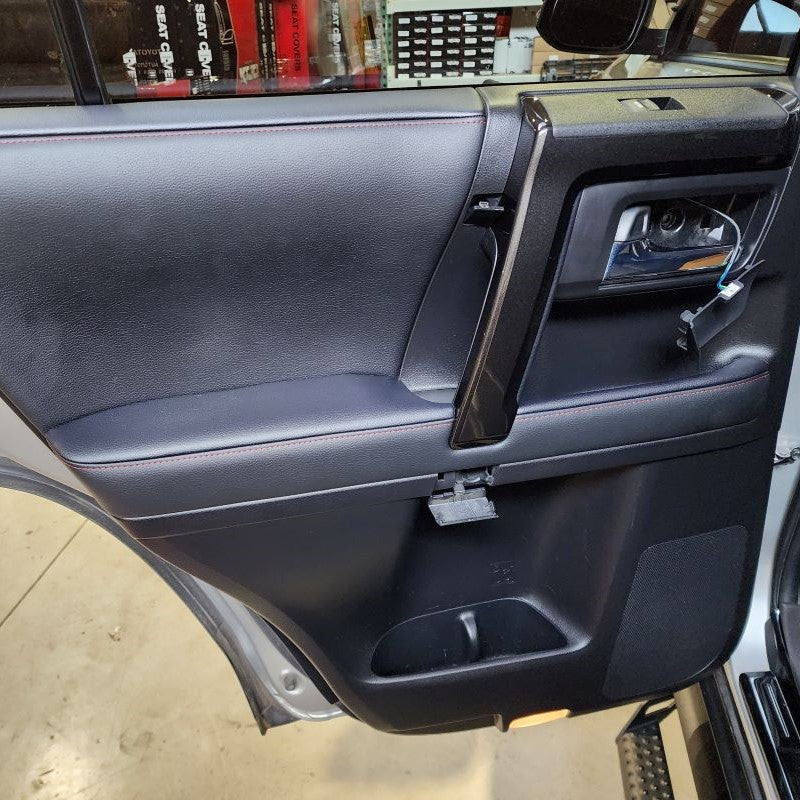
Next, move to your rear passenger door behind the driver seat. You will want to follow similiar steps as above to do the same thing to this door. Start by using the trim removal tool to reveal the three screws that are hidden behind the two door panel pieces and the factory hole cover. Using a phillips screw driver, remove the three screws and set them aside for re-installation.
INSTALL IMAGES


STEP 7
-
Once again, begin in the lower right corner and start separating the door panel from the door frame. Slowly work your way around the bottom and sides, popping off each successive snap until you’re left with the door panel hanging by the top lip.
Before trying to lift and pull off the door panel, disconnect and remove all the connections on the backside of the panel. Unlike the Driver Door, you will not need to disconnect the courtesy light connector located in the bottom left of the door panel.
Now, in order to remove the door panel, pull it up and straight back off the door frame at the top lip. Make sure not to pull the door panel too far away from the frame – we still need to deal with the latch and lock cables and a couple other connections.
If you look behind the door panel you just pulled off, you’ll see one white and one green Bowden Cable termination. Carefully snap these out of the black housing and maneuver the steel cable ends out of their enclosures just like you did before in Step 2.
Finally, unplug the white connector towards the front of the door panel as it is the last connector that is standing in the way of removing the door panel completely from the door frame. This will be the connector we are going to work with for the Door Bowl Lights.
NOTE:It is not necessary to completely remove the door panel if you can just disconnect the window switch connector (white connector towards the front of the door panel) and reconnect it using the new harness from the package (Step 8).
INSTALL IMAGES


STEP 8
-
With now having the door frame exposed, we can easily find the window switch connector – just follow the factory wire harness that goes along the frame of the door and routes up to the white connector at the top right side of the door. In the pictures below, you see it is the one that has a pink factory label wrapped around the wire harness. Depending on your vehicle, that may be different.
Once you locate this connector, you can go ahead and connect the included plug-n-play wire harness for the Door Bowl Light.
INSTALL IMAGES


STEP 9
-
In order to connect the wire harness for the door bowl light, there are some narrow openings that the cable and connectors will need to travel through. The only way this can be accomplished is by doing it prior to reinstalling the door panel back on the frame of the vehicle.
Look to see which hole on your door panel doesn't match up with the back of the hole cover. If you have one that will not be used by a tab, we recommend using it. If all of them are used, find one where the hole is slightly bigger and will be able to accomodate both the tab on the back of the hole cover and the wire. Connect the new Door Bowl Light and then go ahead and make sure all of the other connections on the back side of that door panel are back together prior to hanging it back on the top lip of the door frame.
NOTE: If you did remove the back door panel and you are having a hard time reinstalling it on the frame of your vehicle, simply remove the black metal piece that is supposed to slip over the top of the door to secure and lock in the door panel. It is only held to the door panel by three black clips. One on each side and one in the middle. Once you have it off the door panel, push it down on the door frame first. Align the black metal pieces to where they need to be placed on the door panel and then install the door panel. It can be a lot easier doing it this way.
INSTALL IMAGES


STEP 10
-
After tidying up the wires, make sure the door panel is pushed back into place against the door frame, then reinstall the three phillip screws to anchor the panel to the frame. Once the hardware is nice and tight, go ahead and push the two panel pieces back into place to cover the holes. Last, install your new Door Bowl Light Hole Cover. You may need to push your wire harness in the backside of the door panel a little more, but it shouldn't be a problem doing so at this point. Start by inserting the back tabs that are towards the cab of the vehicle first and then the back tabs that are towards the red lock indicator on the door handle last.
Now all you need to do is test your new setup! Once everything is good, you have completed the left side of the vehile. Go ahead and repeat Steps 1-10 for the Passenger Side.
INSTALL IMAGES


STEP 11
-
Enjoy your New Door Bowl Lights!
INSTALL IMAGES